Prop Tarantula Head Development
Initial Build

Intro
This is the centrepiece of the spider and most complex with considerable development of my own past the initial tutorial video. It is still ongoing. It is this all the parts are connected to.
When I first started to make this I was closely following the Paul Jones “DIY giant spider Halloween prop tutorial Rough Guide”, so was not taking lots of photos when following the video as not fully my work. You can see from the video What I was doing at first.
Unfortunately, this is now a problem showing the development but you can have a look thorough the video to see how I started. I have also tried to use the closest photos from later stages.
I have gone considerably past the video on my own trying to fix issues discovered when trying to follow the video.
Body and Head Construction
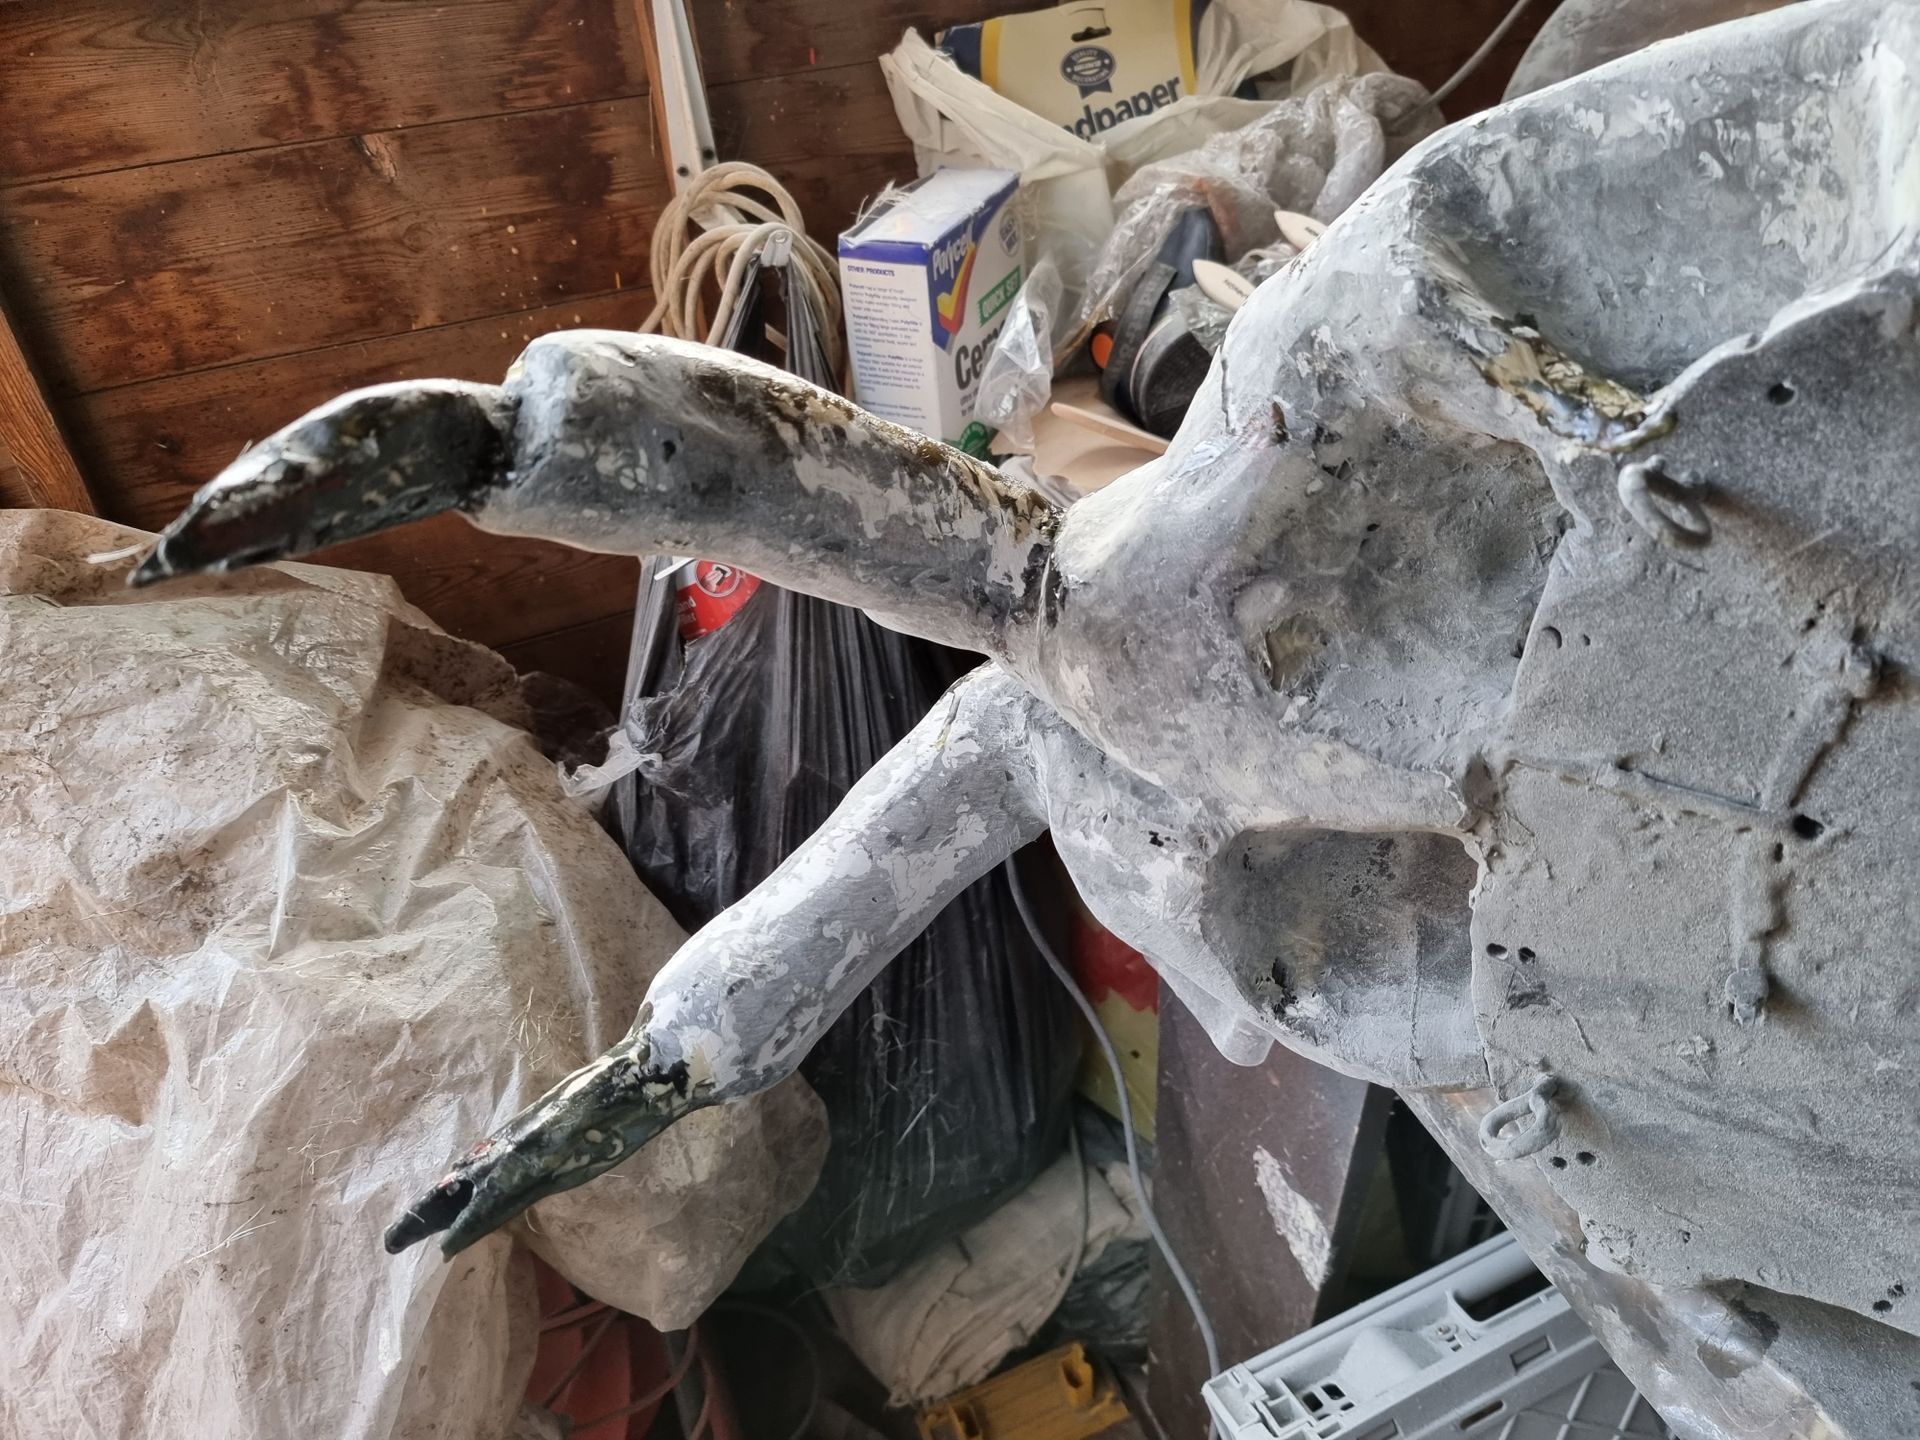
The head started with a cycle helmet cable tied to a fibre board, along with 45 degree 45 degree 22mm angle pipe connections to attach the legs.
Totally inadequate where it came to strength, as utterly fragile and betaking all the time, problematic when connecting, no quick release, tightening etc so the leg connection components were designed and developed. These added problems that needed addressing below.


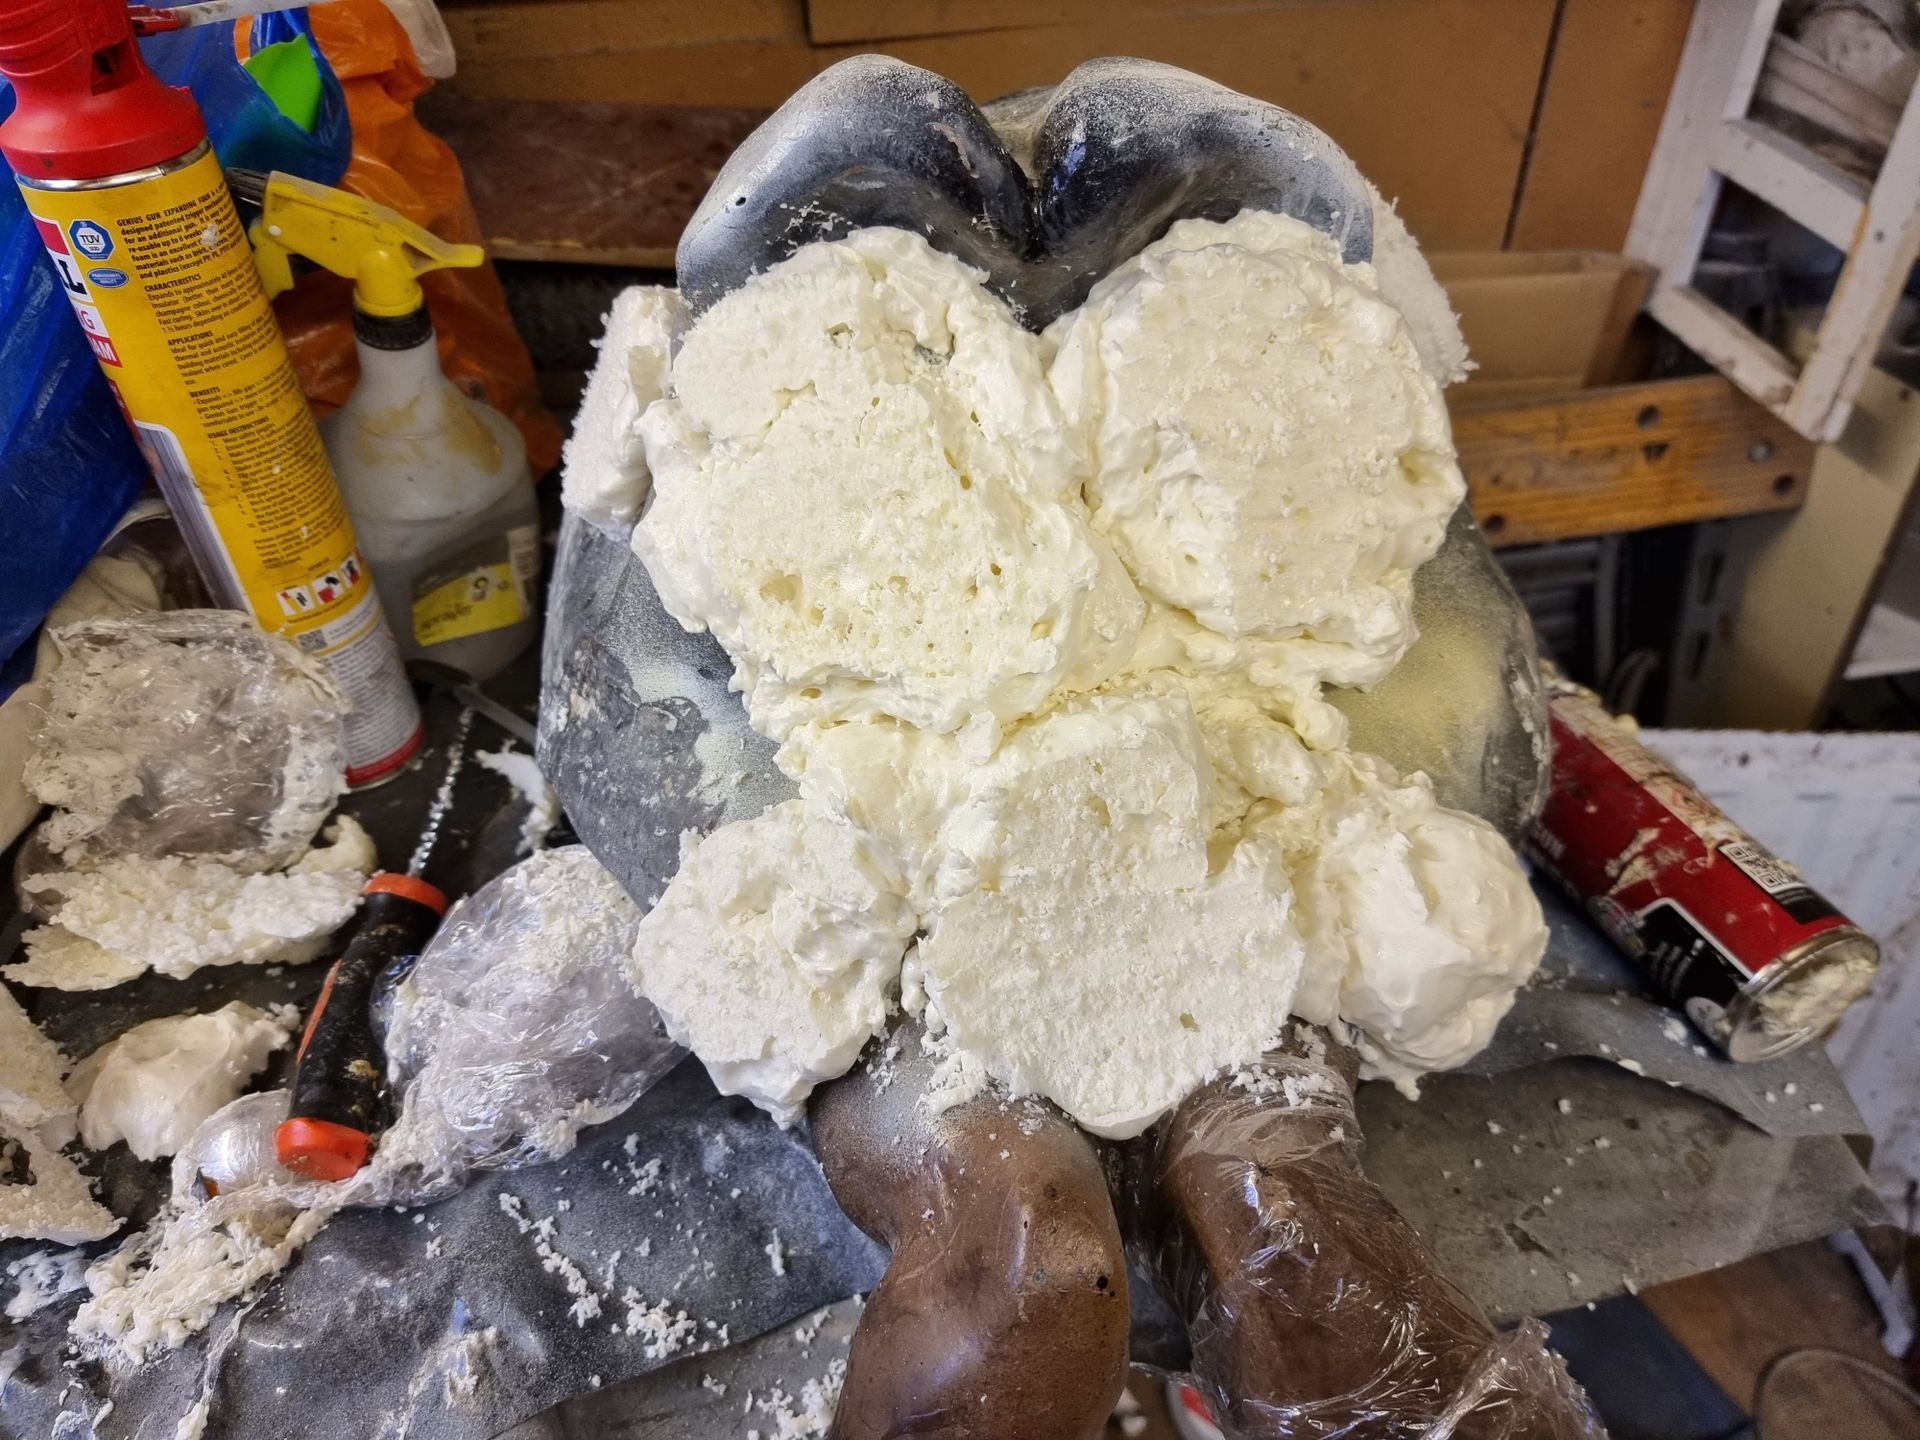
Around this cycle helmet was tied pipe lagging to act as filler and save on the large amounts of expanding insulating foam which was then squirted around and around in layers. something like the body photo to the left only with the cycle helmet in the centre. I don't have a photo for this step but if you see the video above you should see how Paul Jones did it.
As I did not have any bulk industrial equipment this has cost a fortune as have had to purchase large numbers of foam spray cans.
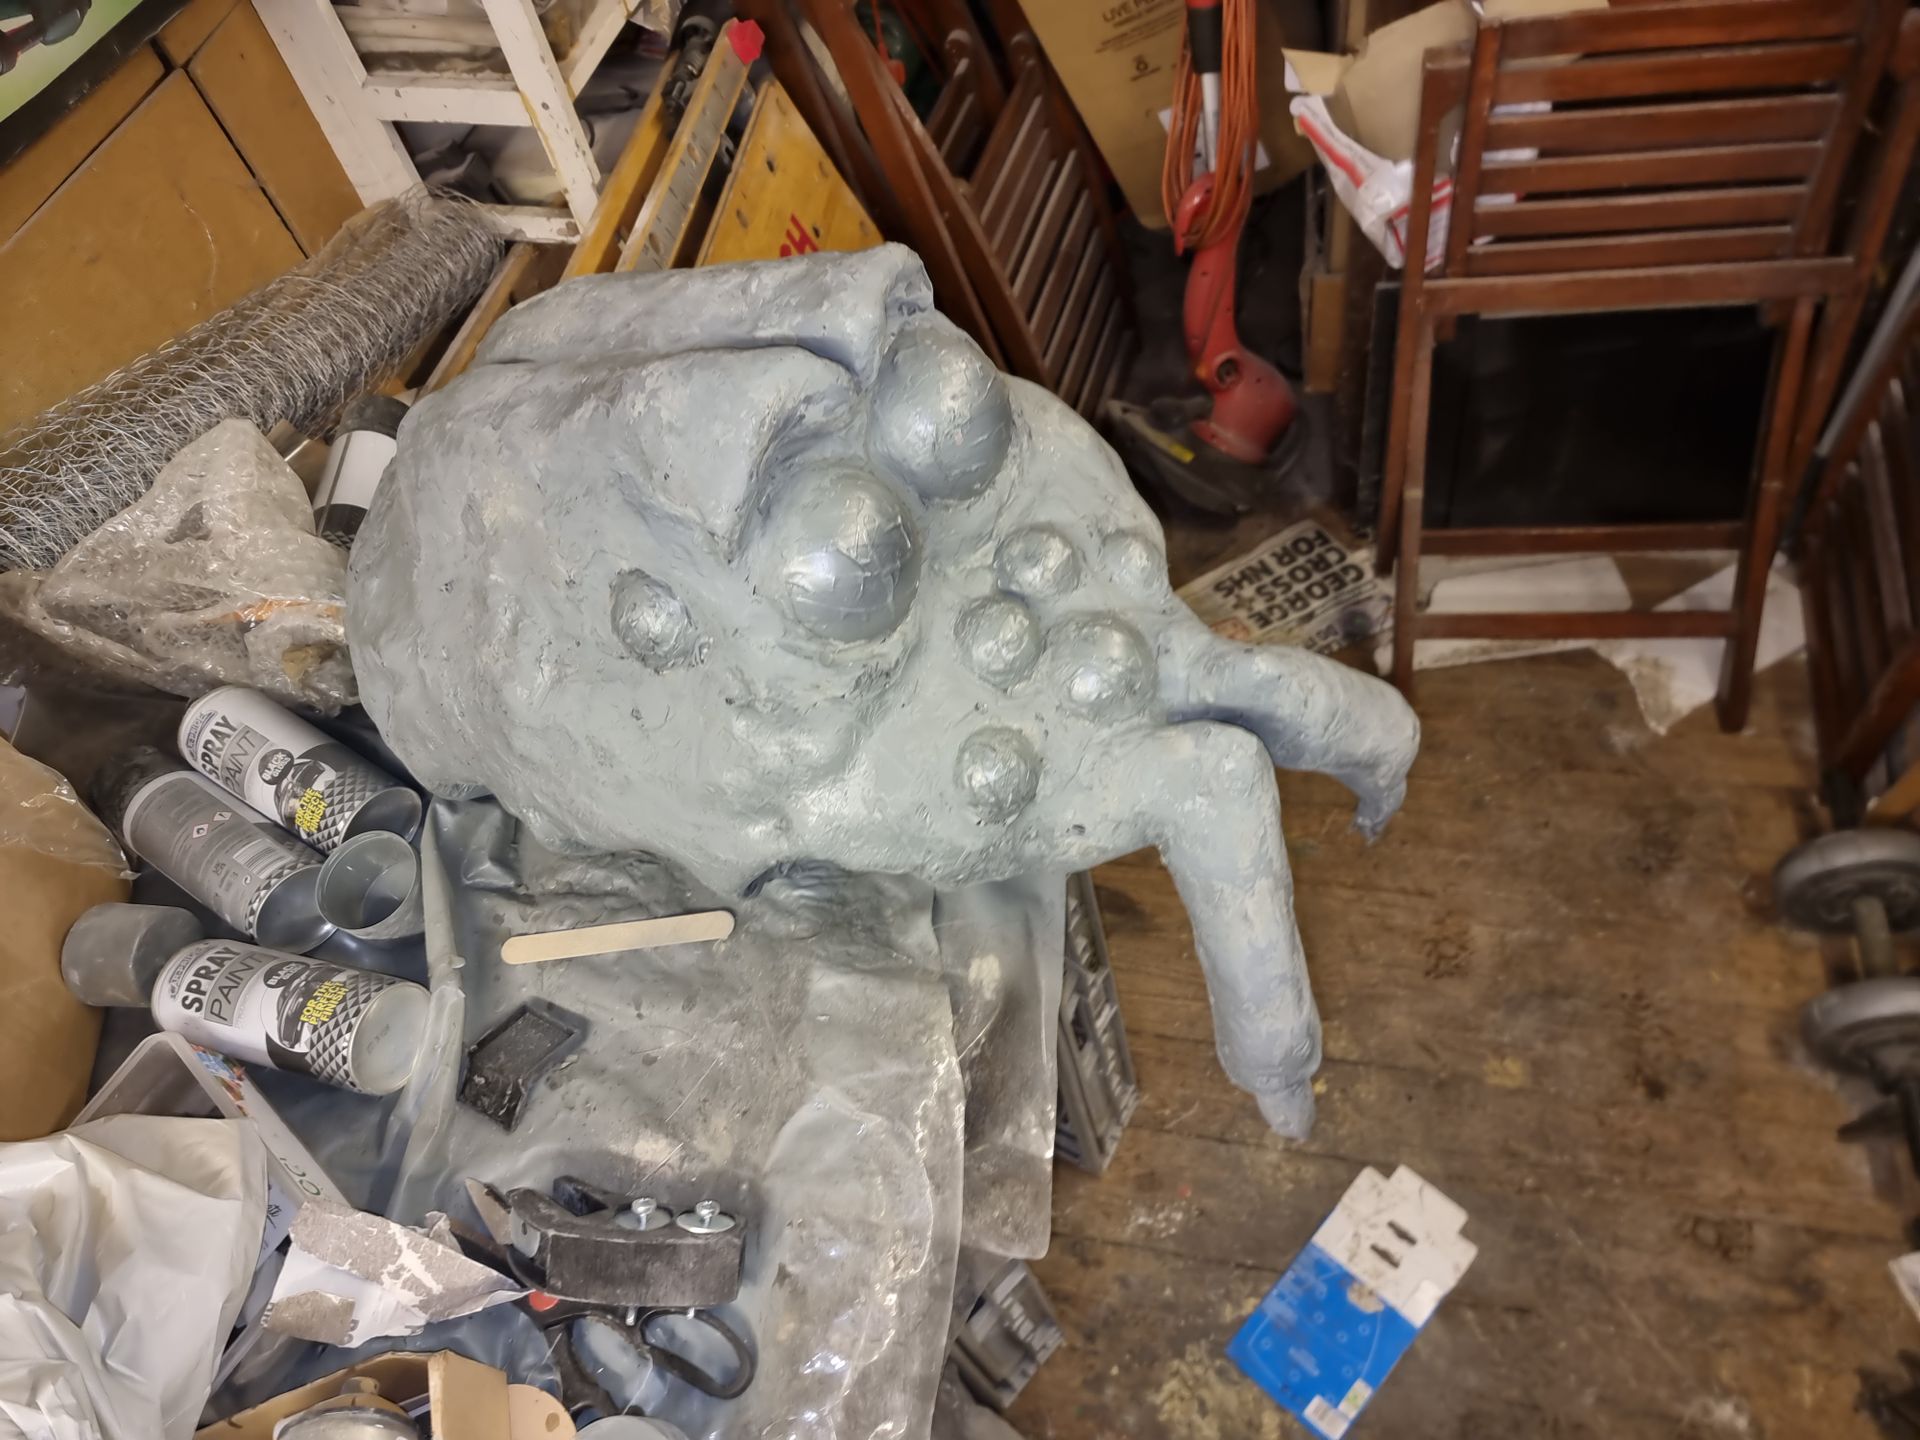
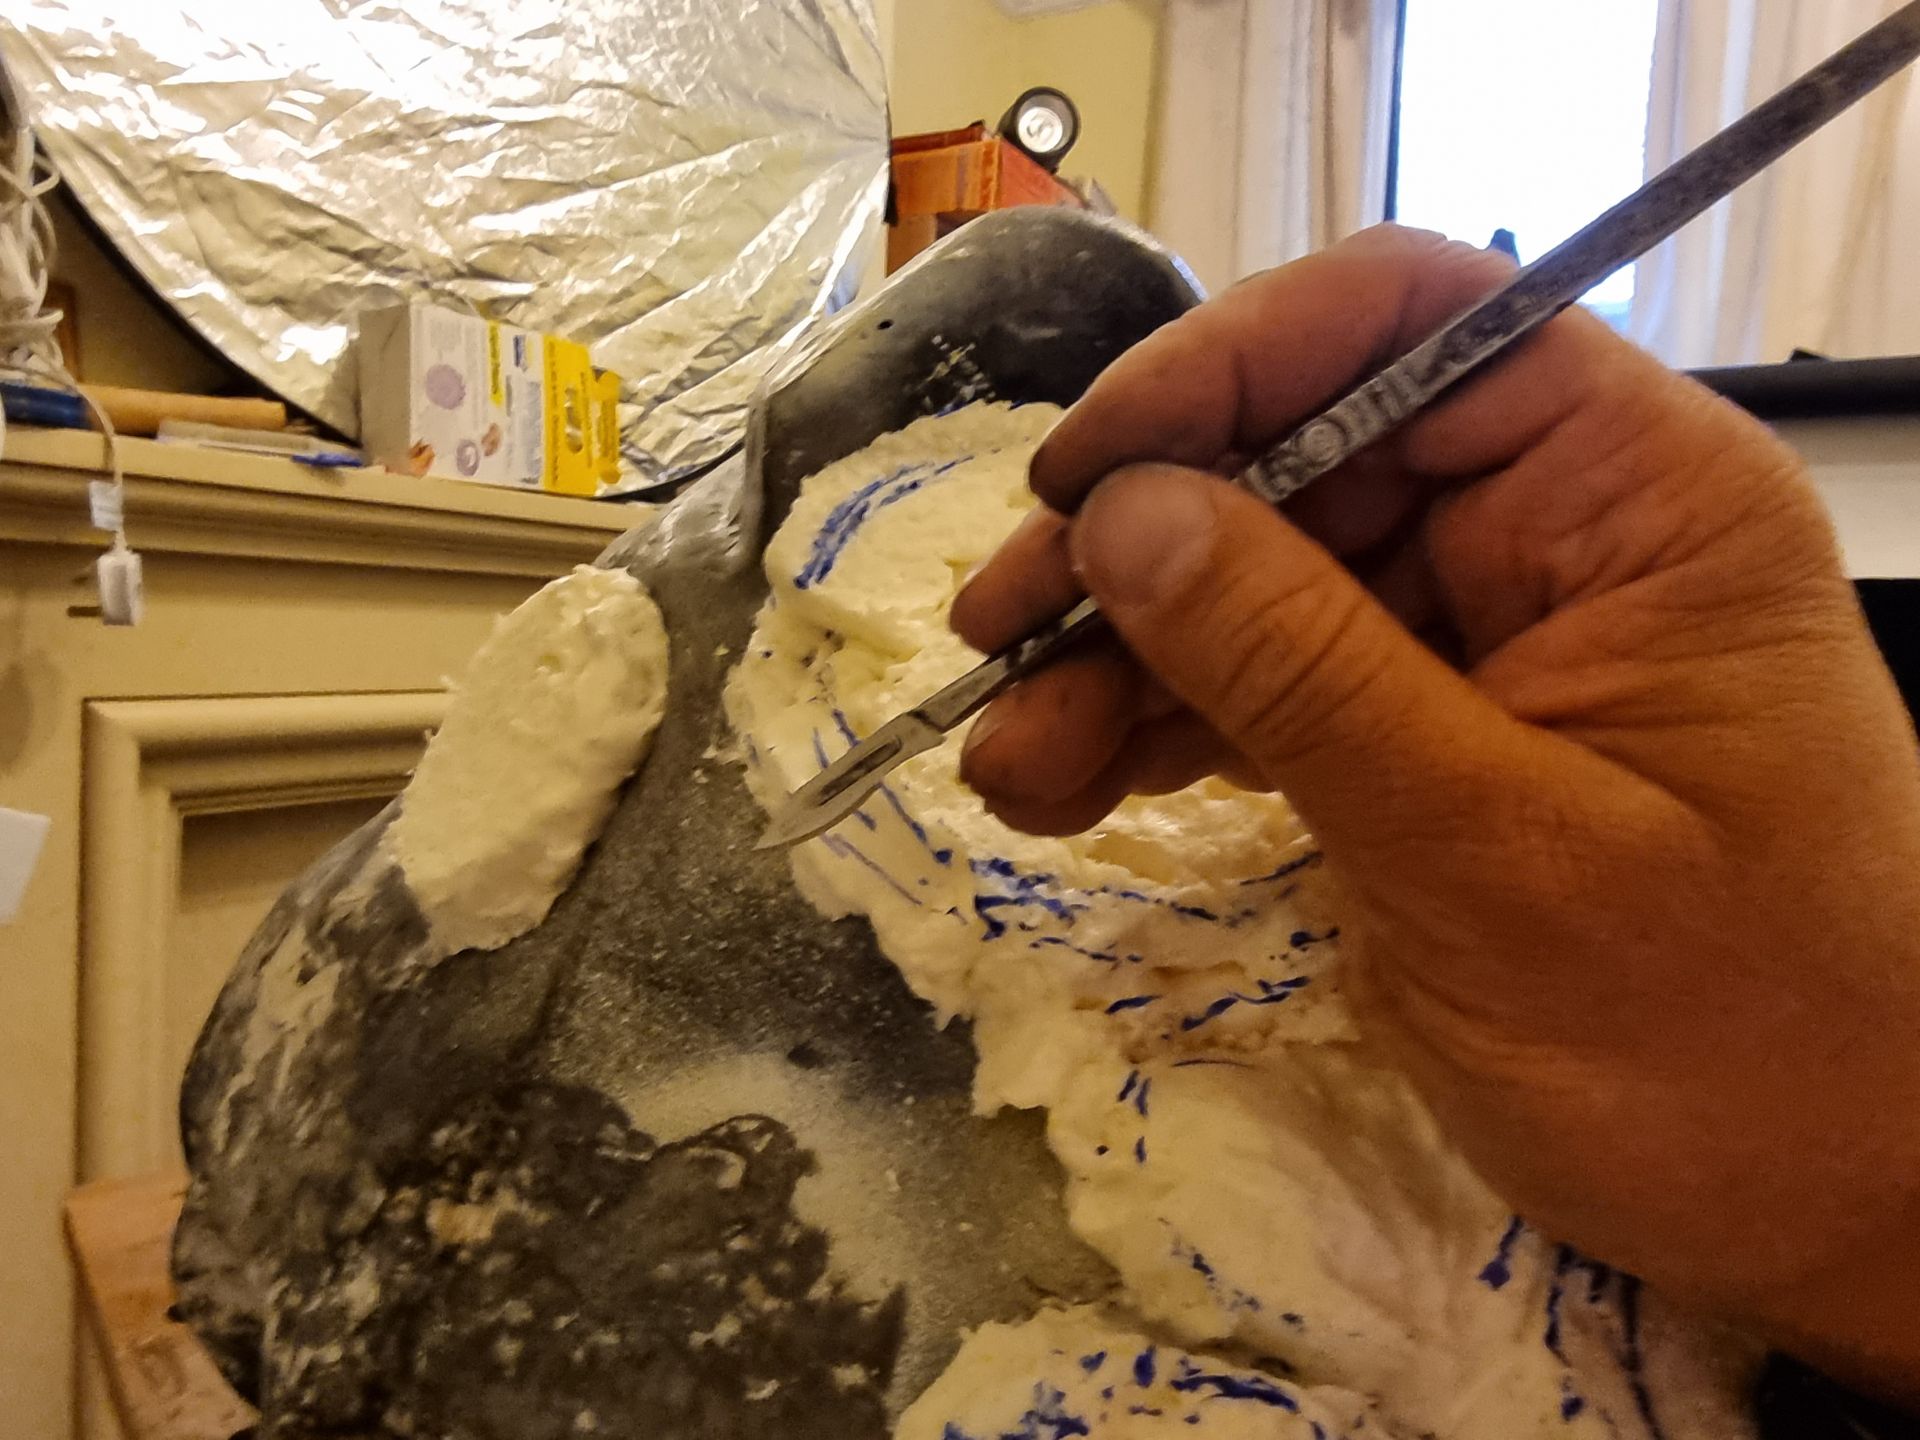
The foam sets very unevenly so the next layer was used to fill the gaps each time after carving to shape with a serrated cardboard cutter knife shown below and power filing as well as use of circular drill sanding discs, scalpels and Dremel multi - tool, then hand sanding
Surforms use and hand sanding smoothed the material off. I don't have the original photos but below are the closest from later stages.
Eyes
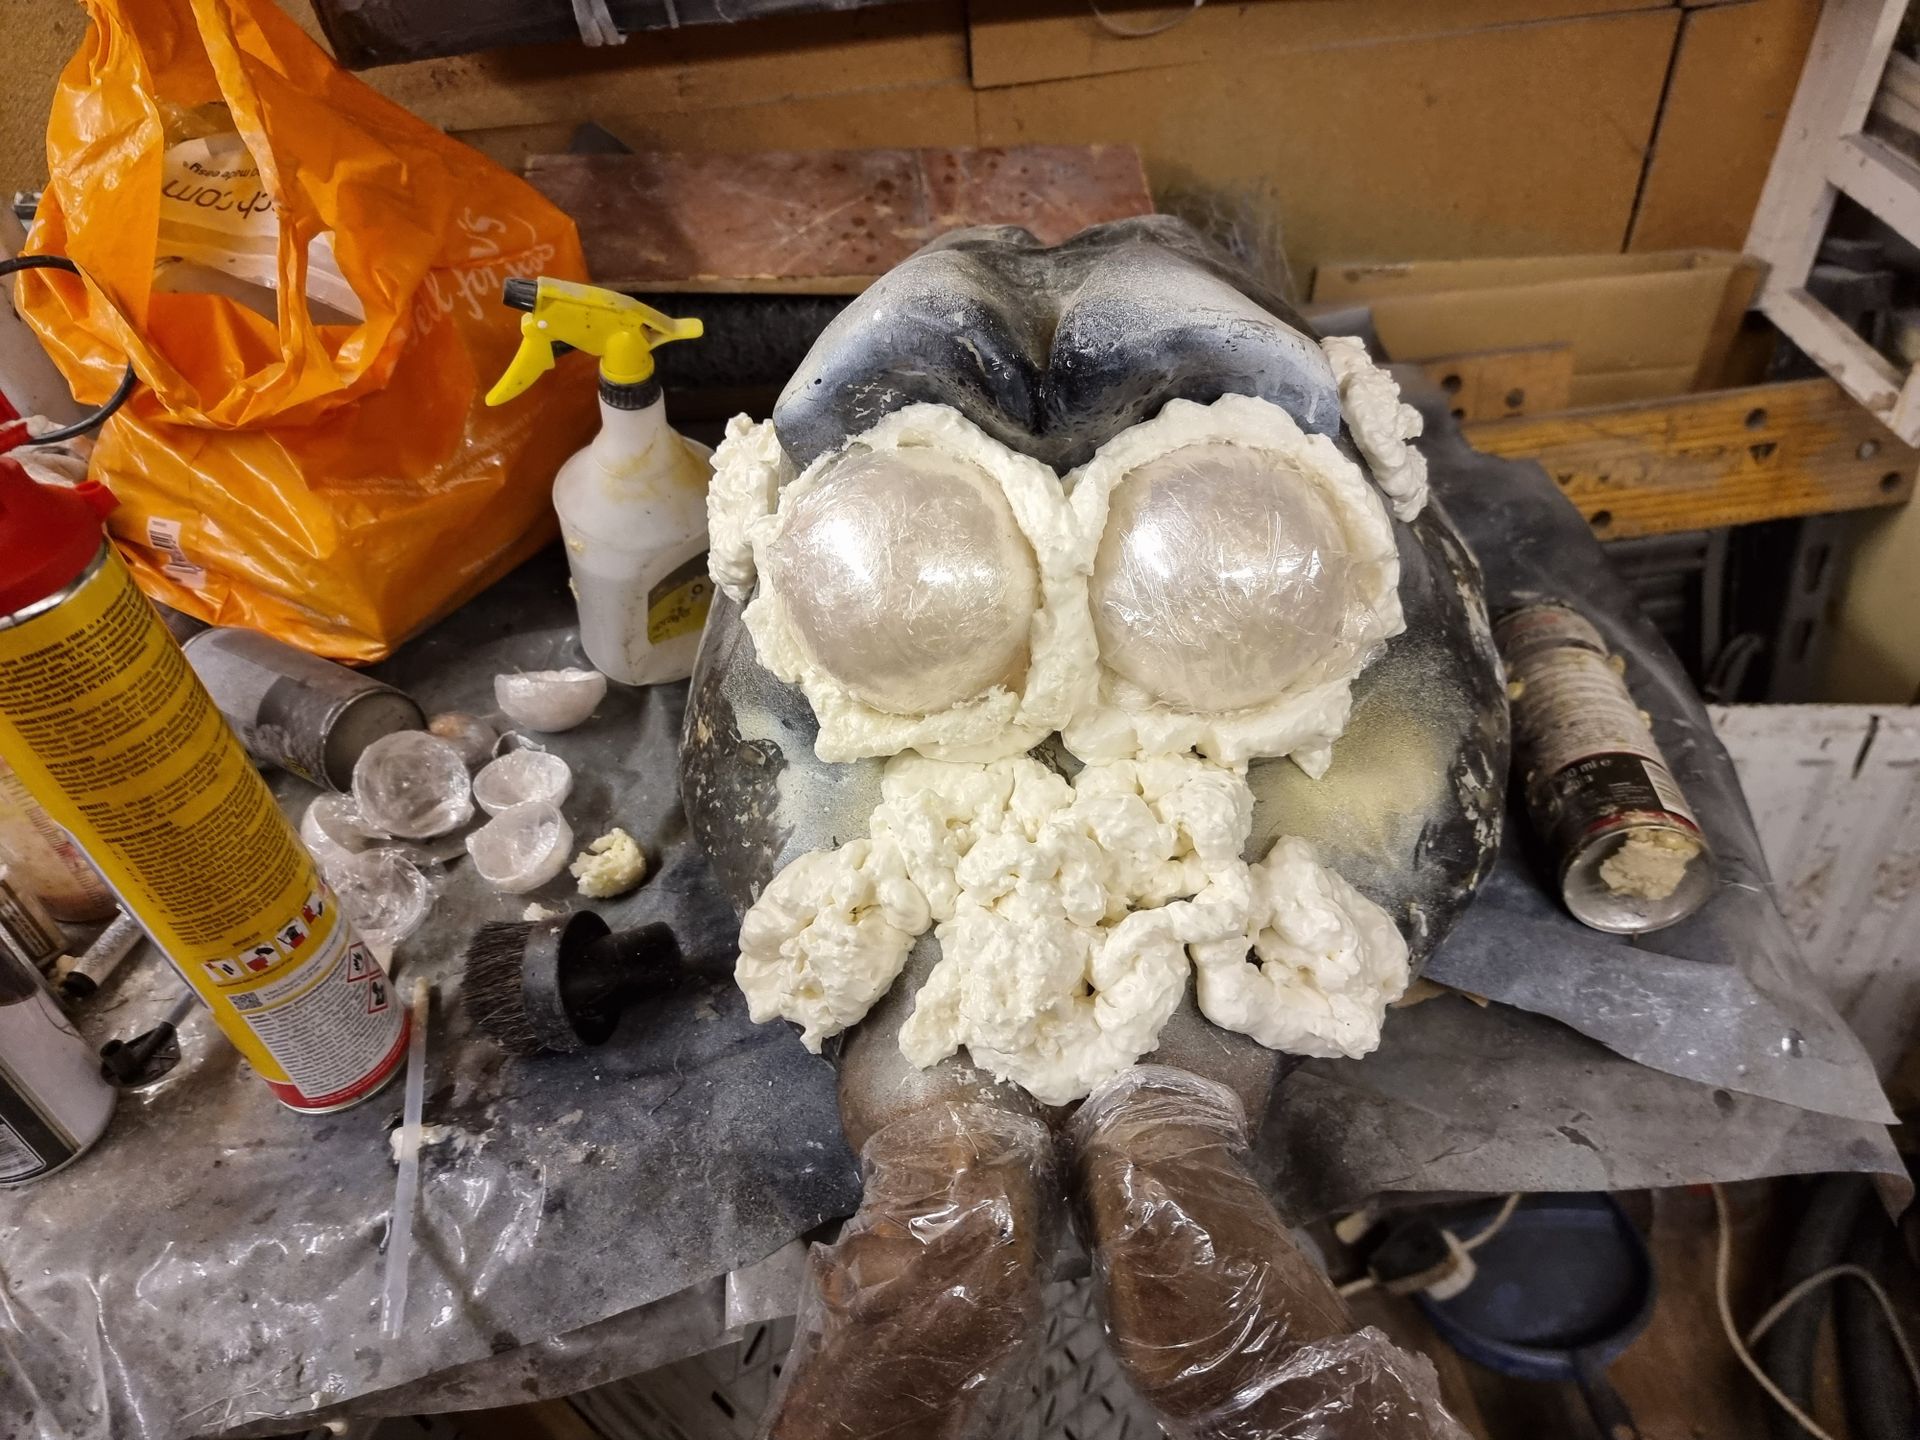
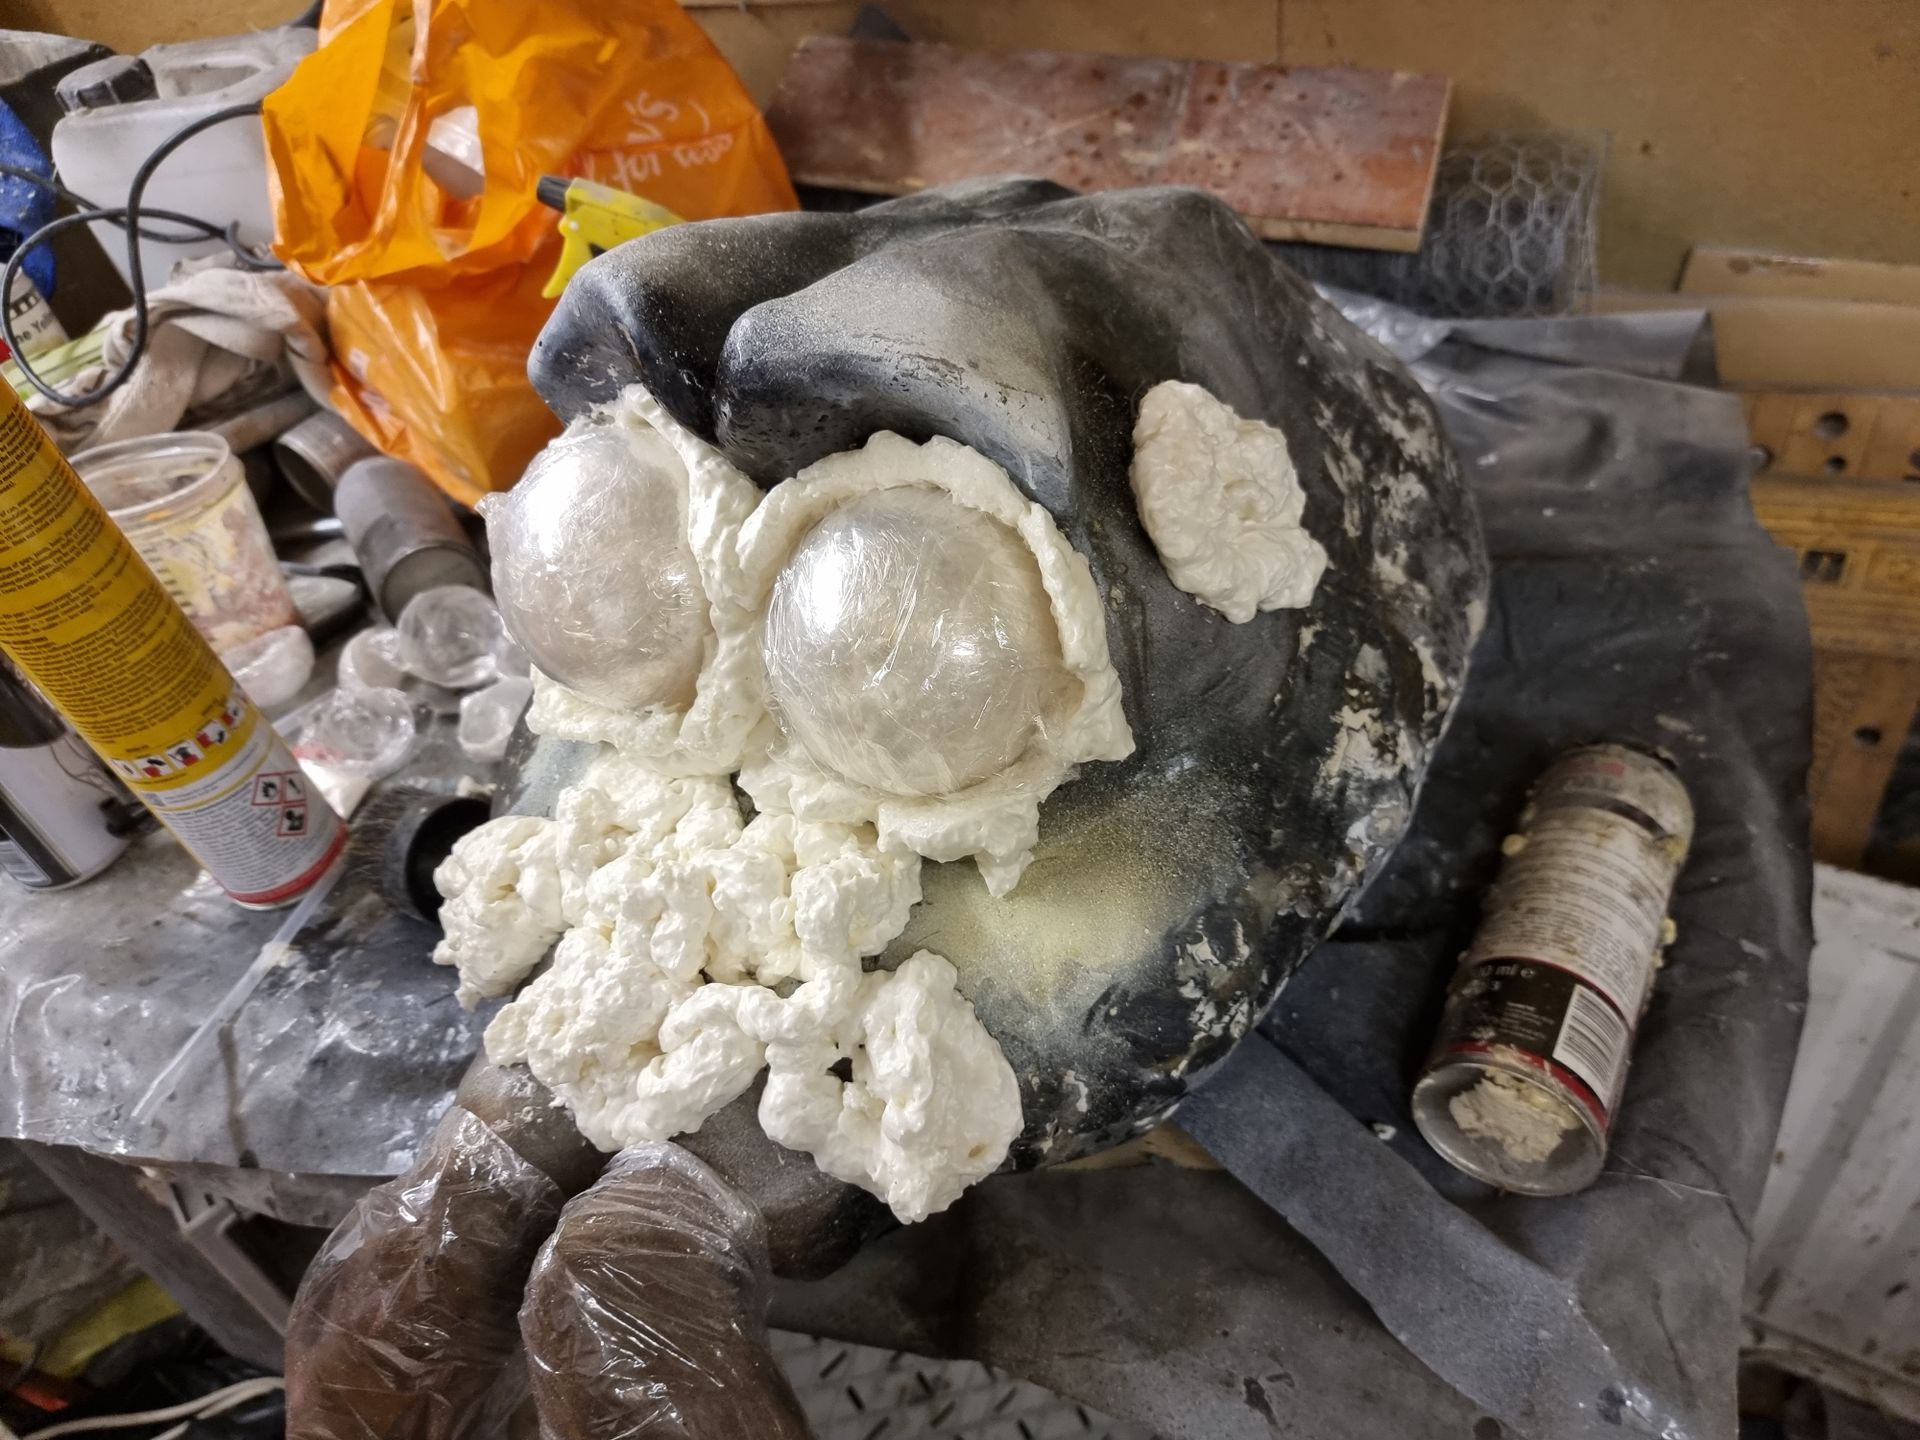
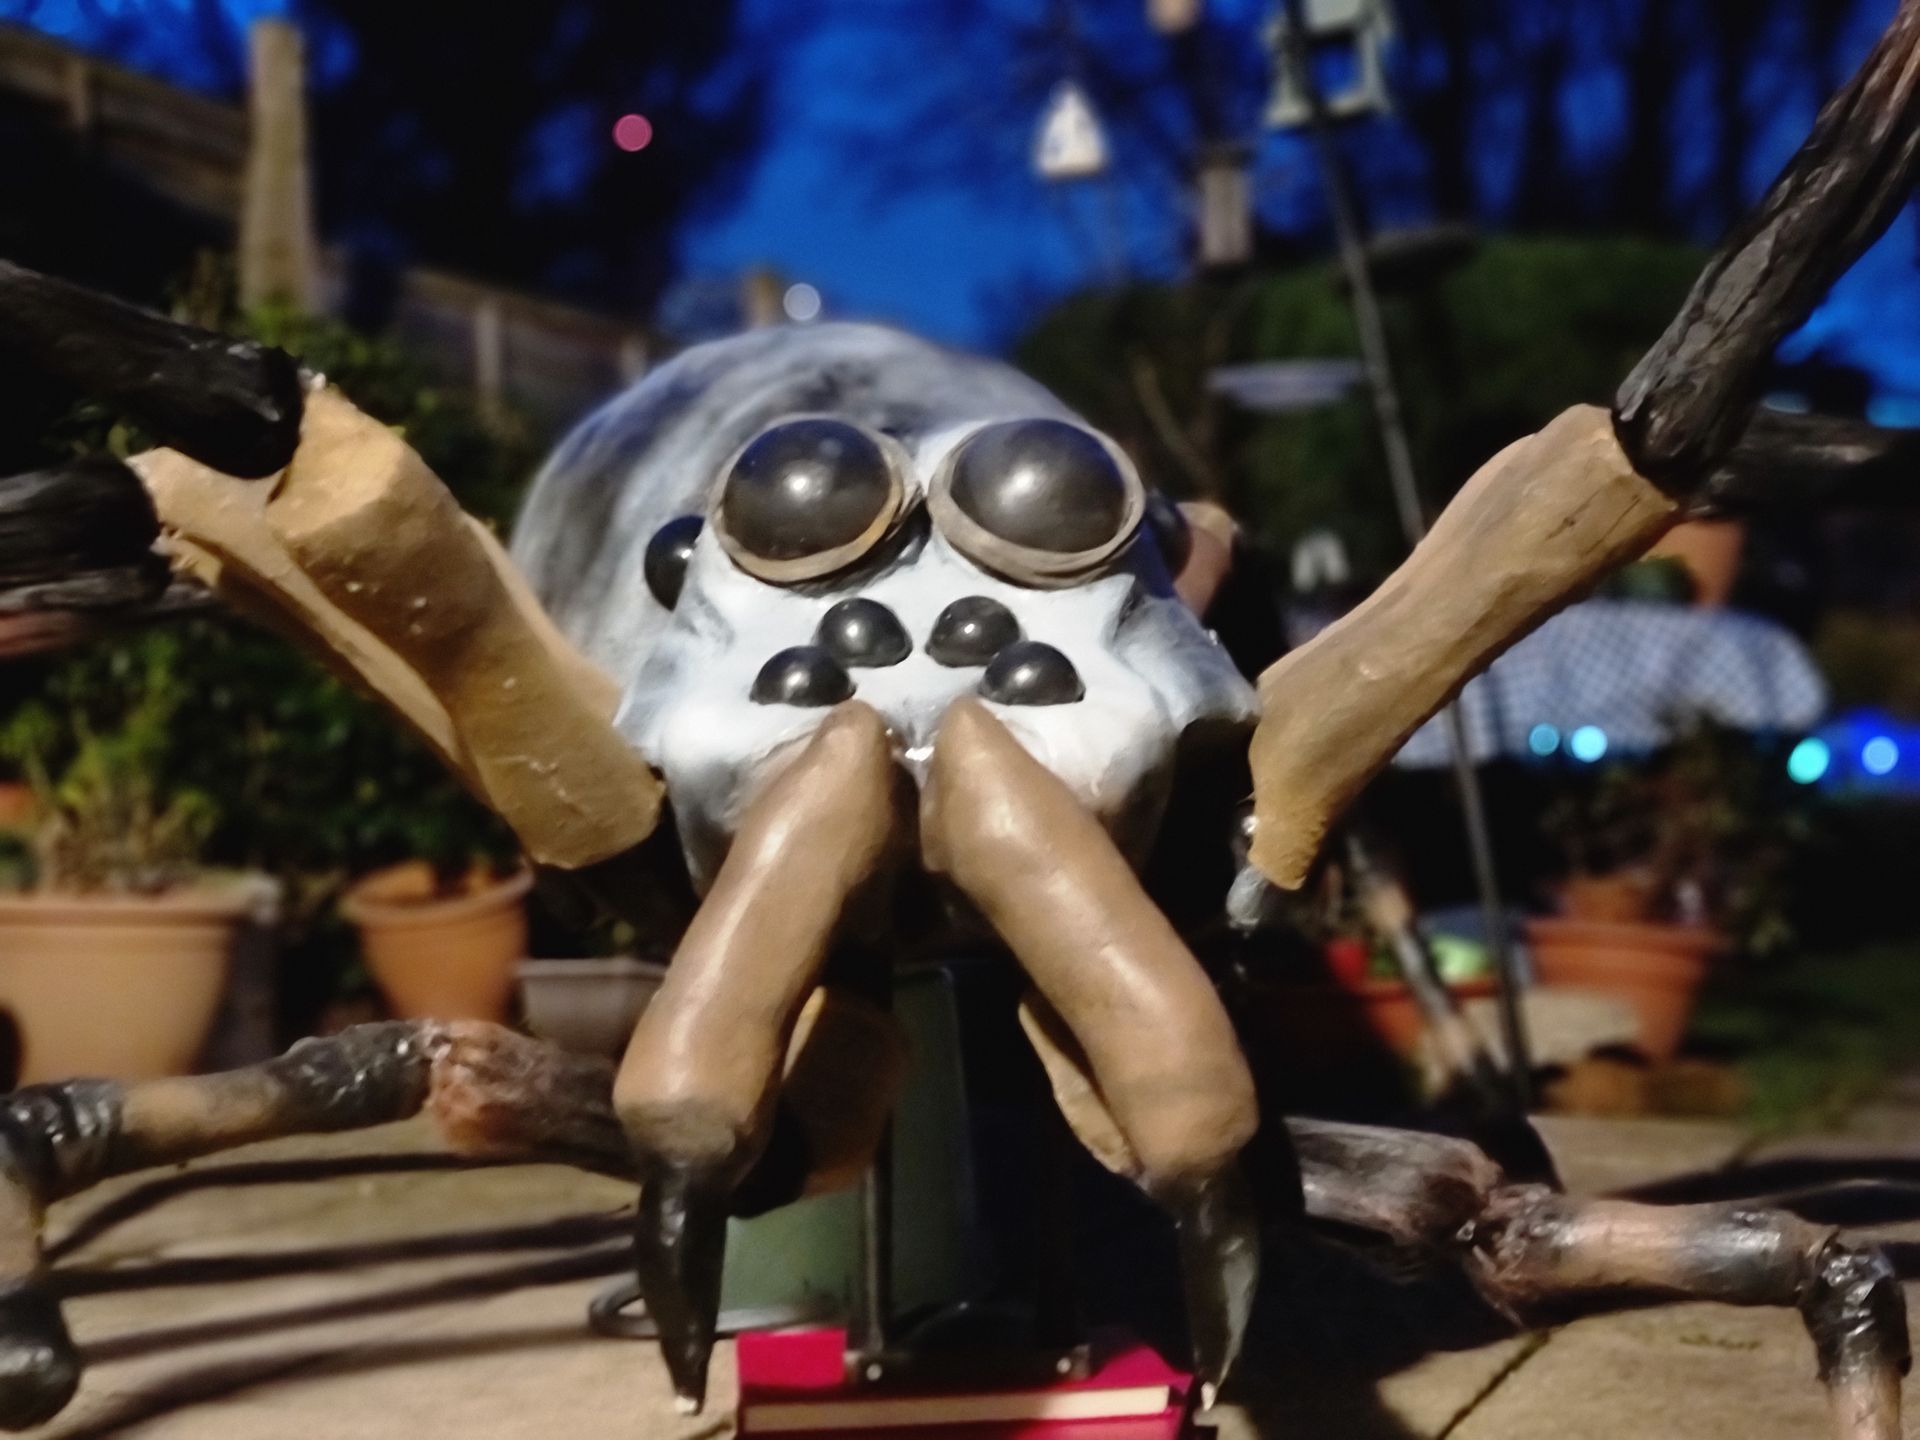
The eyes were clear spherical half globes, black spray painted internally so the shell aced like a glassy lens. These were embedded into the foam. and glued solidly in place then covered in masking tape to protect them.
Initial Painting And Tights
The fangs were a bent H shape pipe structure with connectors surrounded in bent pipe lapping in a similar manner to the legs, then covered in masking tape as seen in the Paul Jones video with the jaws from the end of the plastic points.
Like in the video I tried to skin the head in tights but did not seem to work. Several spray paint patterns were tried.
My Alterations and Incorporations
Spider Leg Connector Development
The development of the leg connection system can be seen in more detail on the leg connector development tab, so please click the link button or picture.
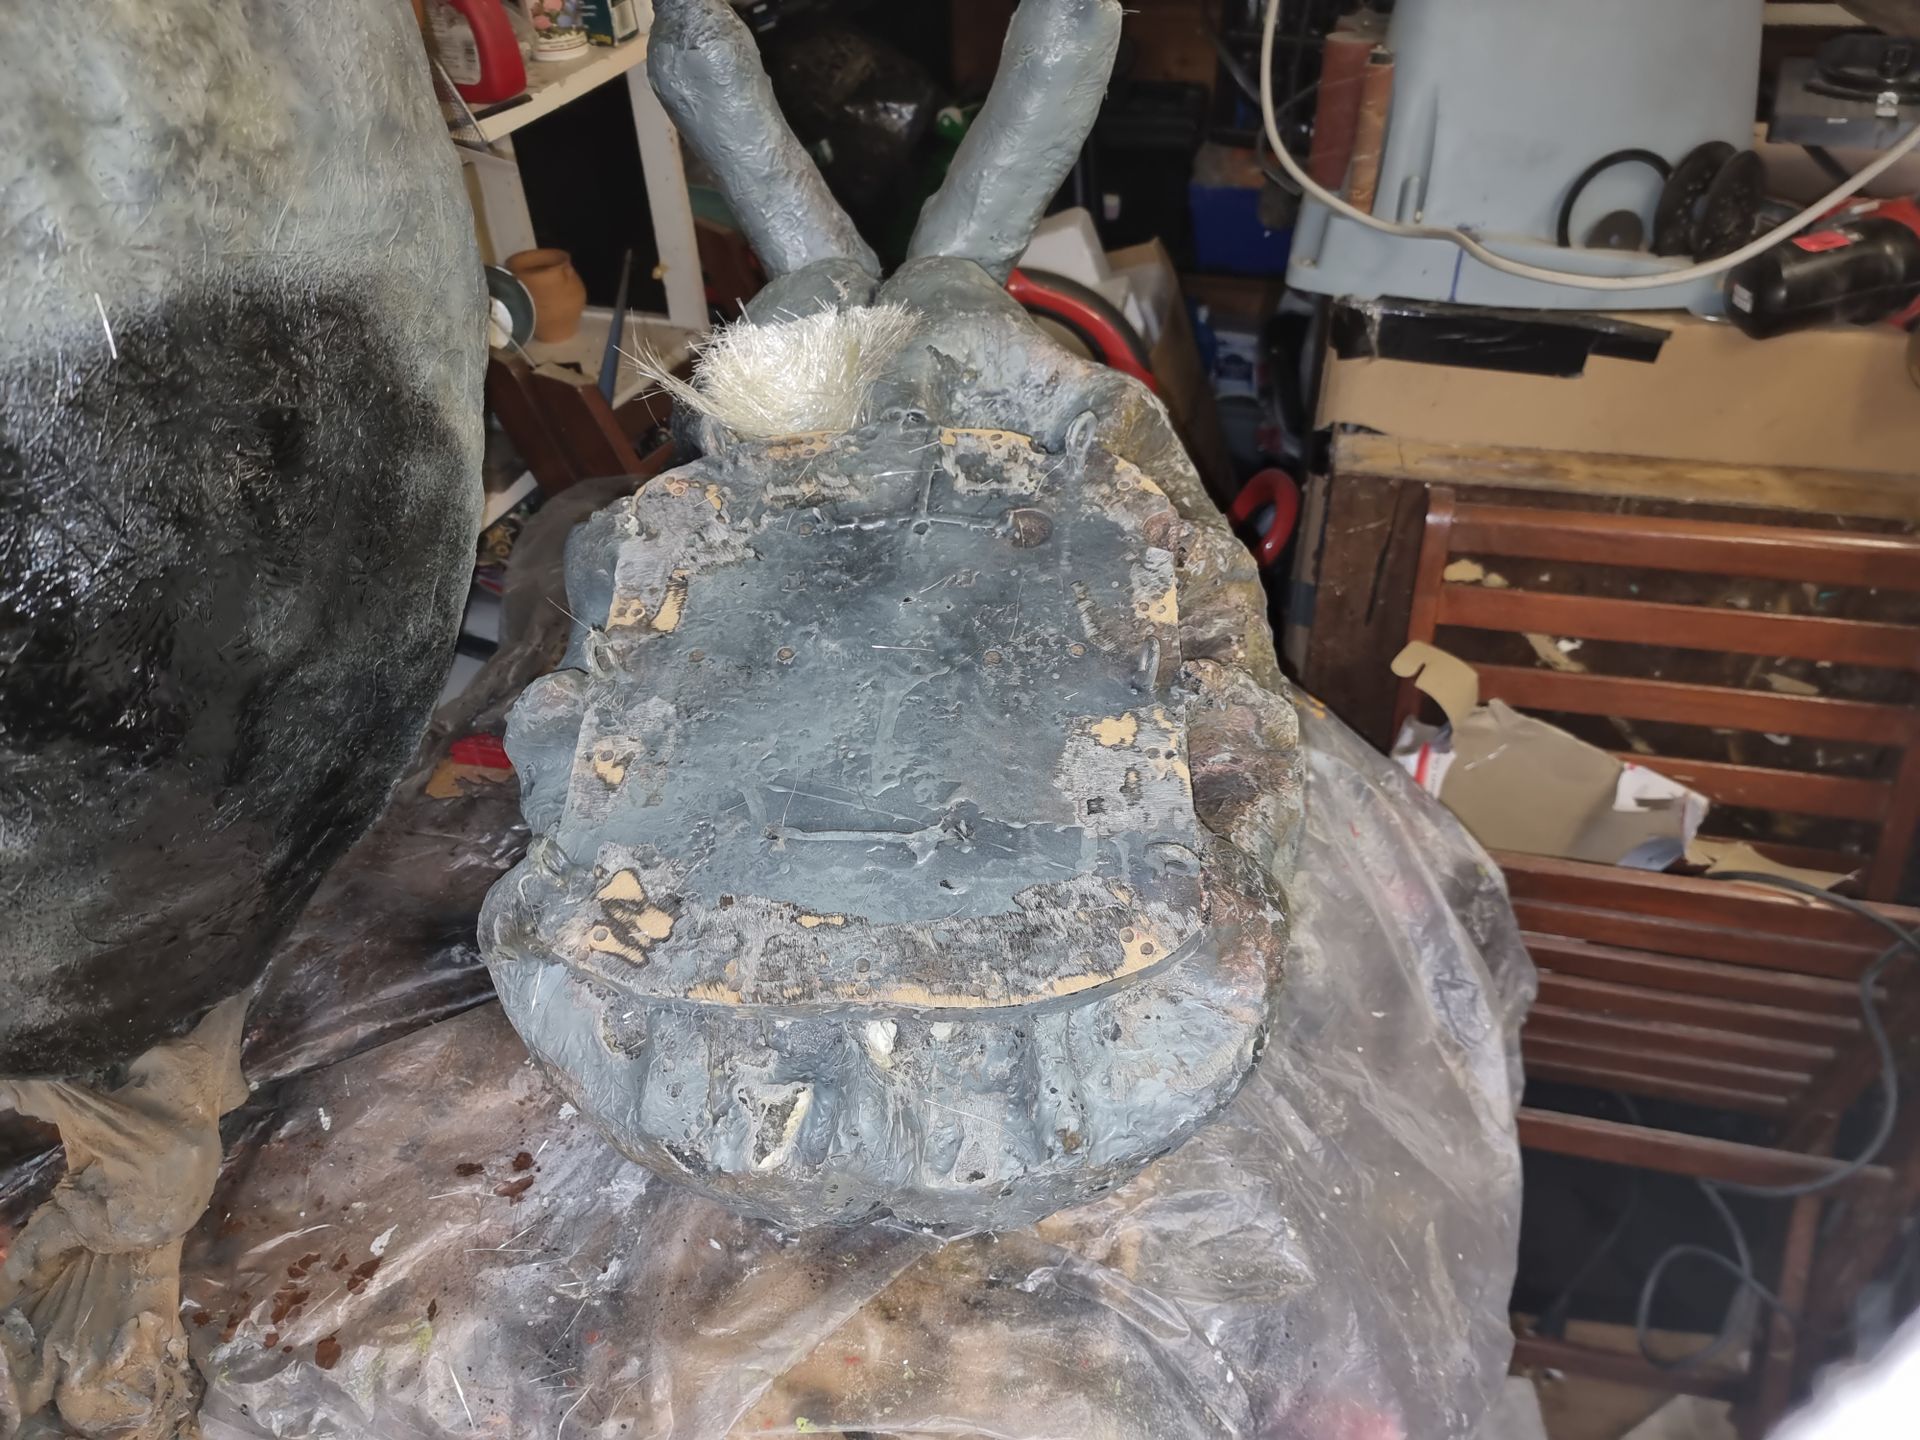
Firstly the 45 degree pipe connectors above proved to be useless in holding the legs, even when the head and body were just foam. They were breaking even when just trying to bolt connectors to the board. They were very thin plastic that was round. This cased problems due to the round plastic being flattened against the board casing them to crack or shatter.
The connectors needed large holes in the top just to fit the bolts through which then crushed the round plastic flat causing cracking and breaking, more so with the opts having big holes leaving very little plastic left.
Also they did not hold the legs as the pipes barely entered them, the holes drilled for the bolts weakened the connectors so they broke there too especially when tightened and no quick release.
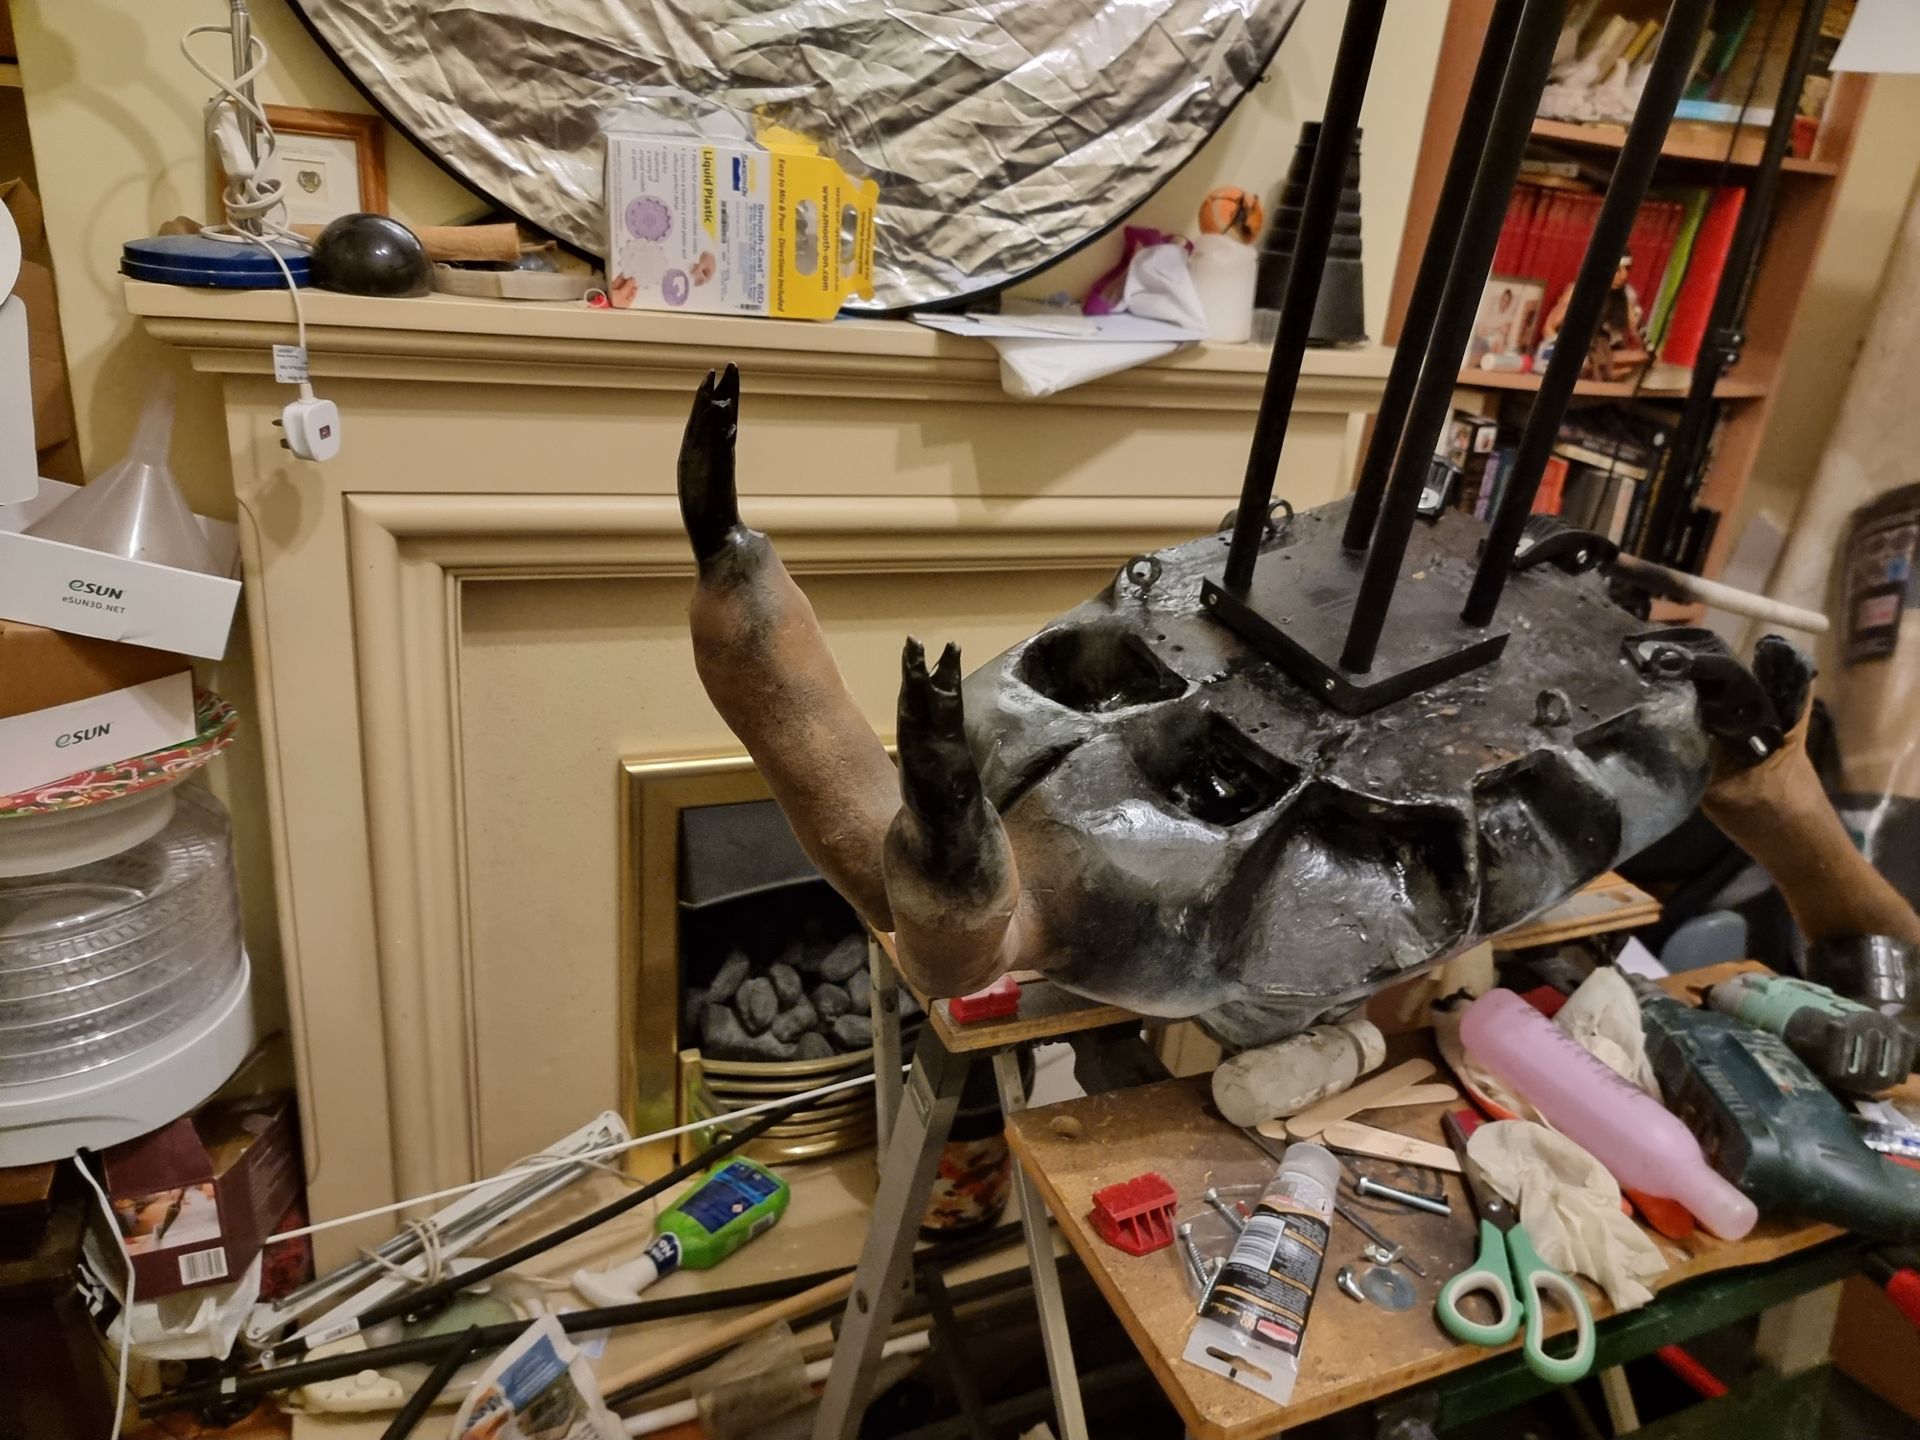
In order to solve these problems I developed the connection systems that can be seen to the left which required some substantial changed to the head to accommodate them.
The connector development is covered in more detail on the leg connector development tab.
These connector components I designed were developed over 10 increments and had 3 main variants.
- The legs pointed up.
- The forearms or pedipalps pointed down.
- The holders of the male connecting pipe plug to connect to the body female socket fairly level but with a slight upward angle.
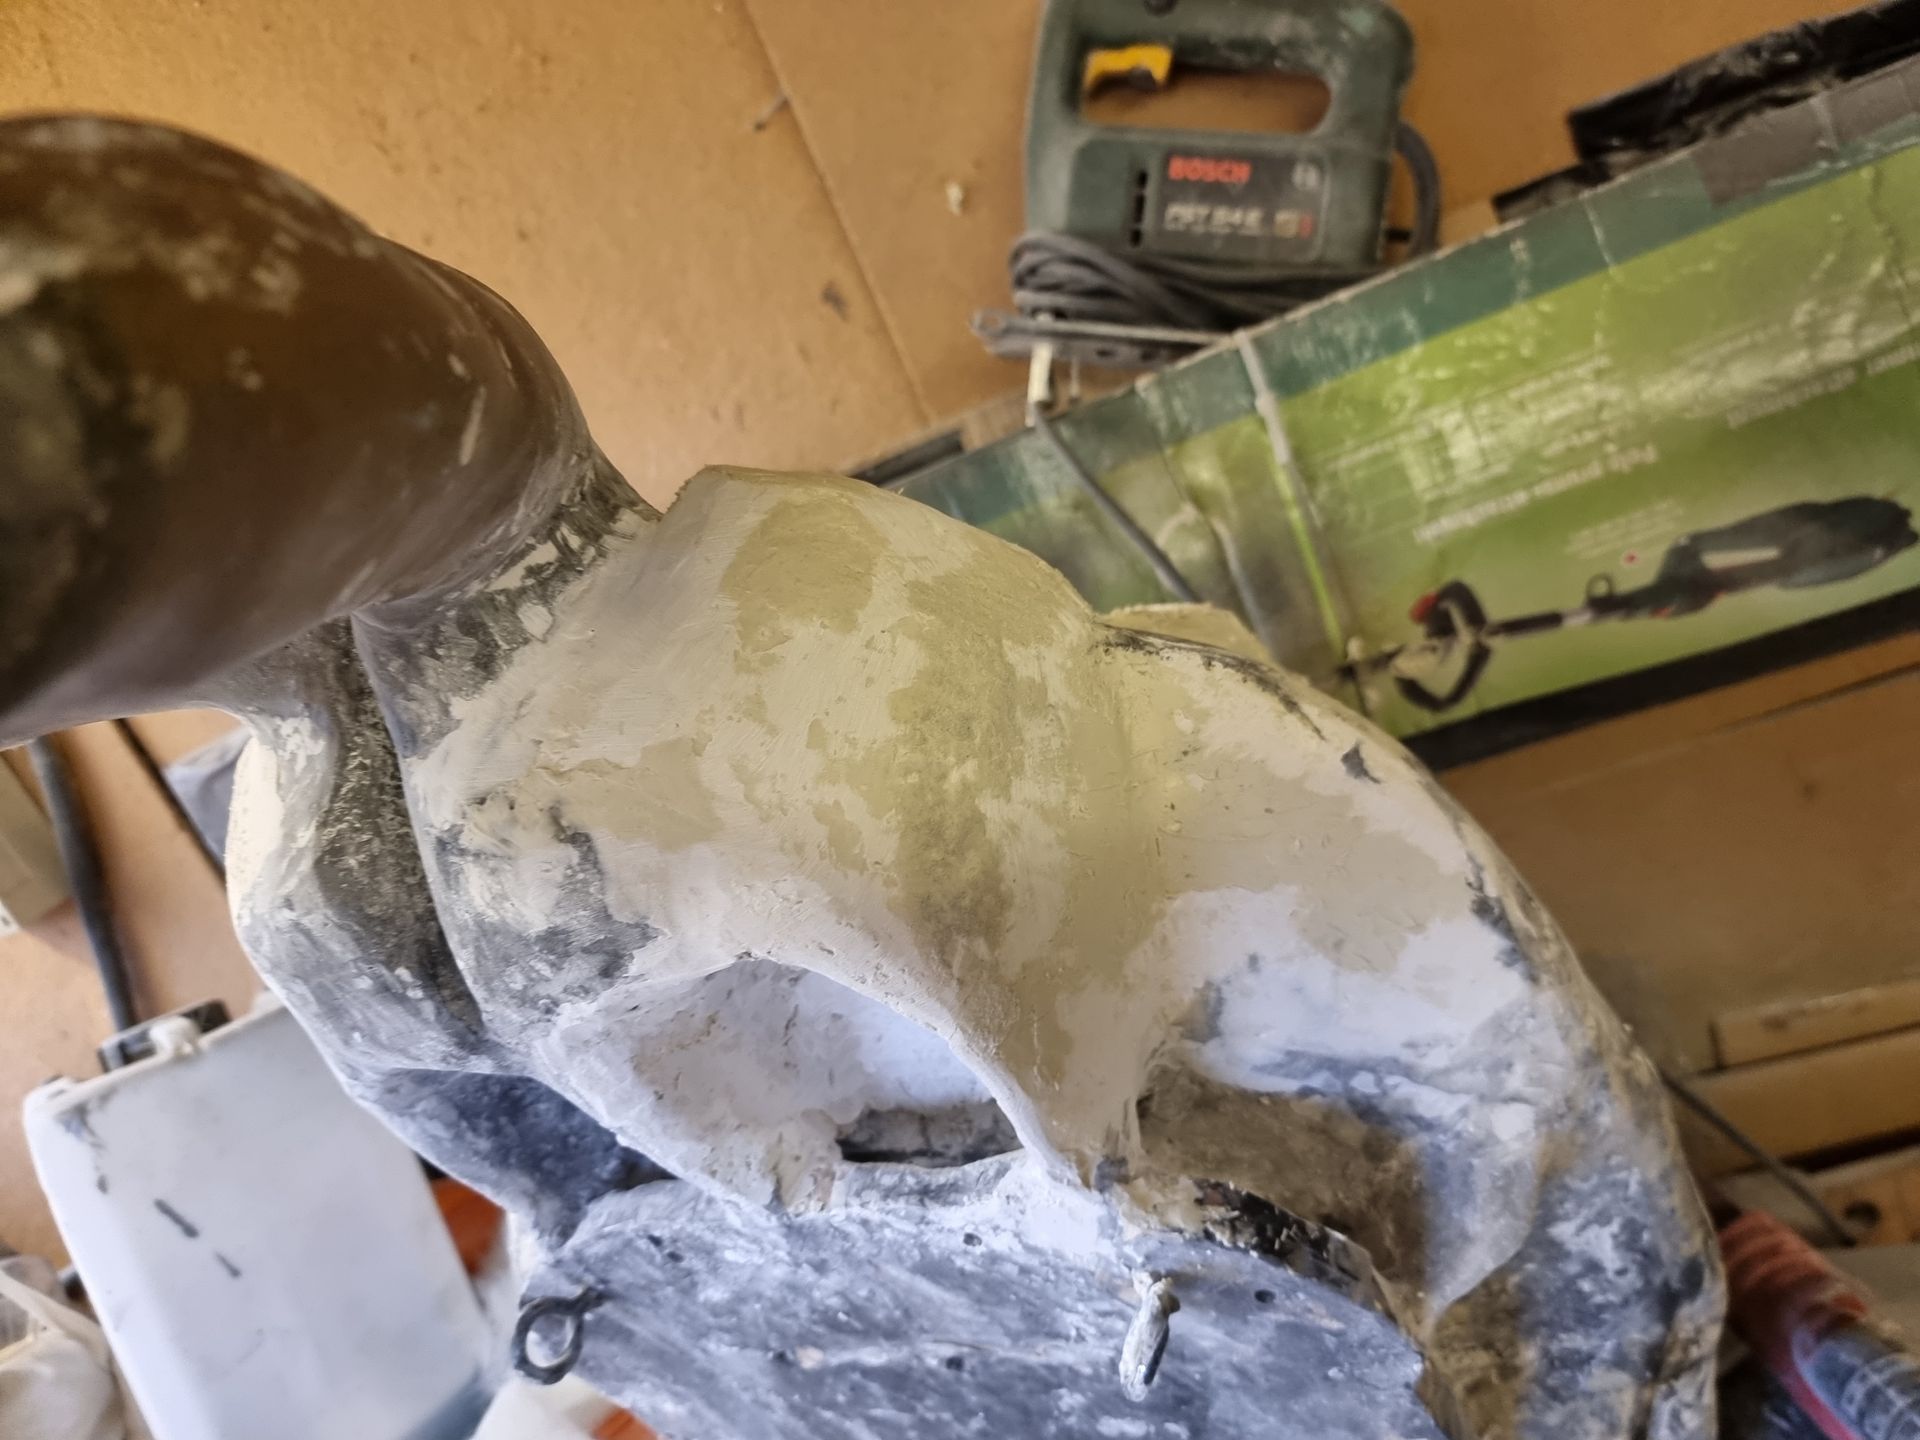
These all needed large cavities carved out large sections of foam head making leg sockets to make room foe the connectors as can be seen below.
This was continued several times in later stages of construction.
Fibre Glass Protection from the Elements and Impact Damage
At this point the body and head just consisted of foam of a dryish watermelon chewy flesh consistency. It could be pulled apart with finger nails, easy to rip out chunks, dents and likely to be severely damaged in storage, transport, installation and so on.
After spending over £500 last year and a couple of £100 this year I followed the suggestion to protect the body and head in a shell of fibreglass.
This started with filling in more holes and crevasses with the squirting expanding insulation foam in the gaps, these were then cut off and sanded repeatedly to minimise the unevenness or the surface.
Like the body, the whole surface was coated in resin and fibreglass matting to shell the unit. This was followed by primer and them some colour spray paint.
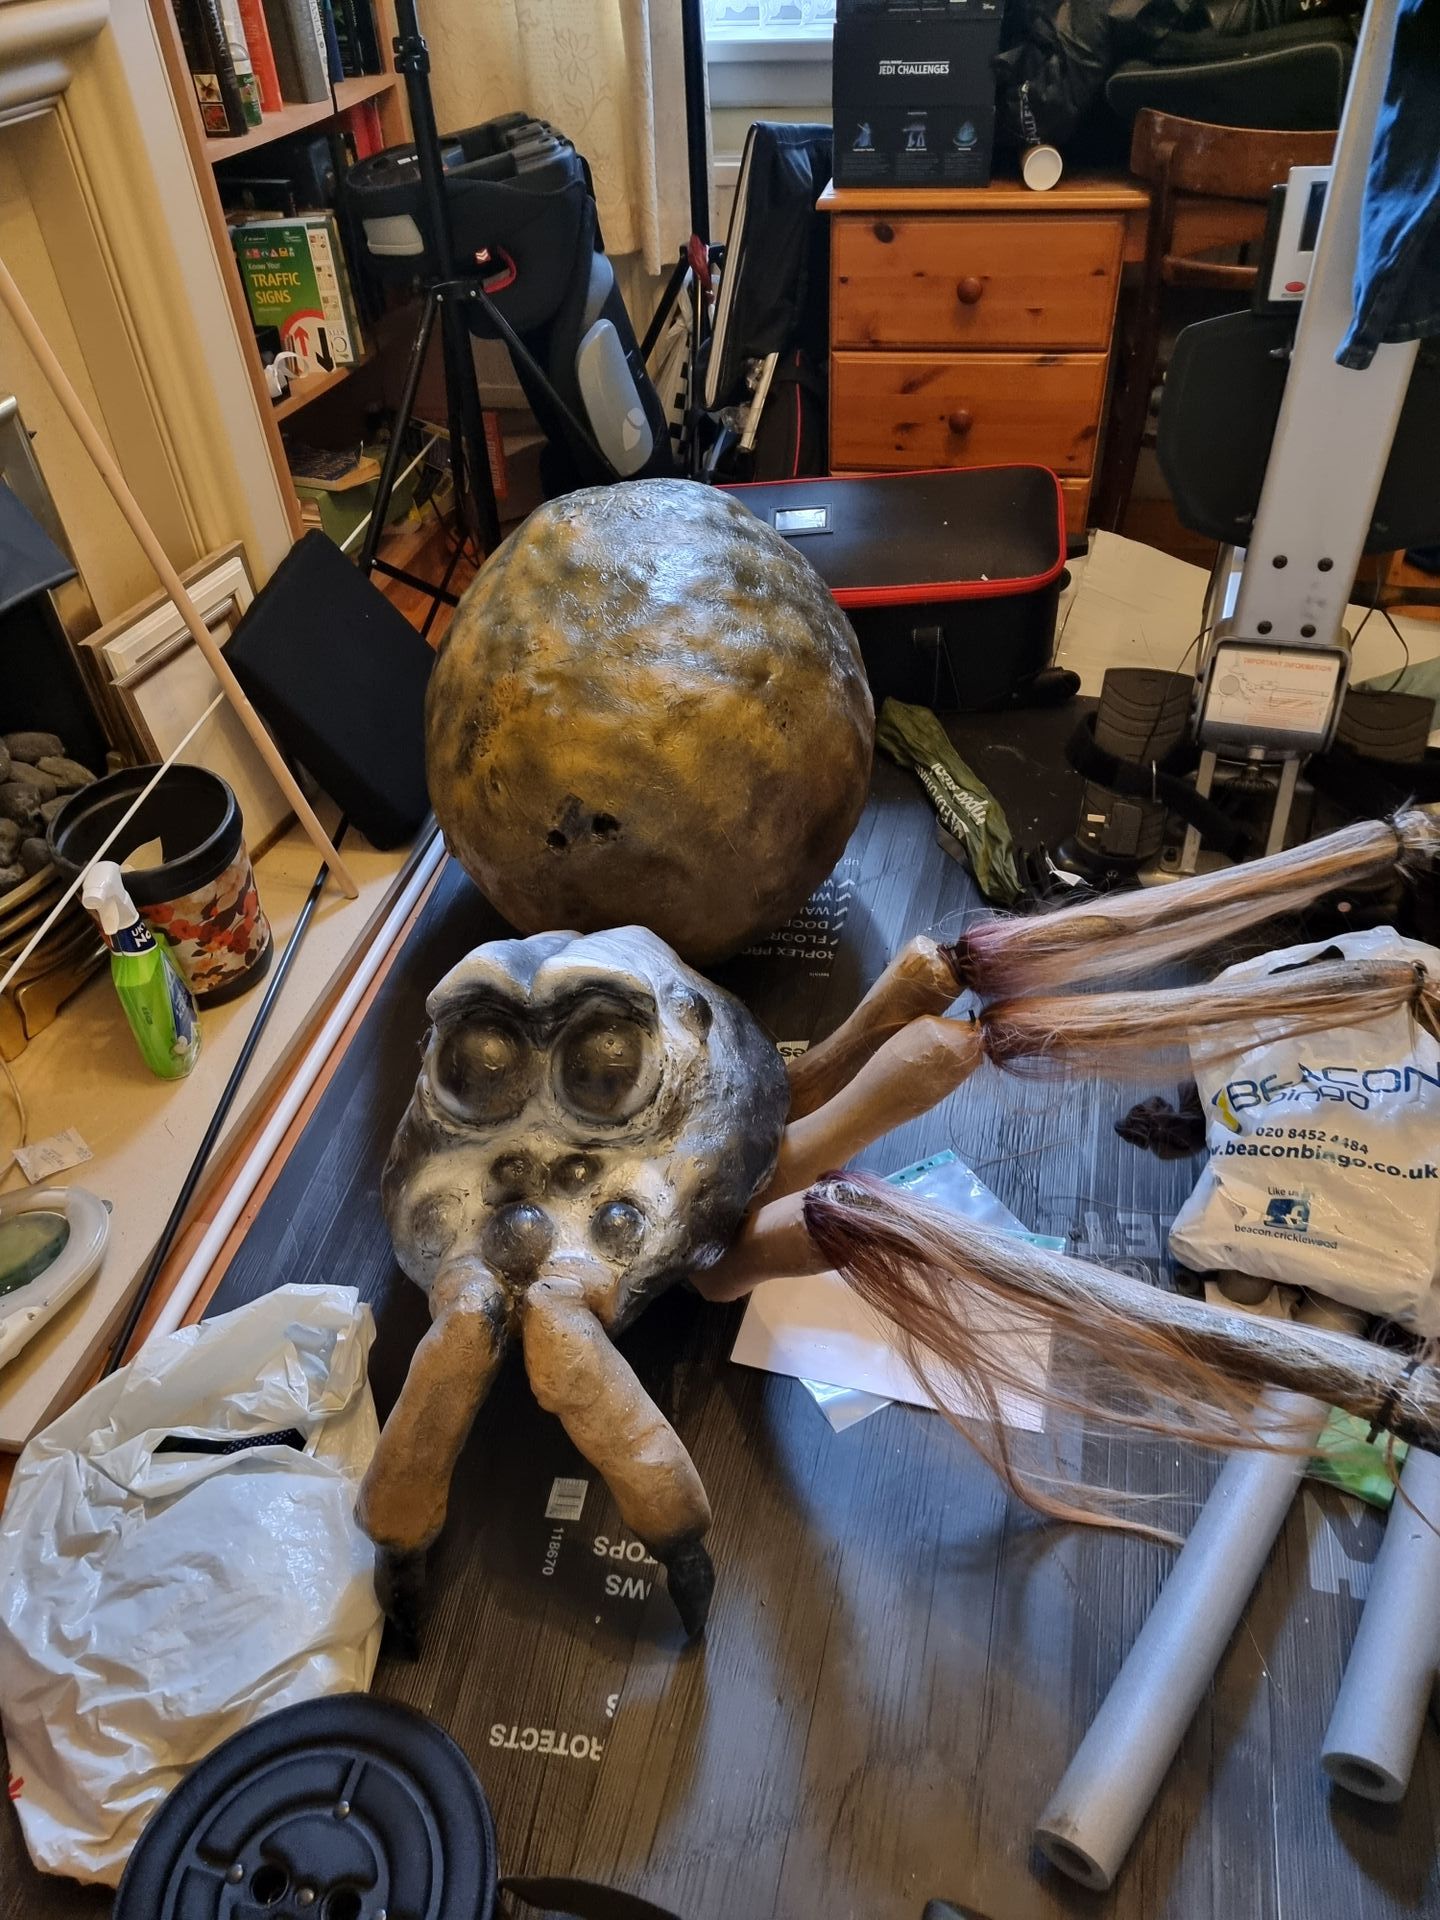
Various colours were tried but could not get a natural brown shade. A block and white and grey pattern seemed to work better. to run a comparison I tried the body in a mottled yellow brown and black pattern and the head more black and white and grey look.


Smoothing the Surface with Filler
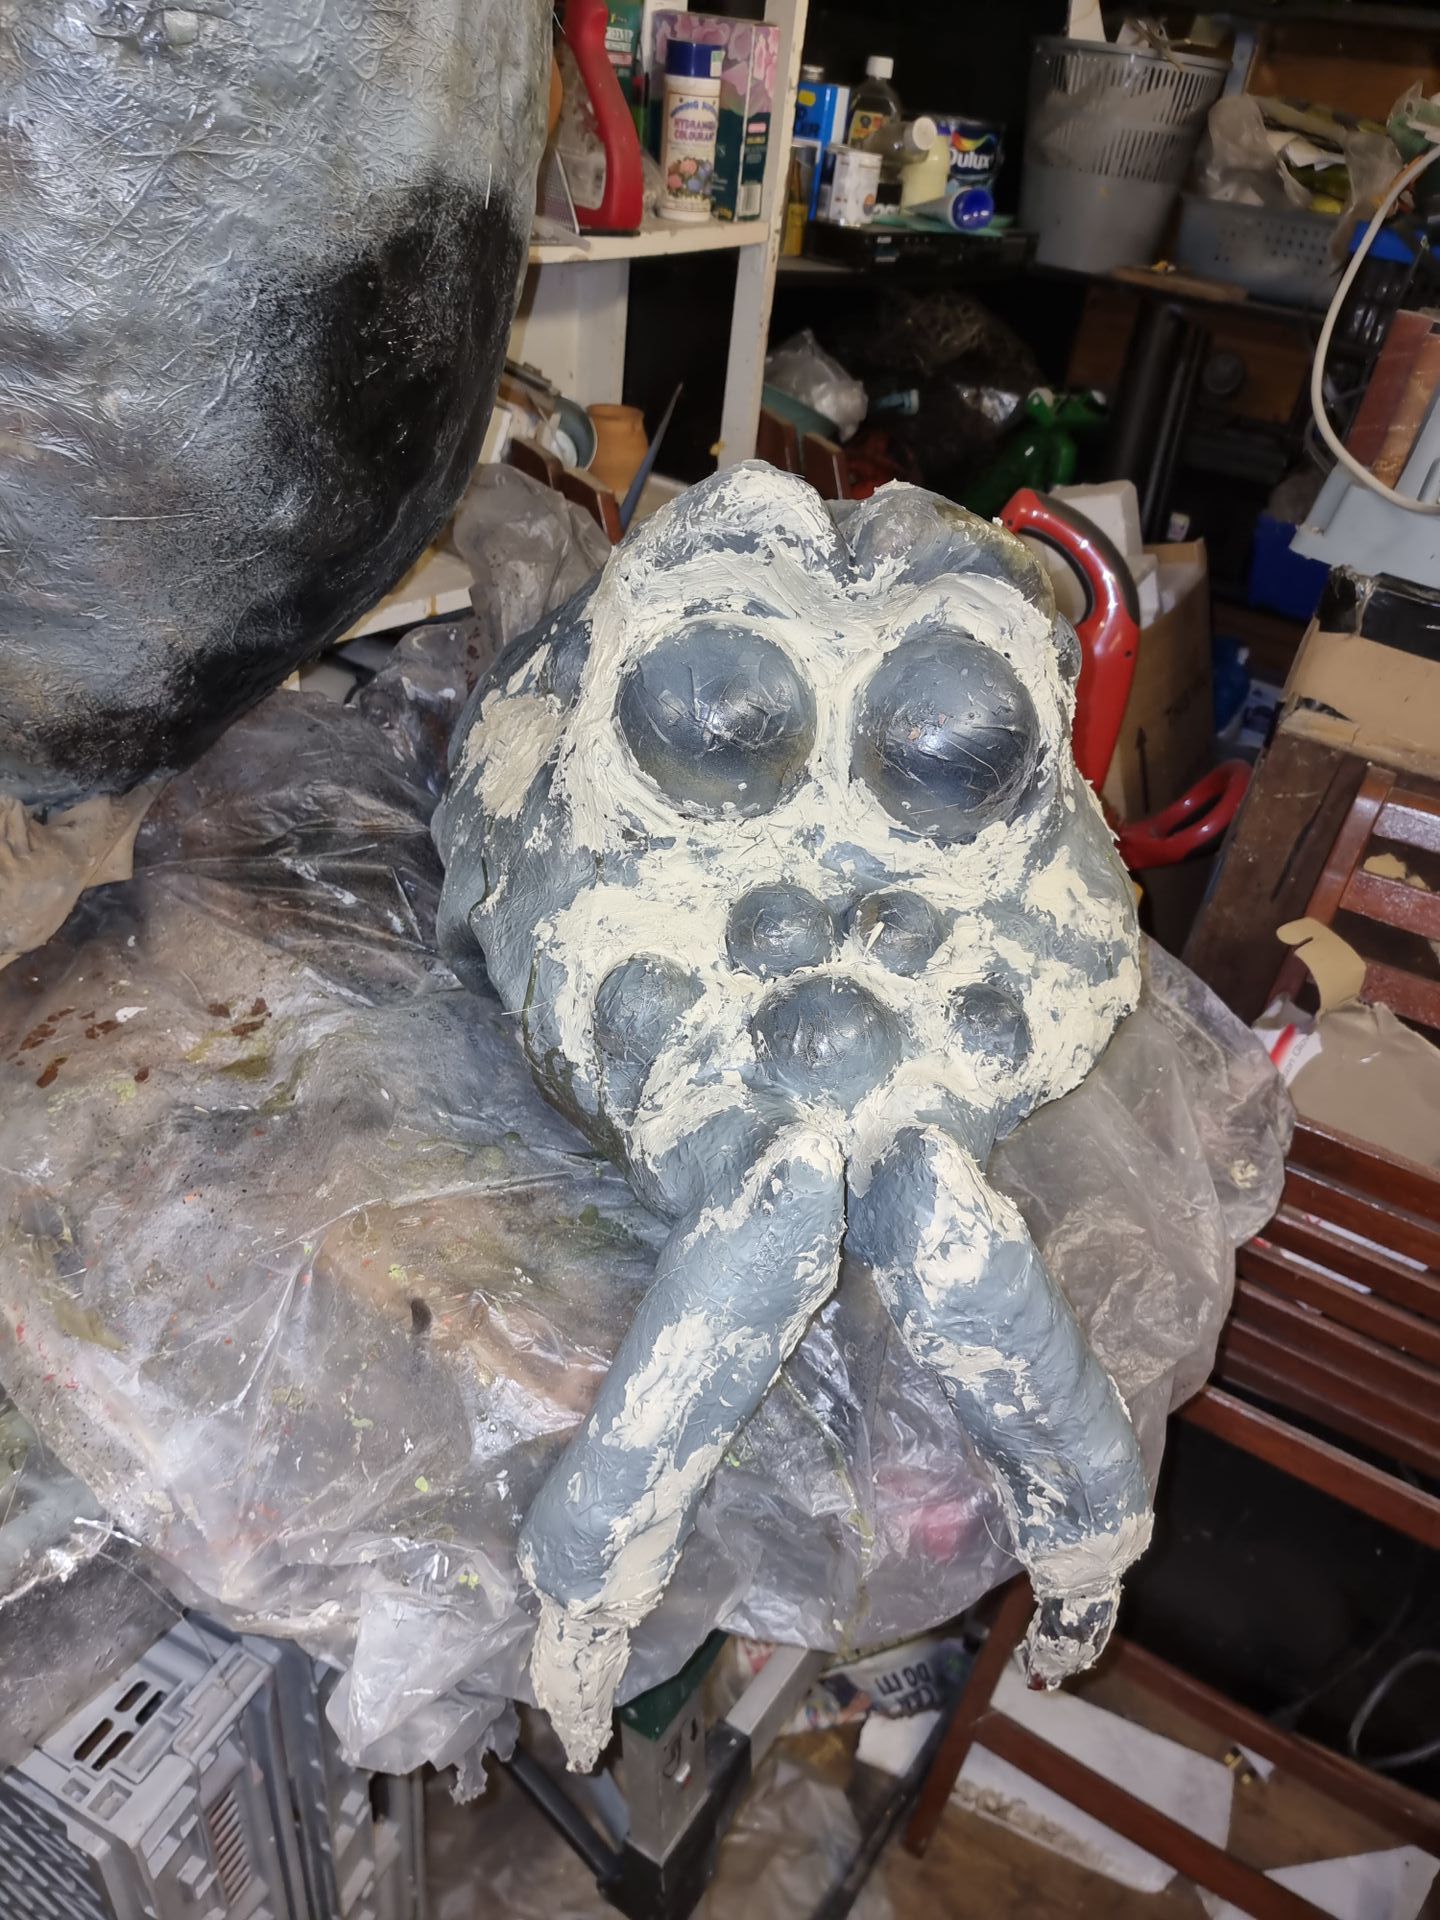
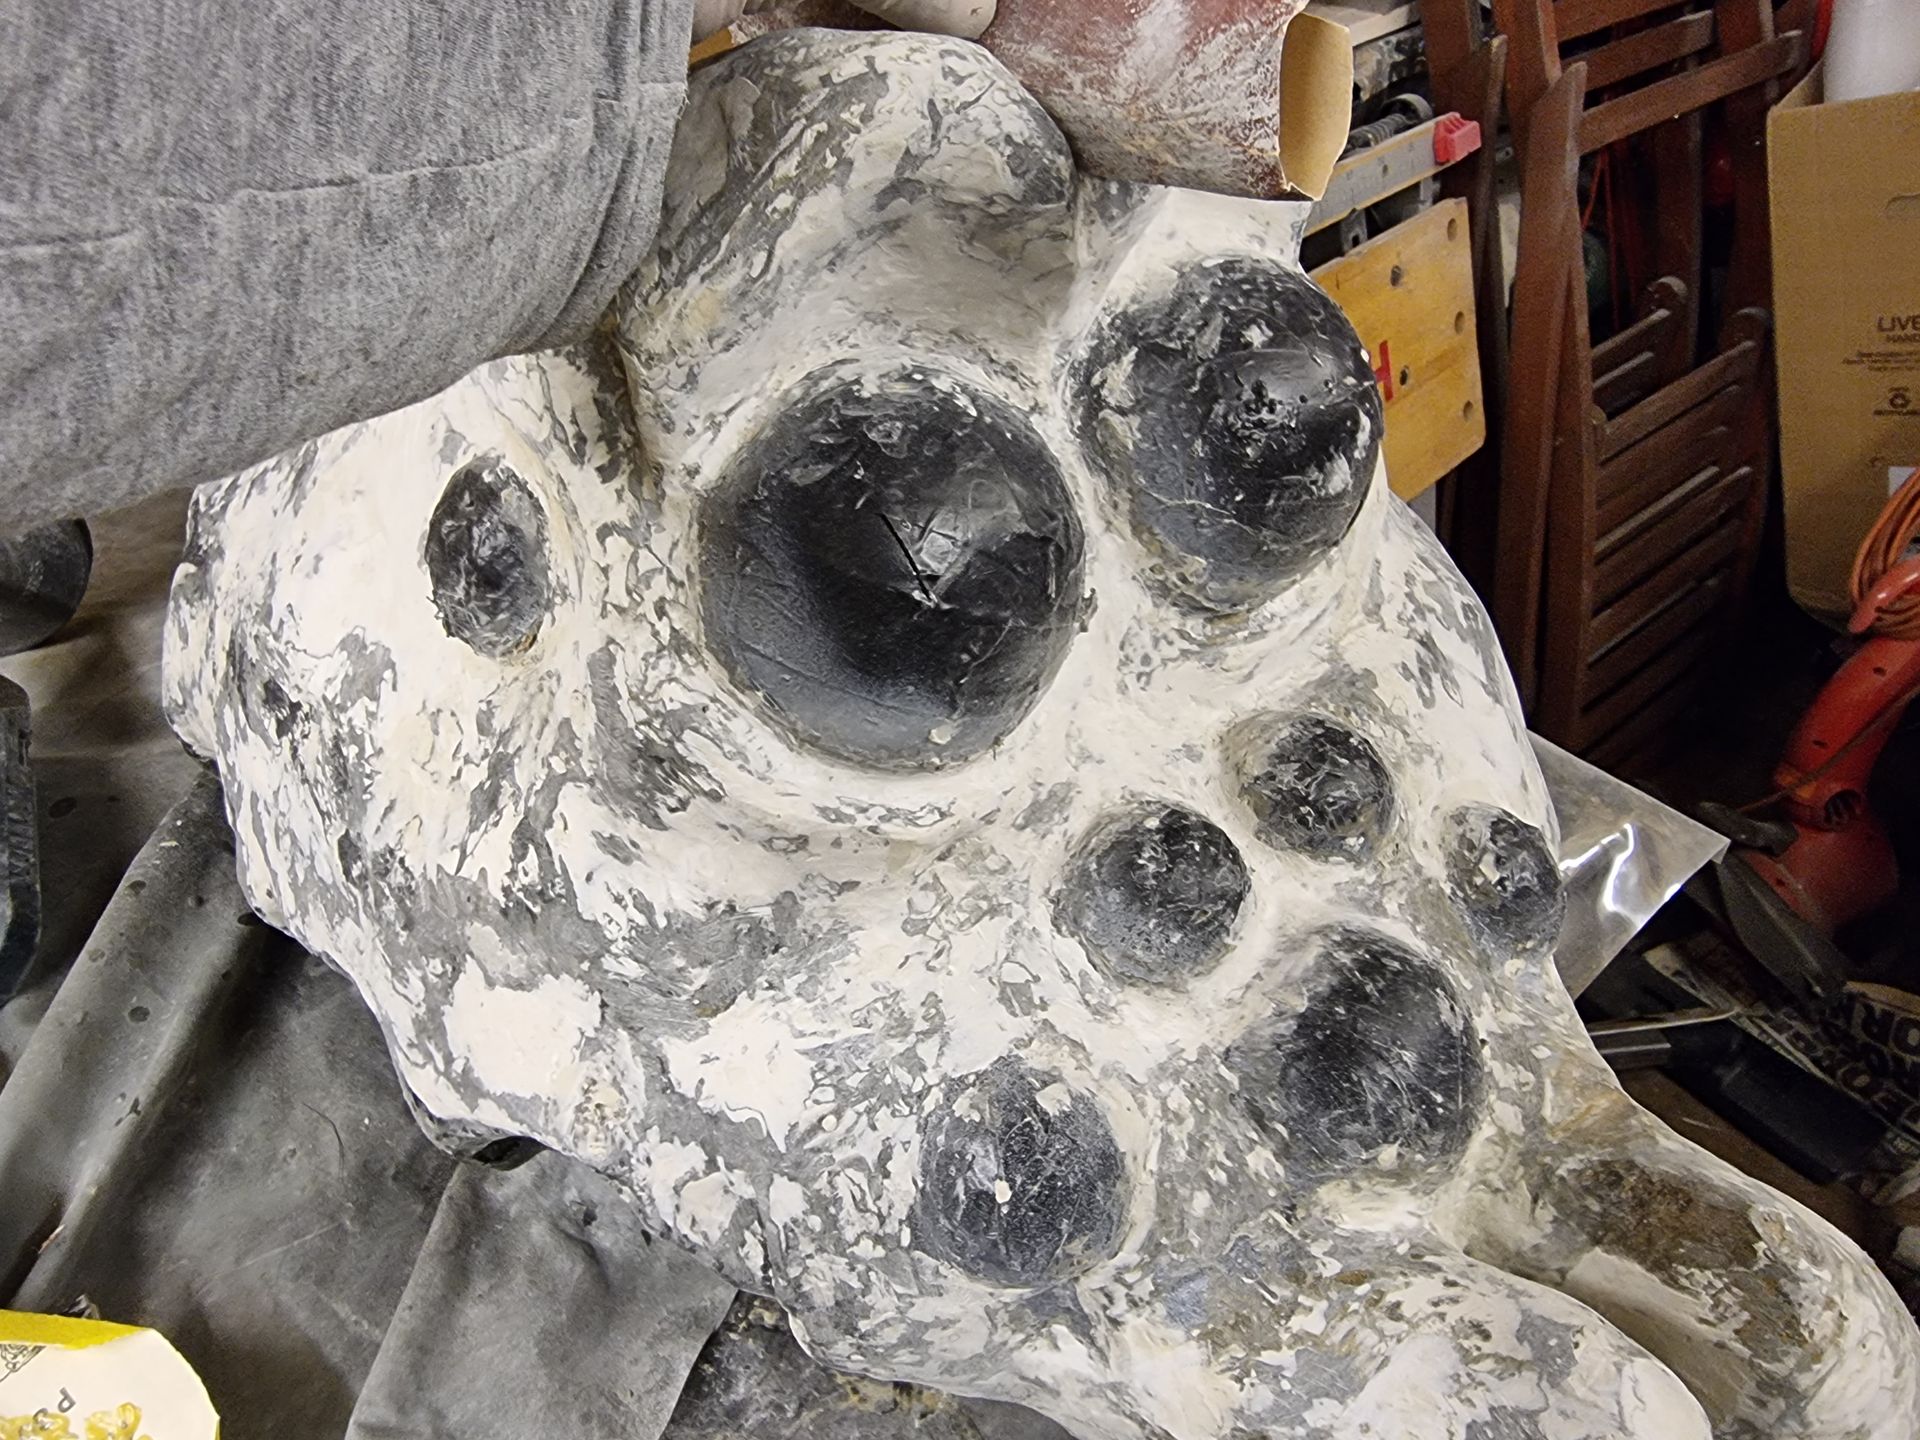
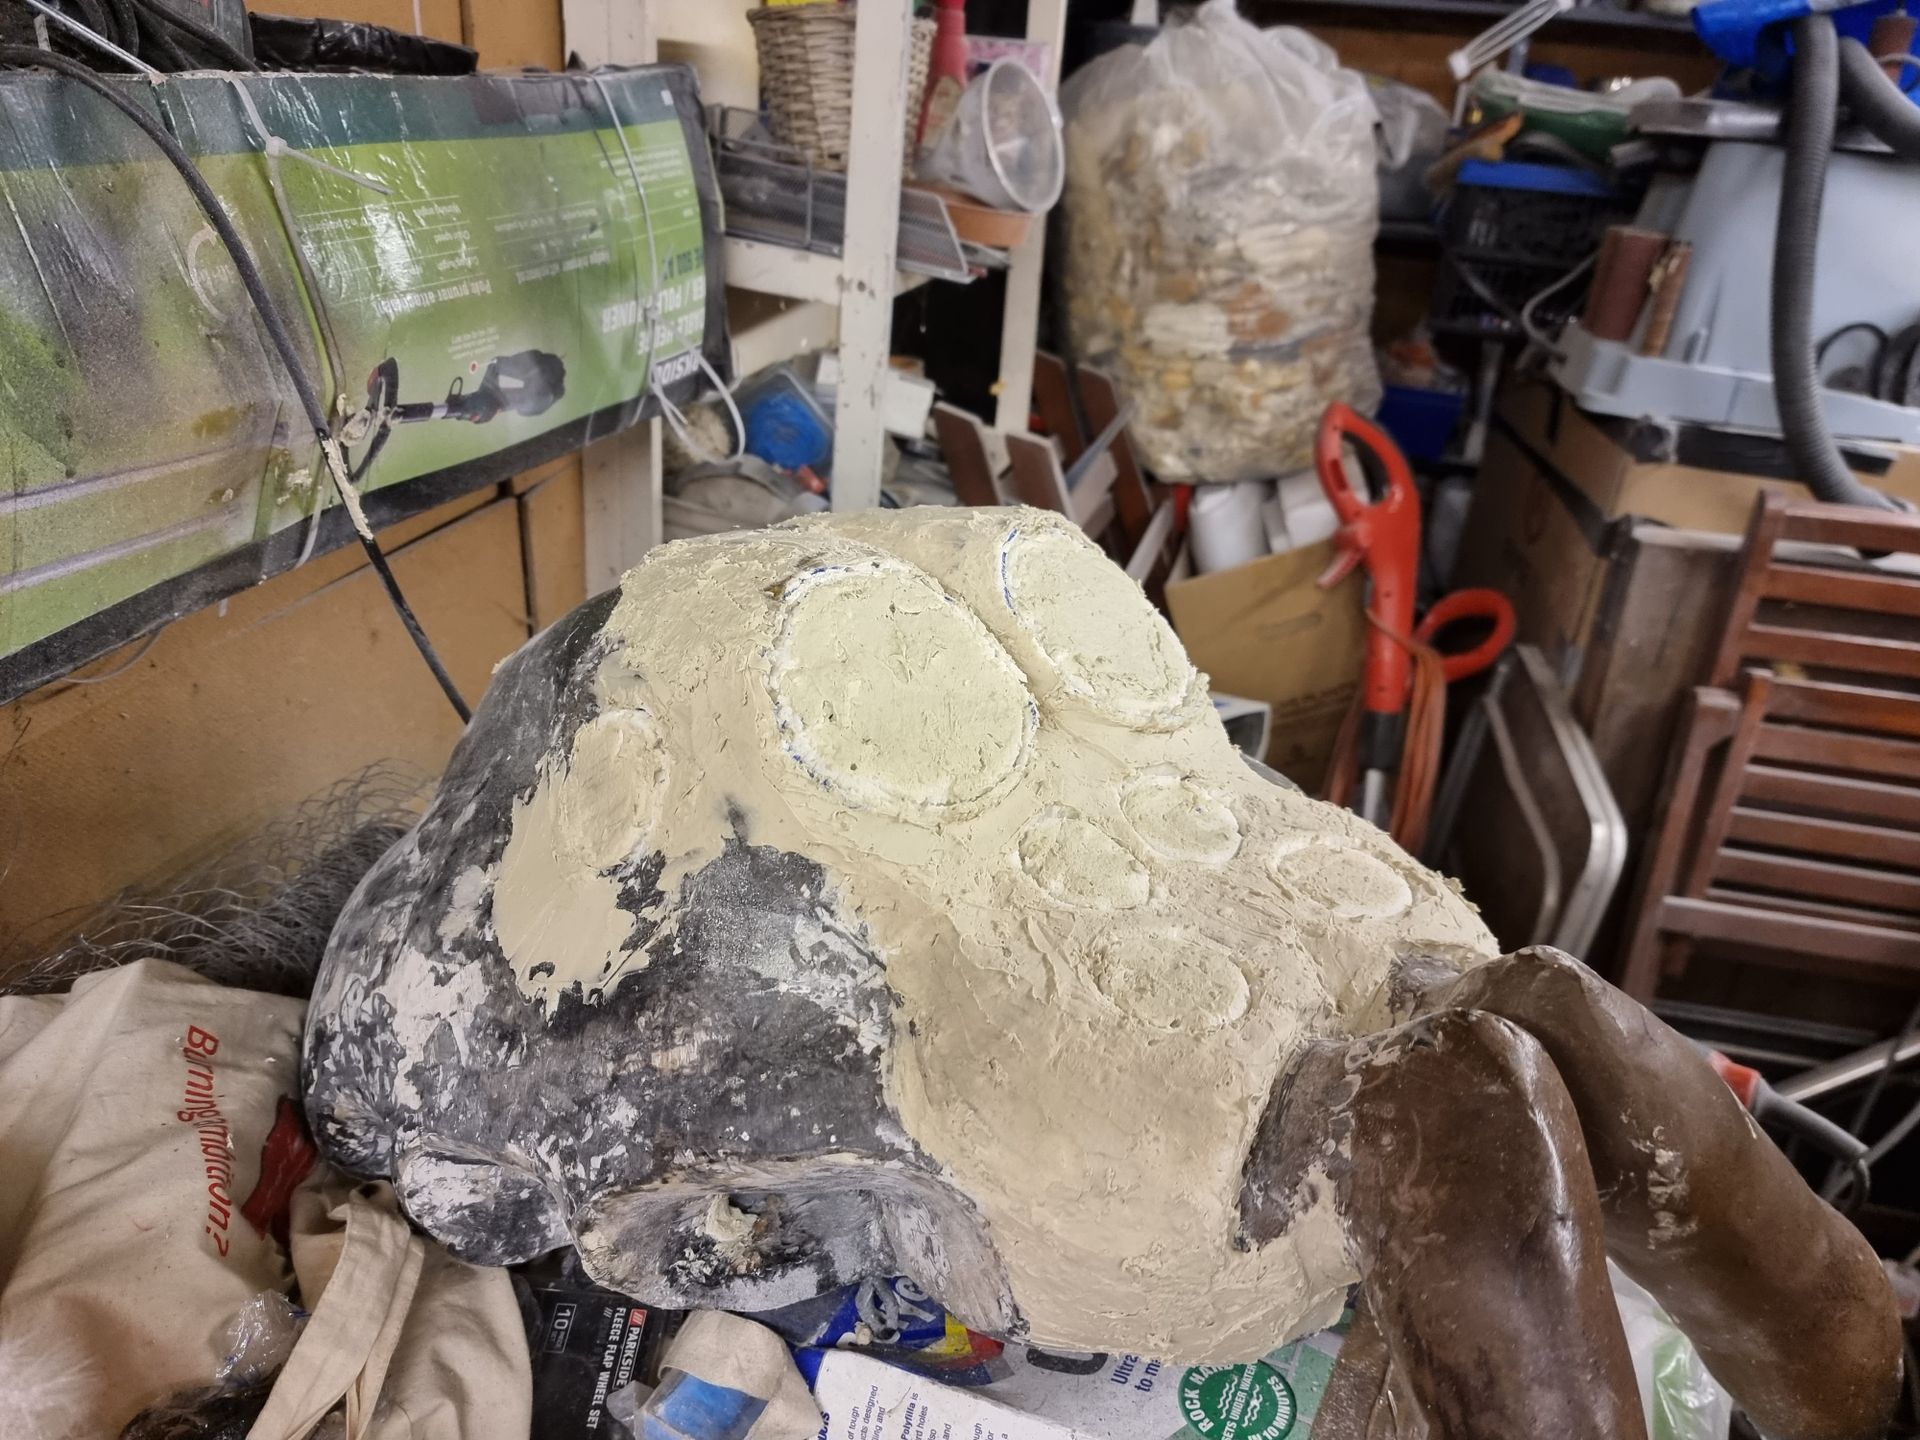
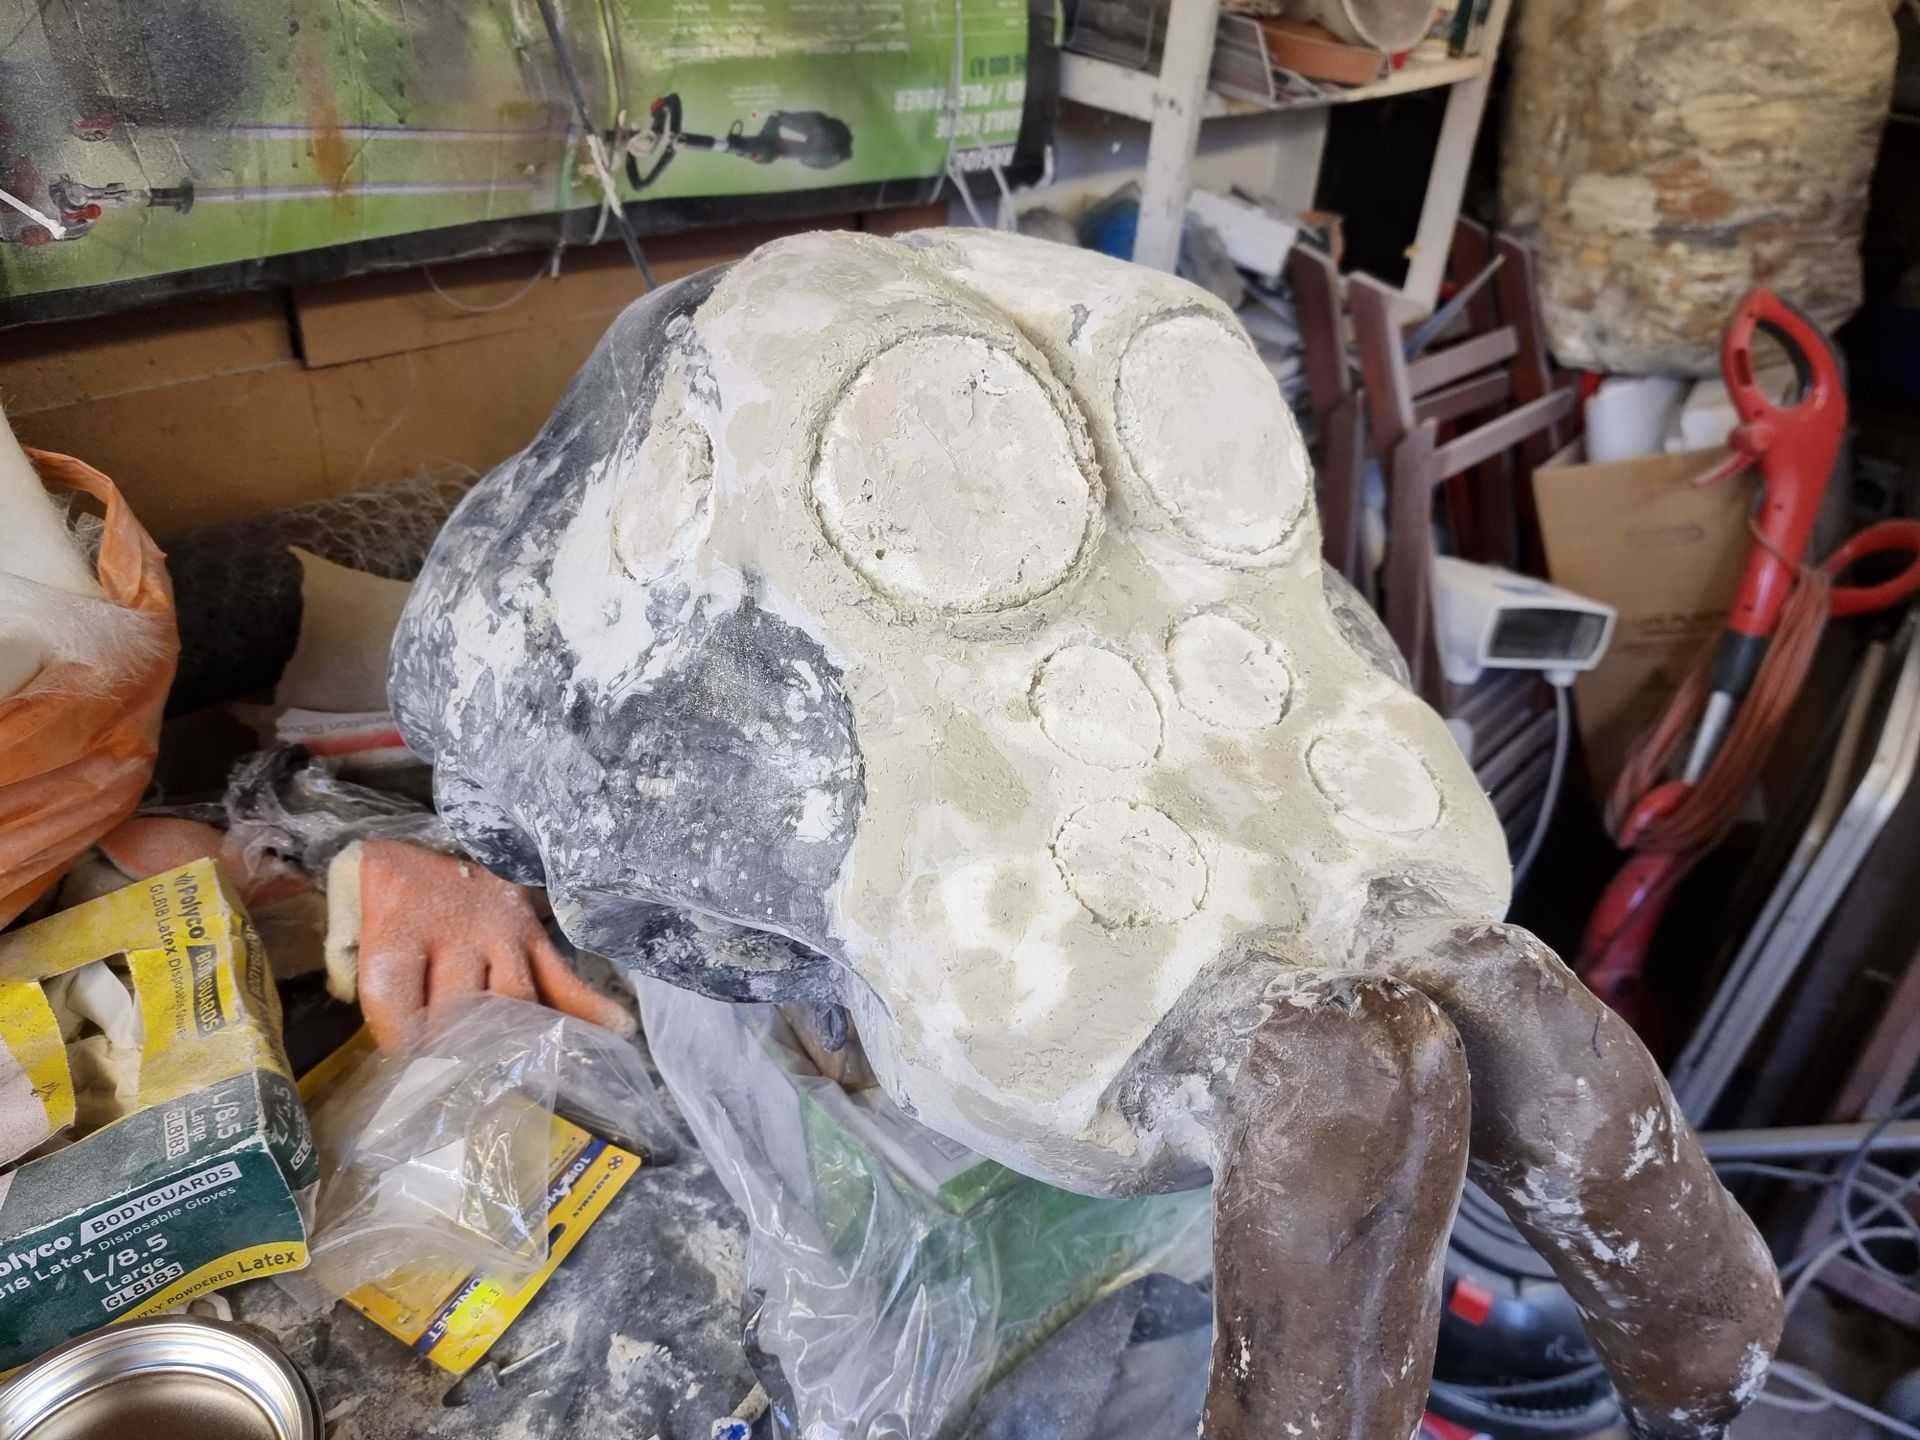
At this time with the uneven foam and rough fibreglass shell, the spider head was very rough, Sharp Jagged and uneven. so filler was added, roughly at first then finer, filling in holes, folds, crevasses. This also allowed for shaping such as with the eyebrows.
Firstly the major holes were filled with filler, then the filler was spread over all the surface smoothing the indents caused by the fiberglass strands.
The shape of the eyebrows were also added to with the filler to enhance the intimidation look.
Smoothing and Sanding
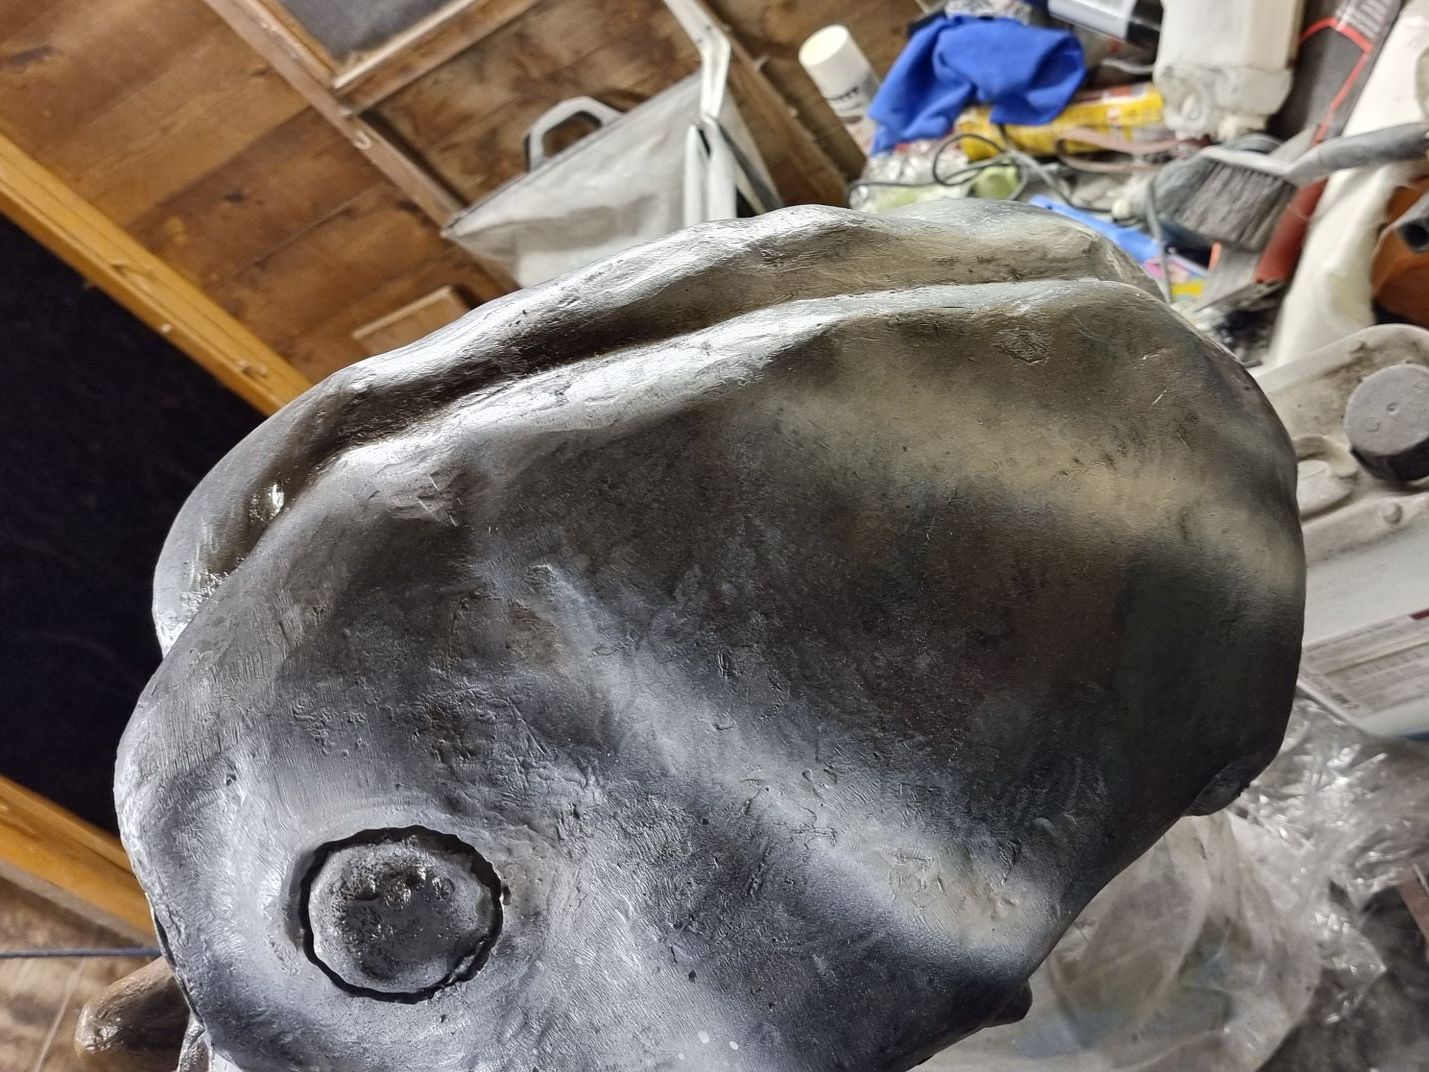
Smoothing off the filler was done with a variety of tools, starting with drill sanding disks and the super versatile power file, before moving onto a Dremel multi tool with various bits and then hand sandpapering smooth.
This was done in cycles of adding more filler in holes and gaps revealed with sanding, then sanding them smoother than before.
Smoothing and Sanding
Smoothing off the filler was done with a variety of tools, starting with drill sanding disks and the super versatile power file, before moving onto a
Dremel multi tool with various shaped bits and then hand sandpapering smooth.
This was done in cycles of adding more filler in holes and crevasses that were revealed after sanding smoother as well as layers of primer paint which revealed more imperfections.
Colour Schemes
Various colour schemes were tried, Initially trying to mimic the original Paul Jones video. I also had trouble finding the right brown shade and at at least £10 a can its was too expensive to try a more than a couple of various colours.
A mottled brown and black pattern seemed most organic. However the black grey and white mottled look seemed more intimidating than the brown and yellow. Frankly when sanding with filler patches the mottled rough look had a more realistic appearance then just a solid colour.

Further Filling and Sanding
It was still deemed to be too rough when I tried to assemble the spider. More touching up was needed. Several cavities for the legs were too small; and tight, so the filler and sanding cycles were restarted to smooth the surface more.
Patching Up
During the repeated sanding and filler and various tweaks to the shape, especially the leg cavities the fibreglass was weakened or penetrated.
Glass fibre patches, this time with thinner and smoother fibreglass tissue material were used to restrengthen the soft weak points. The tissue was also more use on fine points. Again more filler sanding and primer spray cycles were needed. This costs a lot in filler and primer paint.
Replacement Eyes
The spider was repainted and re-varnished with yacht varnish then the masking tape removed from the eyes only this proved problematic.
Yet another problem surfaced, whilst precautions had been planned to protect the eyes under masking tape the resin solidified the tape.
Some resin got through and did damage from the sanding tools which nicked the eyes as well as a fair amount of damage incurred trying to remove the masking tape.
Also between the eye spheres and the both the trapped tape which was brightly coloured was difficult to extract and looked awful. By the time this is was extracted there were unsightly rings around the eyes and cut and scratch marks from there the knife slipped trying to cut of the masking tape shell which had hardened.
So the decision was made to replace the eye spheres.
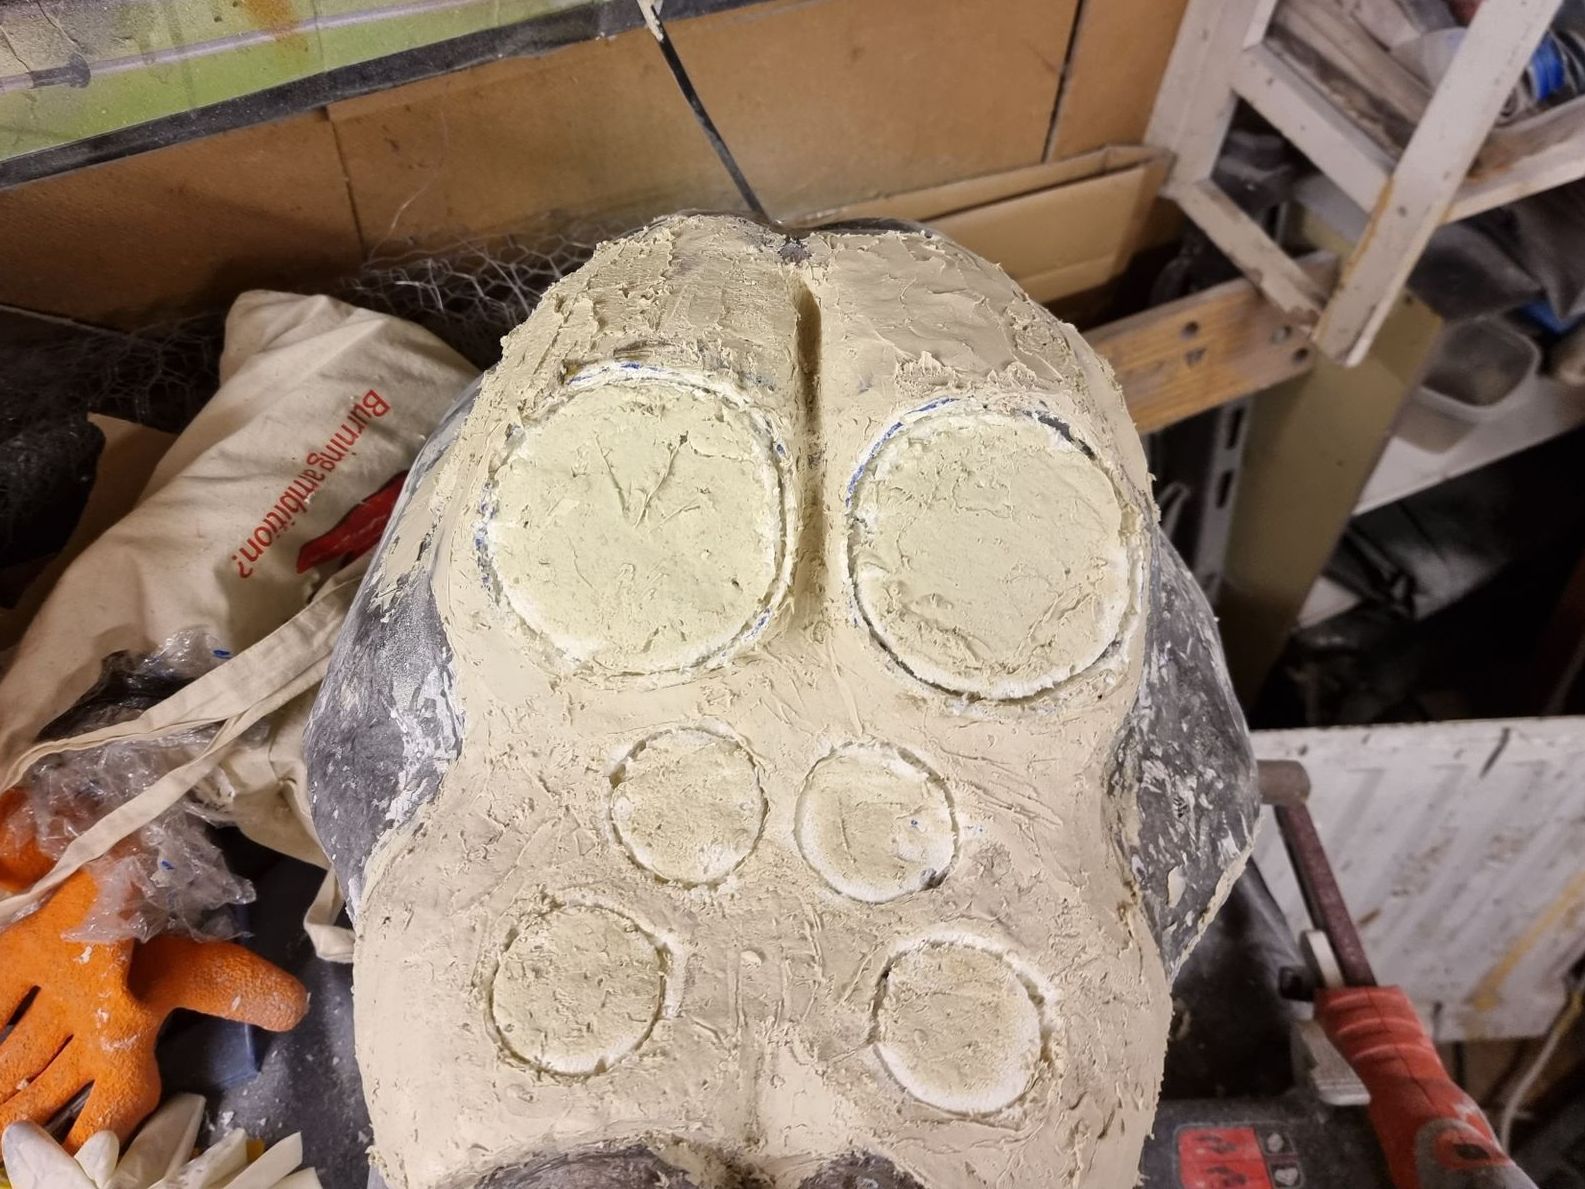
This also gave the opportunity to alter the position of the eyes to space them out as it had been very difficult to sand between them as too close which left poor rough surfaces ruining the effect. They had also not been ideally balanced so removing them gave an opportunity for repositioning.
There was no easy way to remove the eye spheres as had been solidly glued into the foam on to of being more and more locked into place with the layers of filler and fiberglass.
As they could not be pried out, I had to fit a milling tool on the multitool and cut around. them to dig them out. Then as the eyes were to be thrown out anyway switched to breaking the spheres in the centre with a hammer then using the milling tools again as well as a milling bit on a drill and pliers to extract the fragments. Once the eye fragments were extracted with severe facial damage, the face was rebuilt with more expanding foam. First the circular trench and gaps where spheres had been held was filled with expanding insulation foam, then I built up a new face that was far more even, with well spaced out even eyes with good gaps. Also saw that the eyes were more protruding like real sider eyes. This was also shaped to make it appear like the jaws were coming out of cavities in the face as opposed to solid horns coming from the base. of the face.
Again the foam was worked with a variety of tools from the serrated cardboard cutter knife, power file, Dremel like multitool and then scalpel with various blades.
Leg Cavity Alteration, Expansion and Facial Balancing
What was spotted when trying to replace the eyes and fix the face was that it was very uneven, so there was no ideal spot to place the outer eyes. To achieve this the side corners of the face needed to be bulked out and evened up.
There were also problems in attaching the leg connectors. Part of this was due to the thickening of the base board with the resin and fibreglass. The walls between the cavities and inside had also been enlarged with all the filler and fibreglass and paint.
In many cases the connectors would not connect as the board was too fat or had obstructions, or the body and the walls were getting in the way which also blocked swivelling the connectors.
First the left side was substantially rebuilt up with insulation foam, then adding in the usual filler in any gaps and to harden the foam to help sanding to shape with the power files and hand sanding to give good shape and surface for the fibre glass shelling.
The left forward leg and arm or pedipalp (Spider Port) cavities were completely rebuilt and shifted over to balance them out so each side was even. There was major carving out of material including removing and replacing the walls for the front Port (Left side looking forward only).
The walls were rebuilt from foam, filler, sanding shape and smoothing down and them fibre glassed over to solidify and strengthen then filled in with filler and sanded smooth.
This was followed by patching up with fibreglass tissues and again filler and sanding .
Loosing the Eyebrows
Looking at more photos of real spiders I noticed that most done have eyebrows which in effect would cause loss of all round vision. So the decision was made to cut off the eyebrows and round off the head. The power files also act as a cutting tool but it does got through several belts.
Again yet more insulation expanding foam was used to fill in gaps, then sanding to shape, filler and sanded smooth. The face was built up to add surrounding around the jaws to give more of an appearance that they come out of the face.
Once all smooth the face was fibre glassed with the thinner tissue and resin. When wet the eye spheres with pushed into the eye cavities to create sockets. Once dry this meant the eye half spheres are were removable and easily replaceable without damage to the face as vunerable to damage.
This was then repainted.
Assembly and Stands
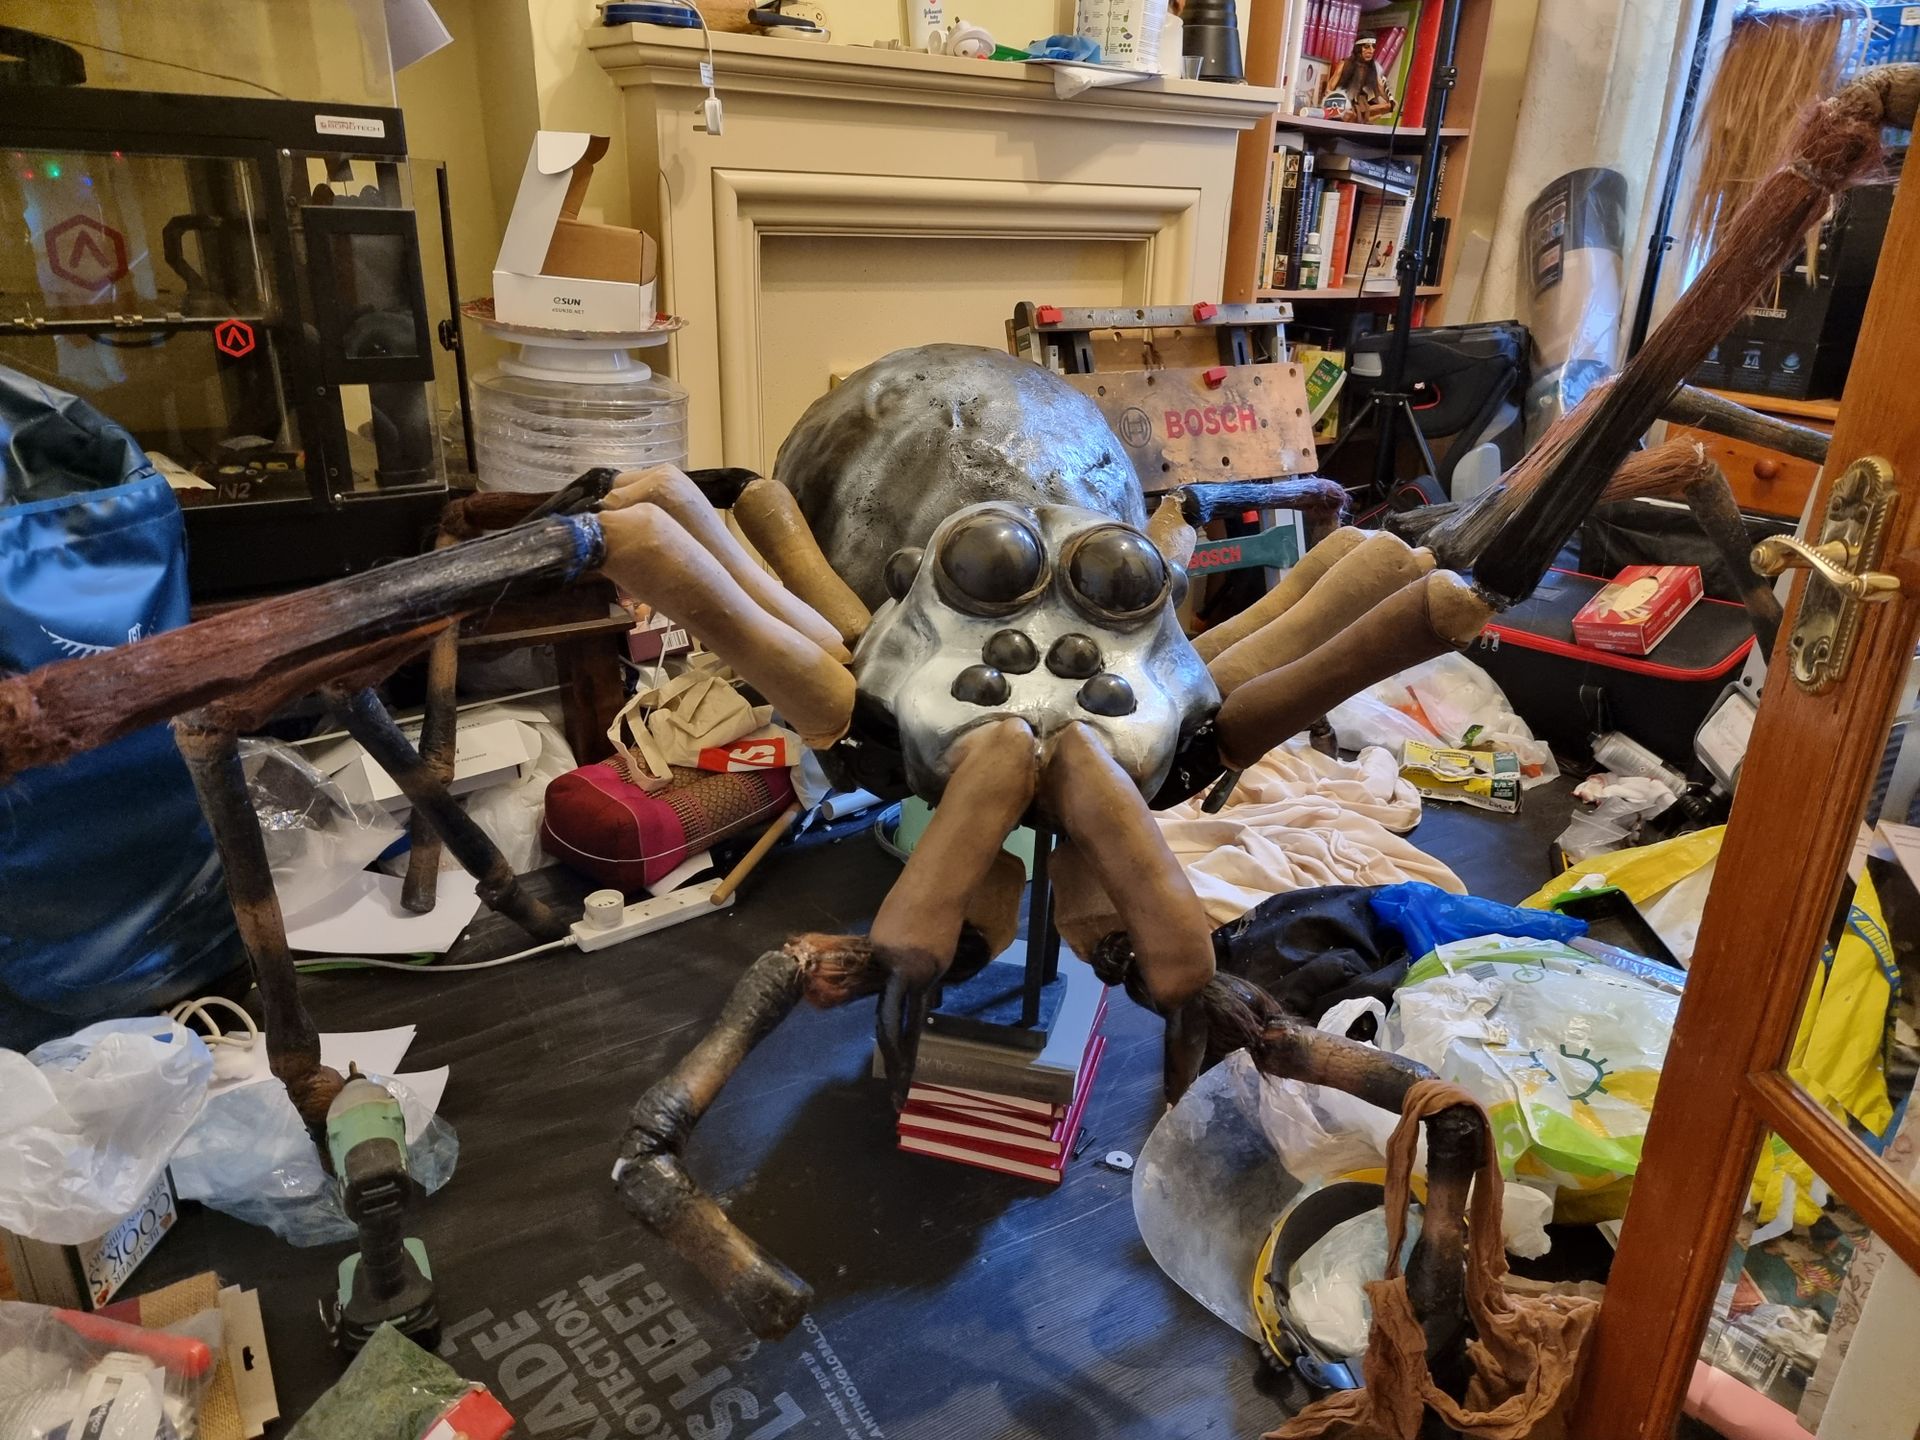
A stand was built to support the head whilst the back body was supported by a bucket. The head male pipe slid into the female body and legs bolted on with the connectors and an electric screwdriver.
The stand is needed as with all the added weight, the leg joints cannot support the body.

Spider Title & Intro
Page
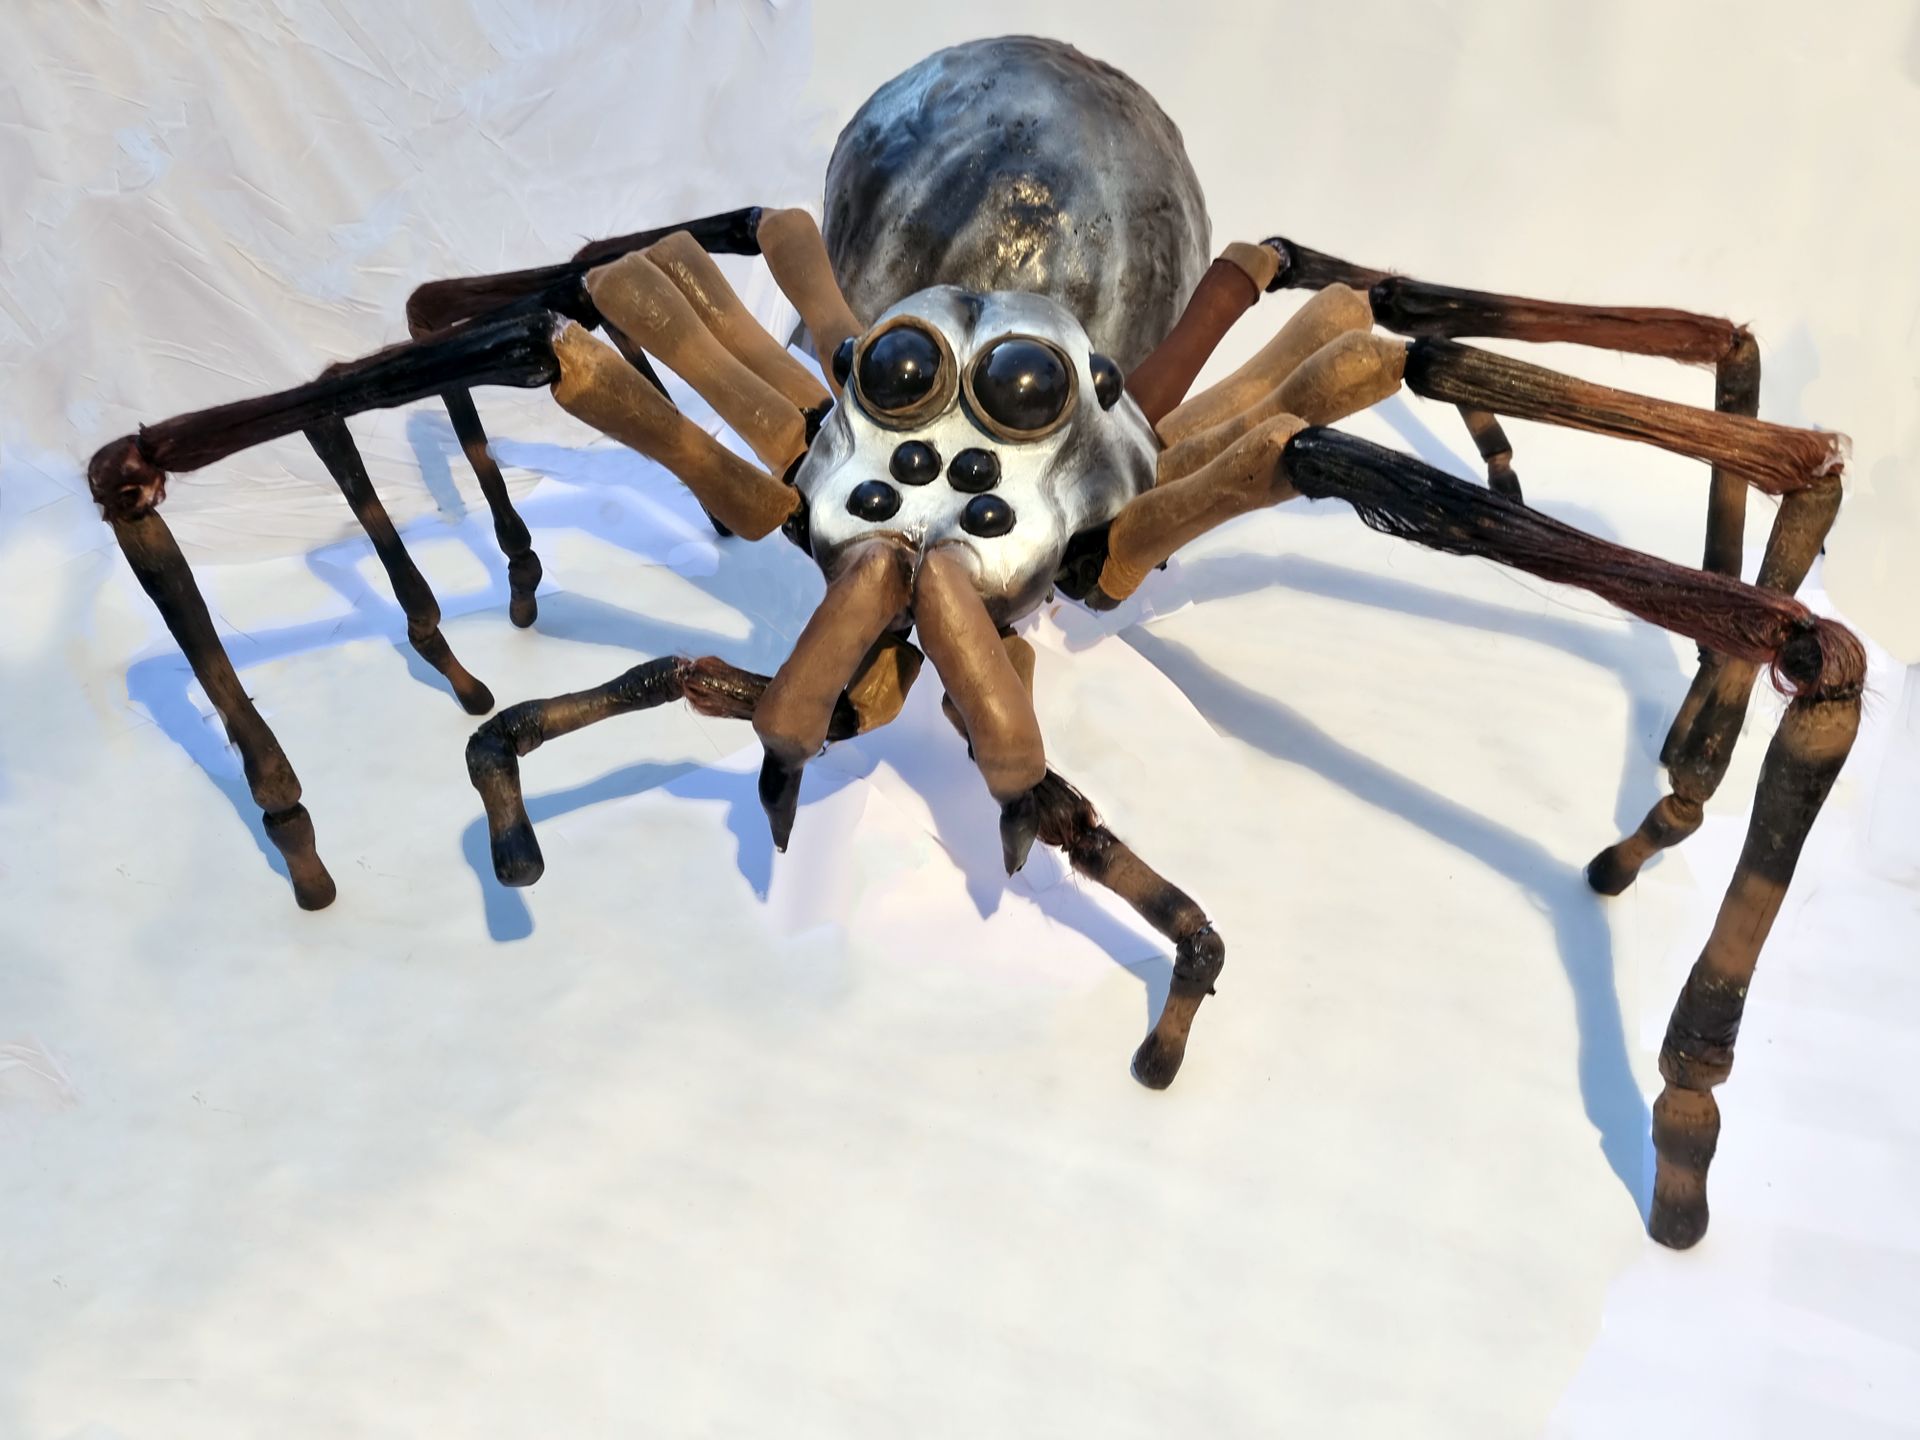
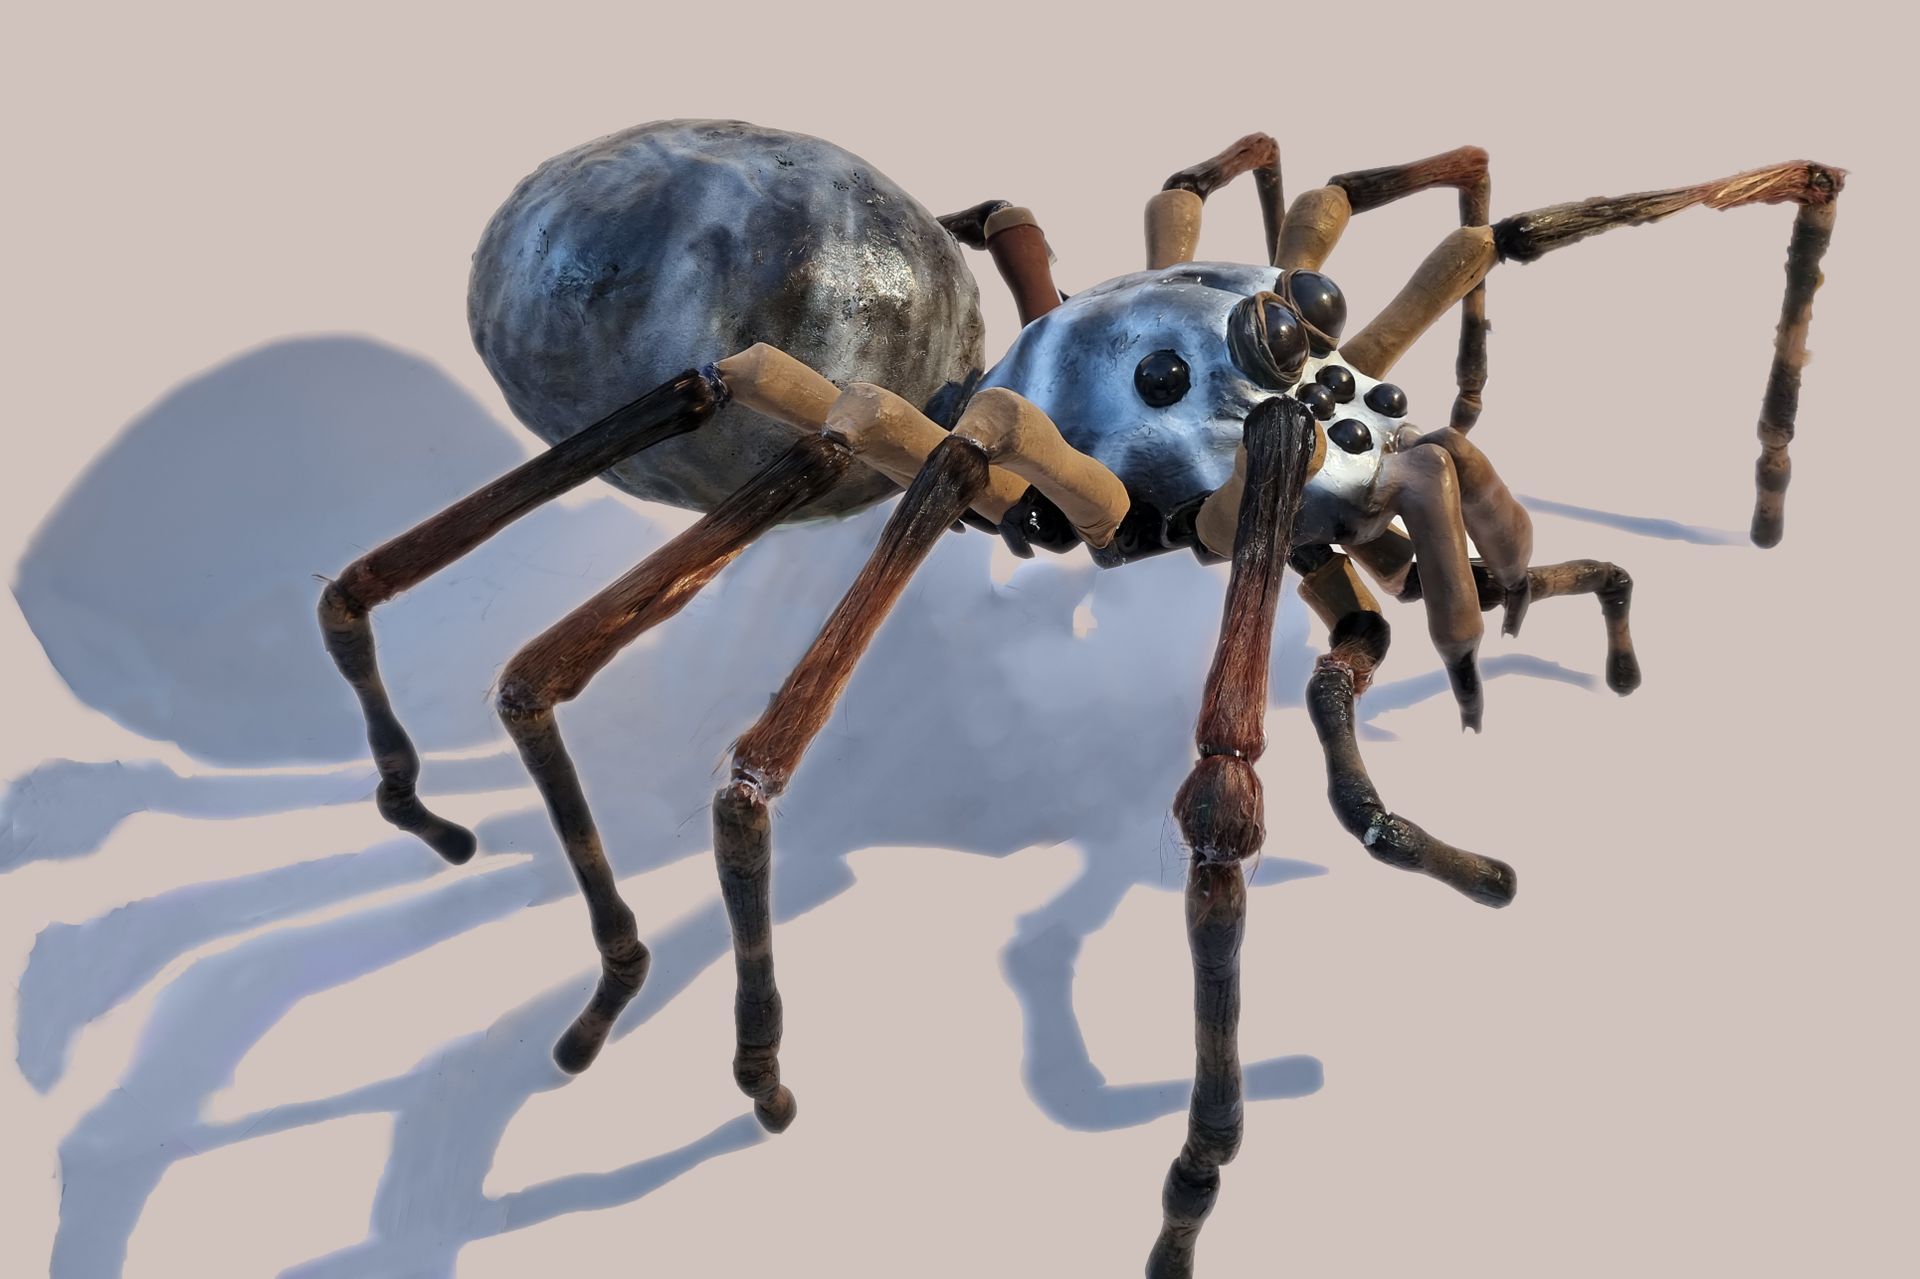
This was a double bed size prop Tarantula, originally intended as a cool Halloween front of house prop as well as portfolio piece to discuss project development.
Finished project page.
Spider Initial Research & PPP Testing
Spider Initial Research & PPP Testing
To start the project was looking into existing props and Halloween tableaus and how such a project could be done.
View More
Initial Proving Principle Prototyping & scale modelling.
Spider Development
Head
The main central part is the head to which all other parts are connected and would be the section to connect stands and load supports.
This involved the most substantial development and most restarts.
Spider
Development
Body
This had a similar basic structure to the head but a lot simpler. It does have its own issues and problems.
This had to be re-opened for upgrades to strengthen the connections to the head.
Spider
Development
Legs
Spider
Development
Legs
The legs required repeated and costly redesign and rebuilding building to try and build enough strength into them to be able to support the weight of the spider, as well as look realistic and bond the paint to them.
View More
Spider Development
Leg Connector
The system to connect the legs needed substantial improvement and iterations developing these connection components through CAD and rapid prototypng.
Further Development Head
Further planned developments & problem solving for the head.
The next staage here would be fur.
Further Development Body
Further planned developments & problem solving for the body.
This will need to be split into sections for storage that can be easily reassembled.
Further Development
Legs & Connectors
Further planned developments & problem solving for the legs, strengthening them to support the weight of the spider.
Further Development
Skin and Fur
Further Development
Skin and Fur
Plans to further develop the prop Tarantula and current unsolved problemsand issues
View More


