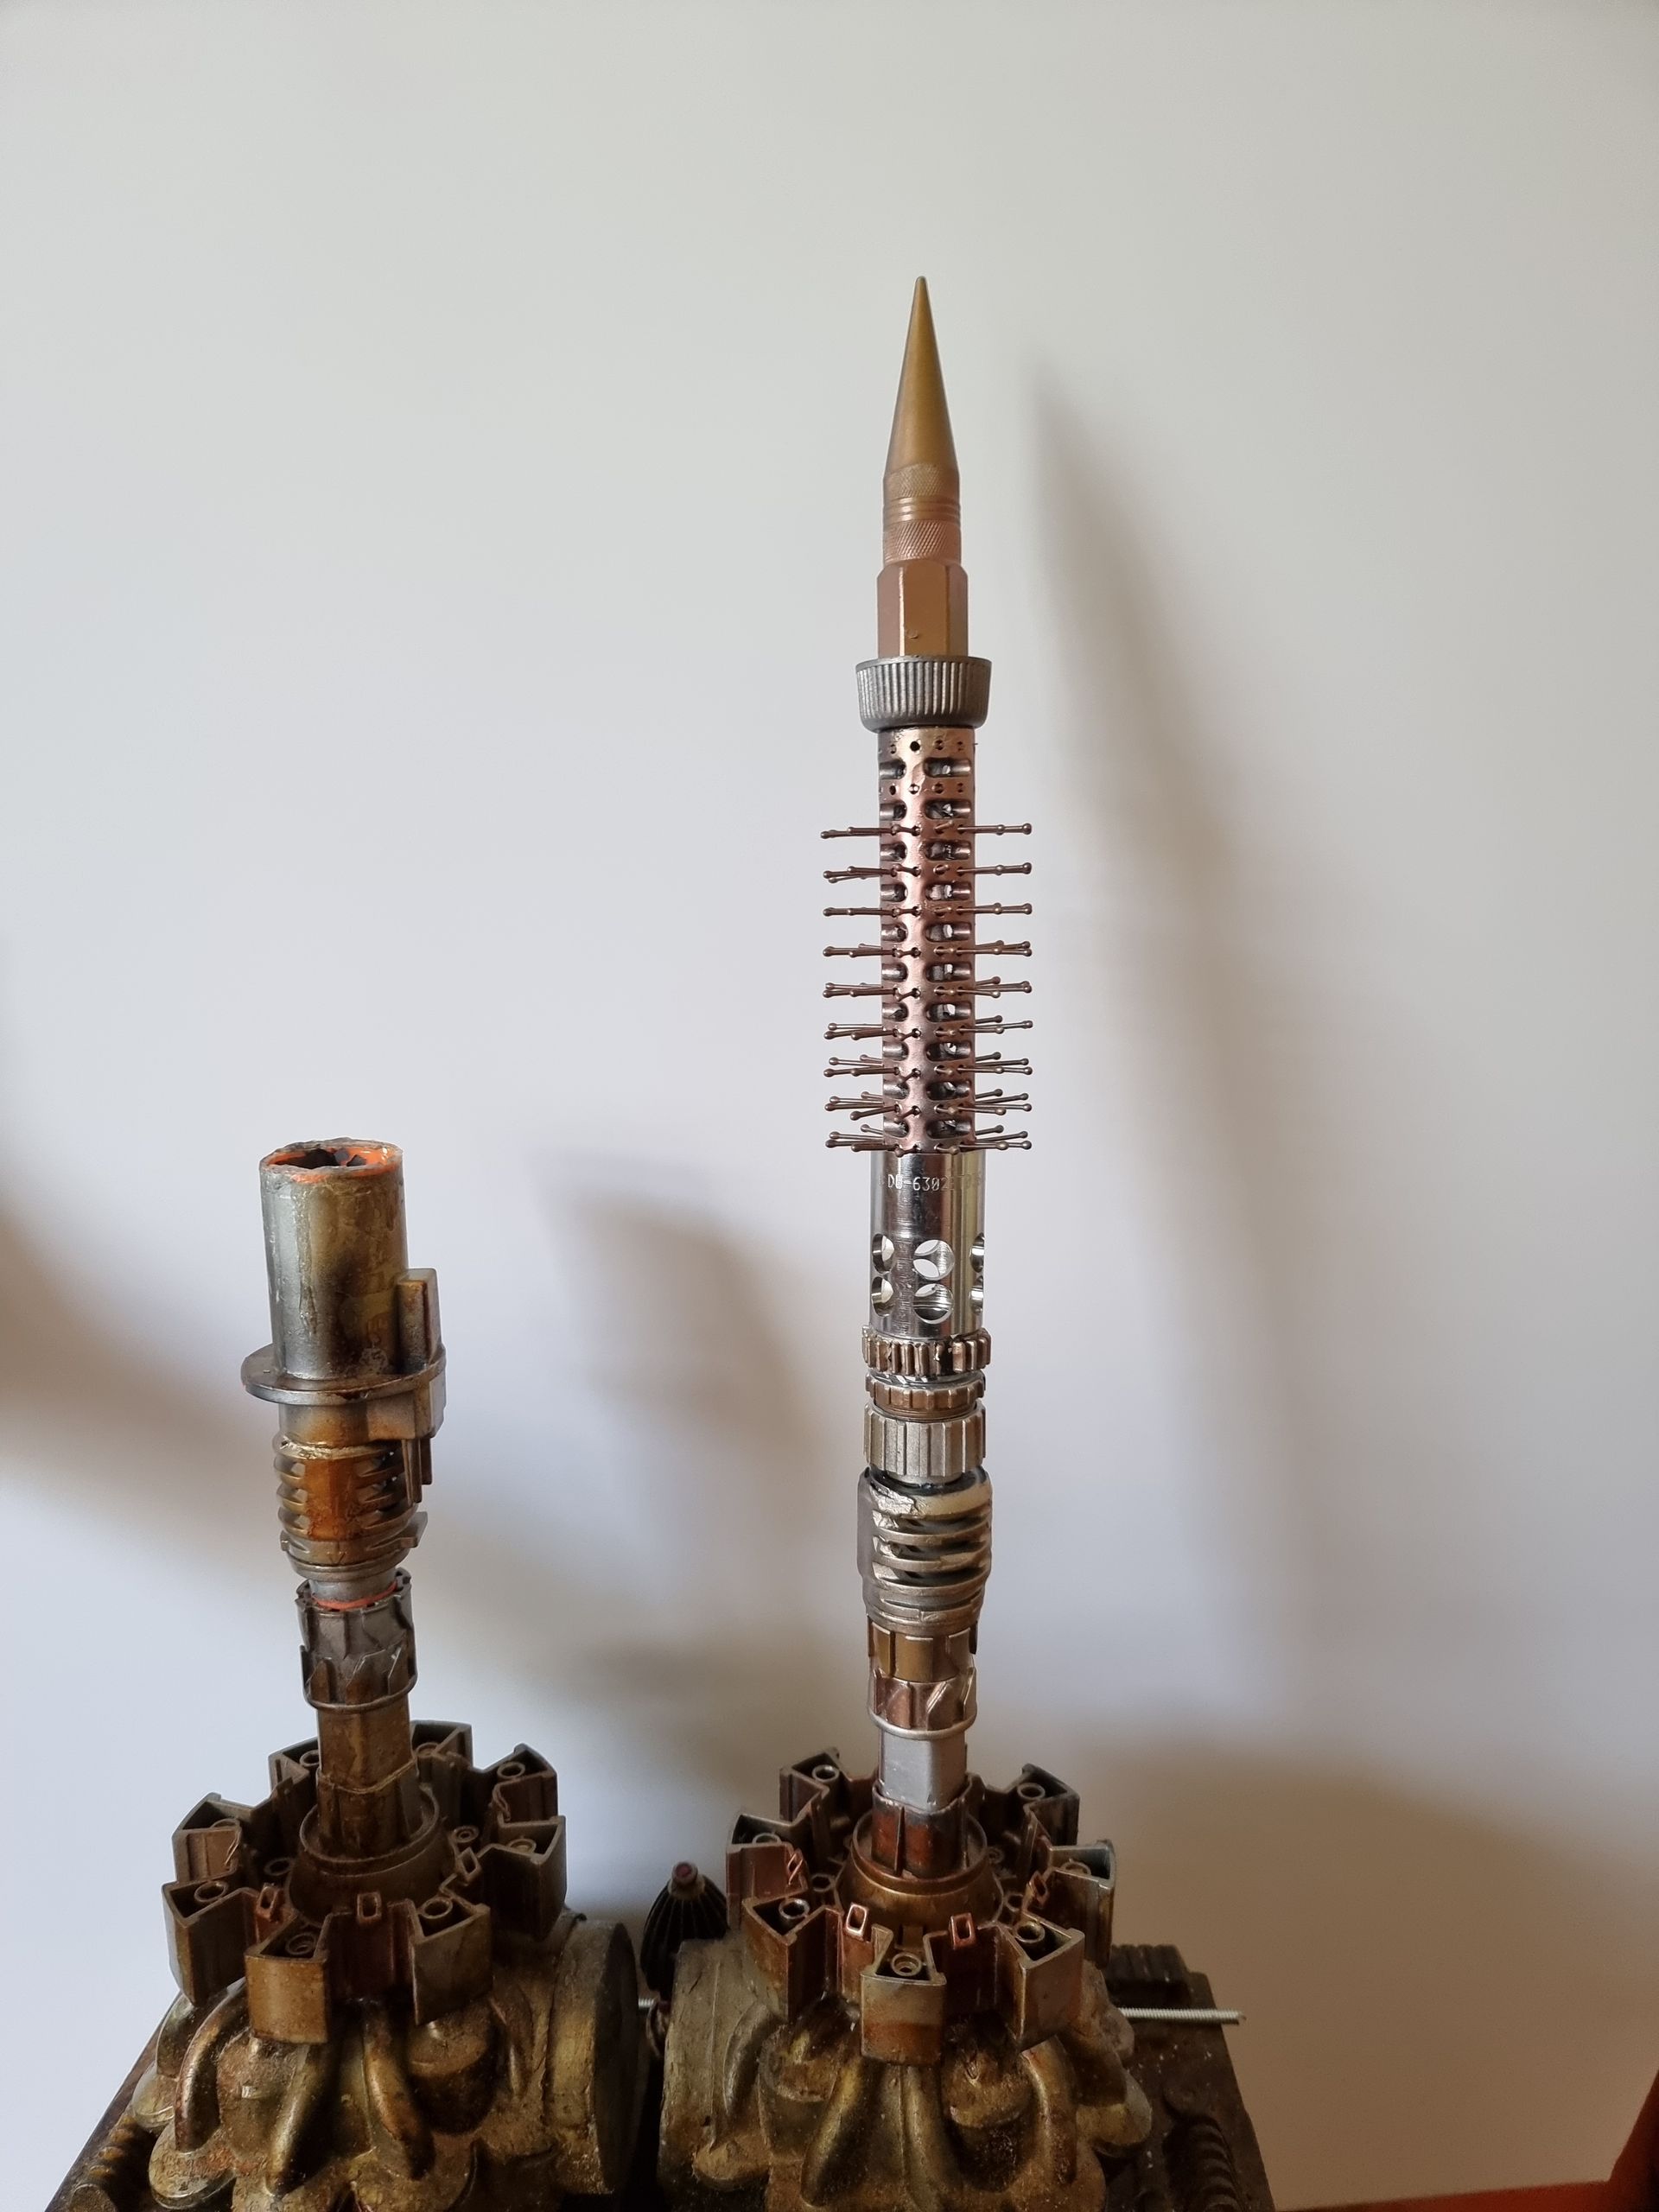
Star Wars Prop - Base Hacker System
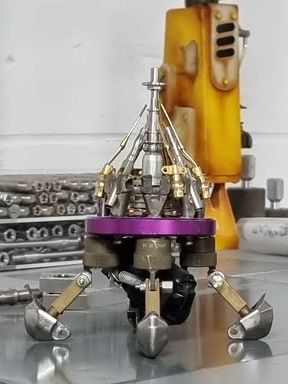
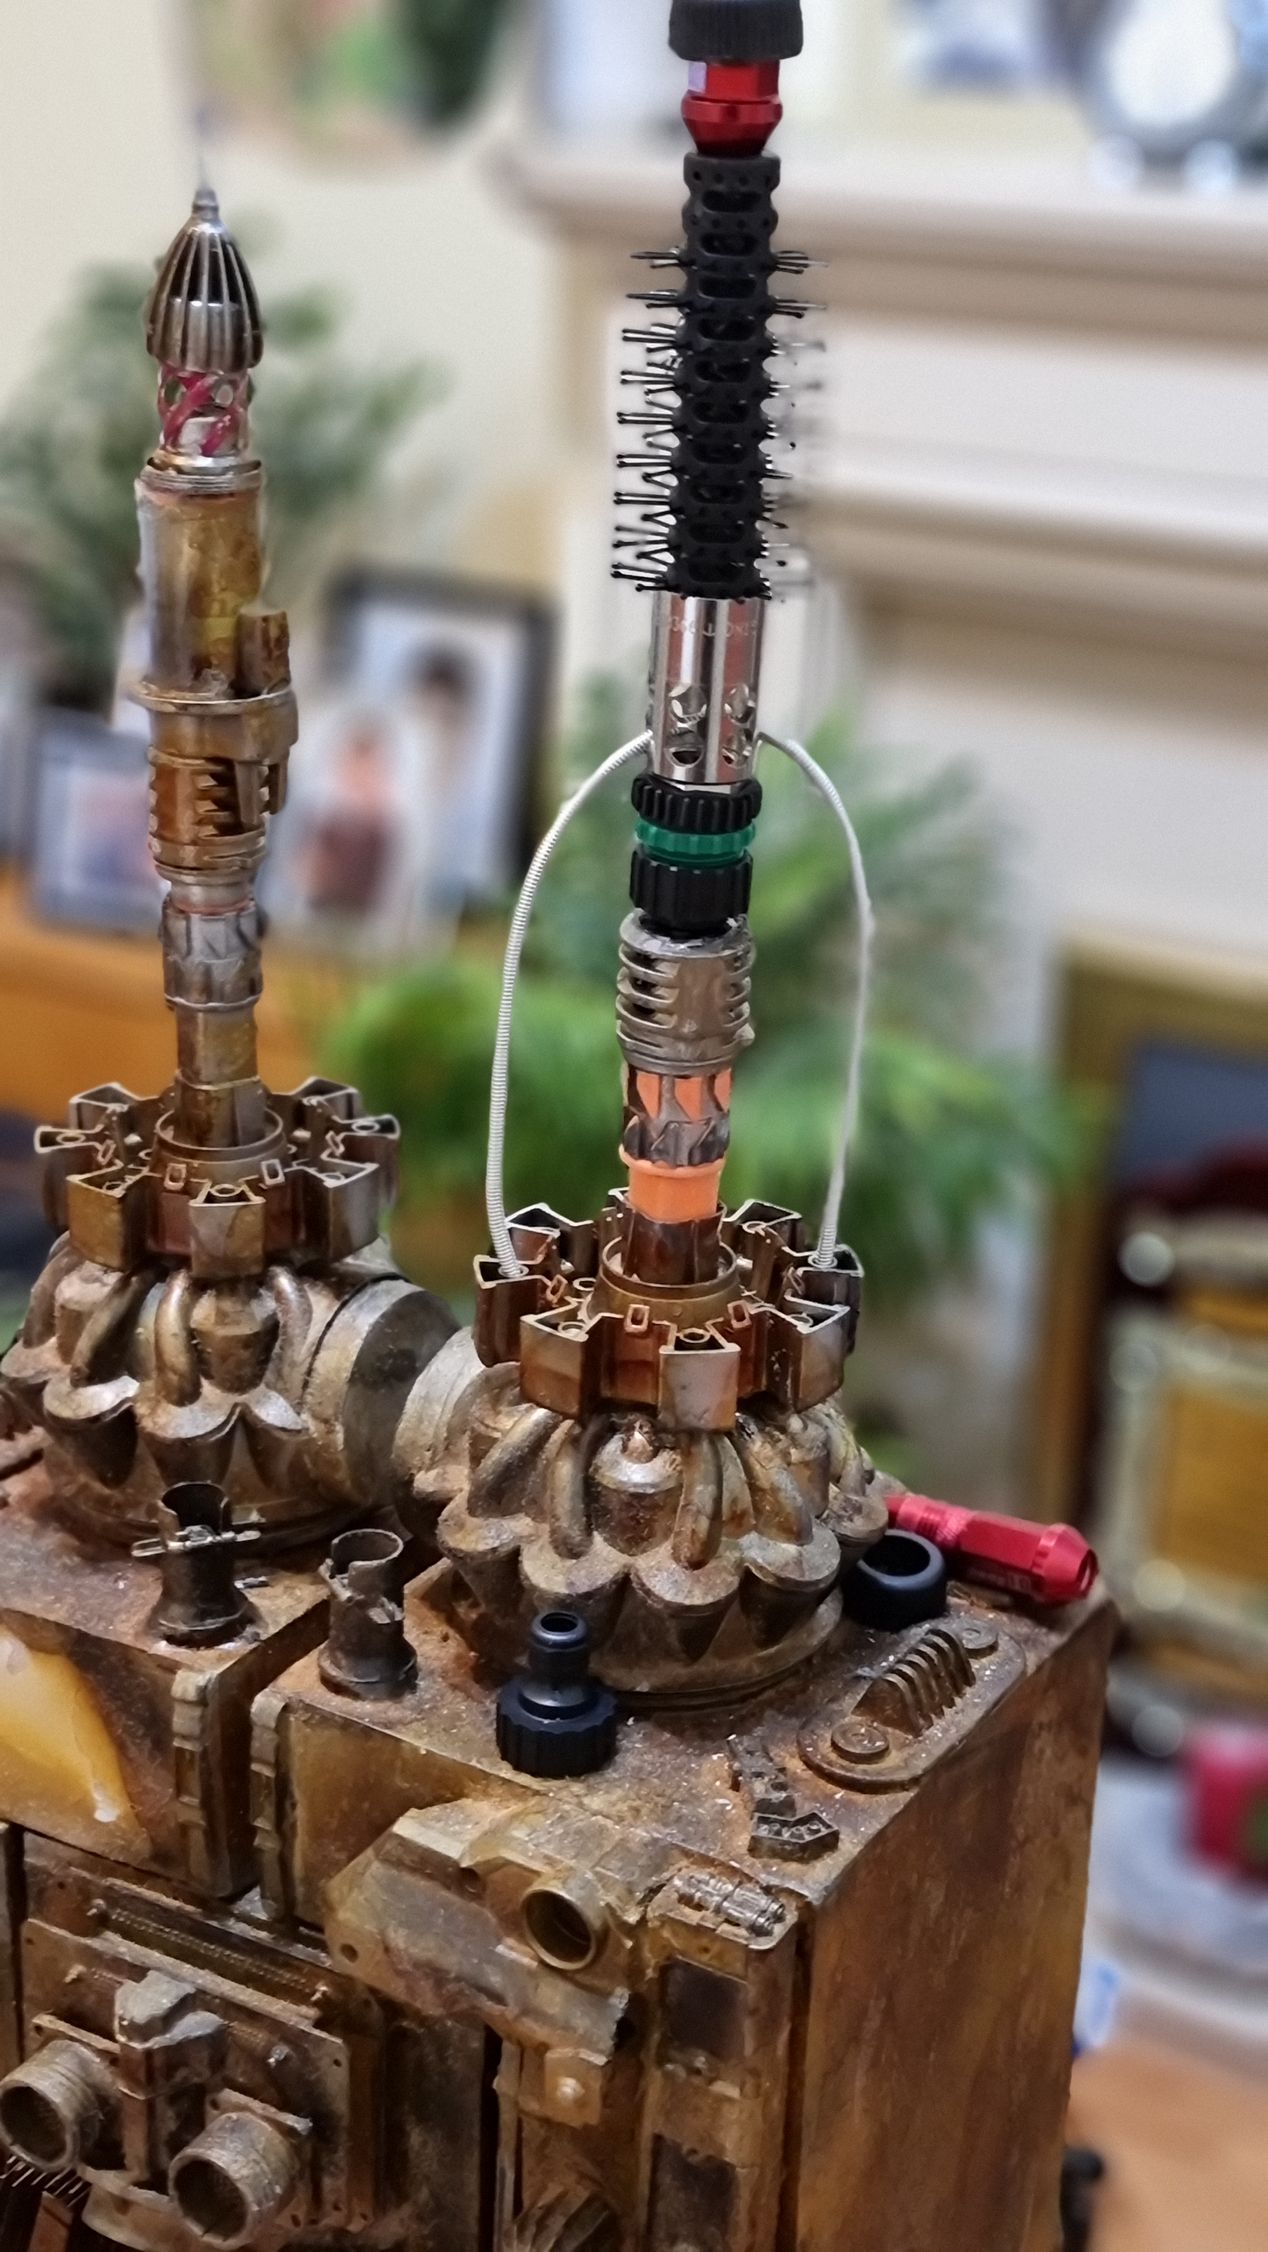
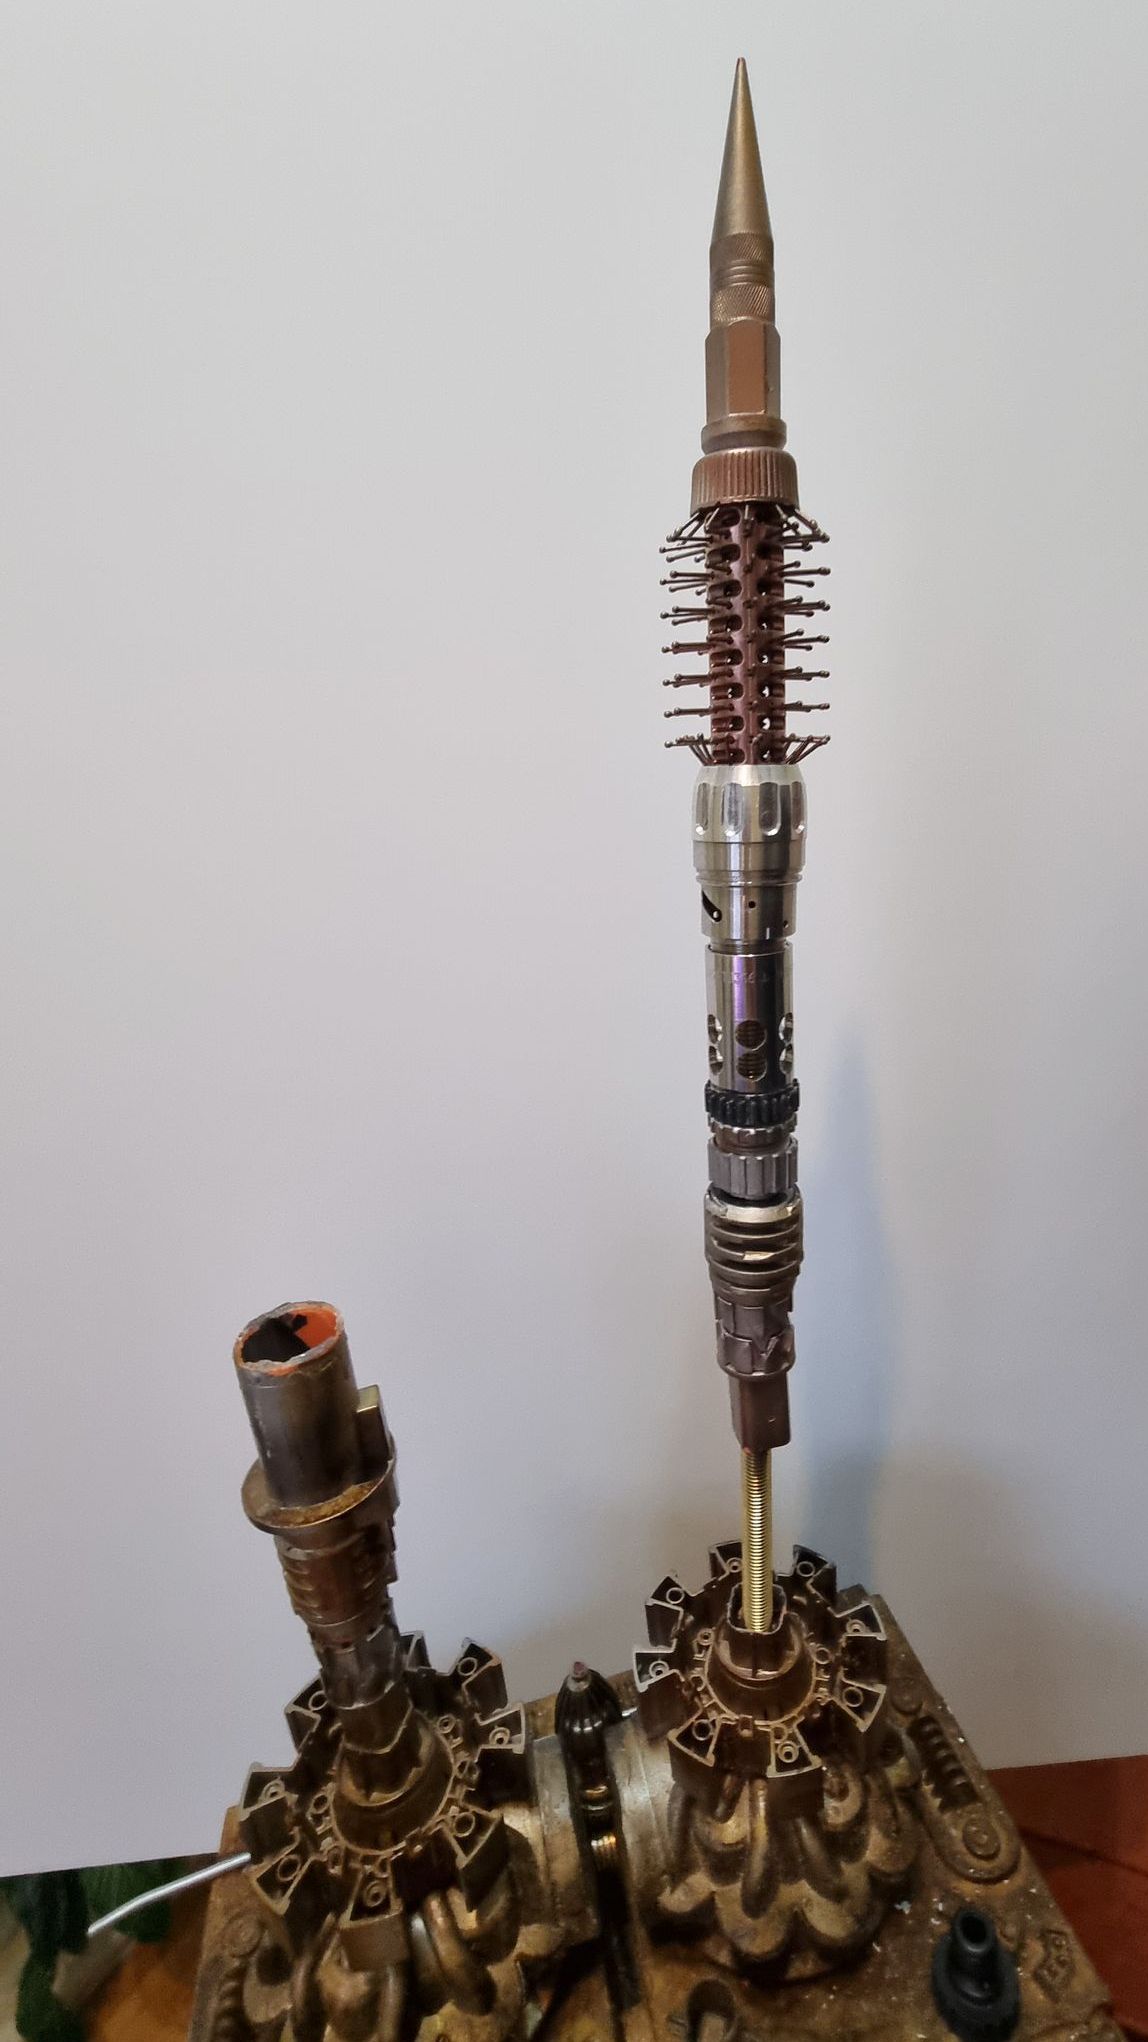
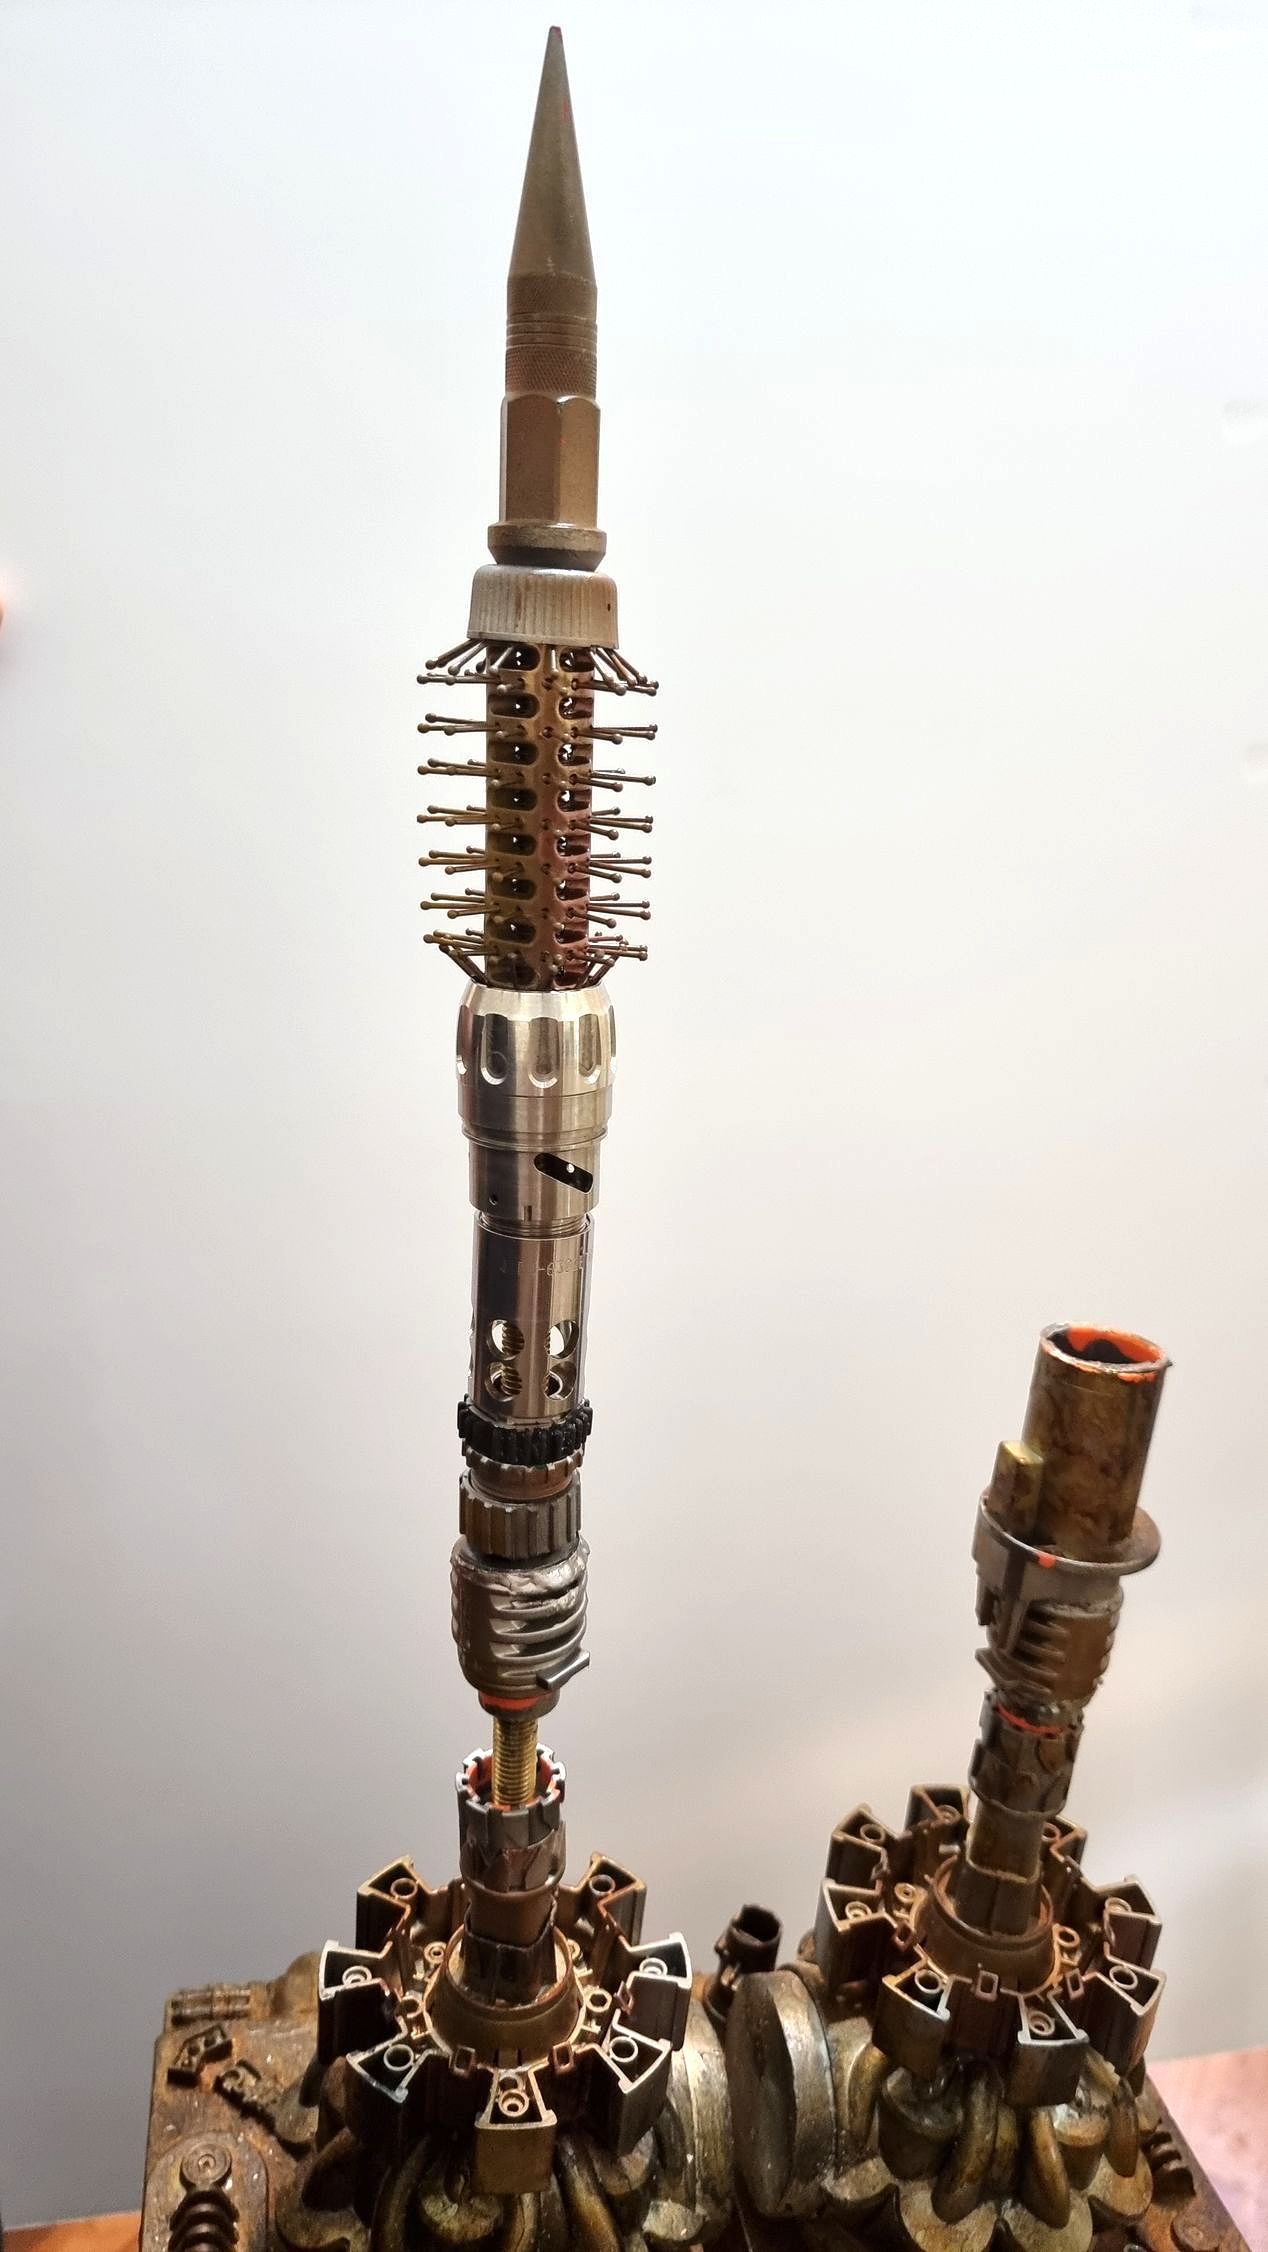
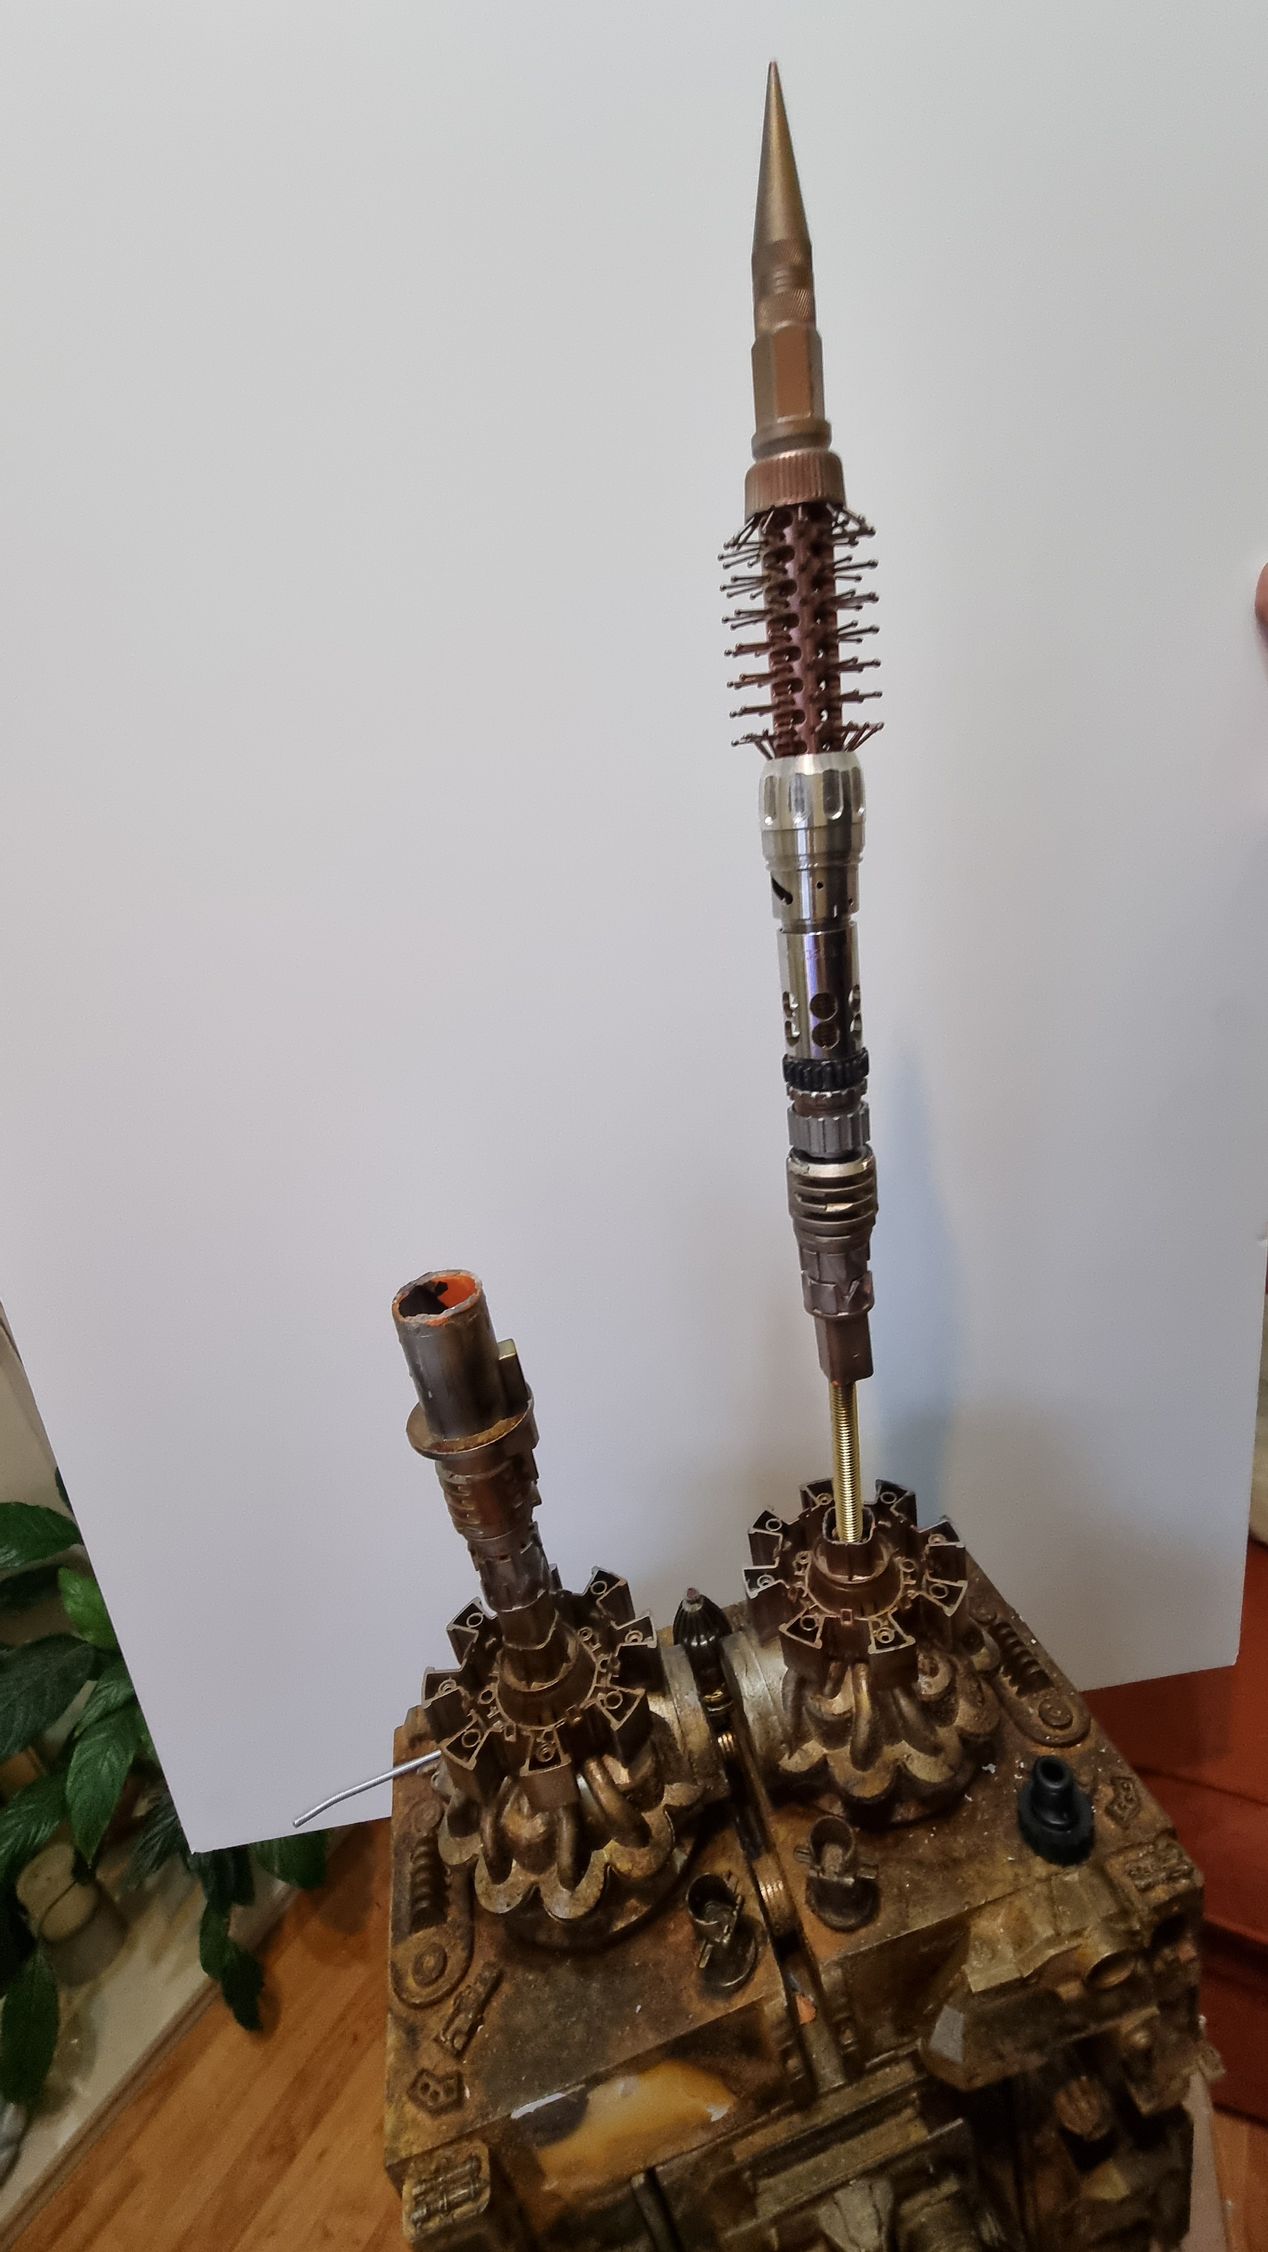
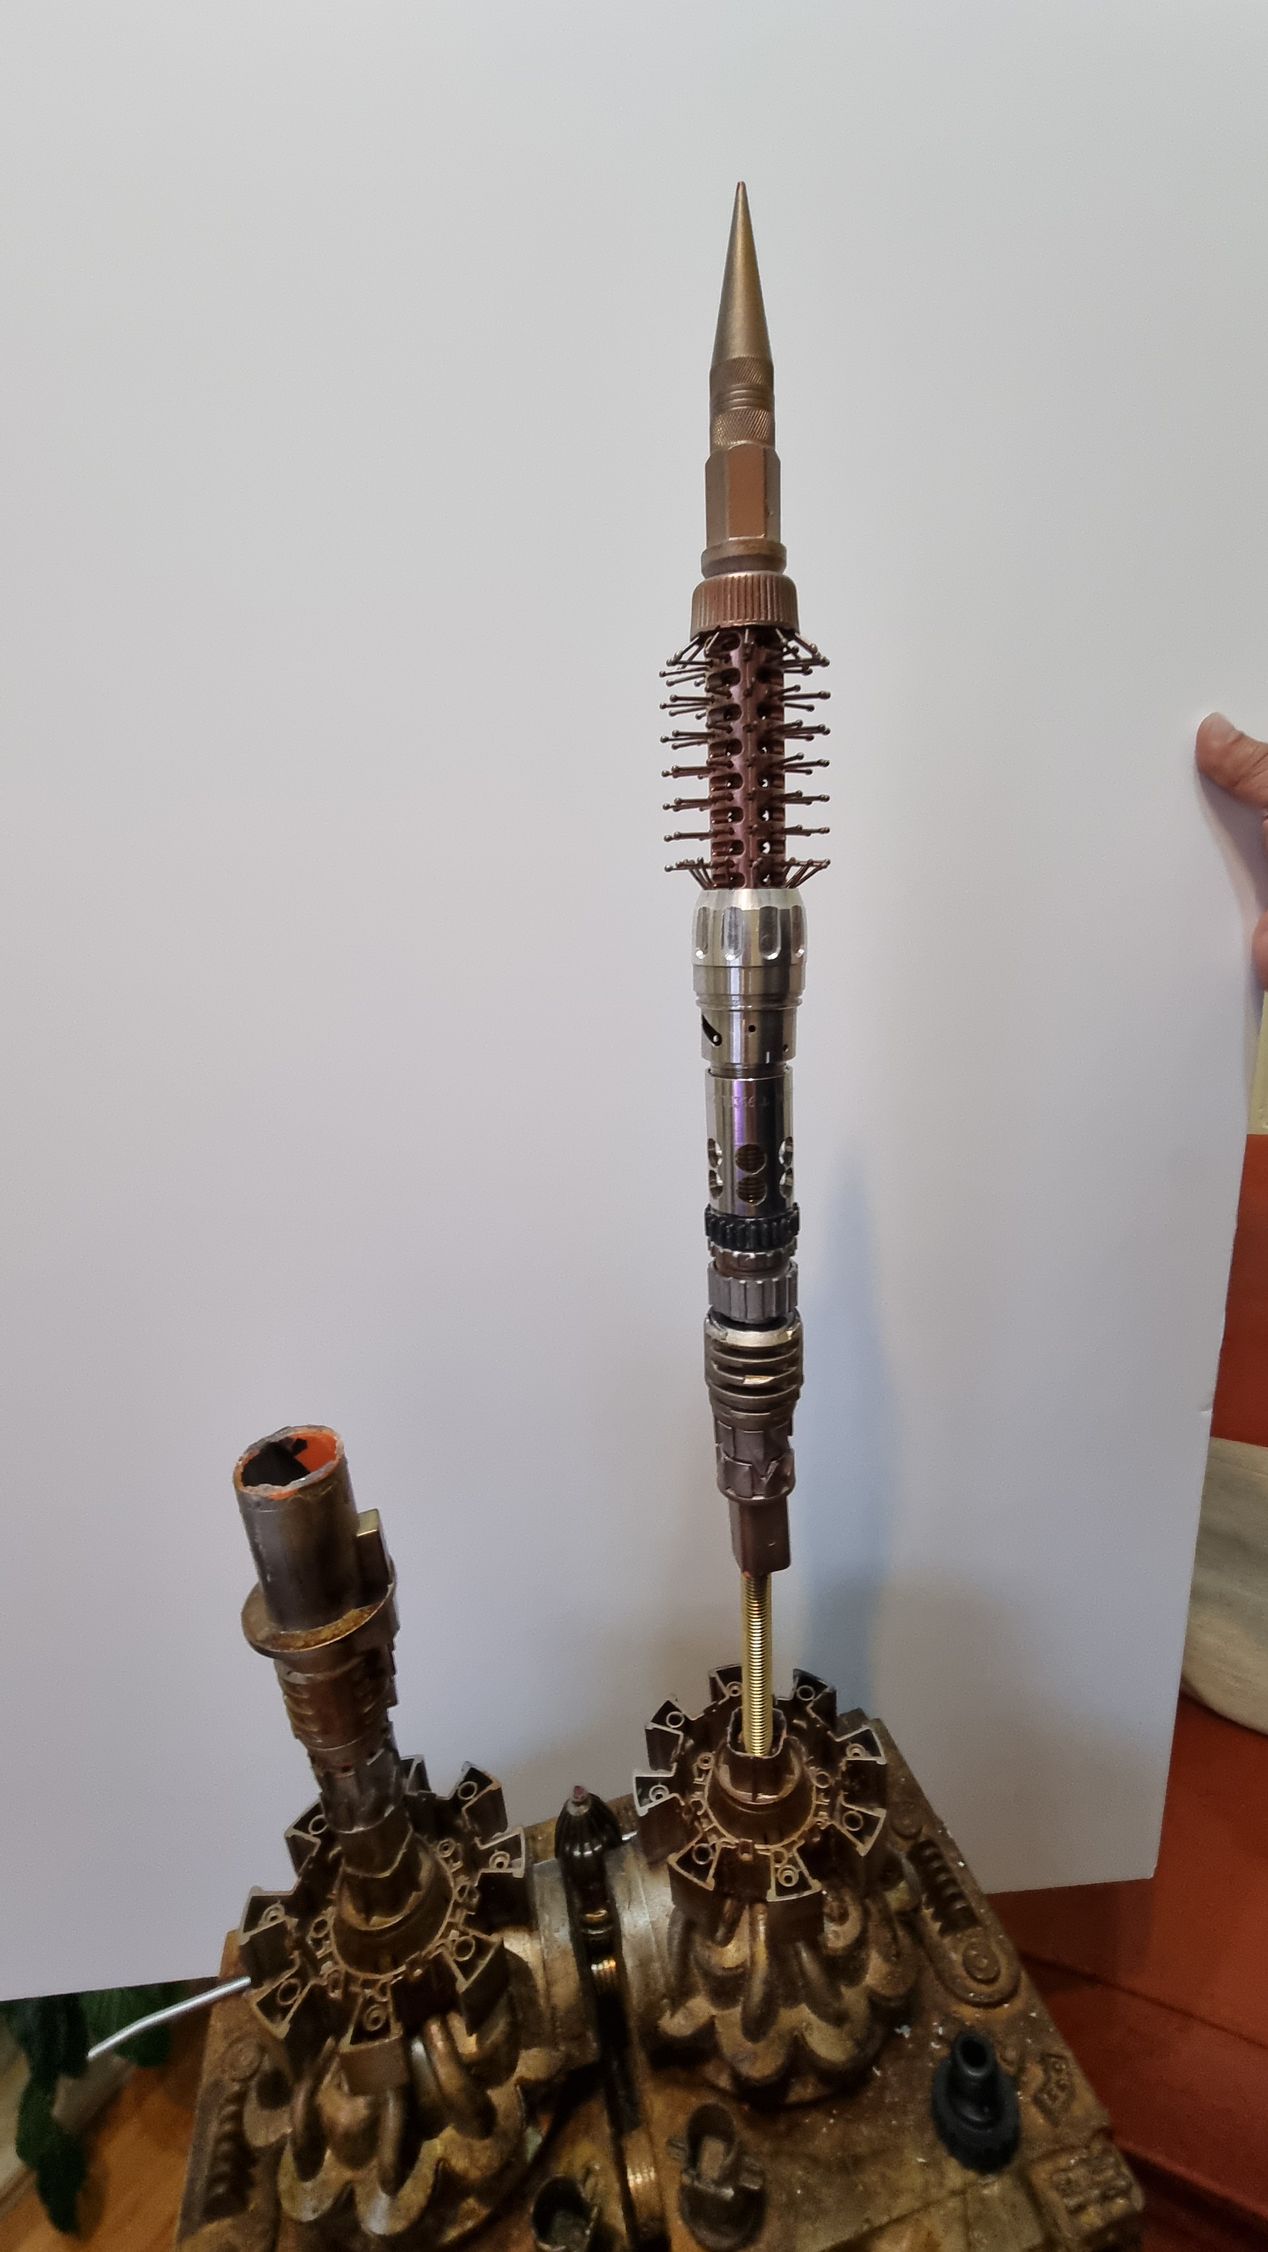
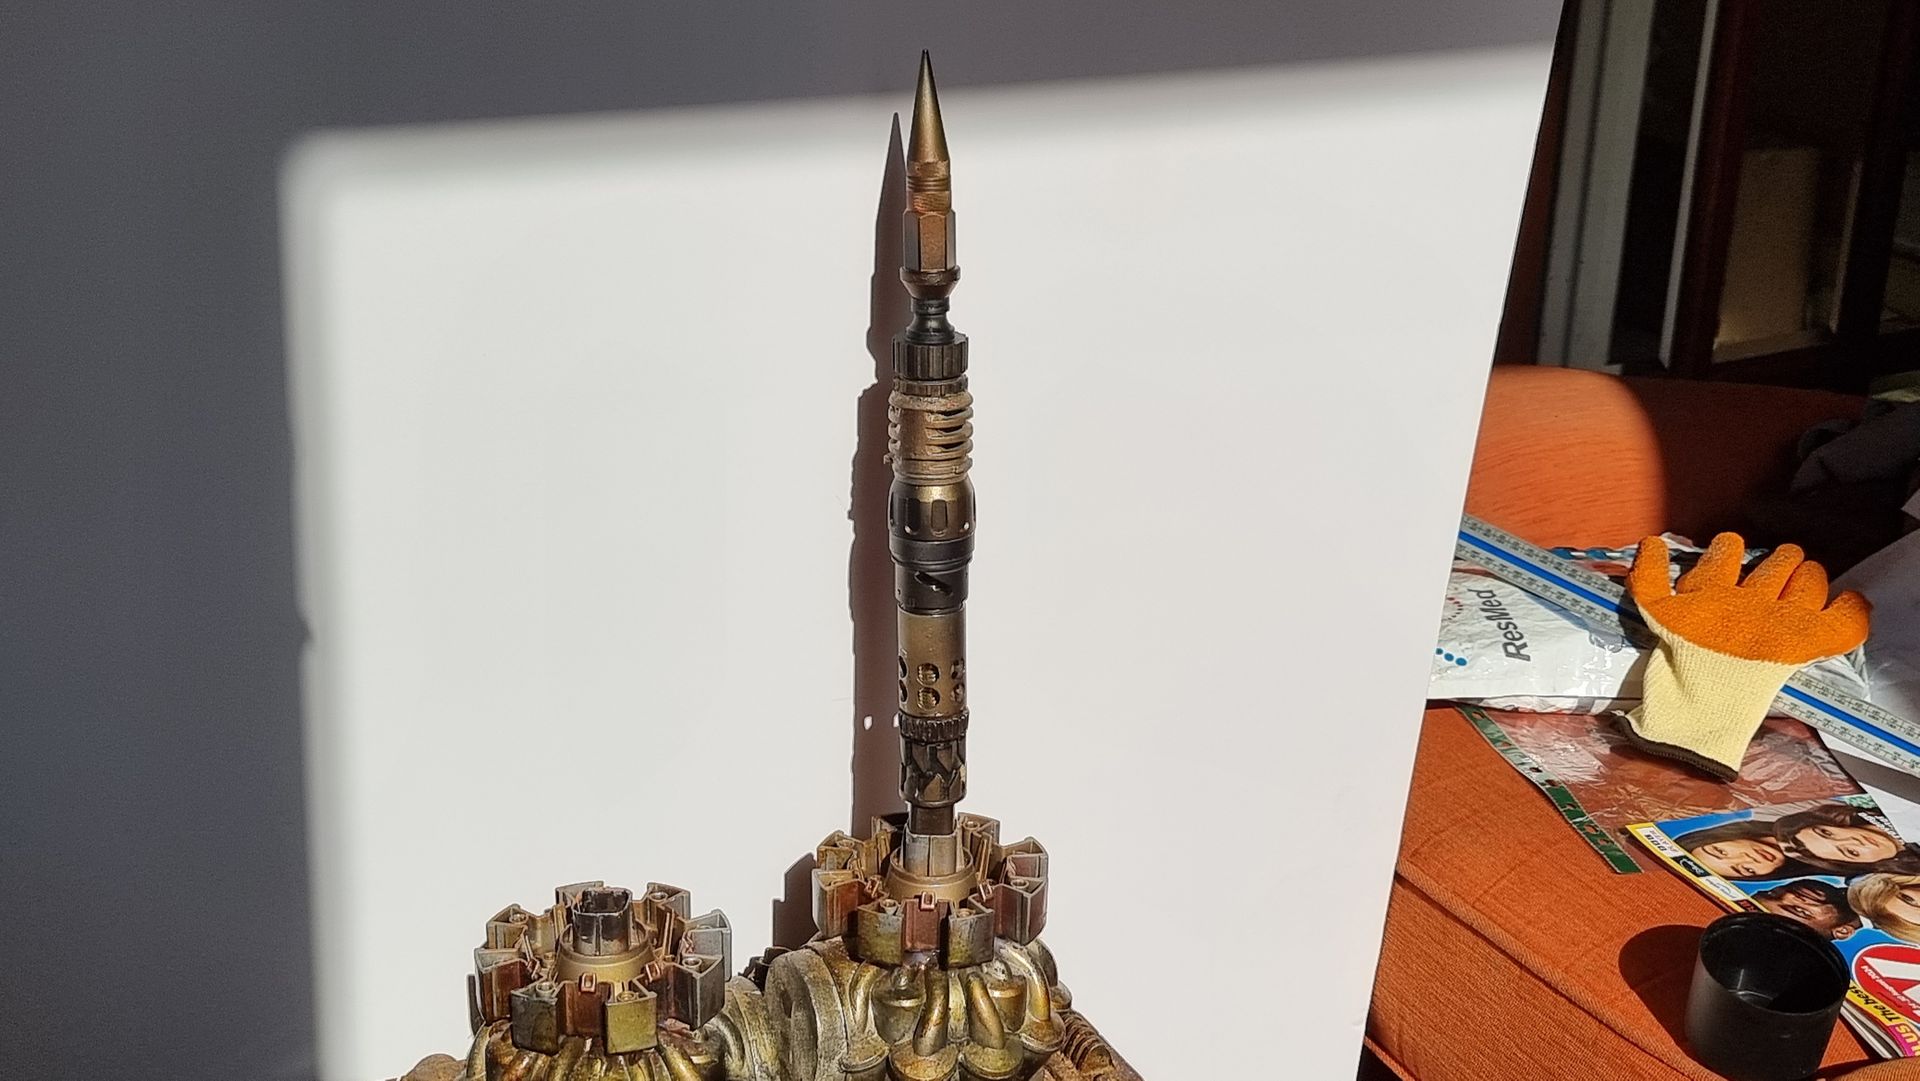
Communication Tower Upgrades - Components Rebuild - Thanks to Bobs Bits Prop House
Bobs Bits Prop House Visit and Parts to Upgrade Prop
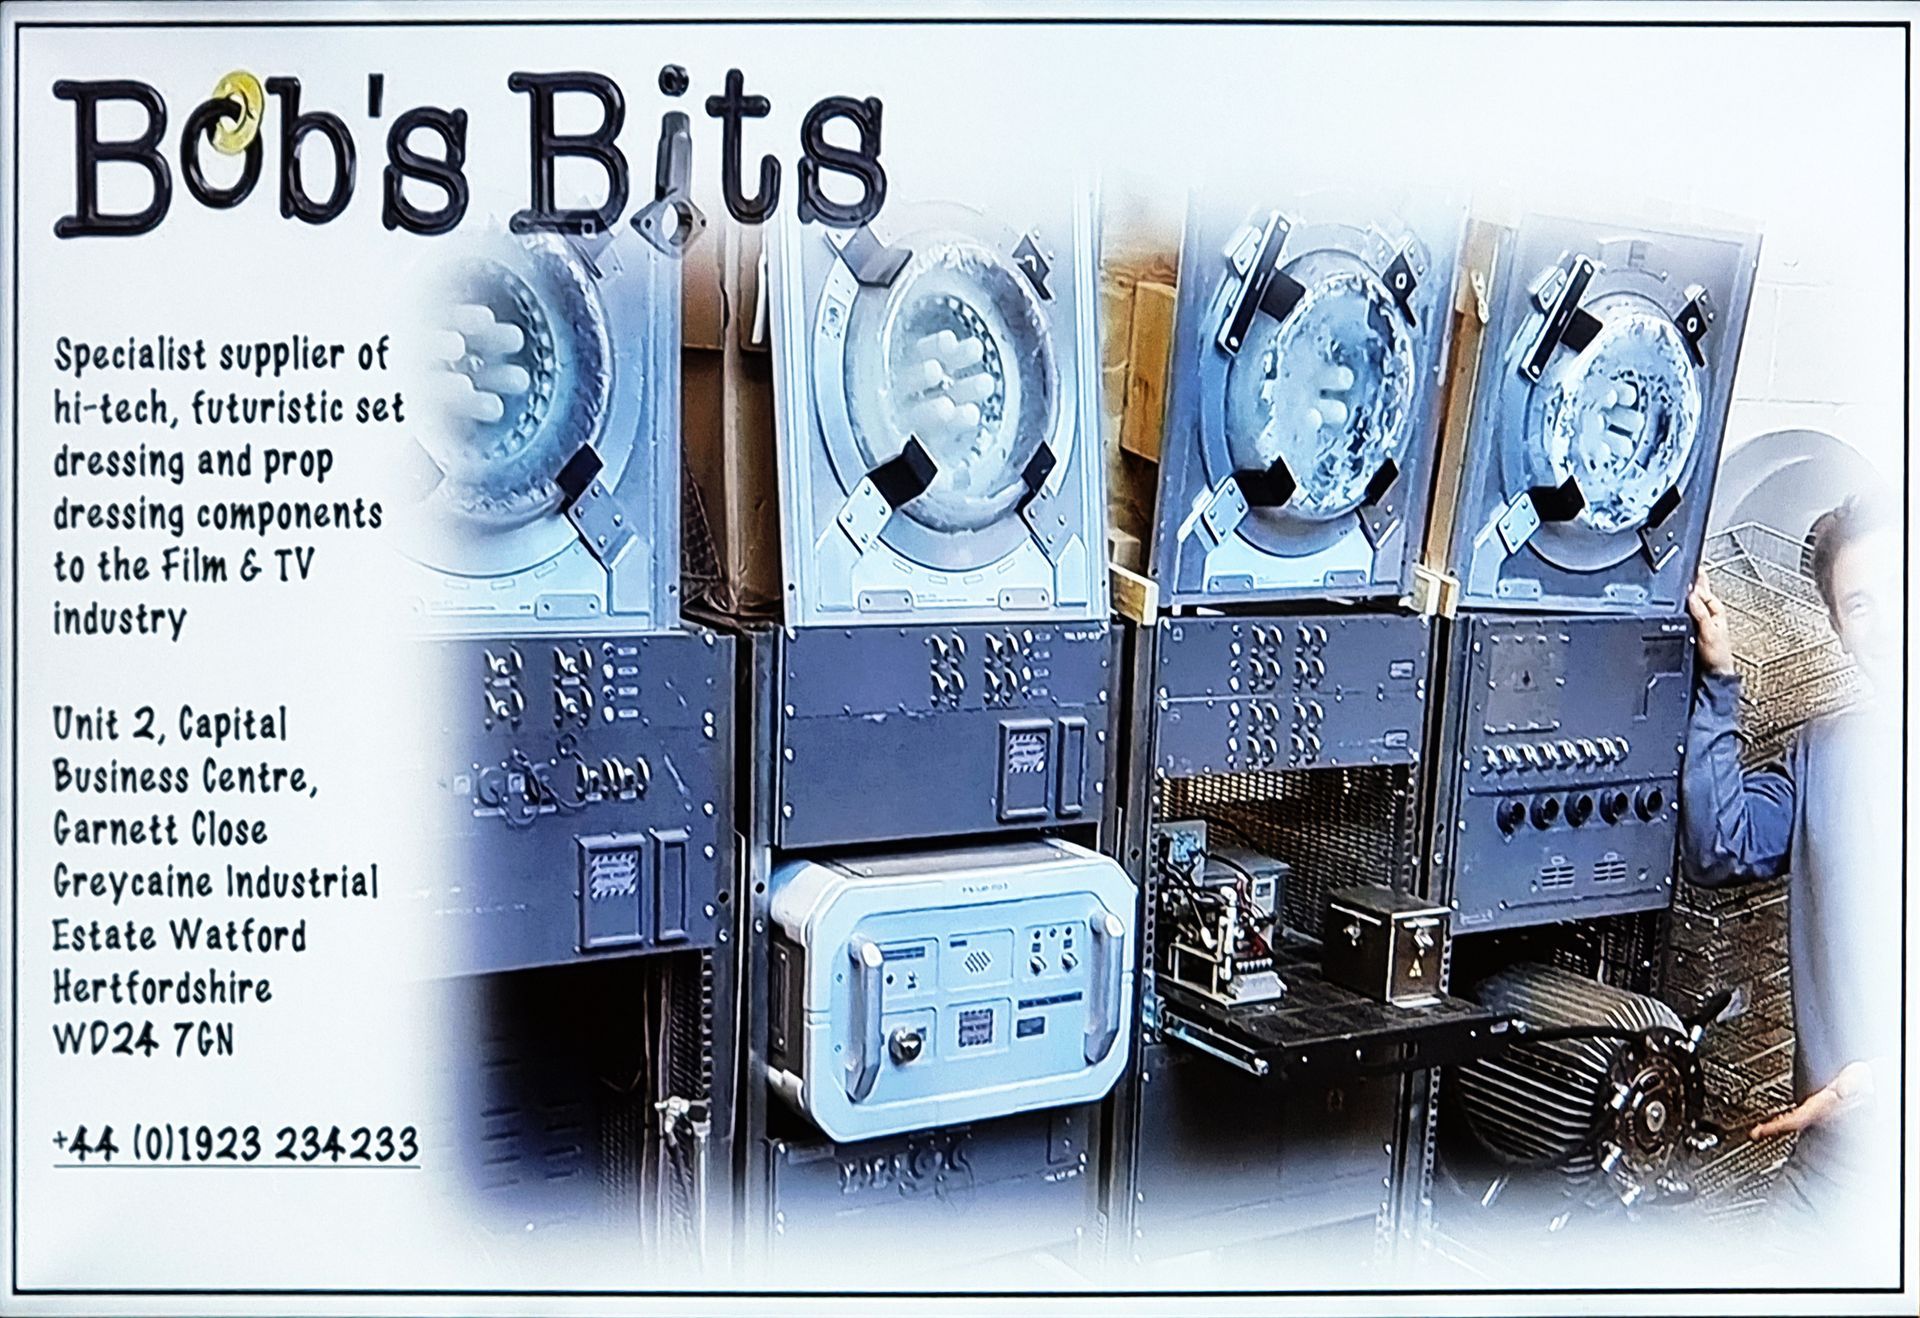
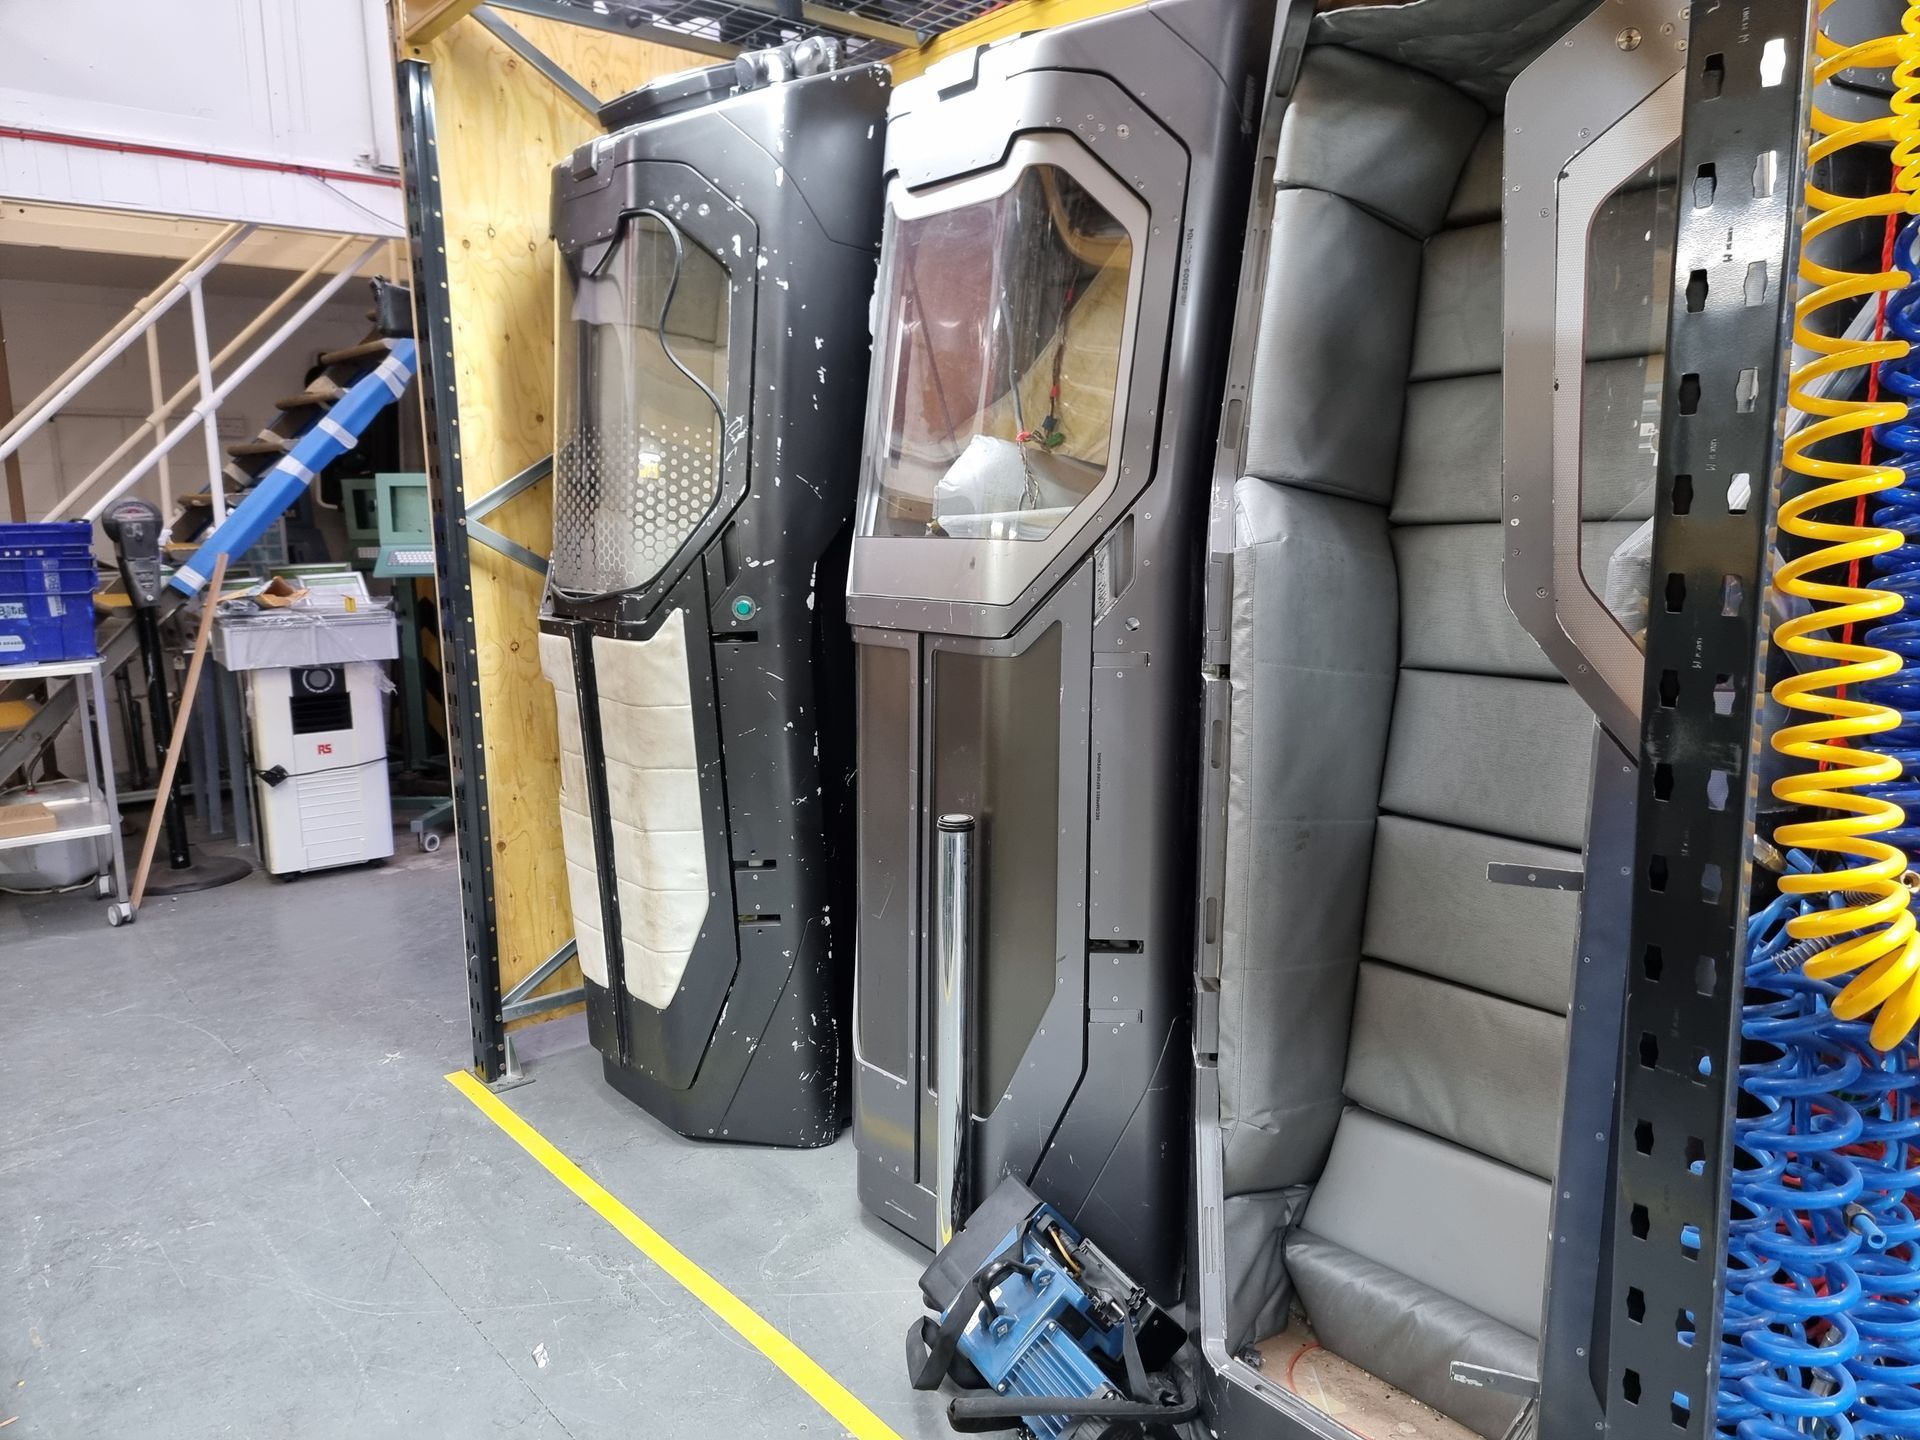
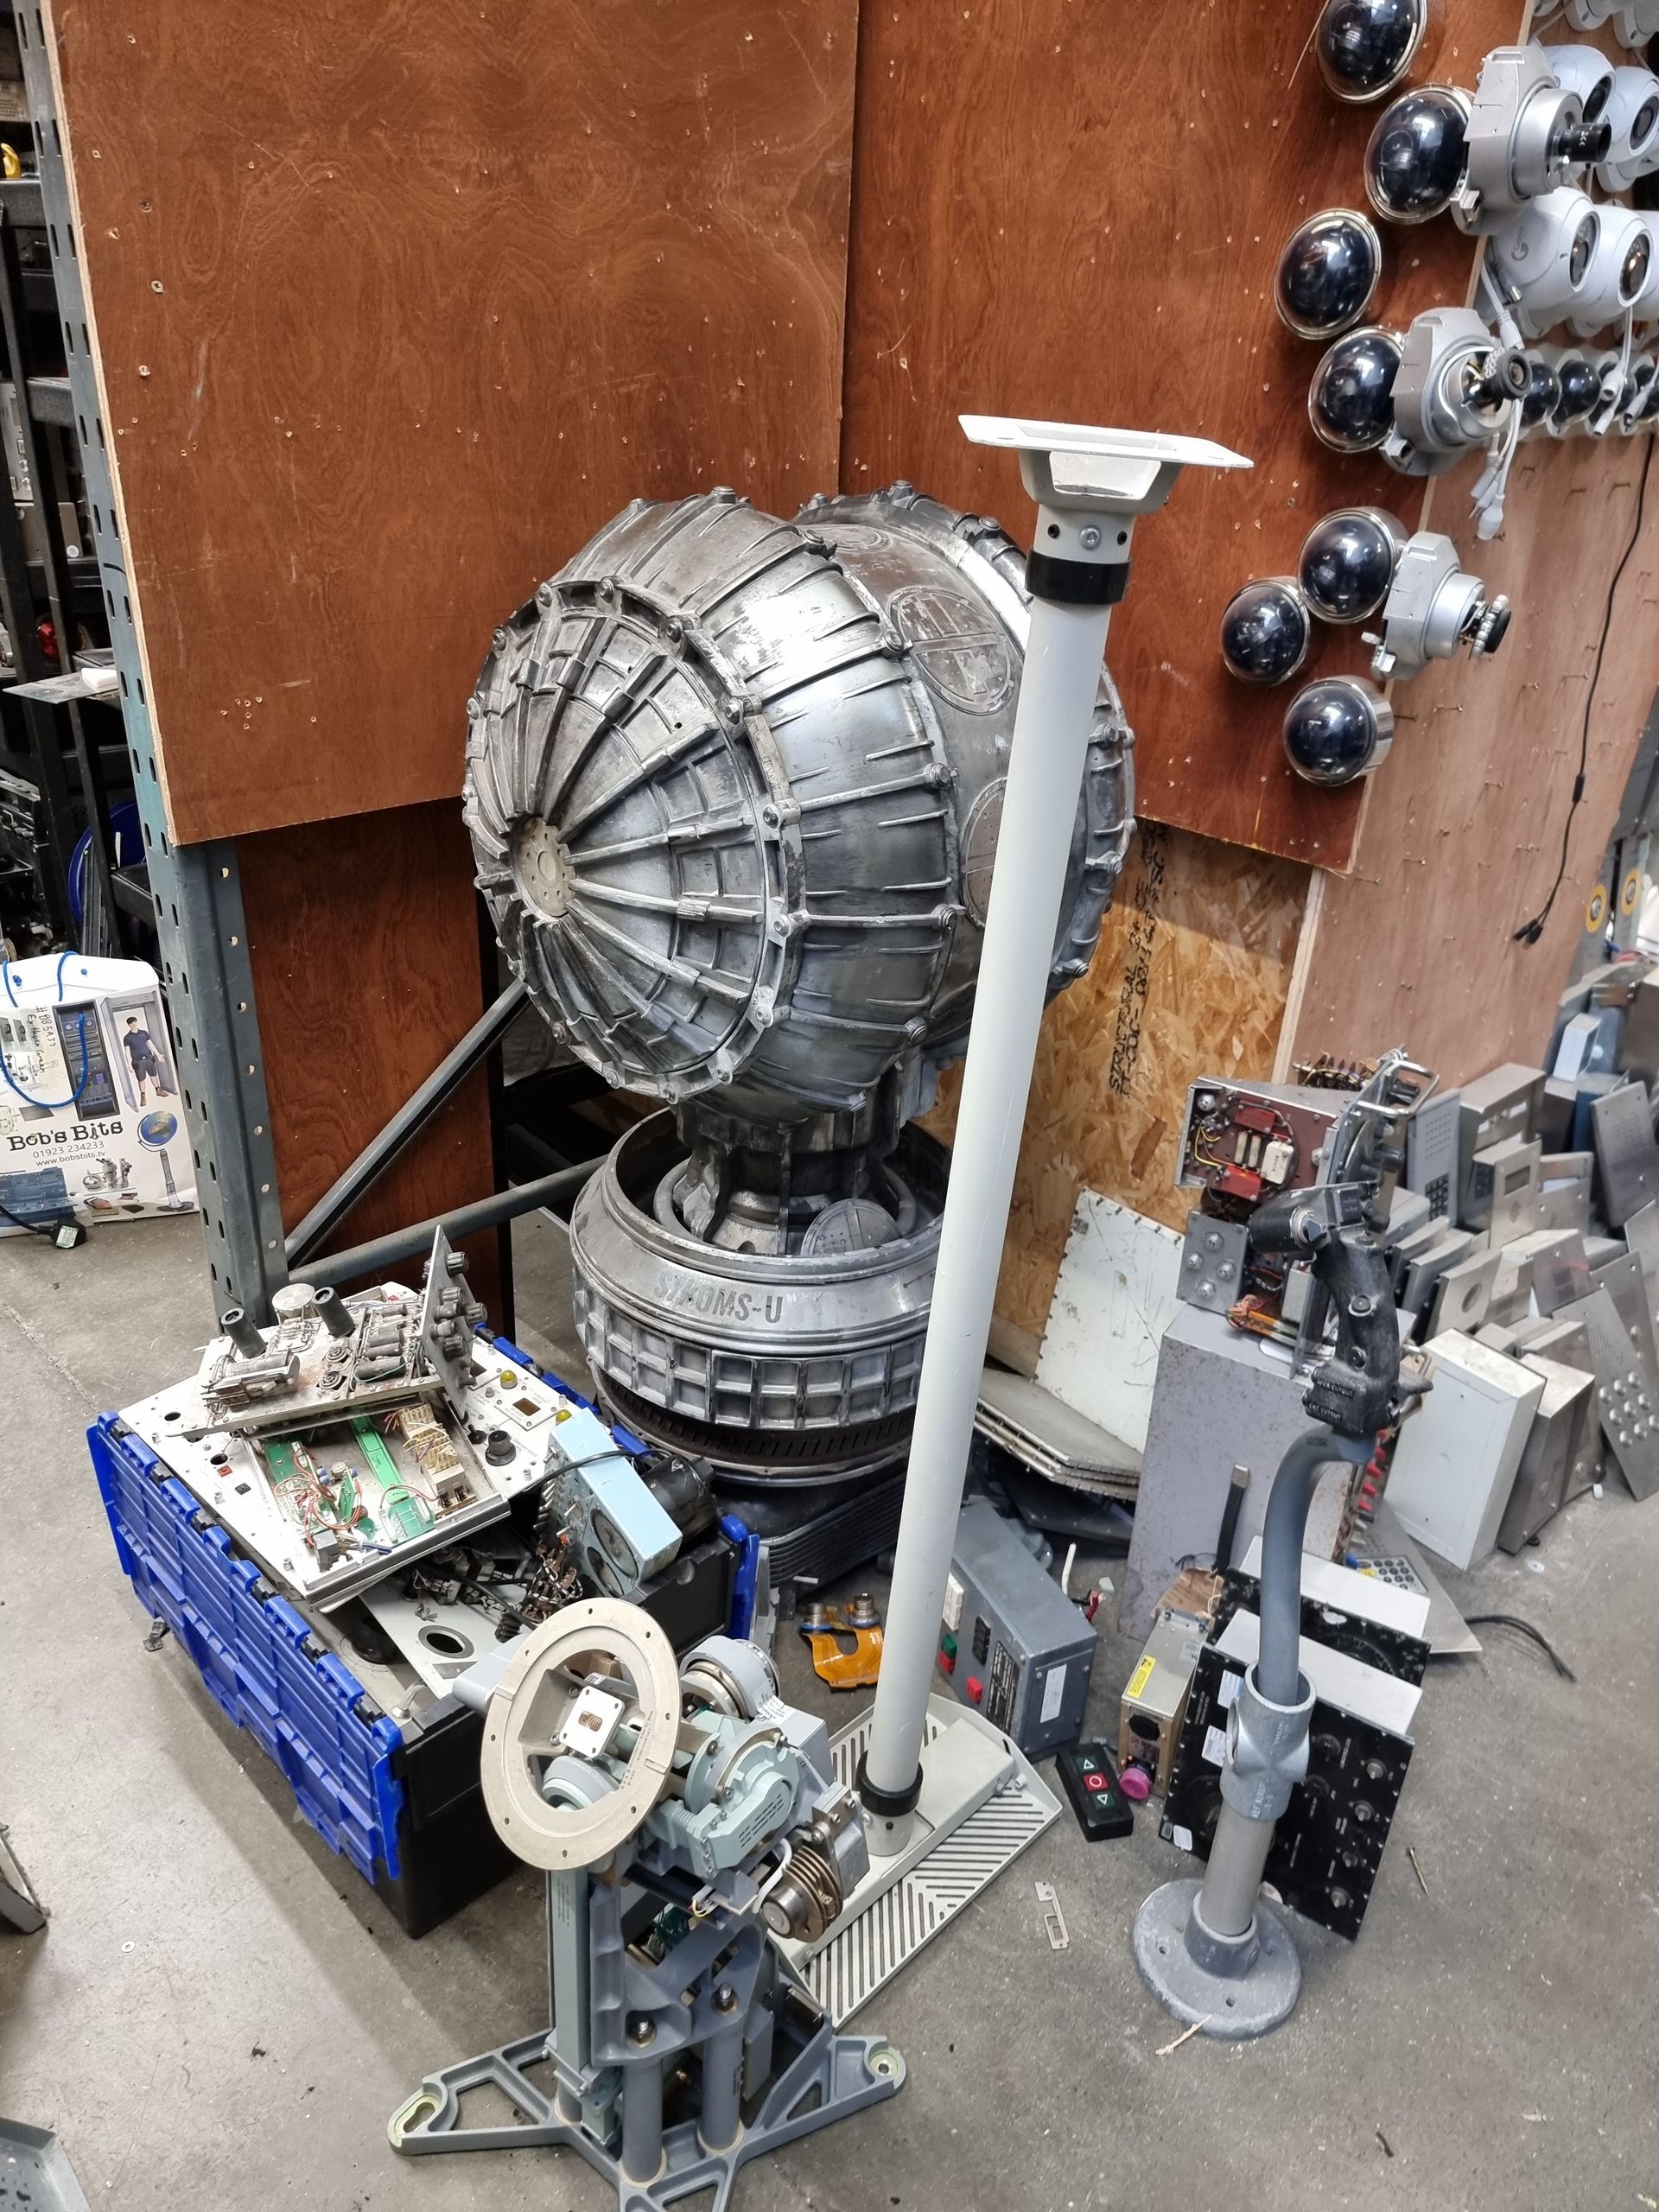
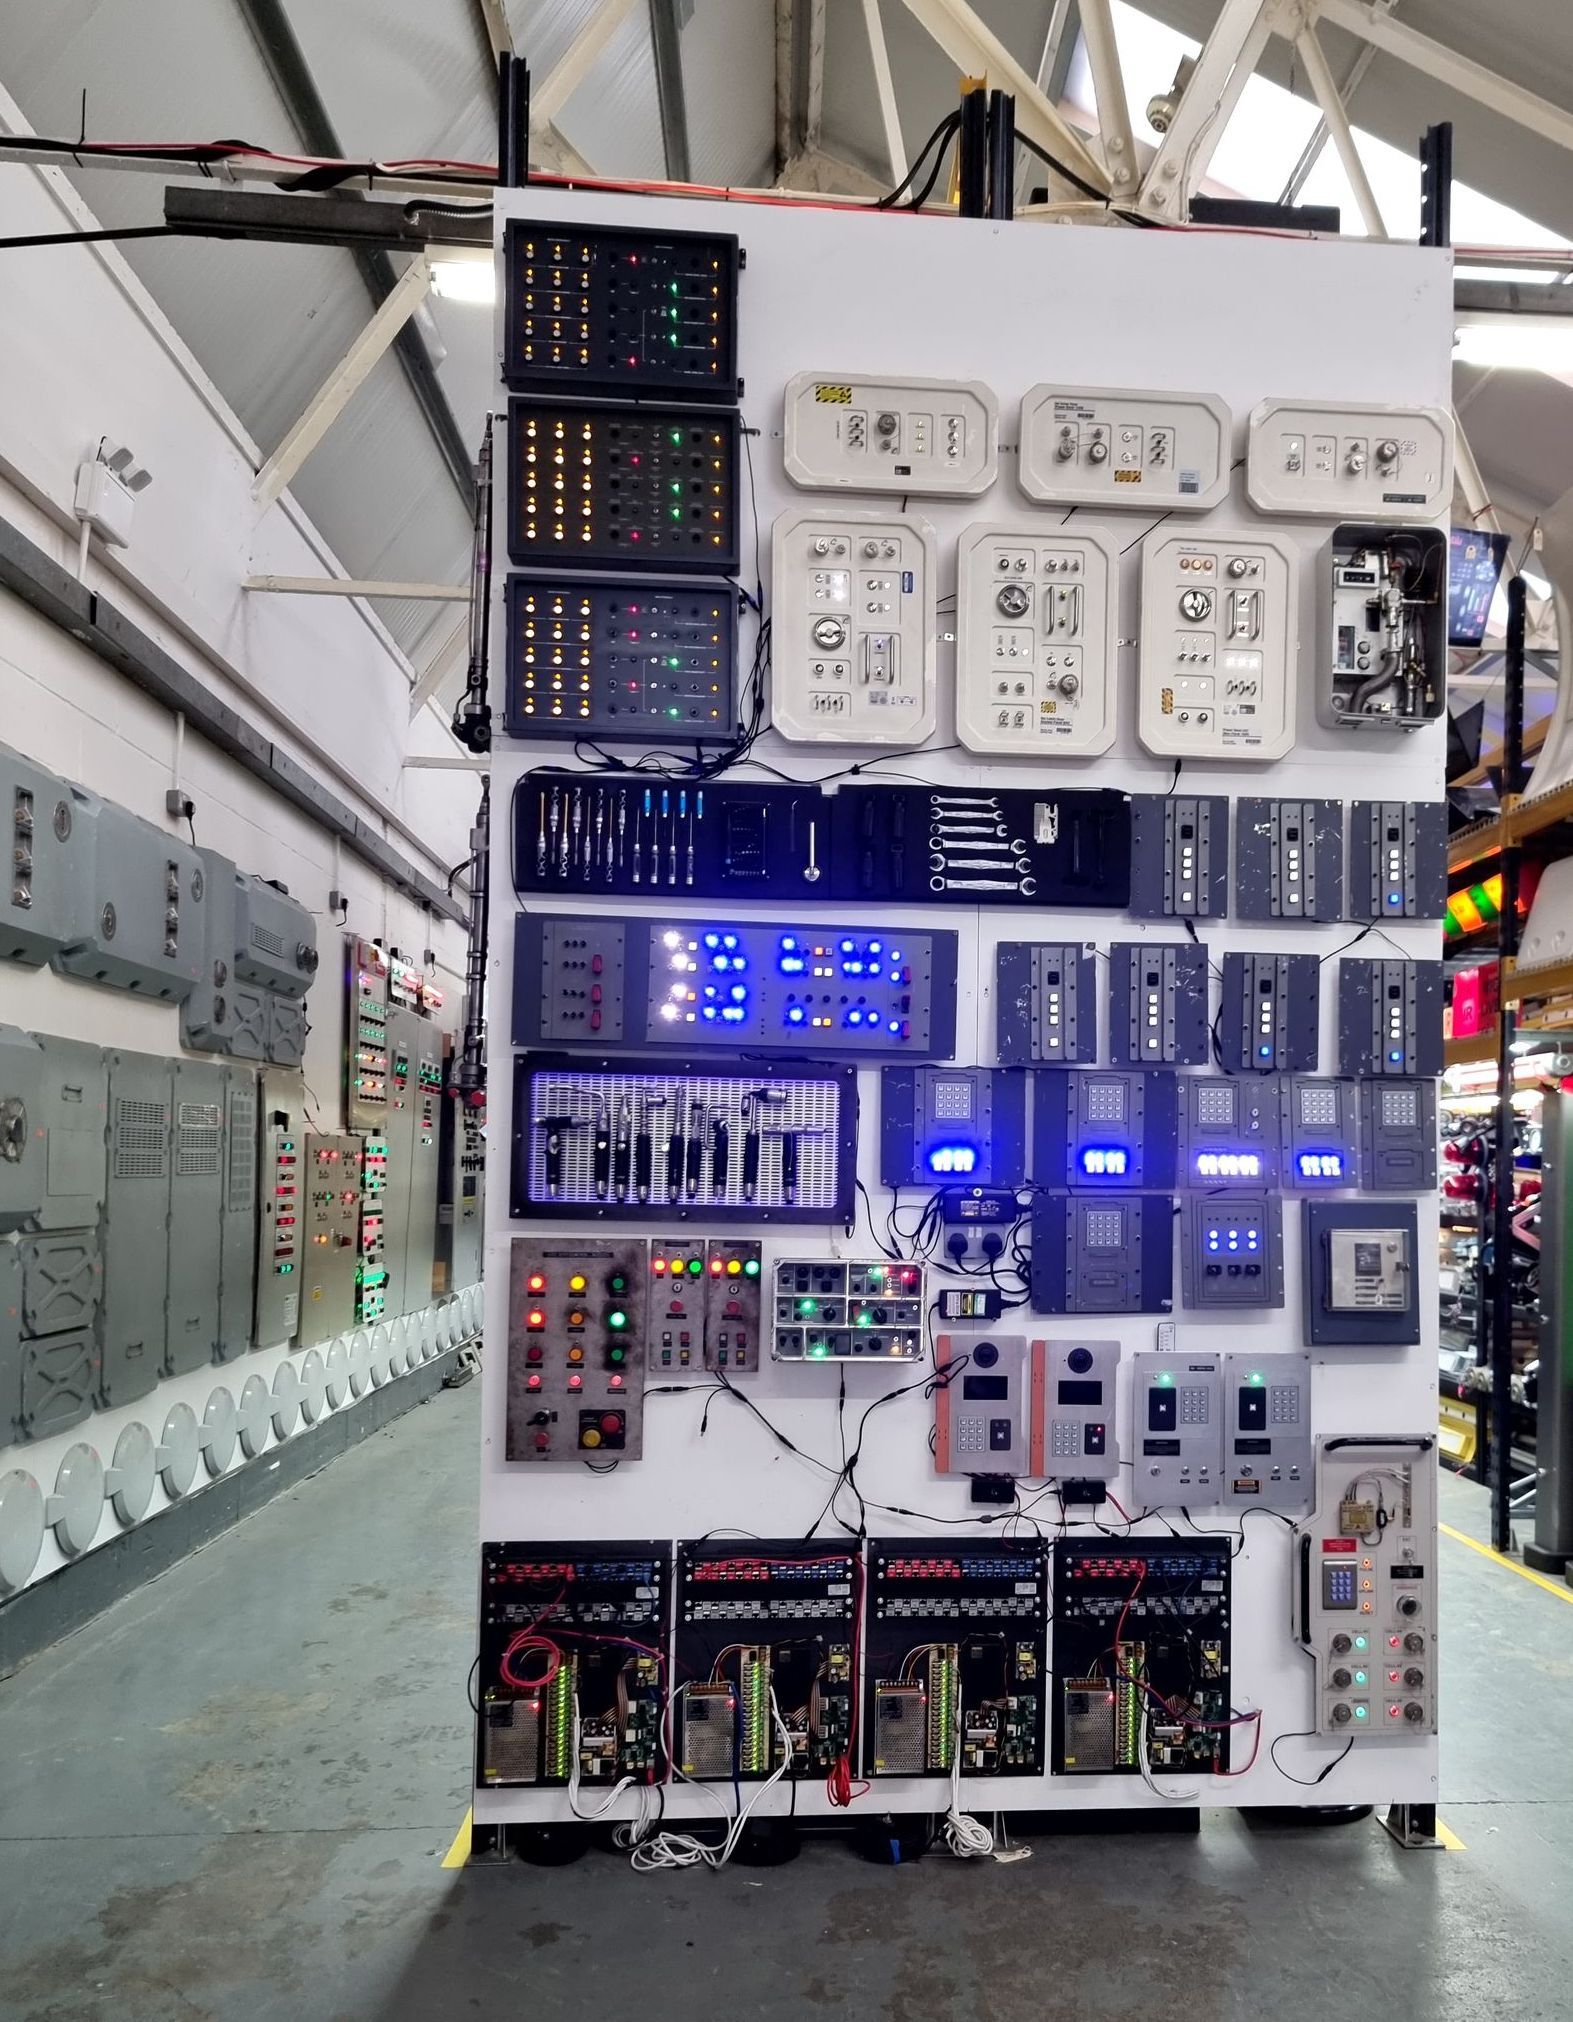
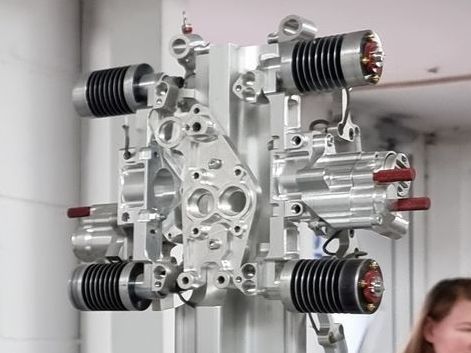
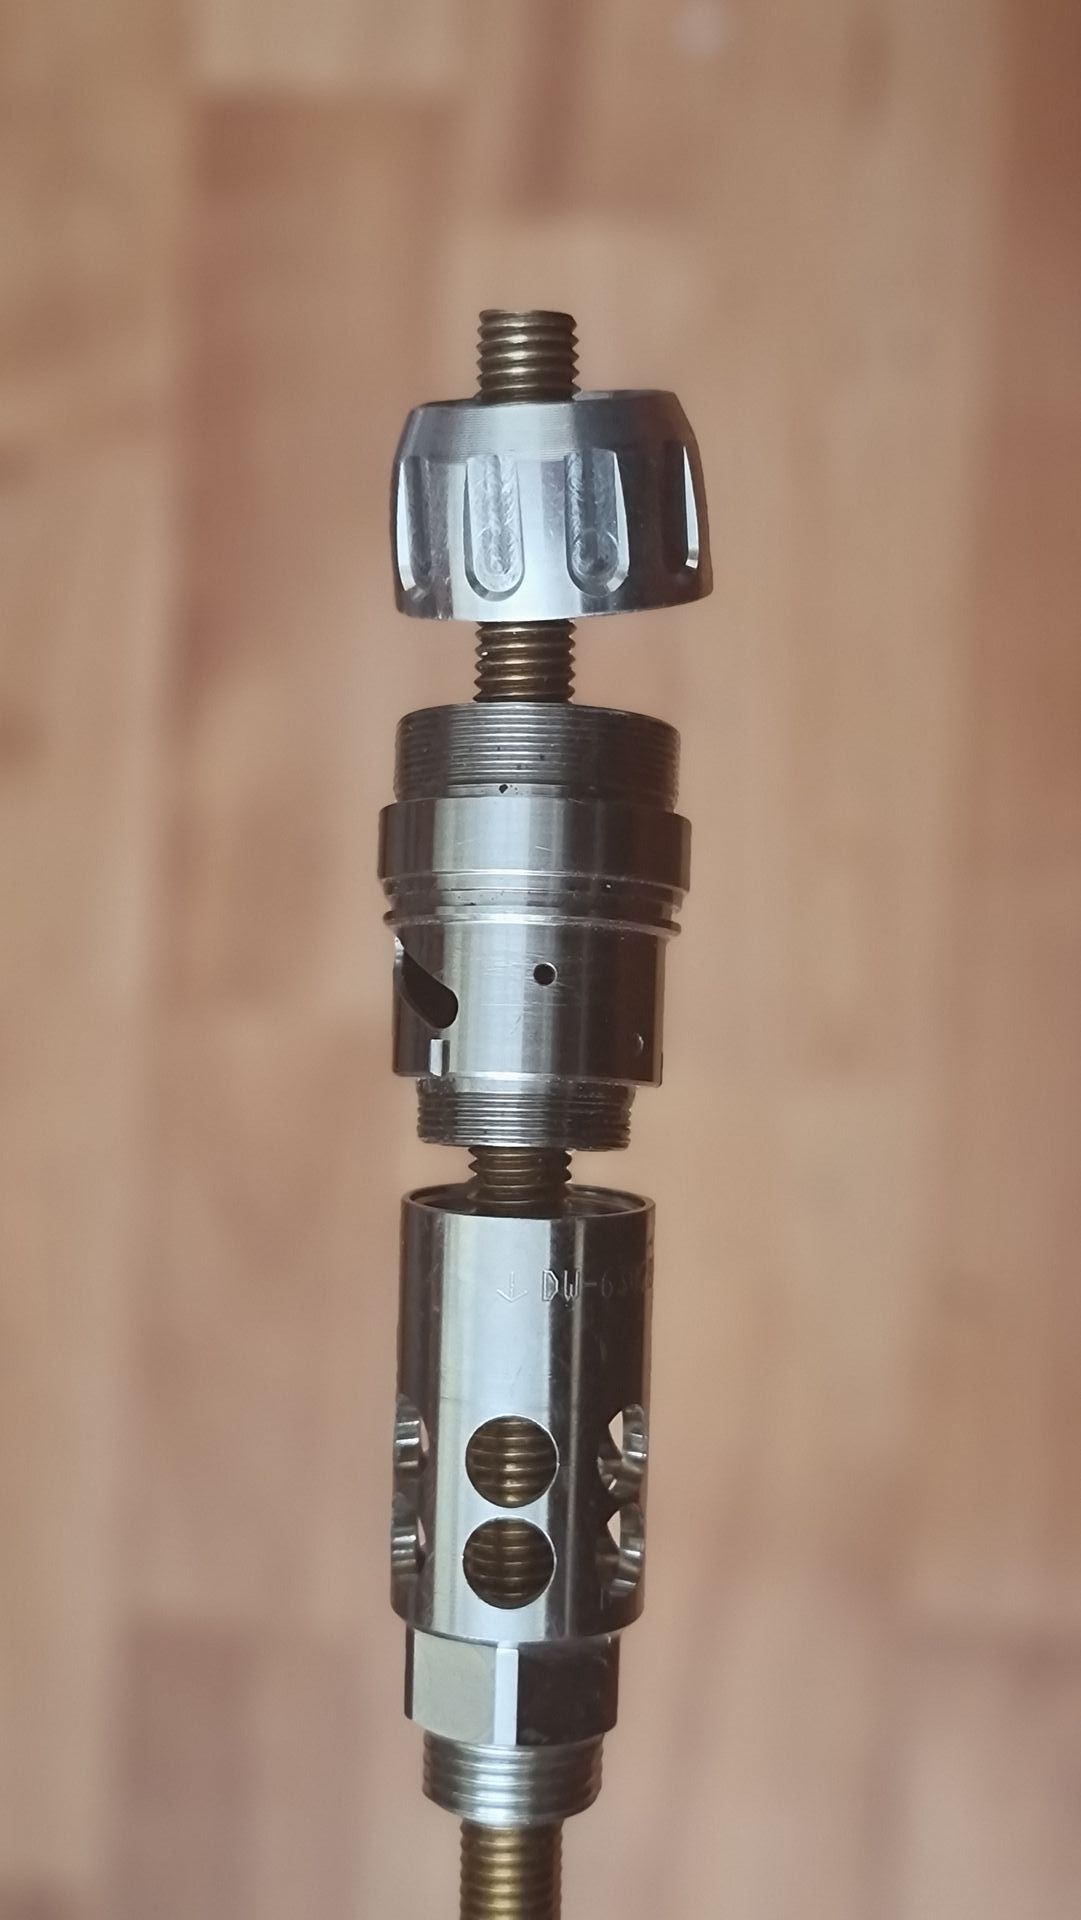
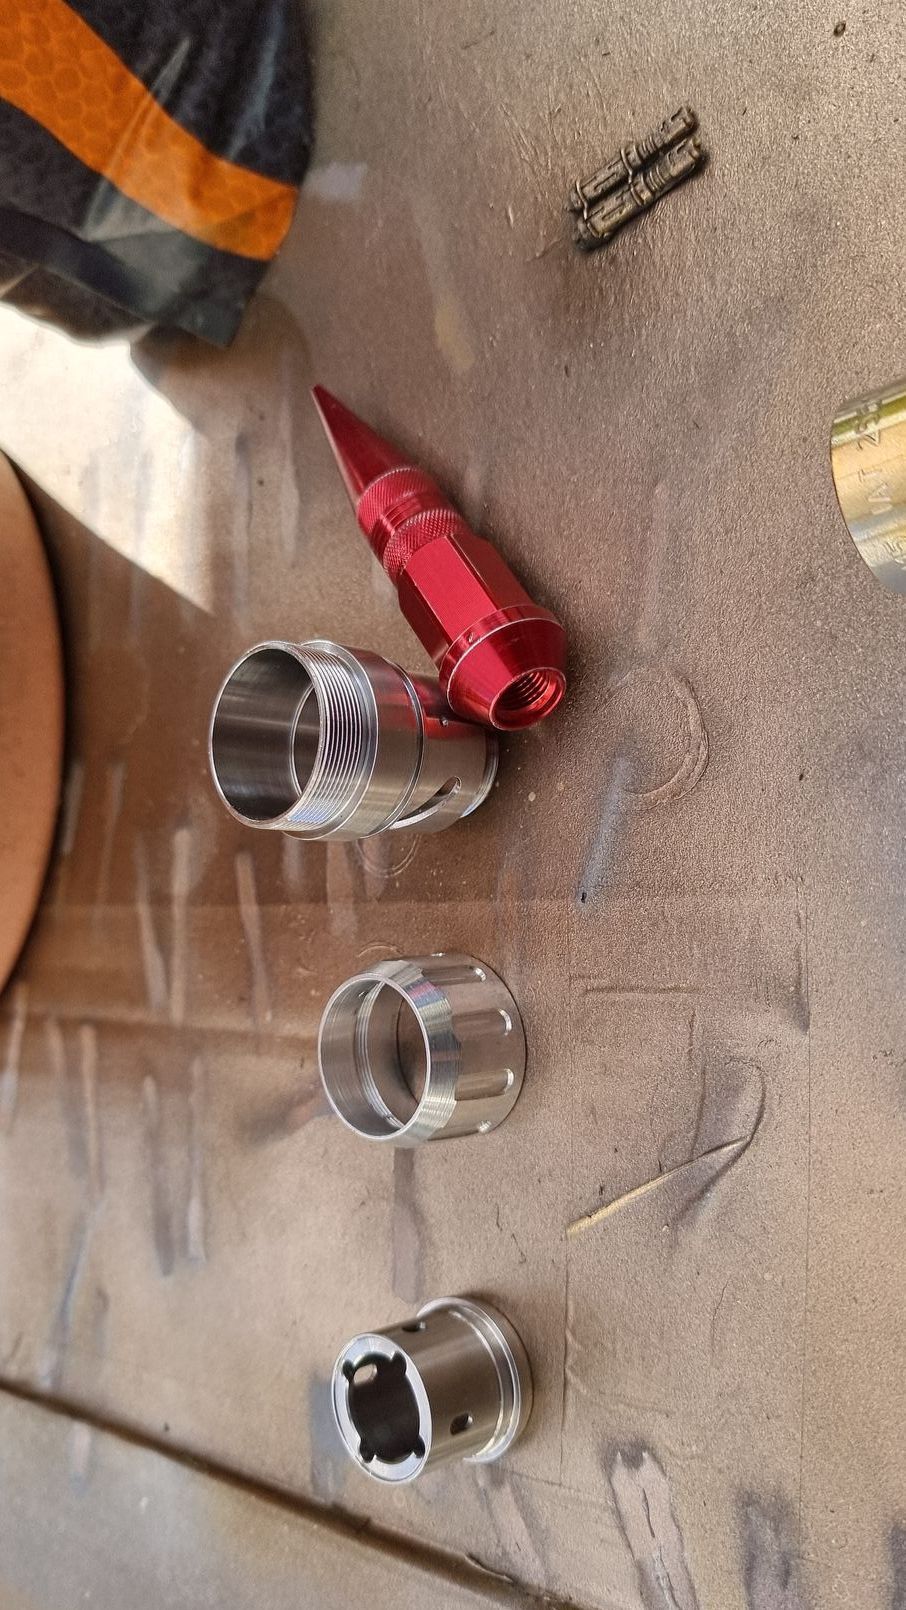
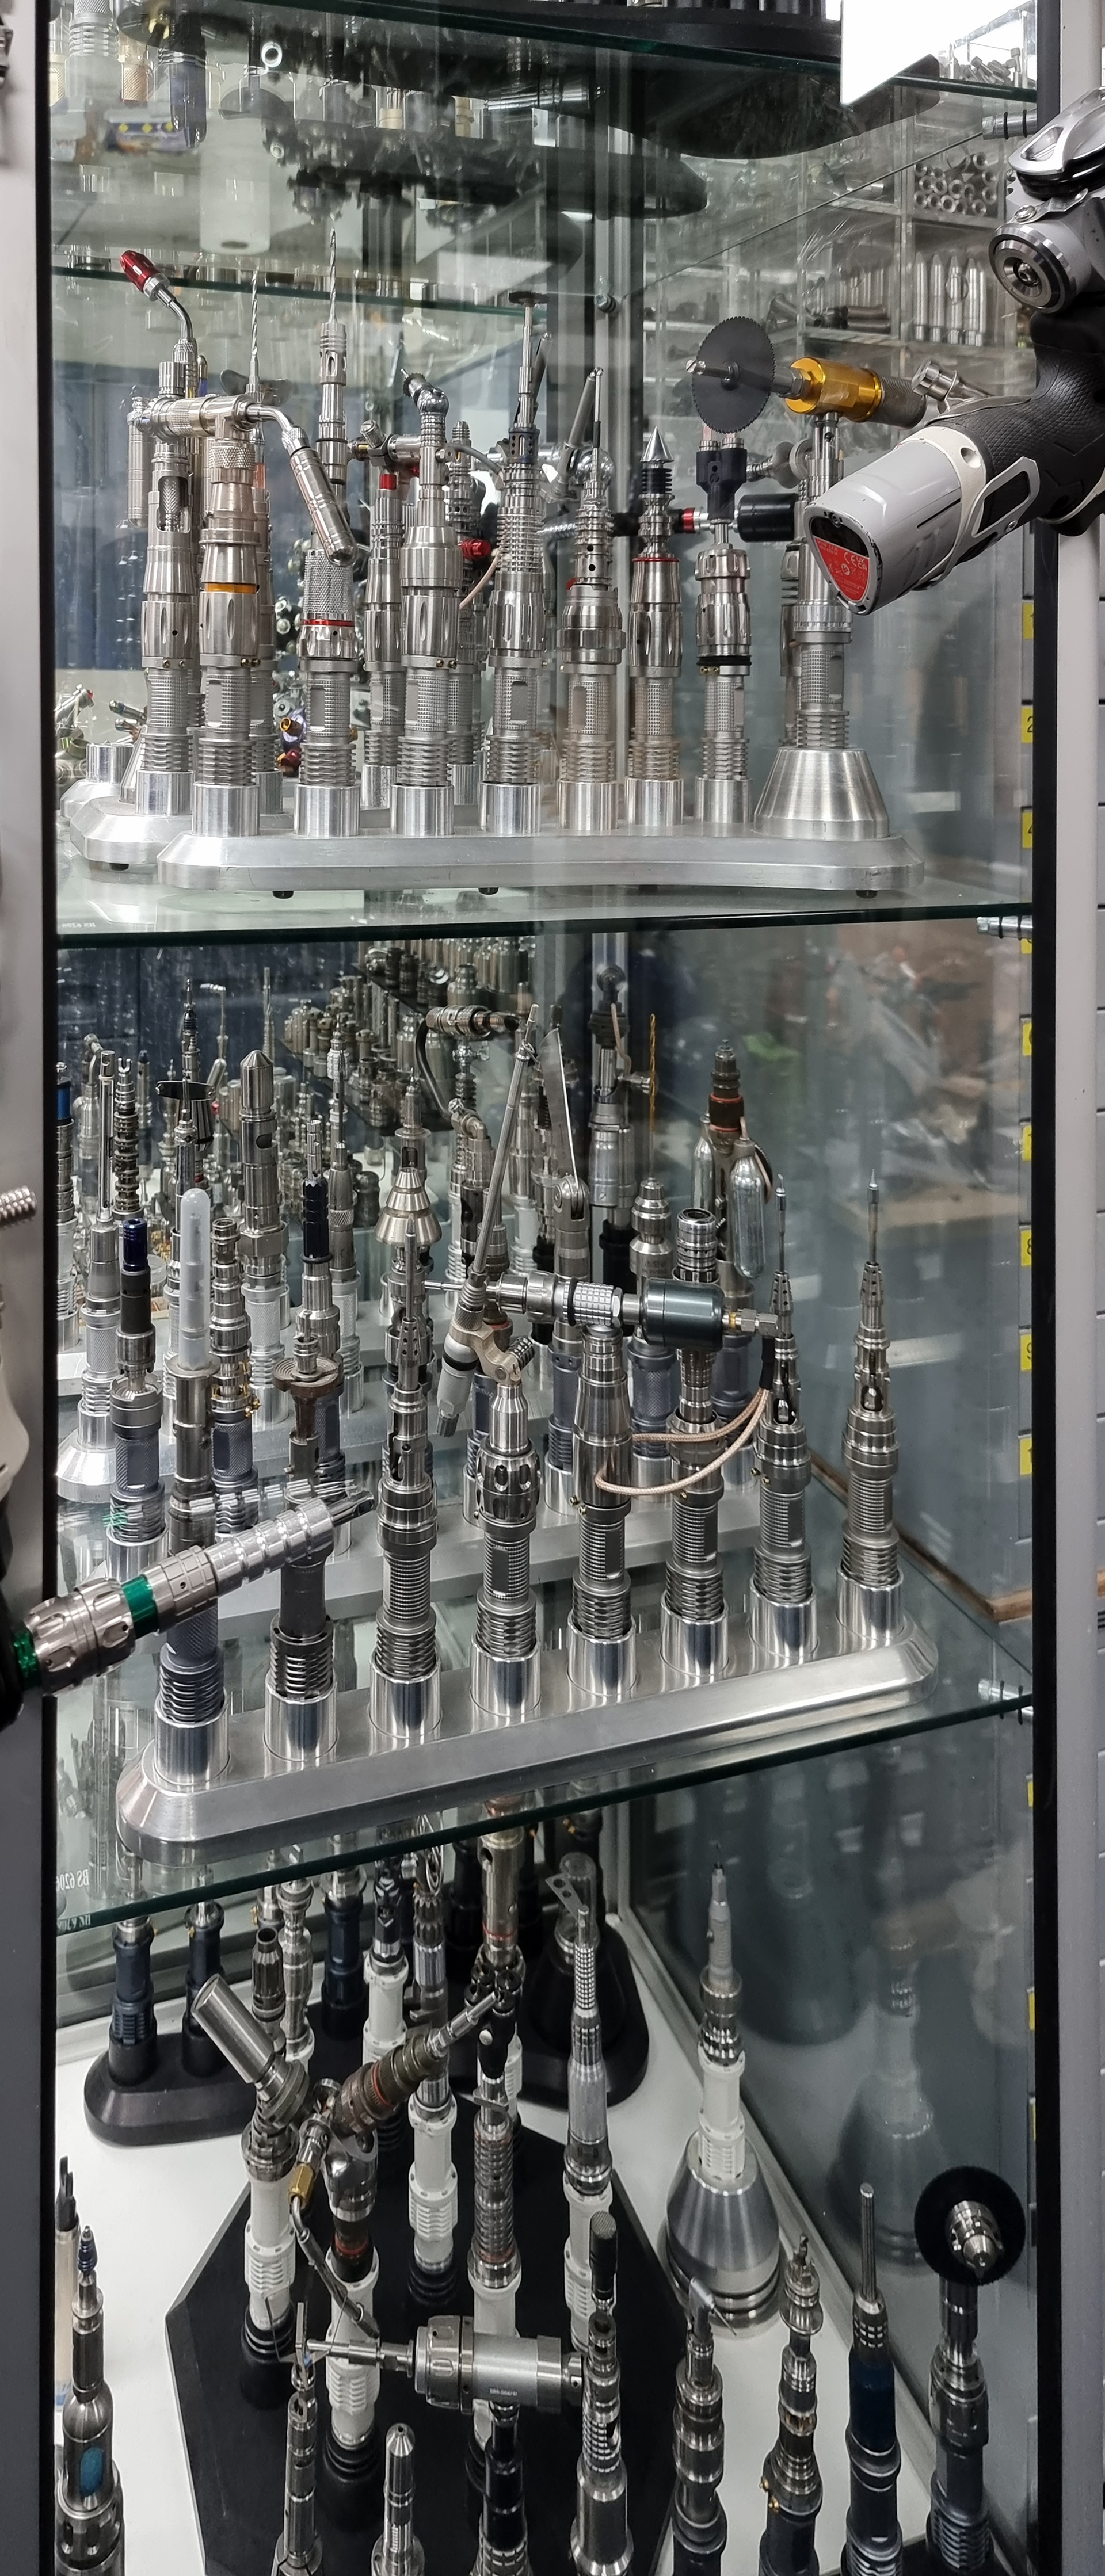
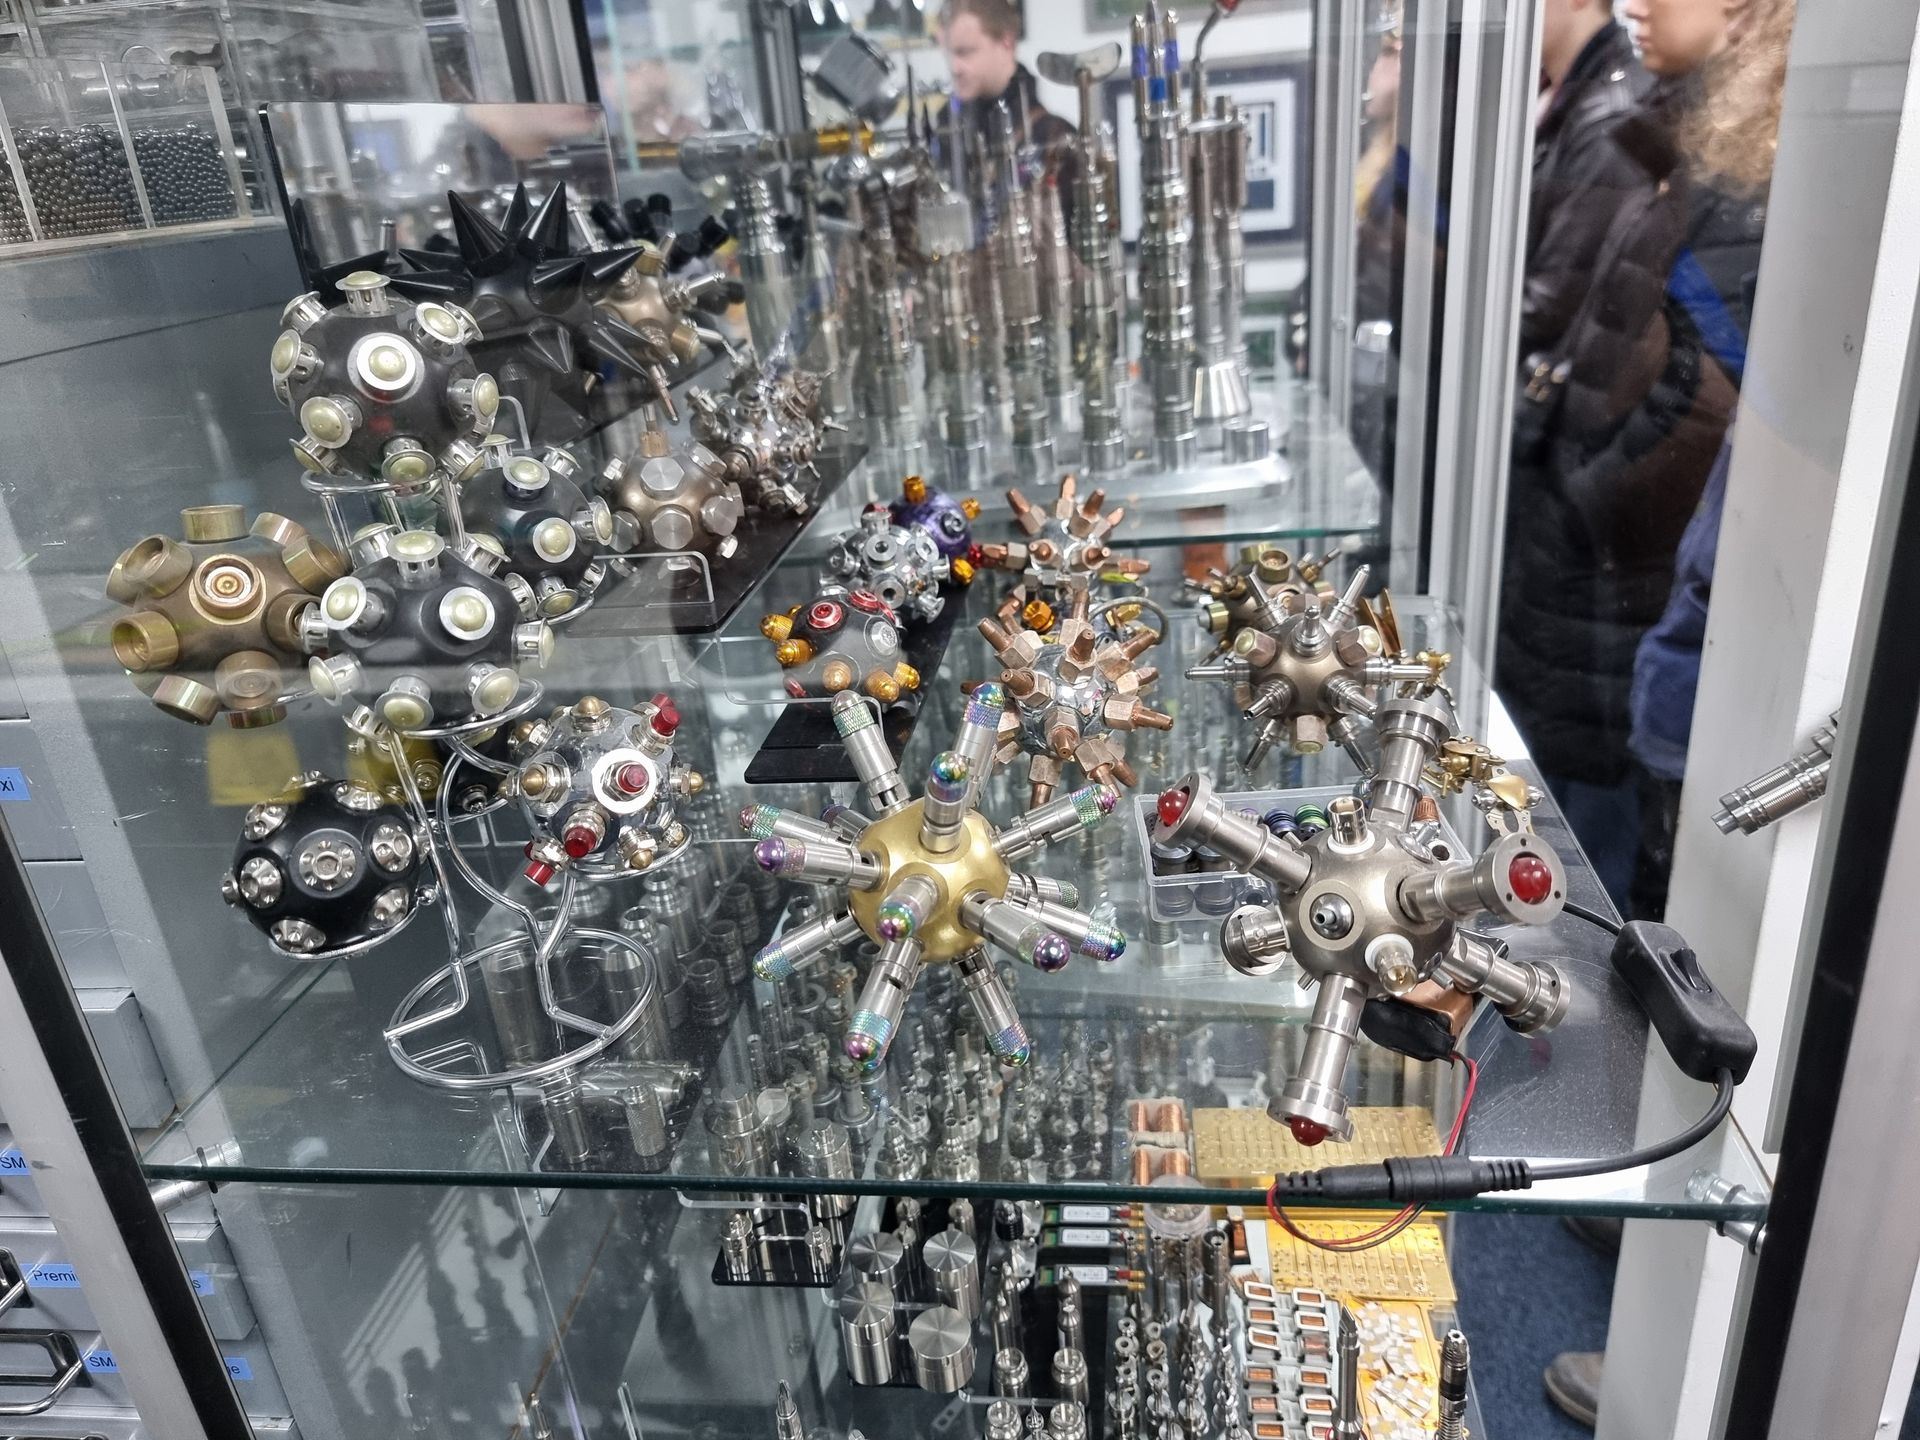
During the course after the Prop Making module, we were taken to Bob’s Bits prop house which is based around medical, military, scientific, engineering and science fiction set decoration and props.
Among their customers are Lucasfilm and Disney and parts have been supplied to build some of the lightsabres used in their shows and films.
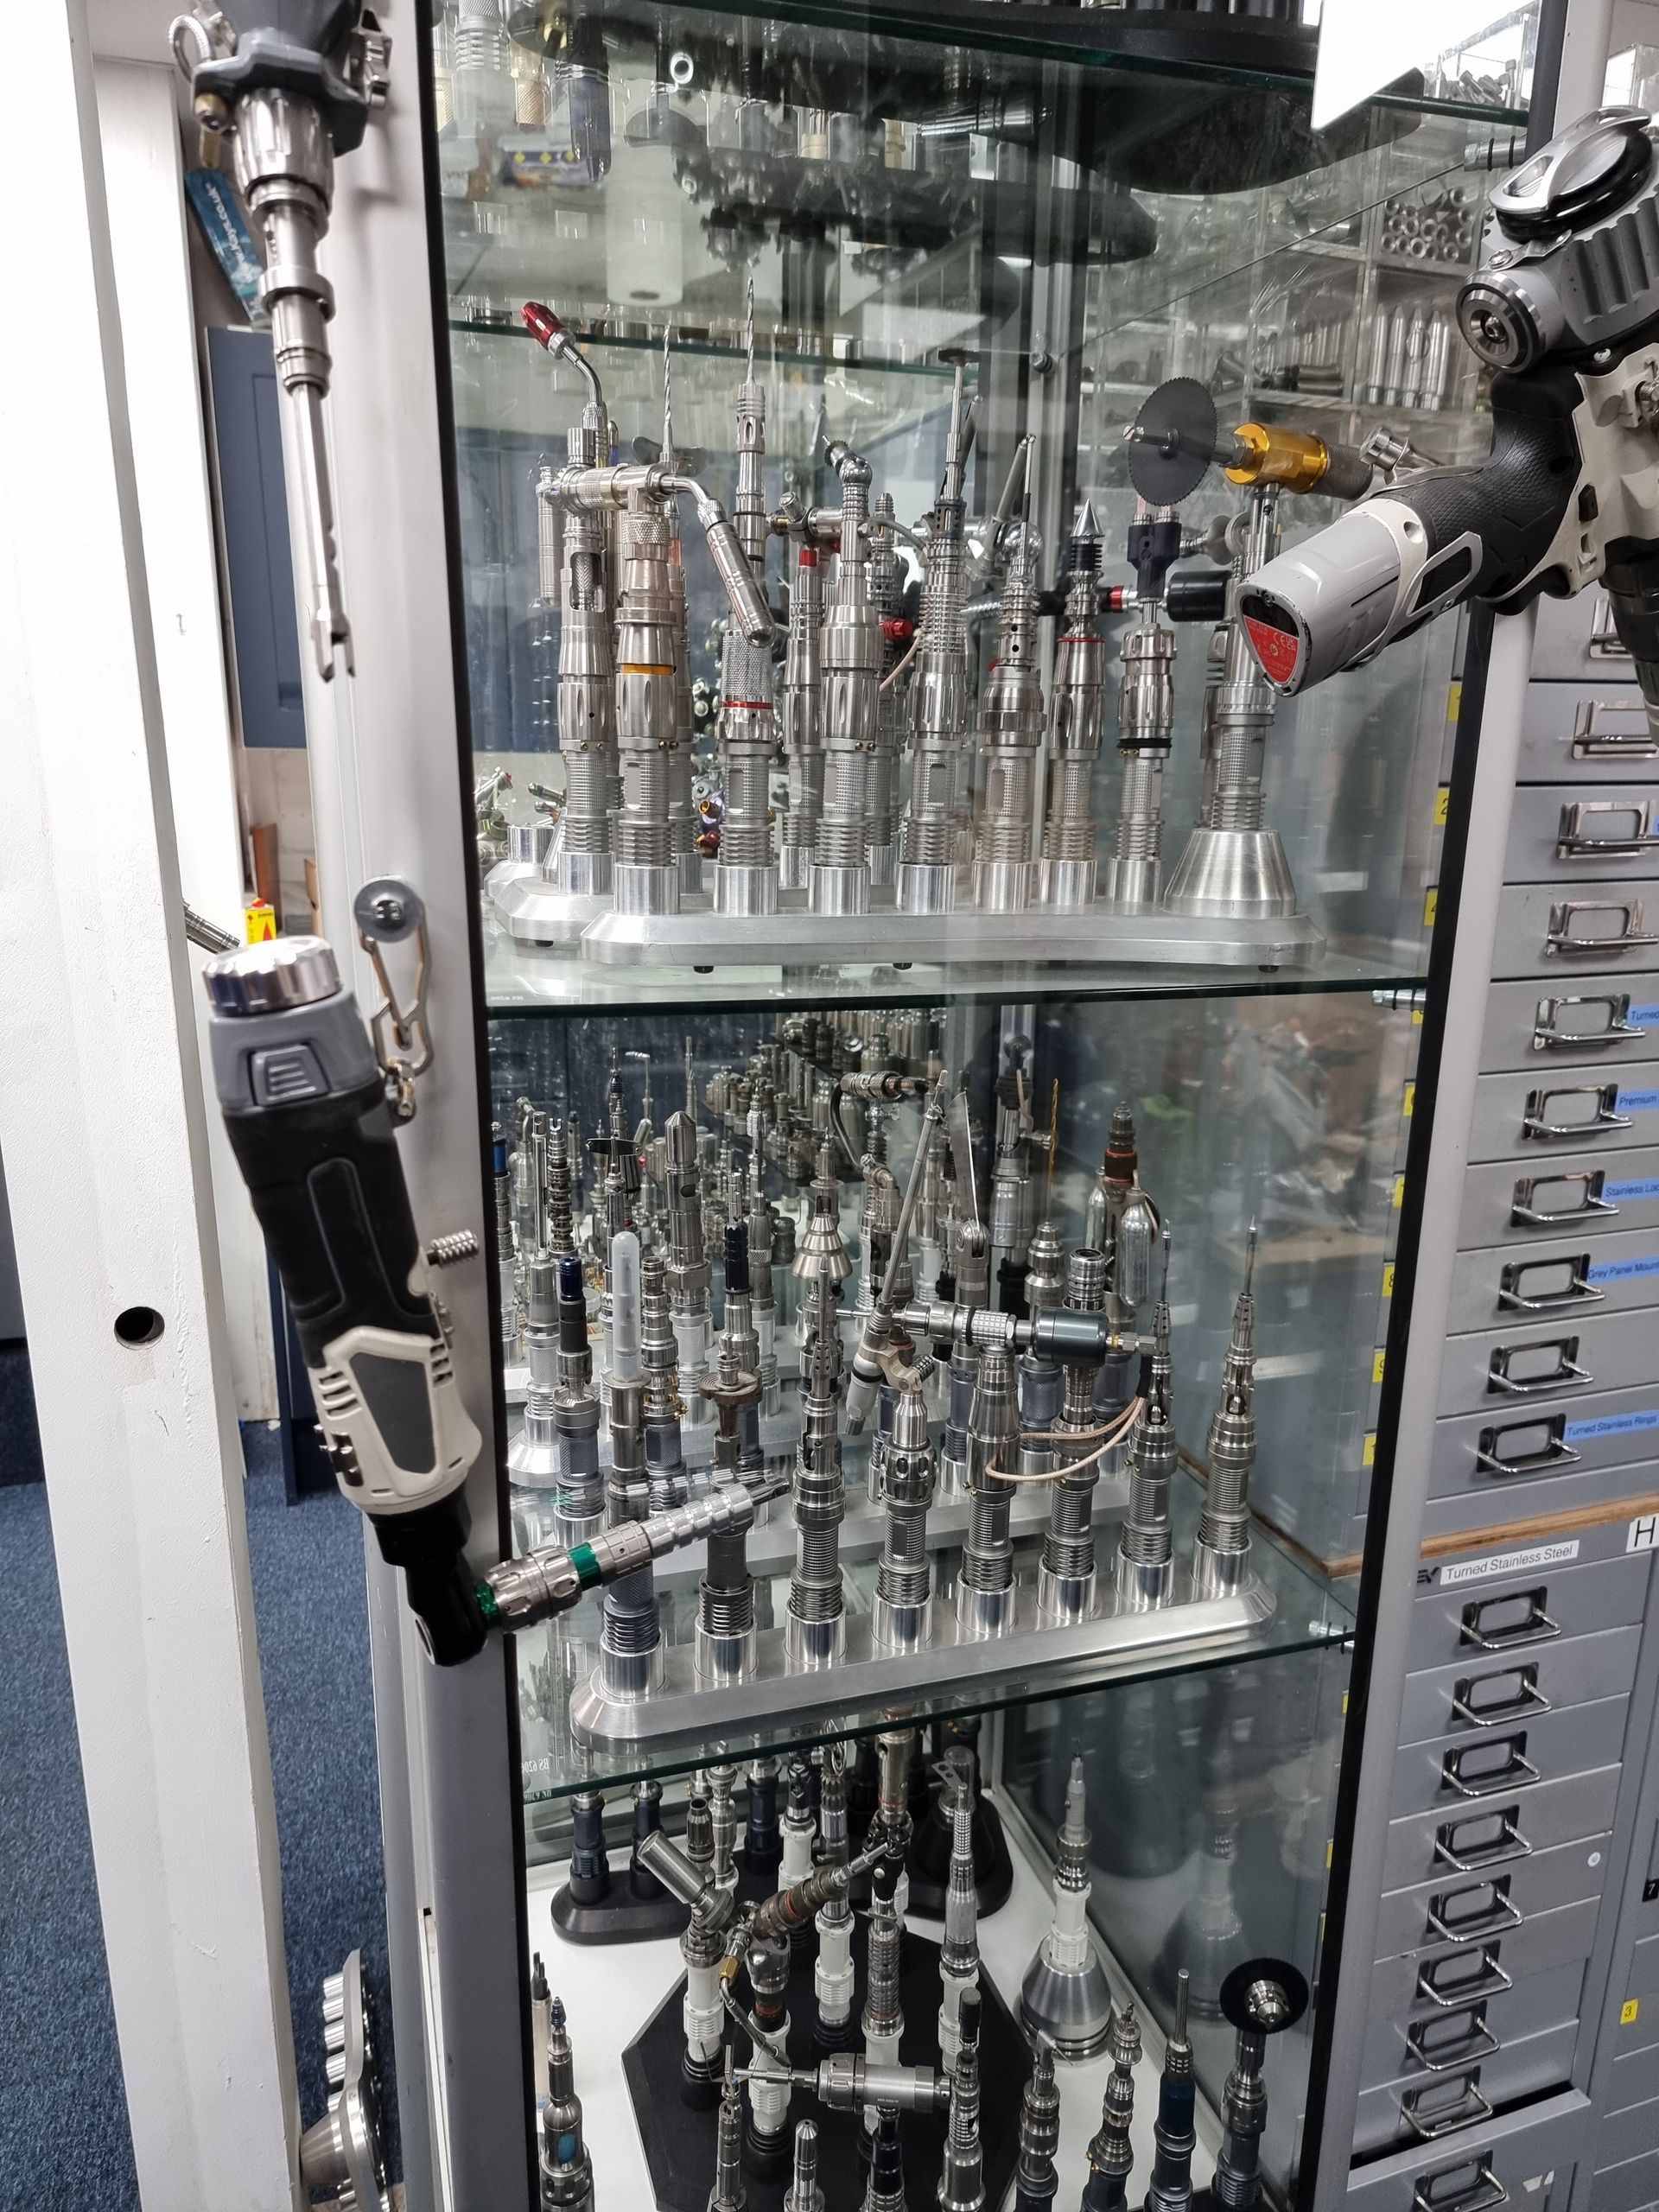
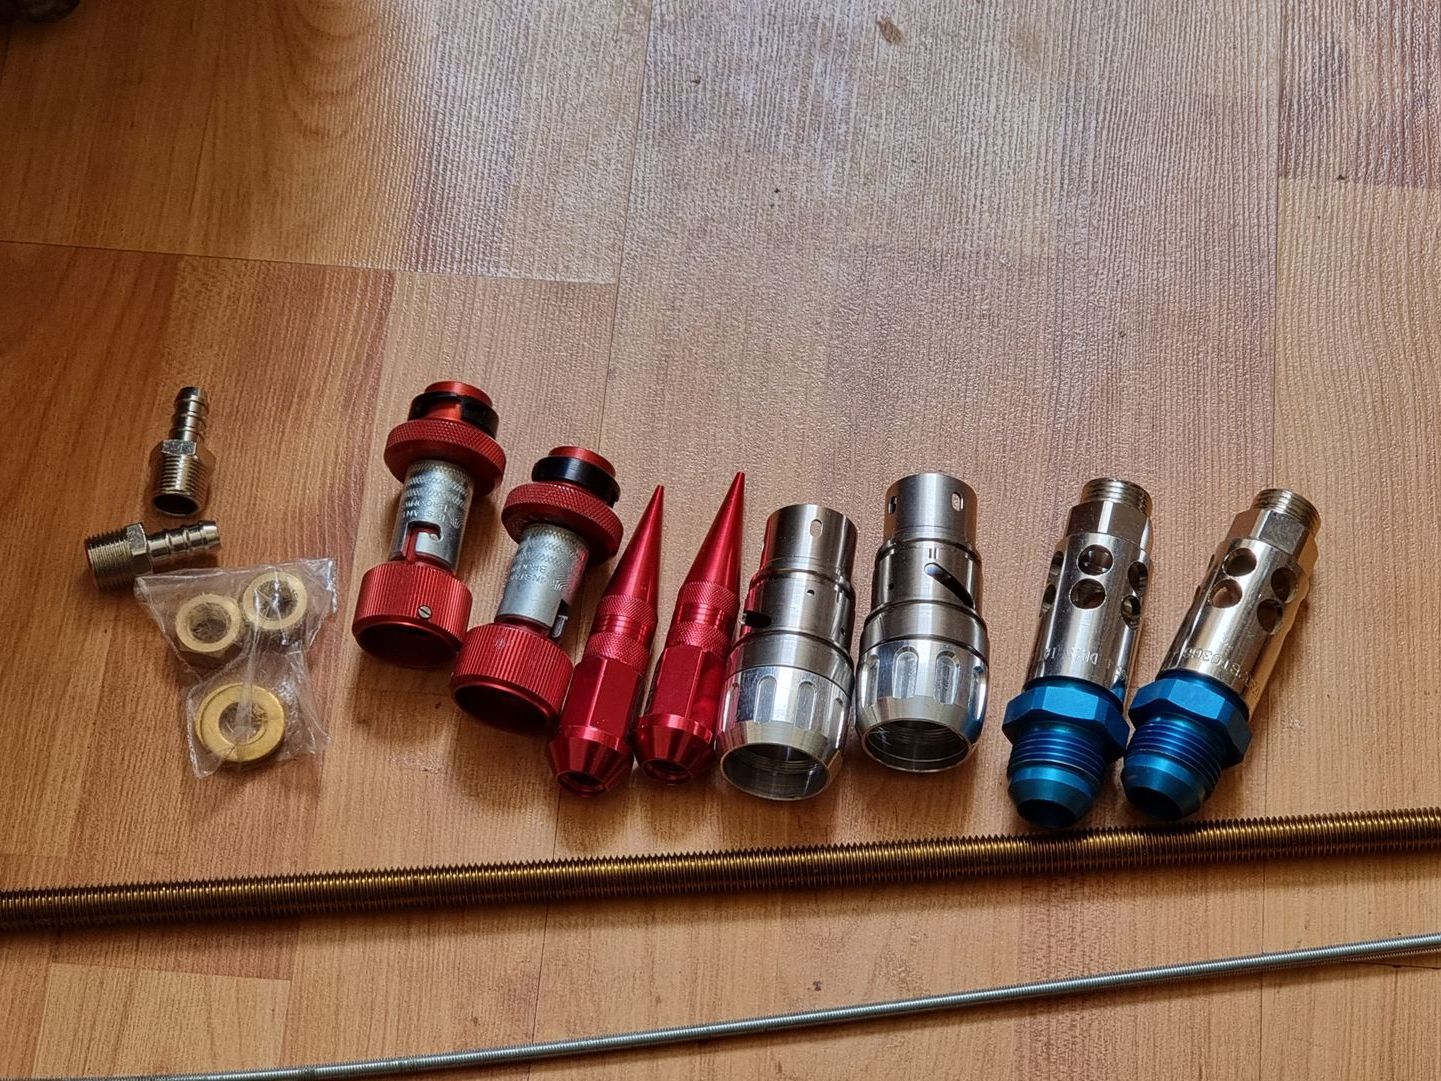
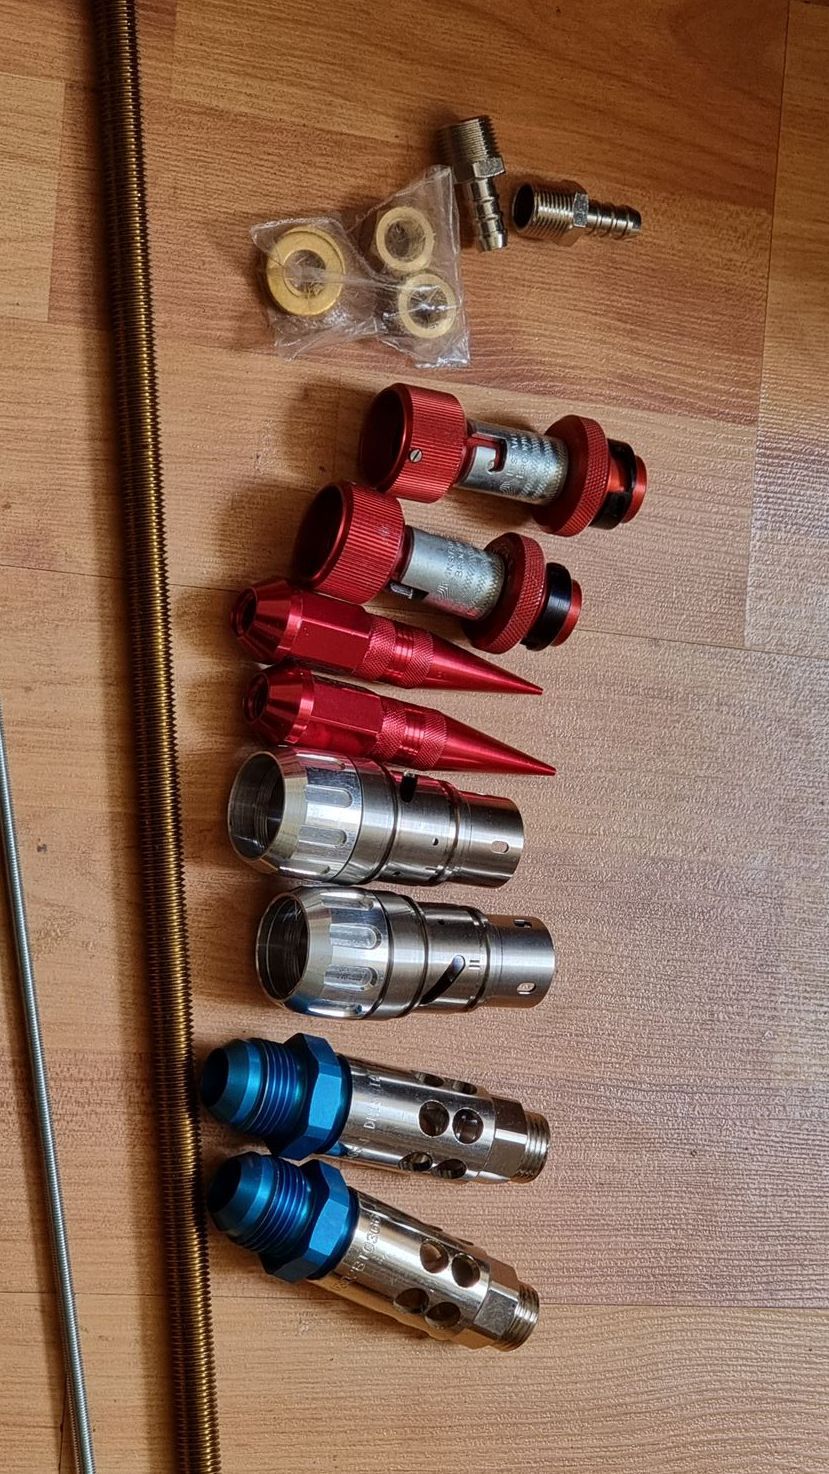
During the visit in the office, I saw unusual sci-fi like objects that would be ideal to make the communication towers out of.
I contacted Bobs Bits they said I could come down and allowed me to go though trays of components.
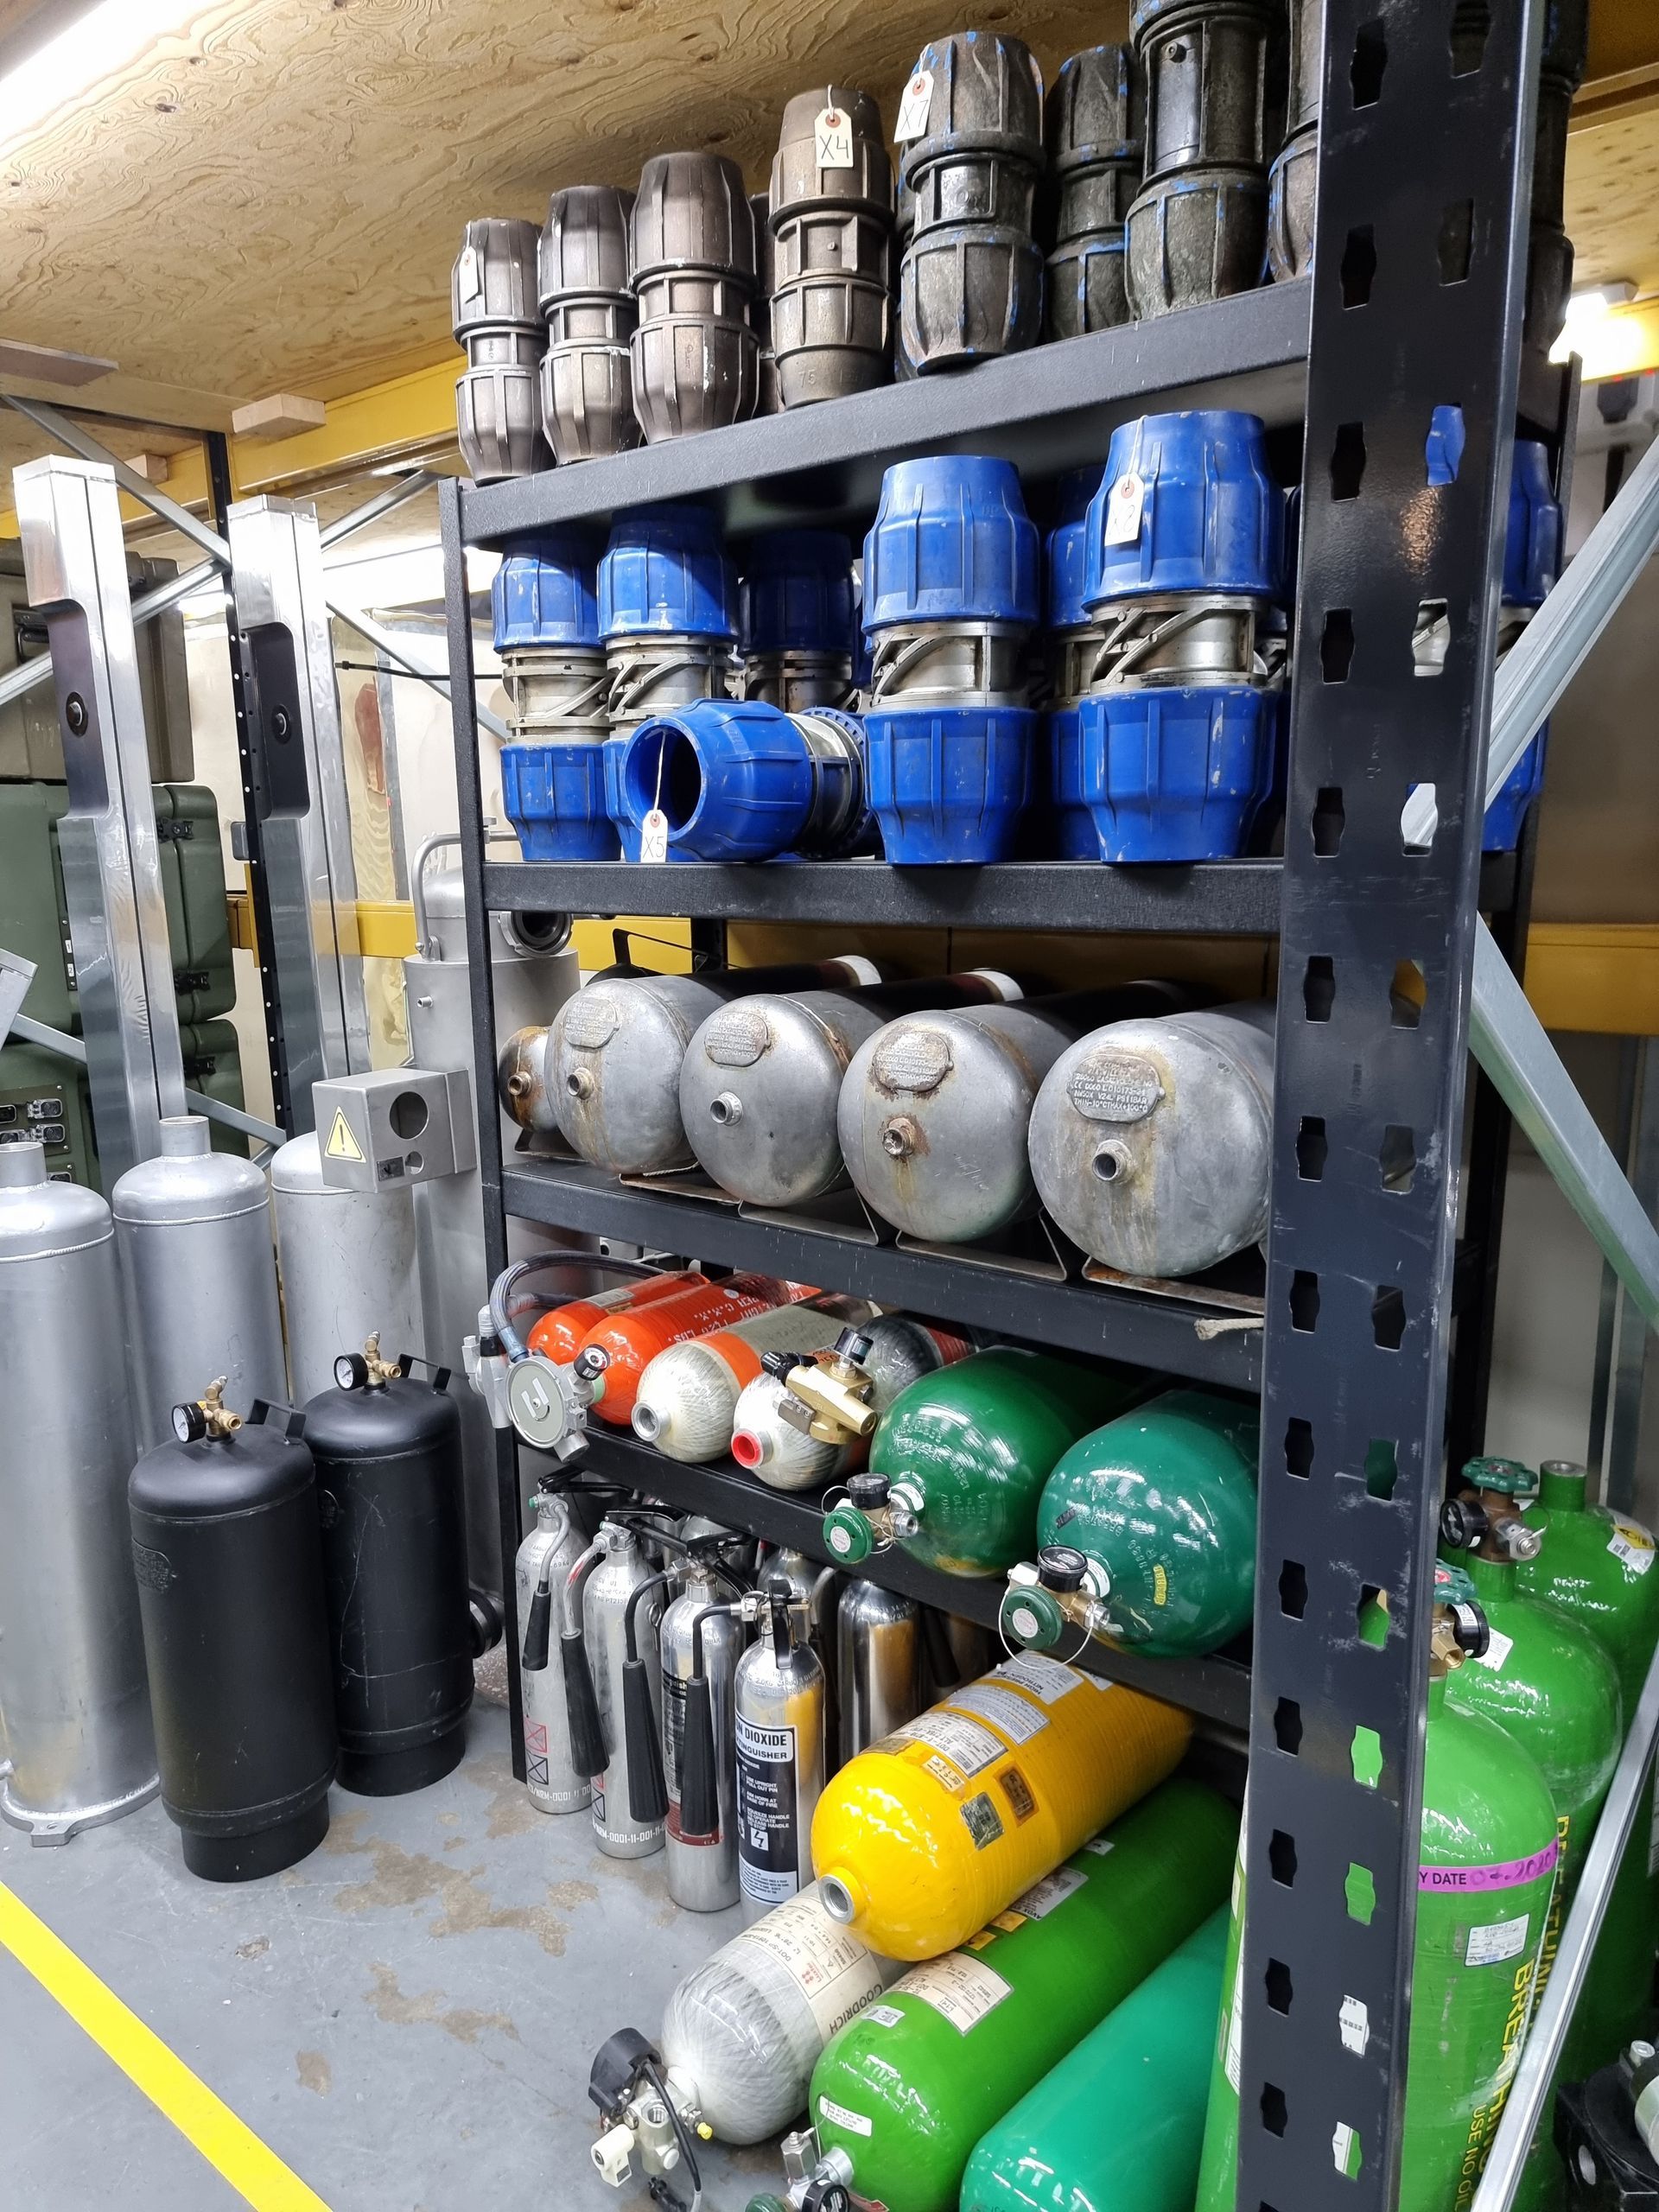
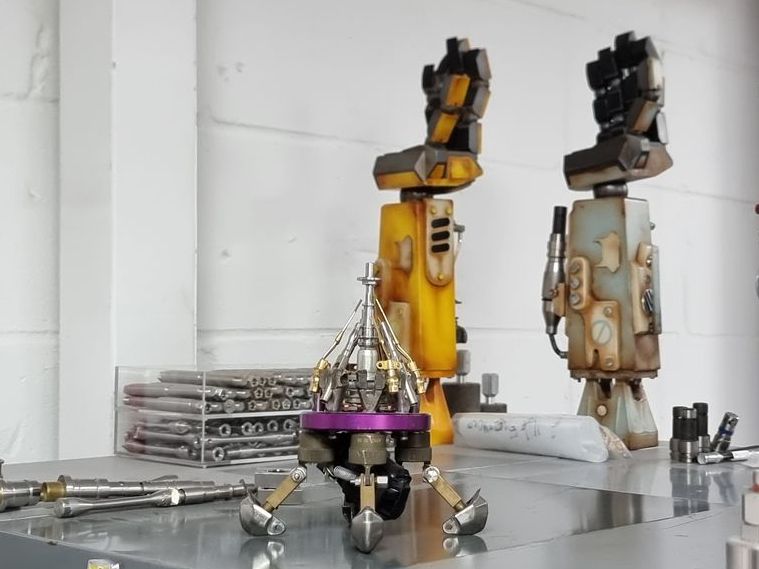
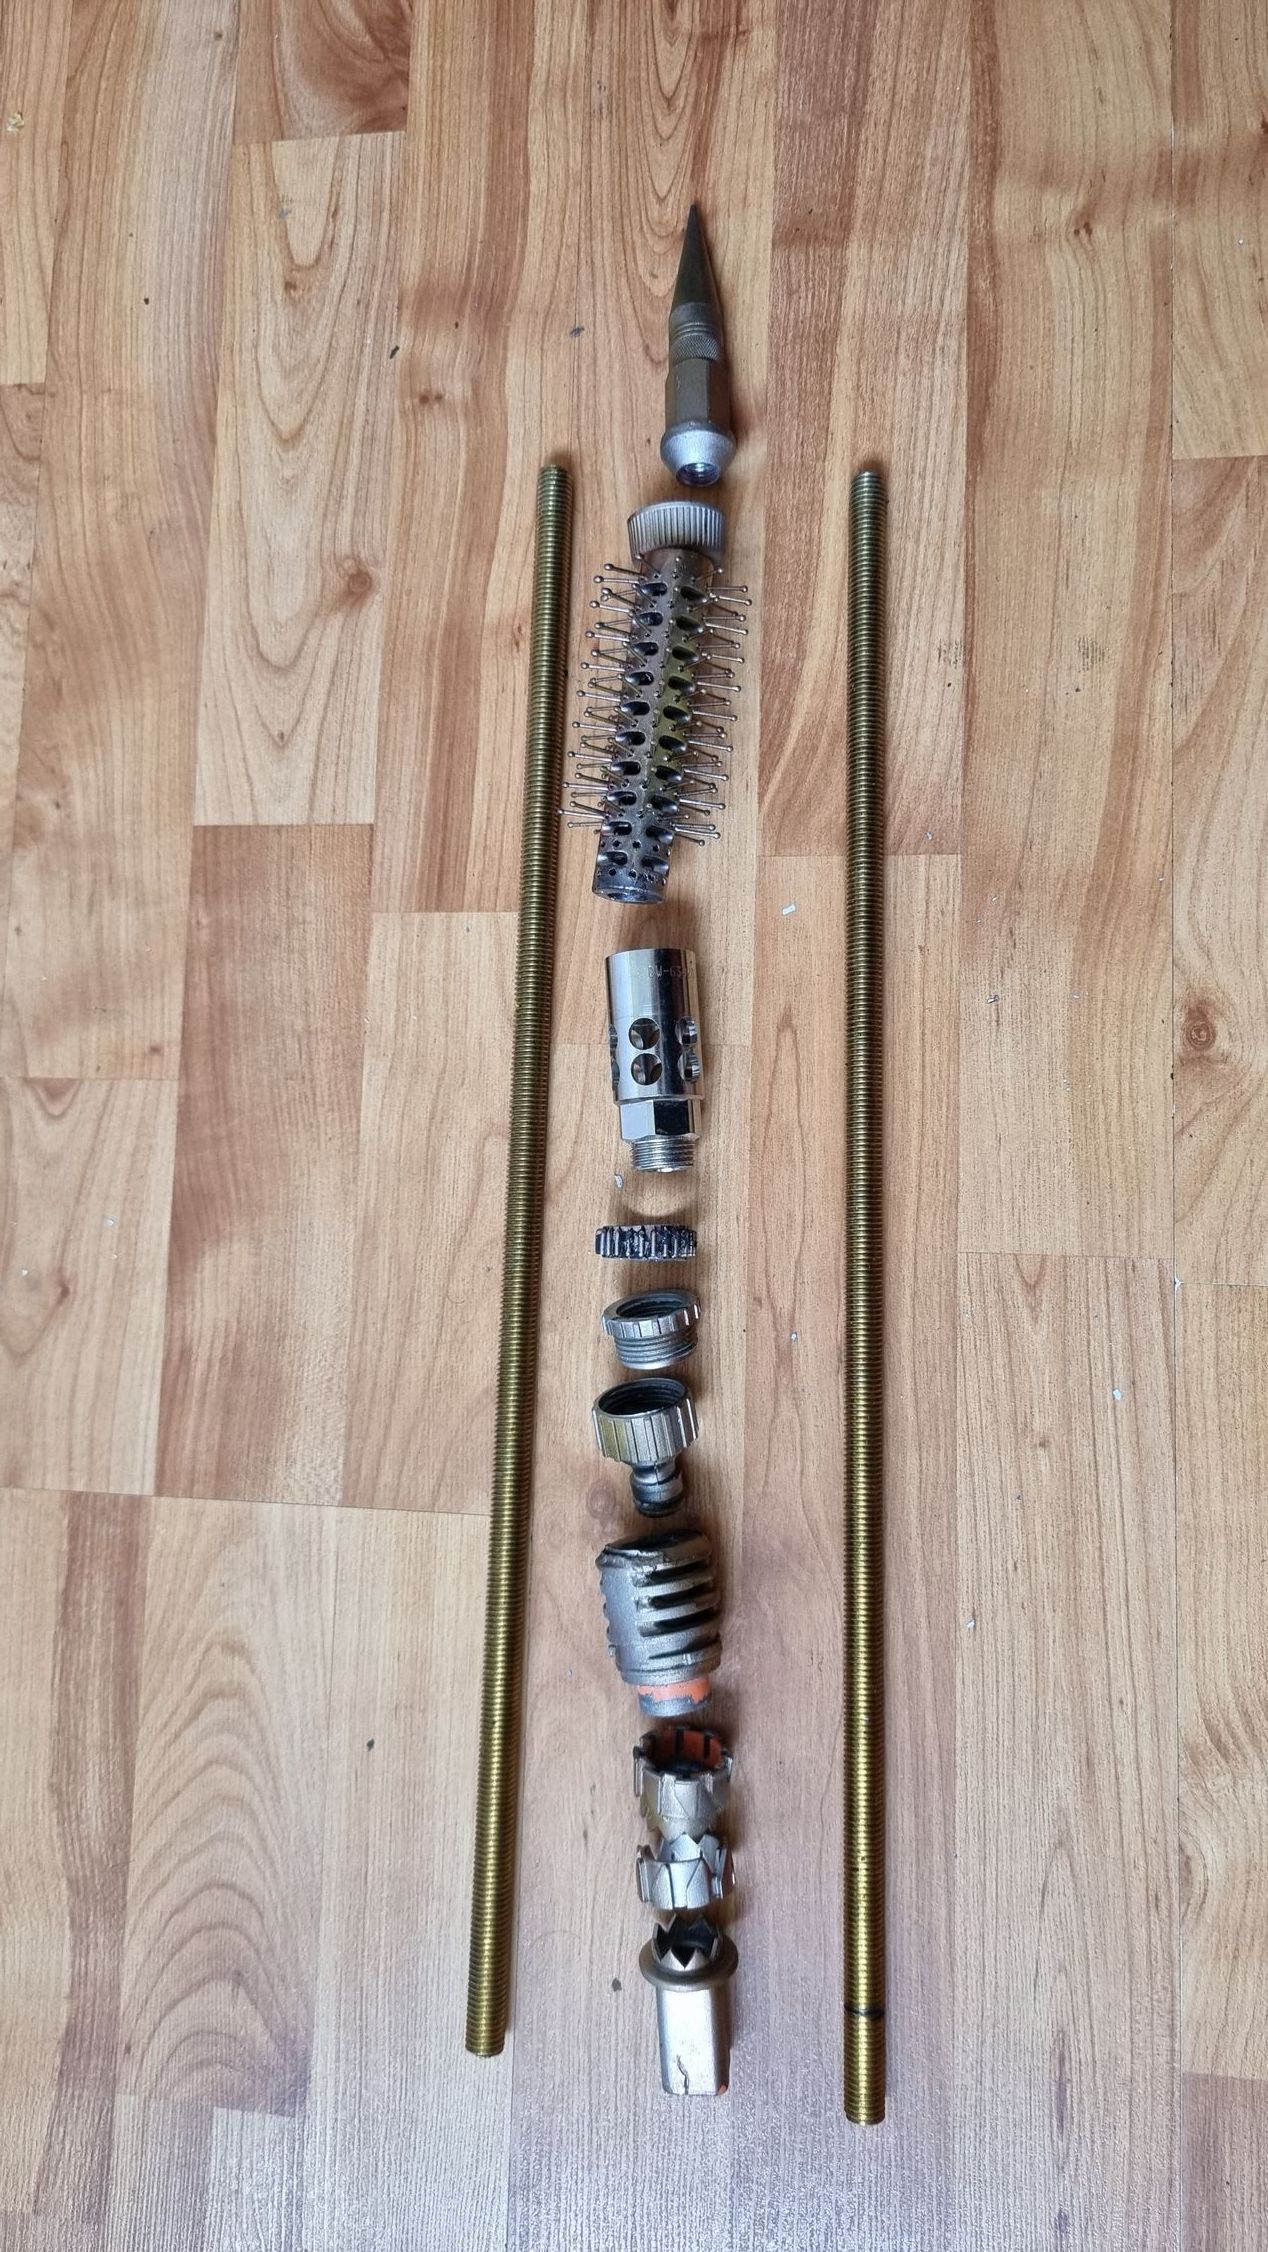
The components it turns out come from things like medical equipment that did not meet manufacture standards, torches, blow torches, pipe connectors and other equipment.
They offered to let me have parts for free. It took at least an hour and a half to go through the draws trying to find parts that fitted together.
A Special Thanks to Bob Thorne of Bob's Bits and recomend the place for your Sci Fi Set Decoration and Prop Bits.
Local Kit Bashing as Well
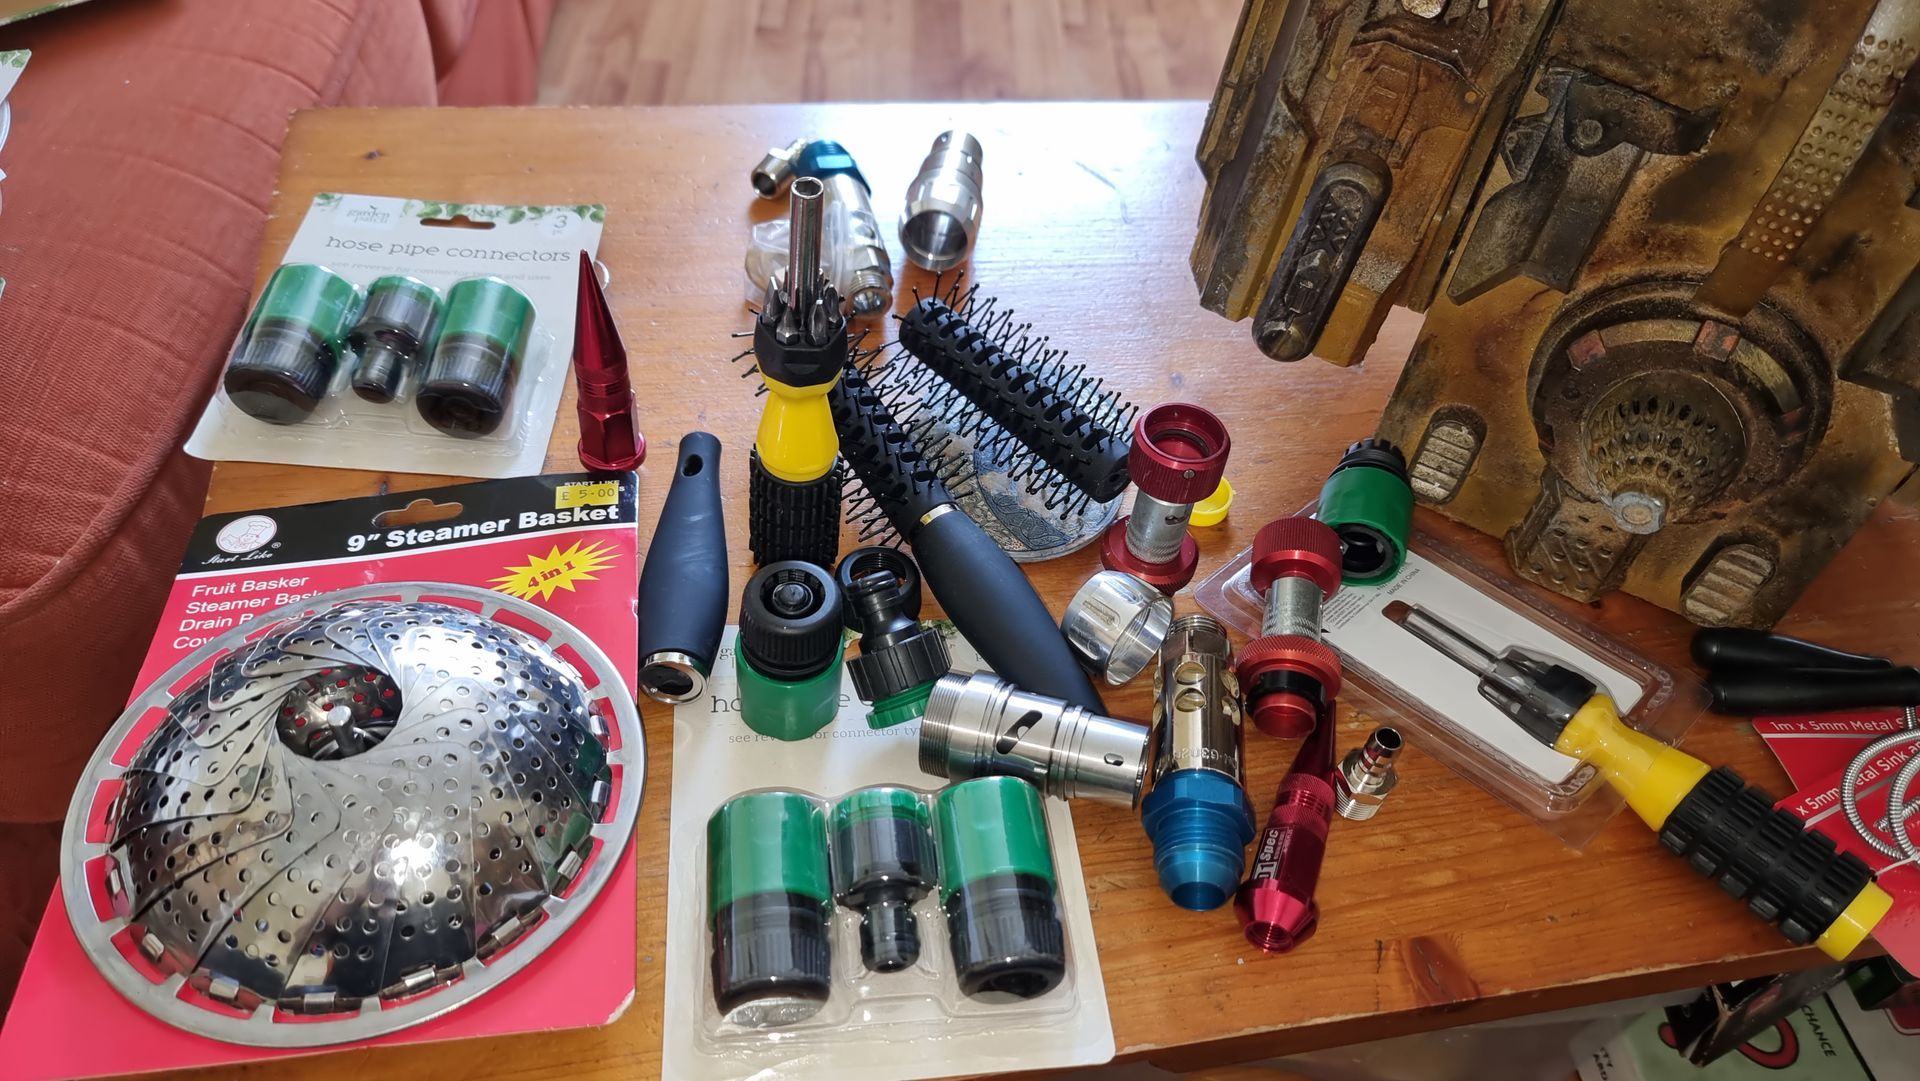
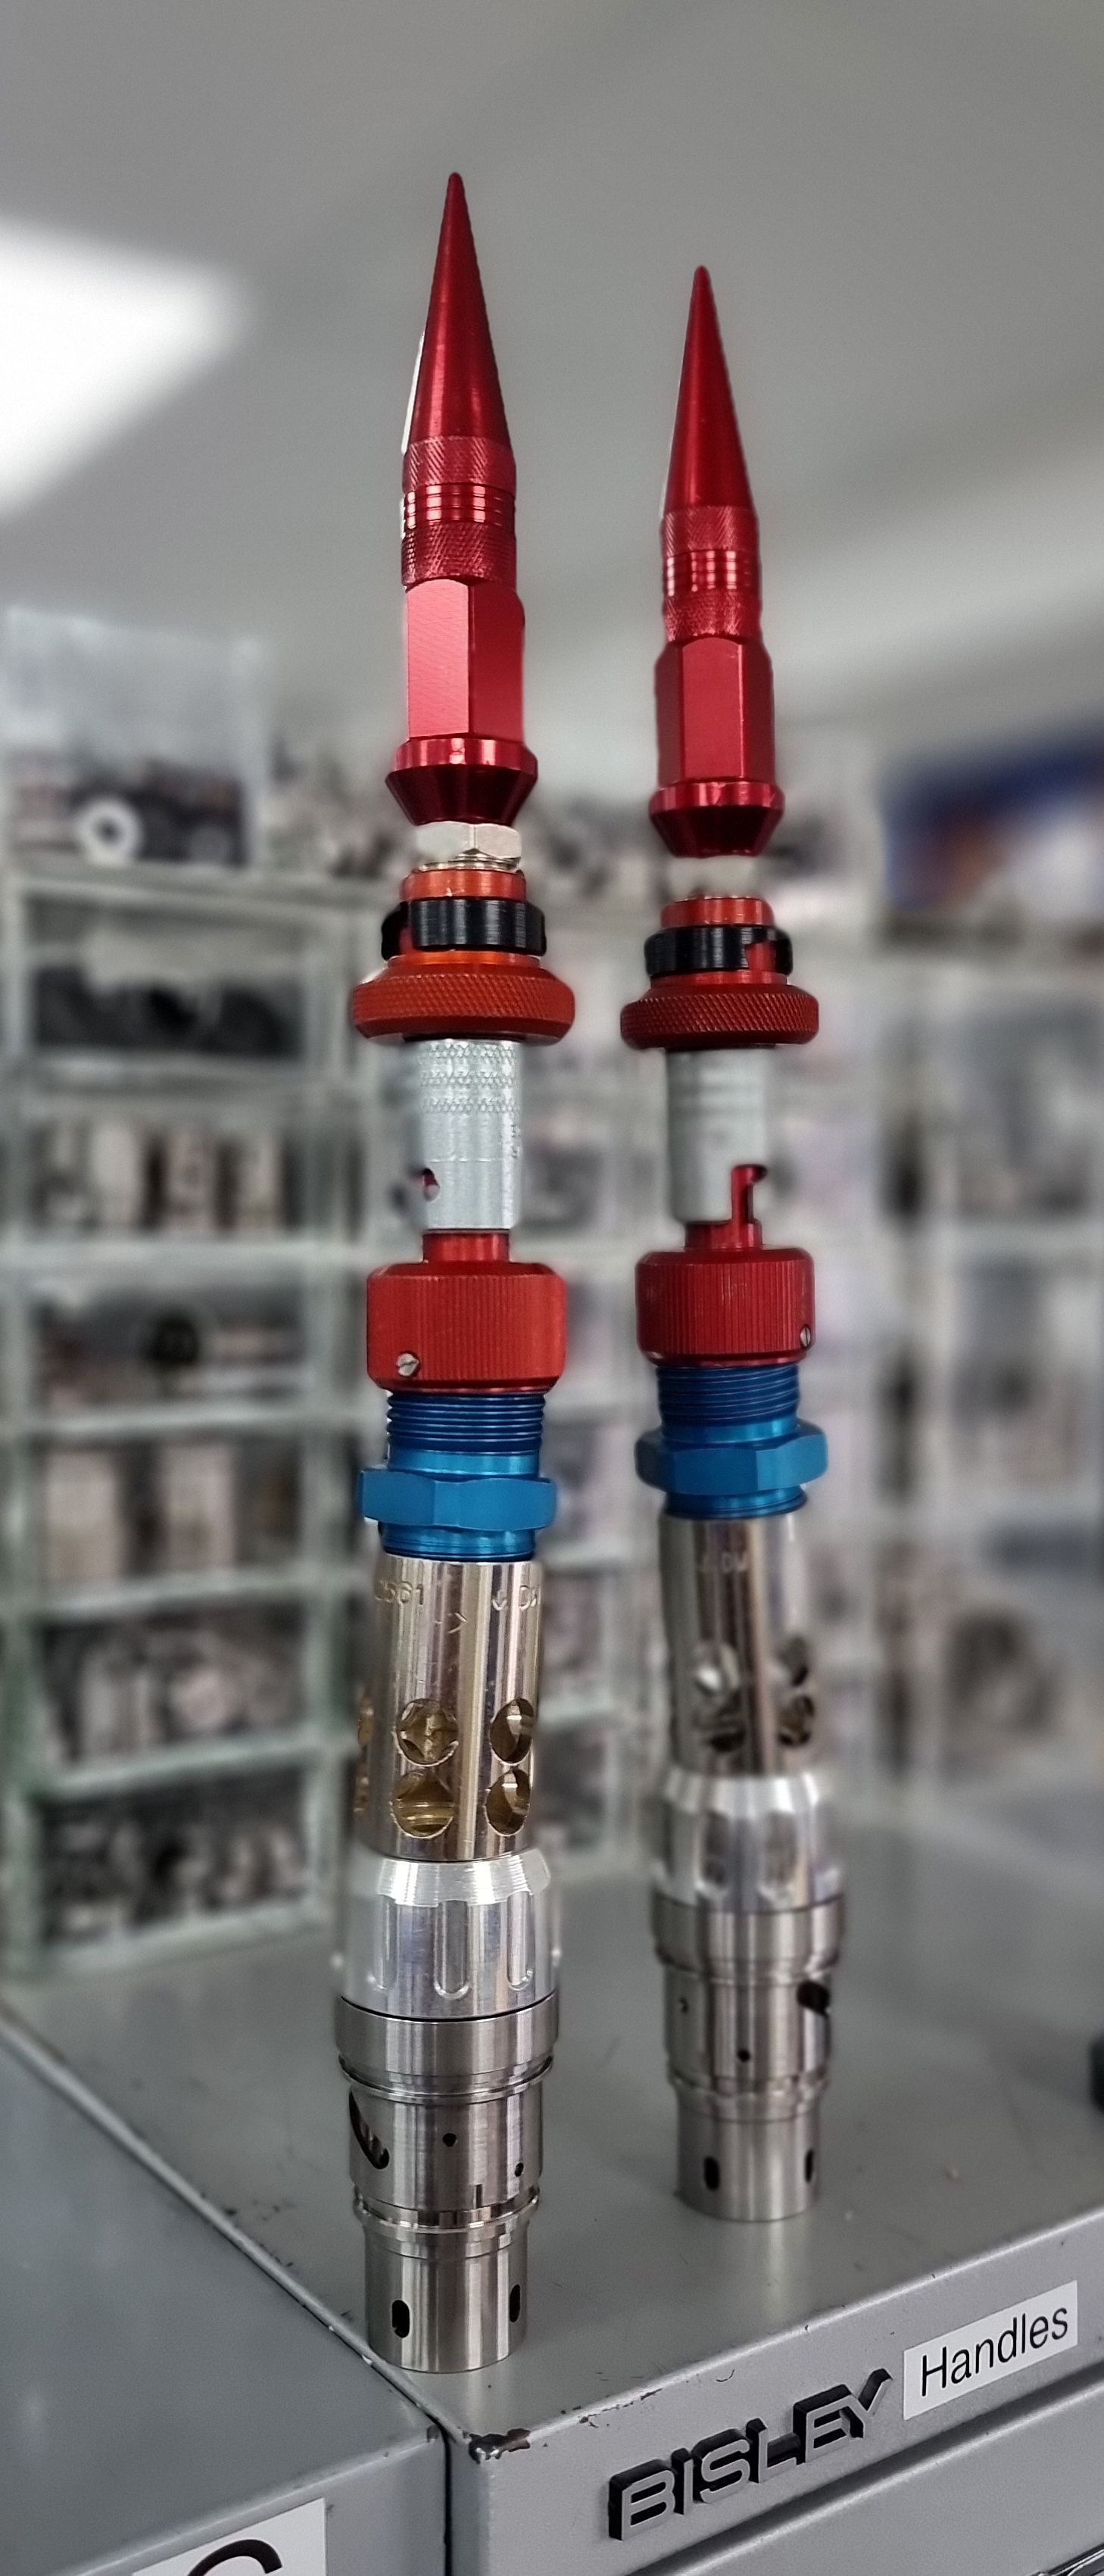
In addition to the parts gifted by Bob’s Bits I also found:
- Hose parts
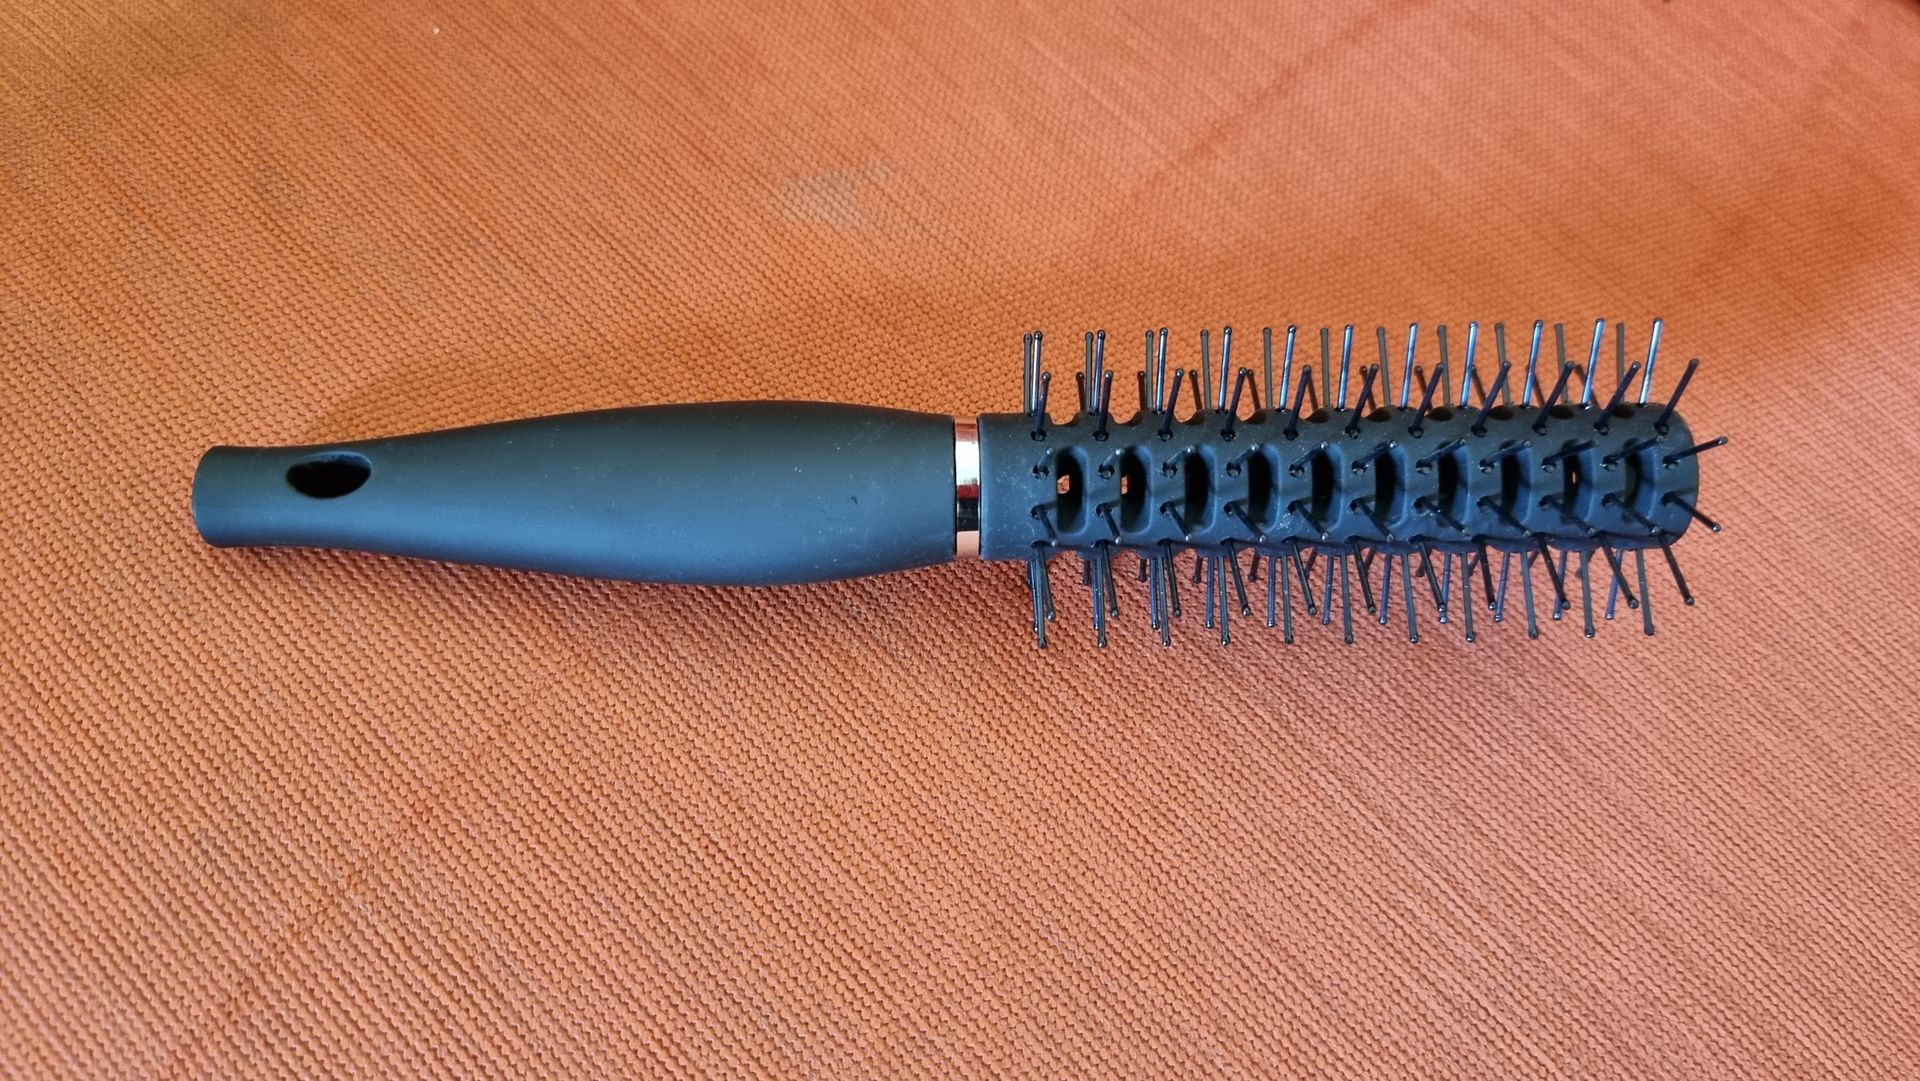
- A pair of brushes
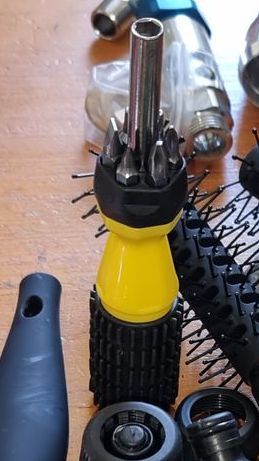
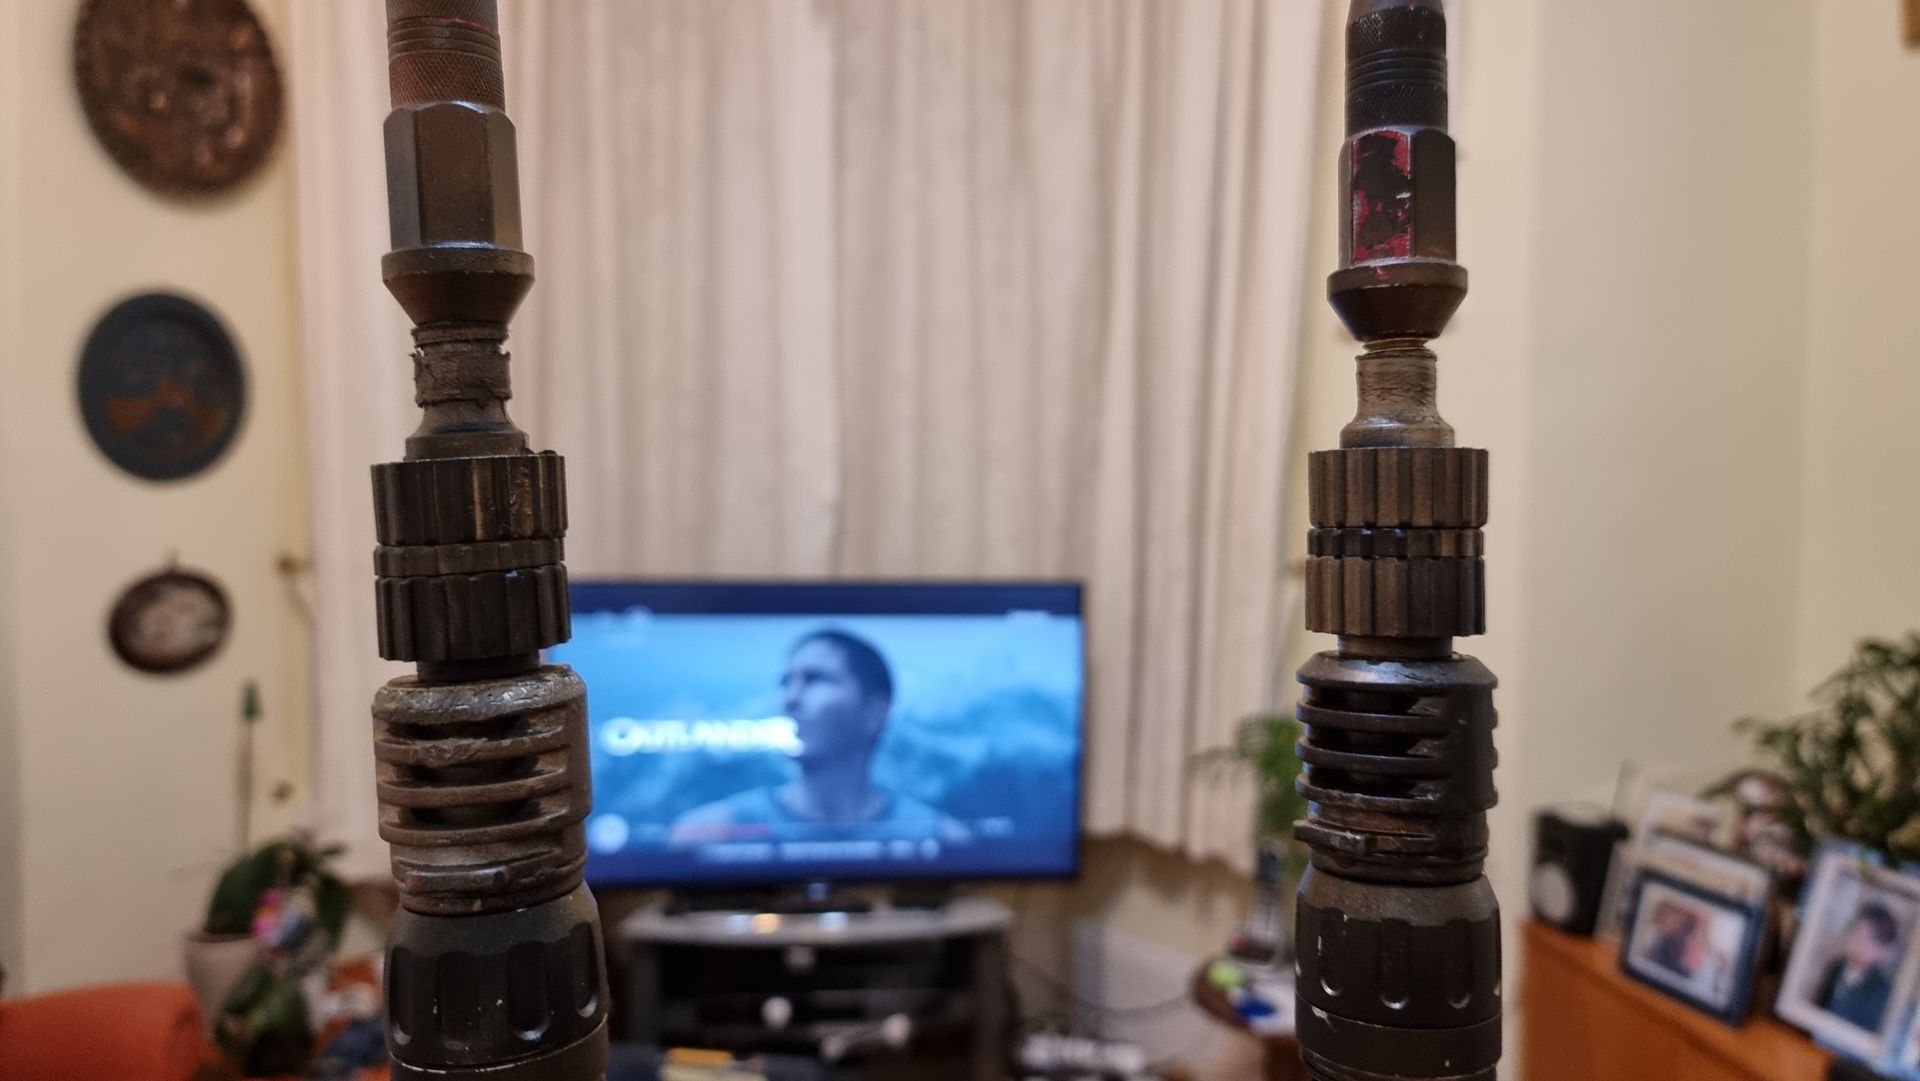
- A pair of multi-use screw drivers which looked promising to use.
I though I could use an opening steamer as a satellite dish but was completely the wrong size.
Machining the First Thread Bar
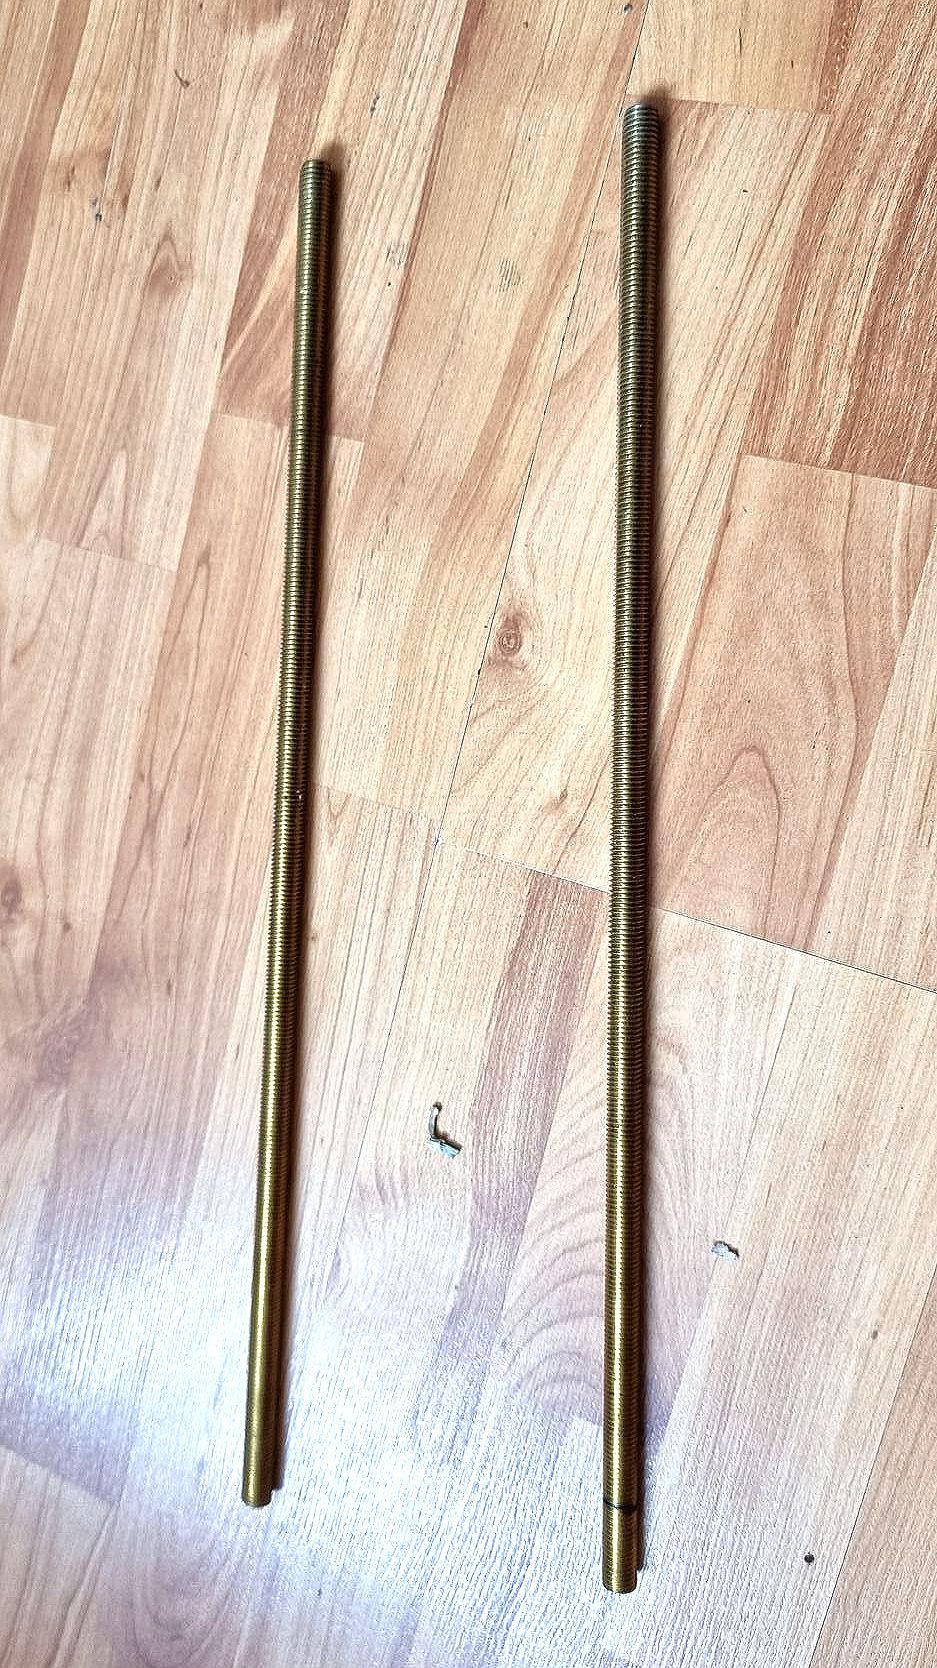
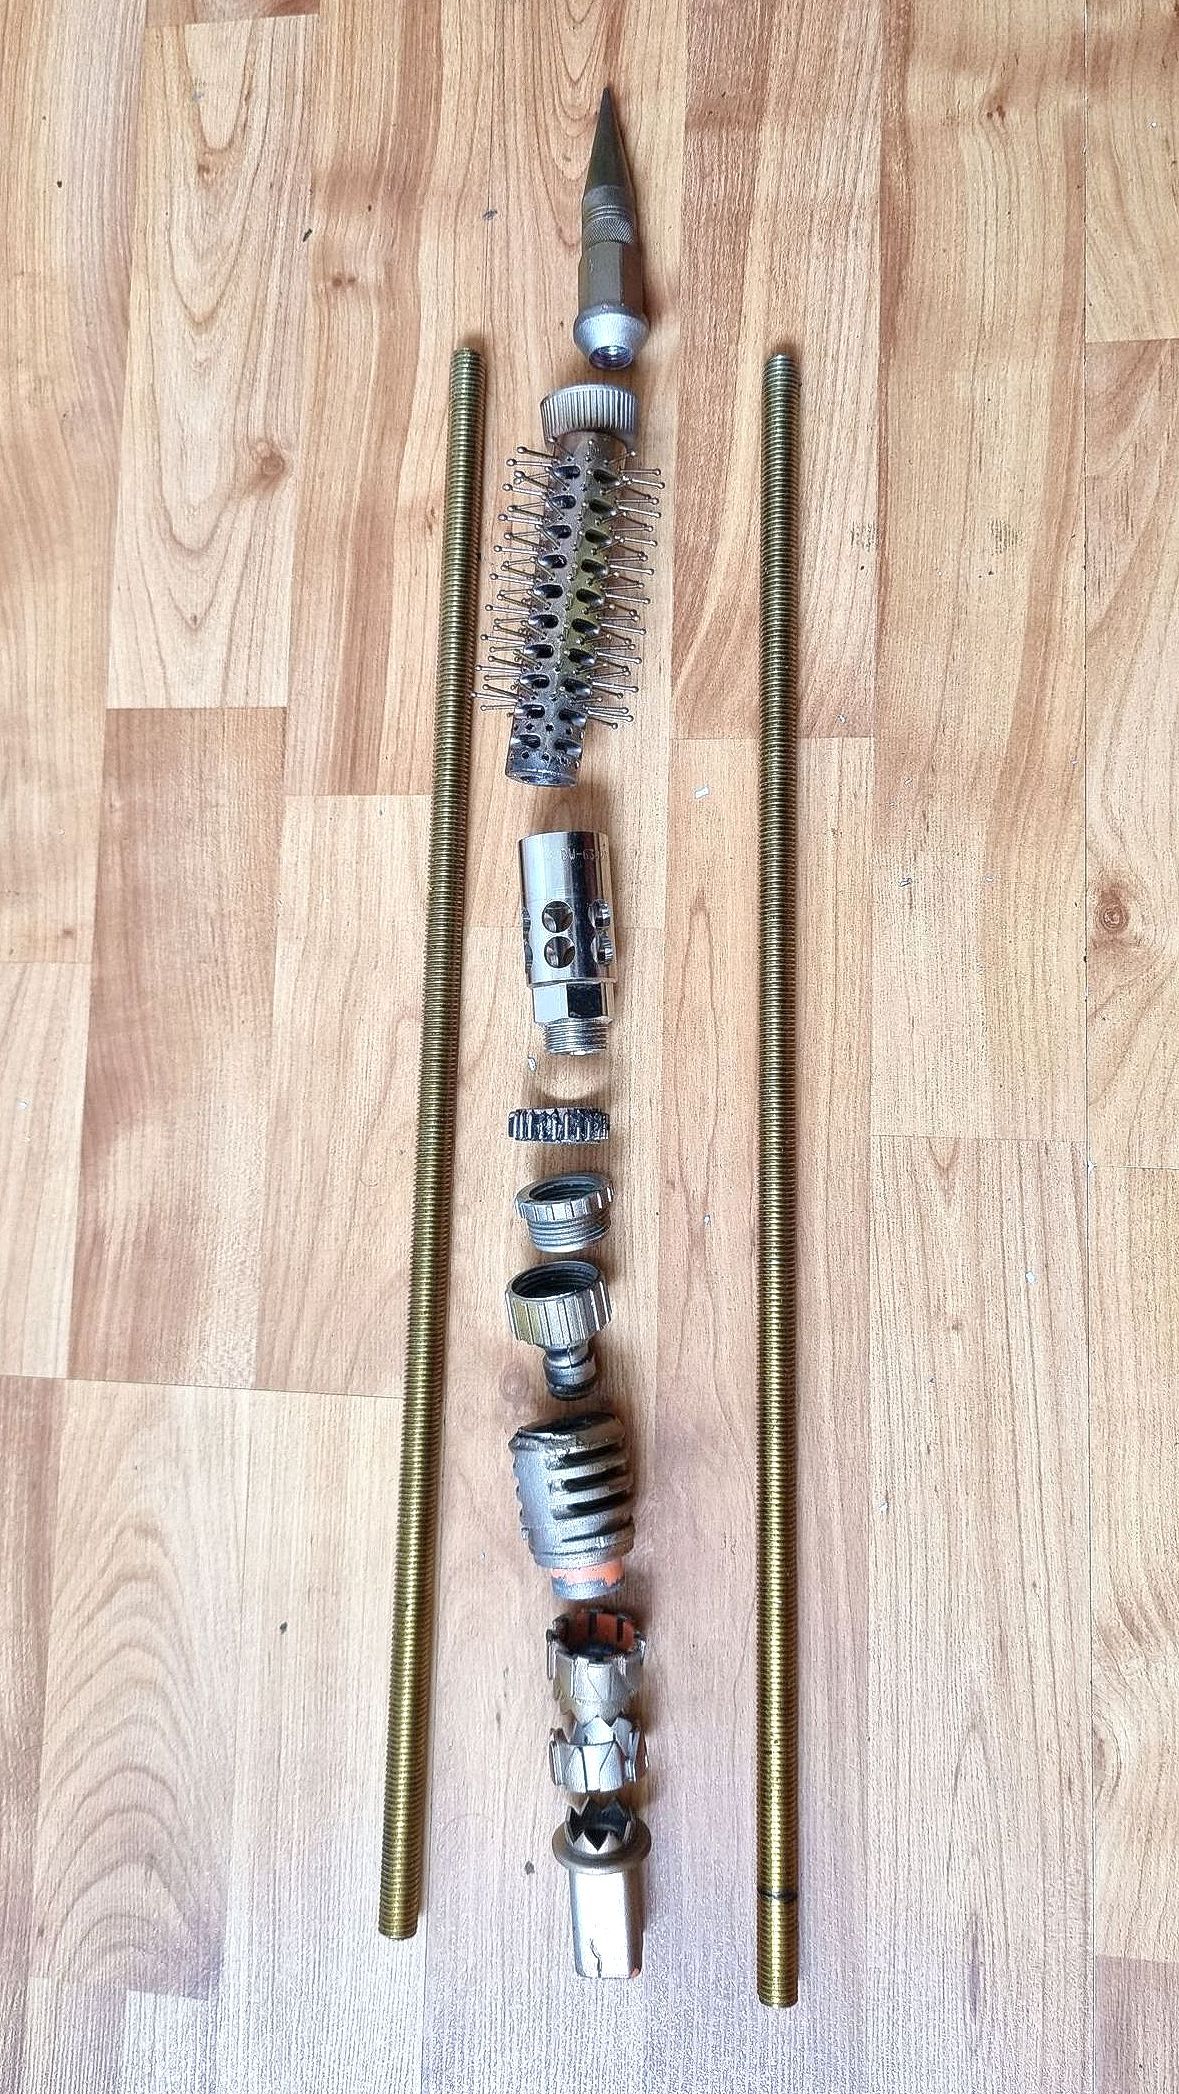
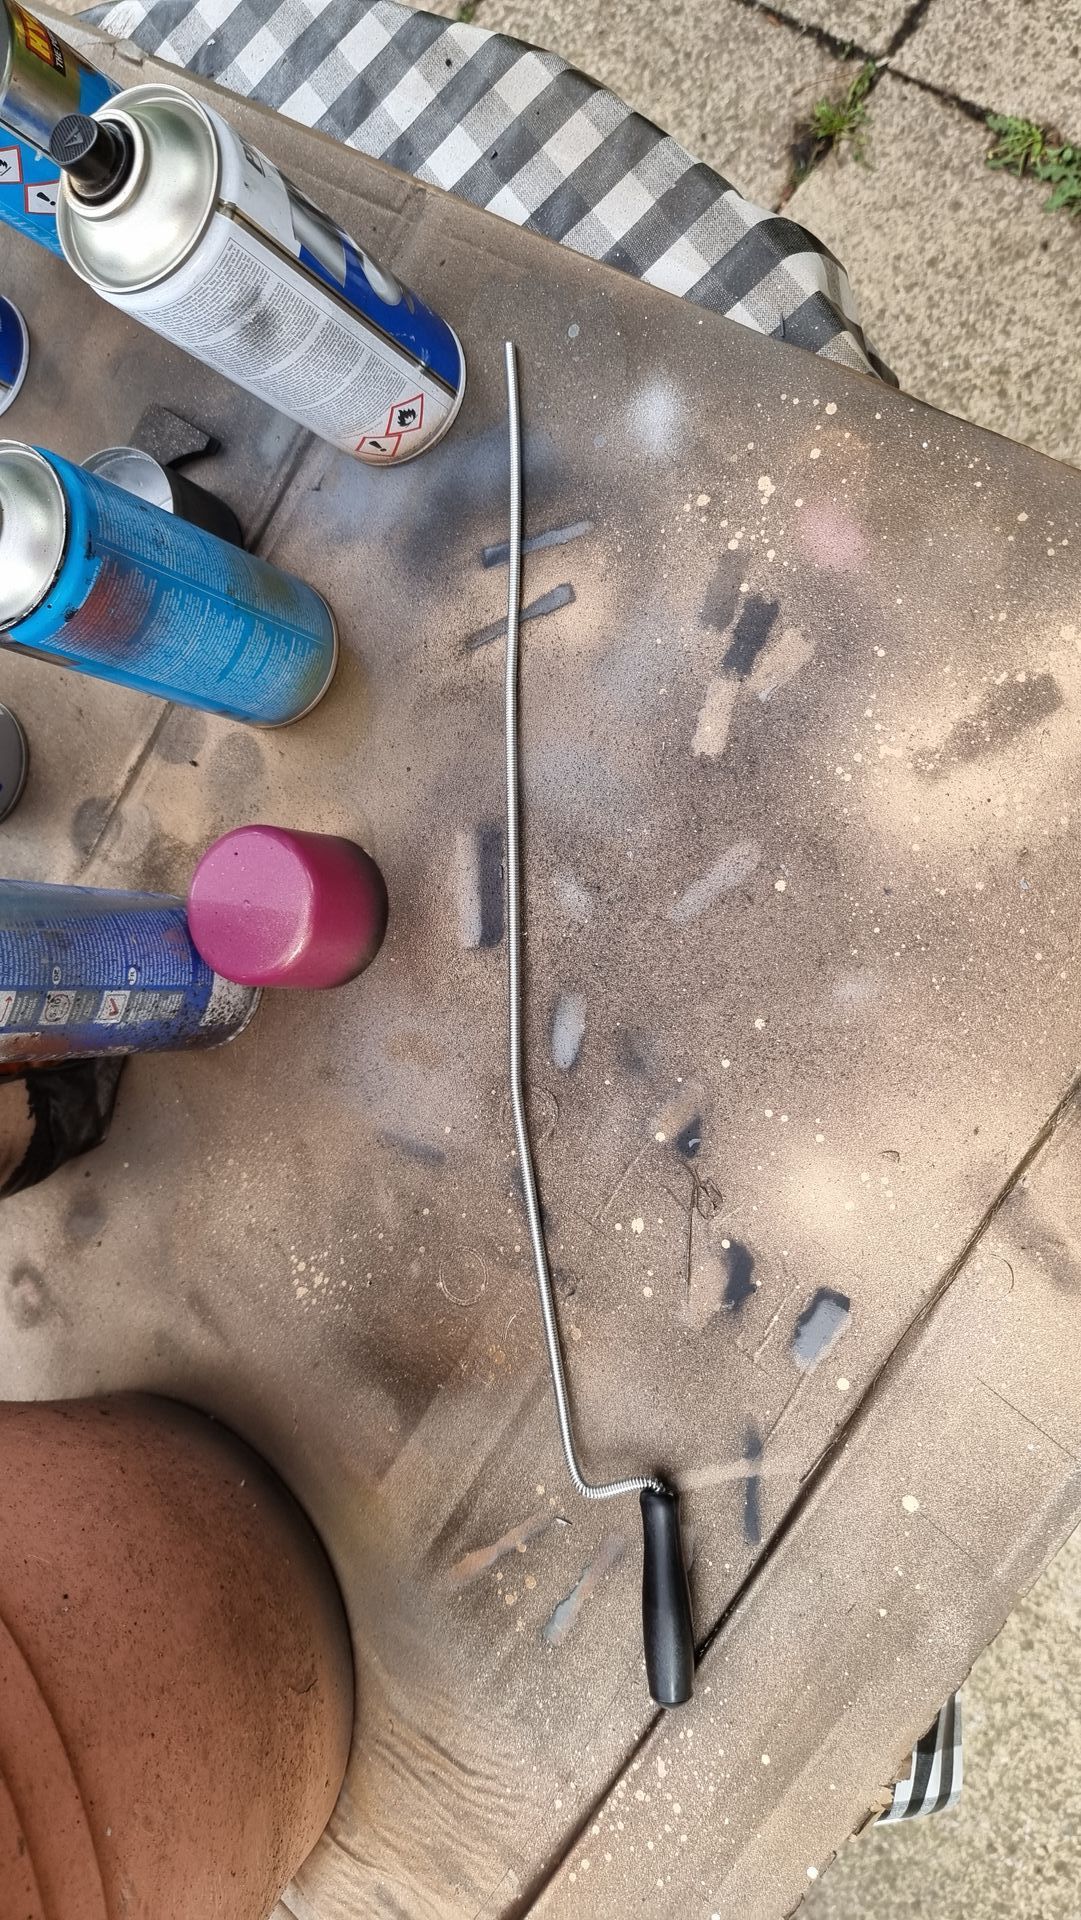
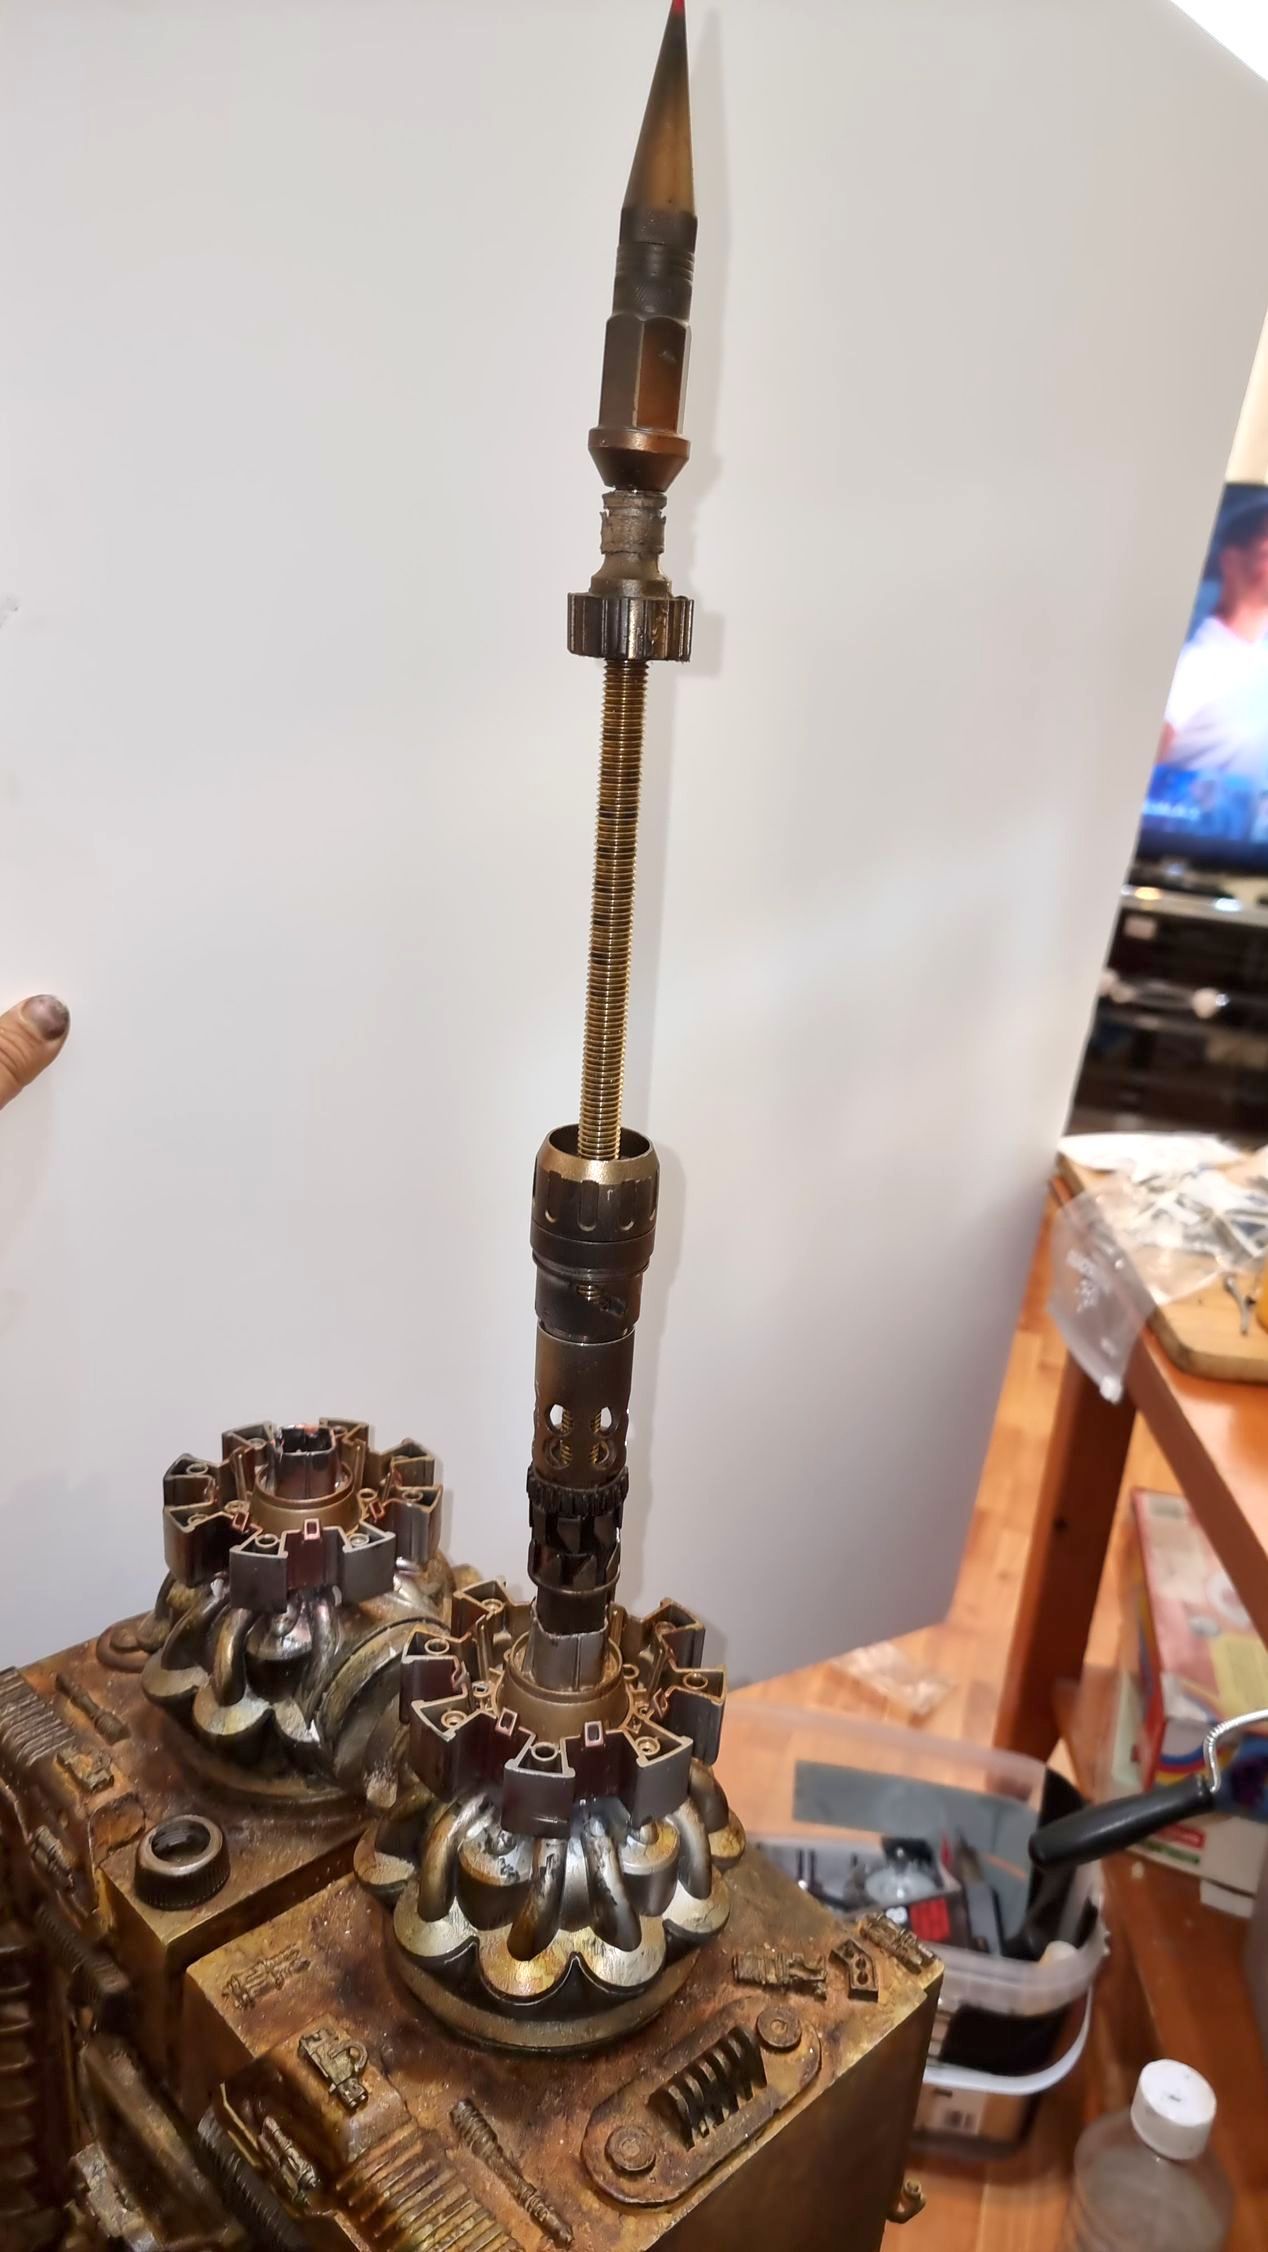
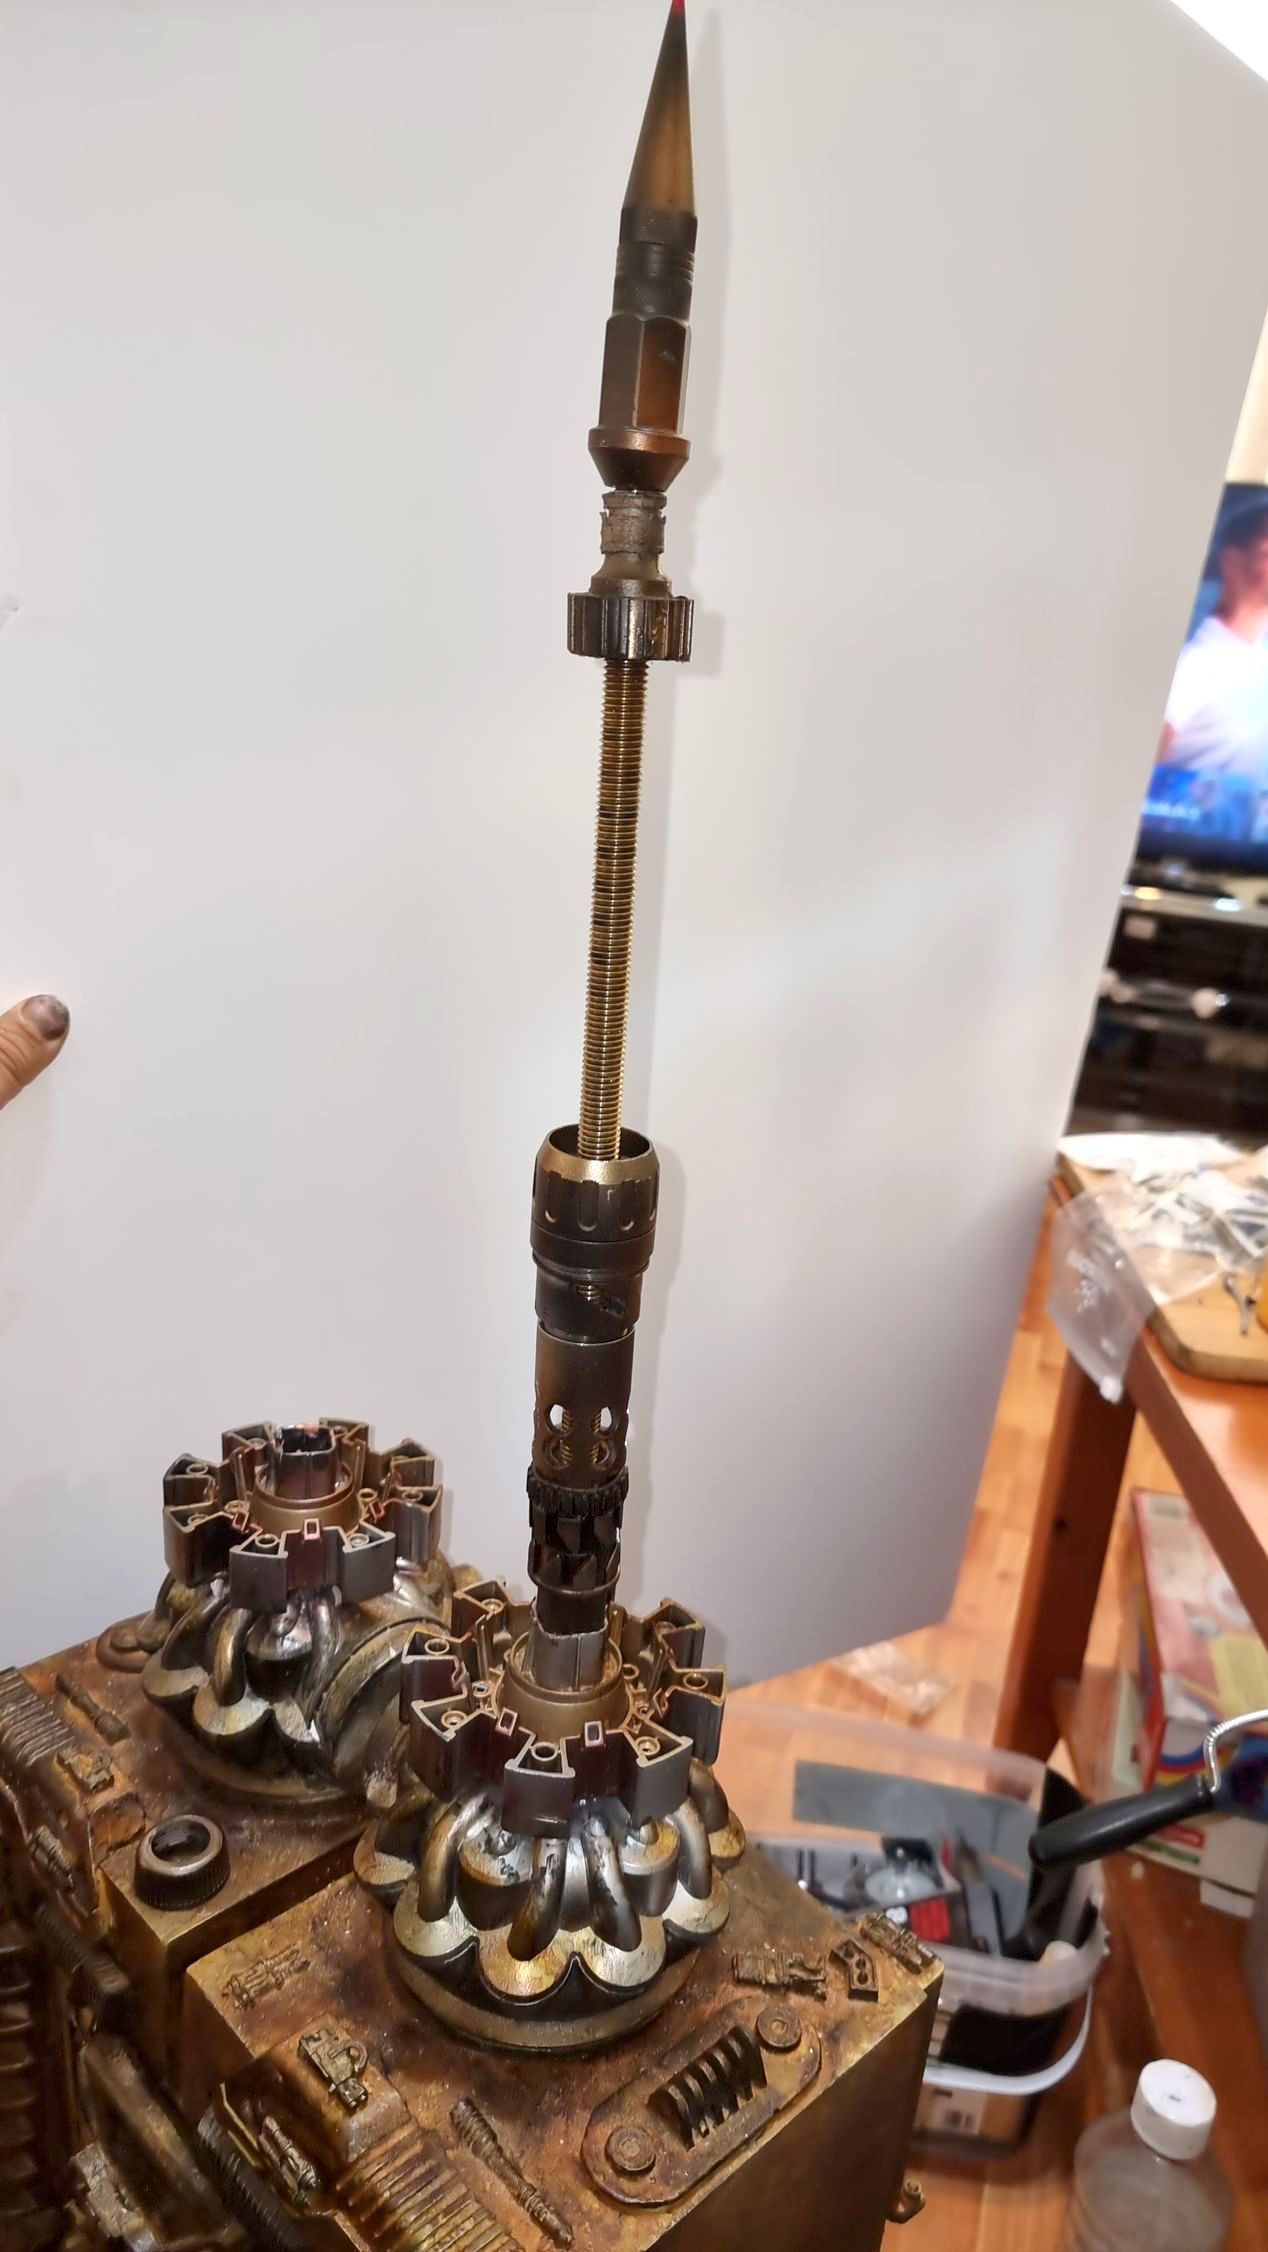
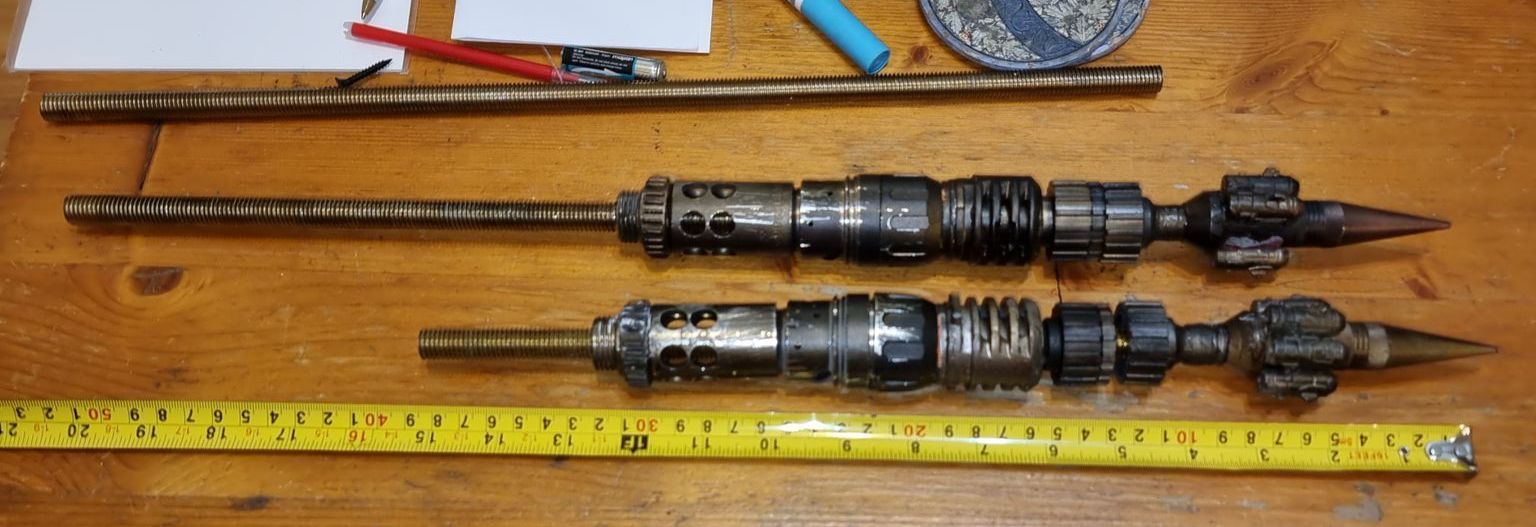
To try and work out a rough length the thread bars needed to be, I tried various combinations of components alongside the 12mm thread bar.
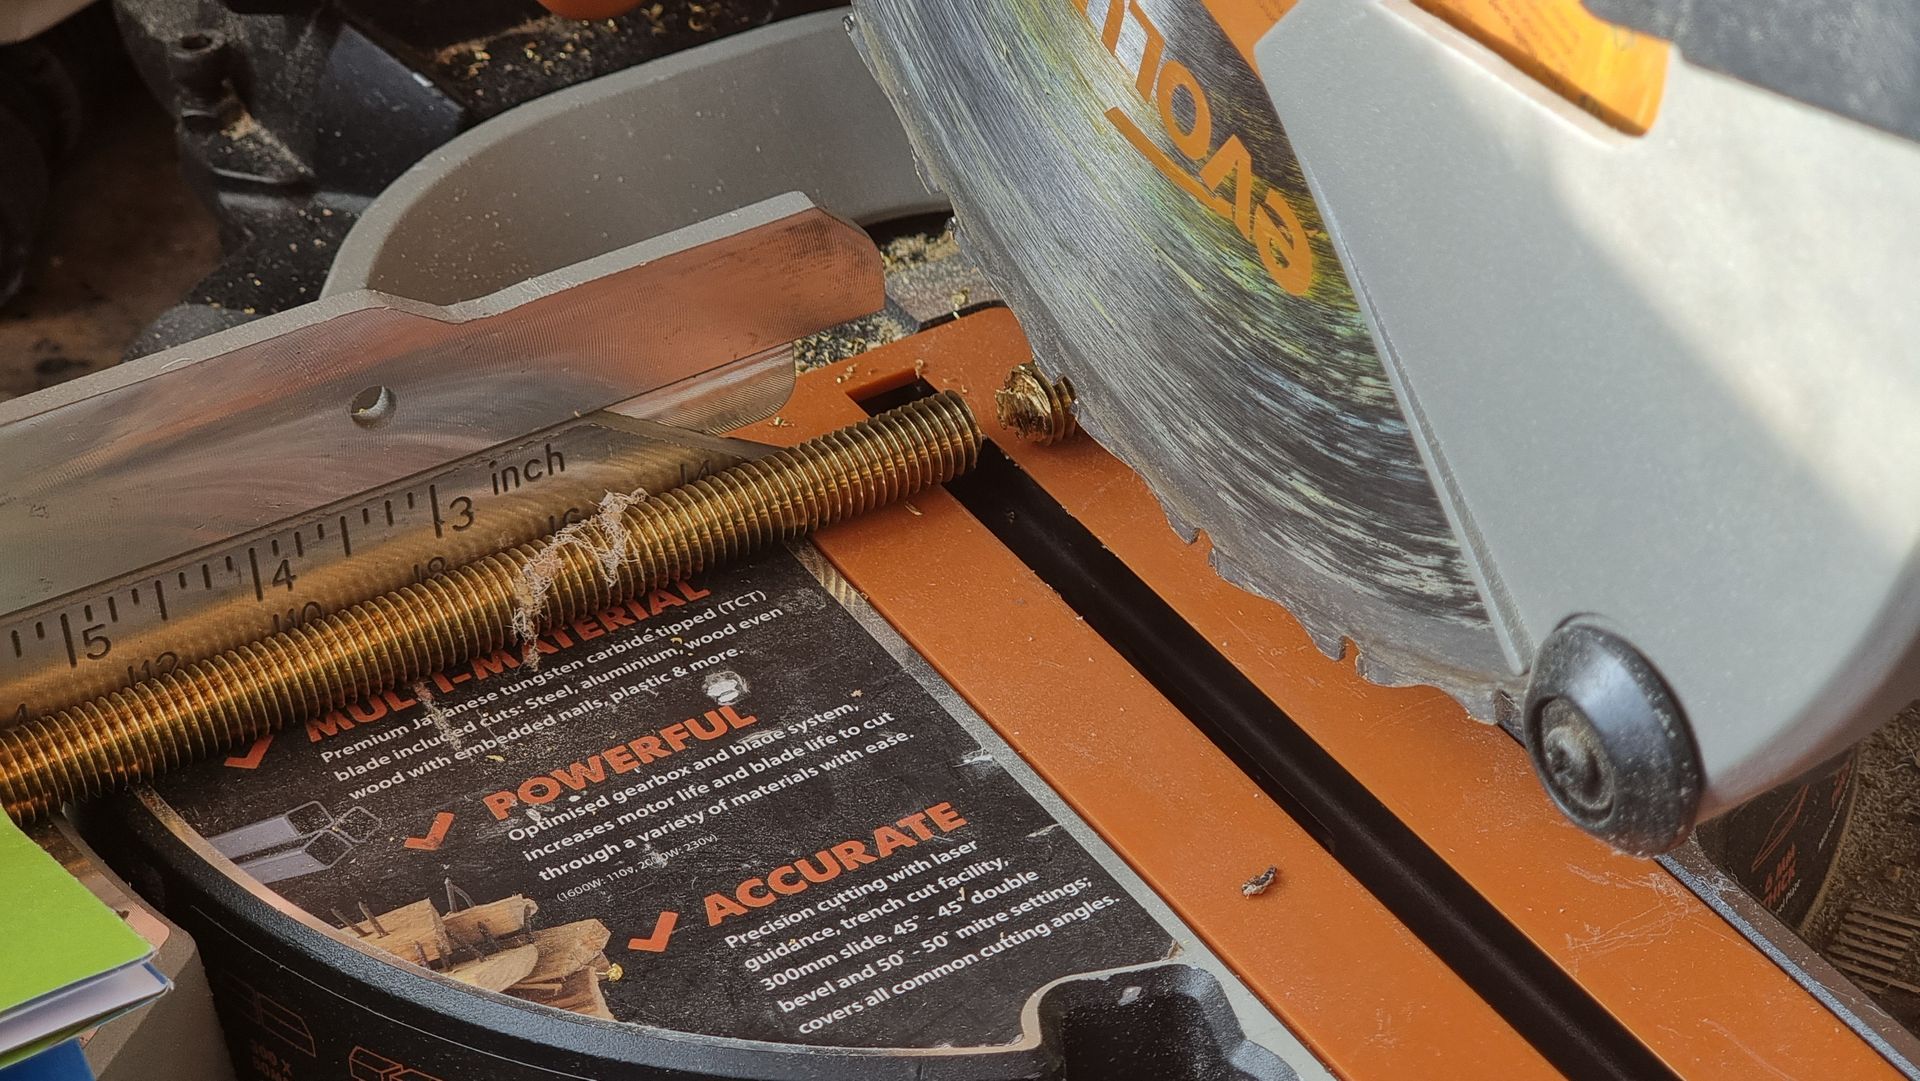
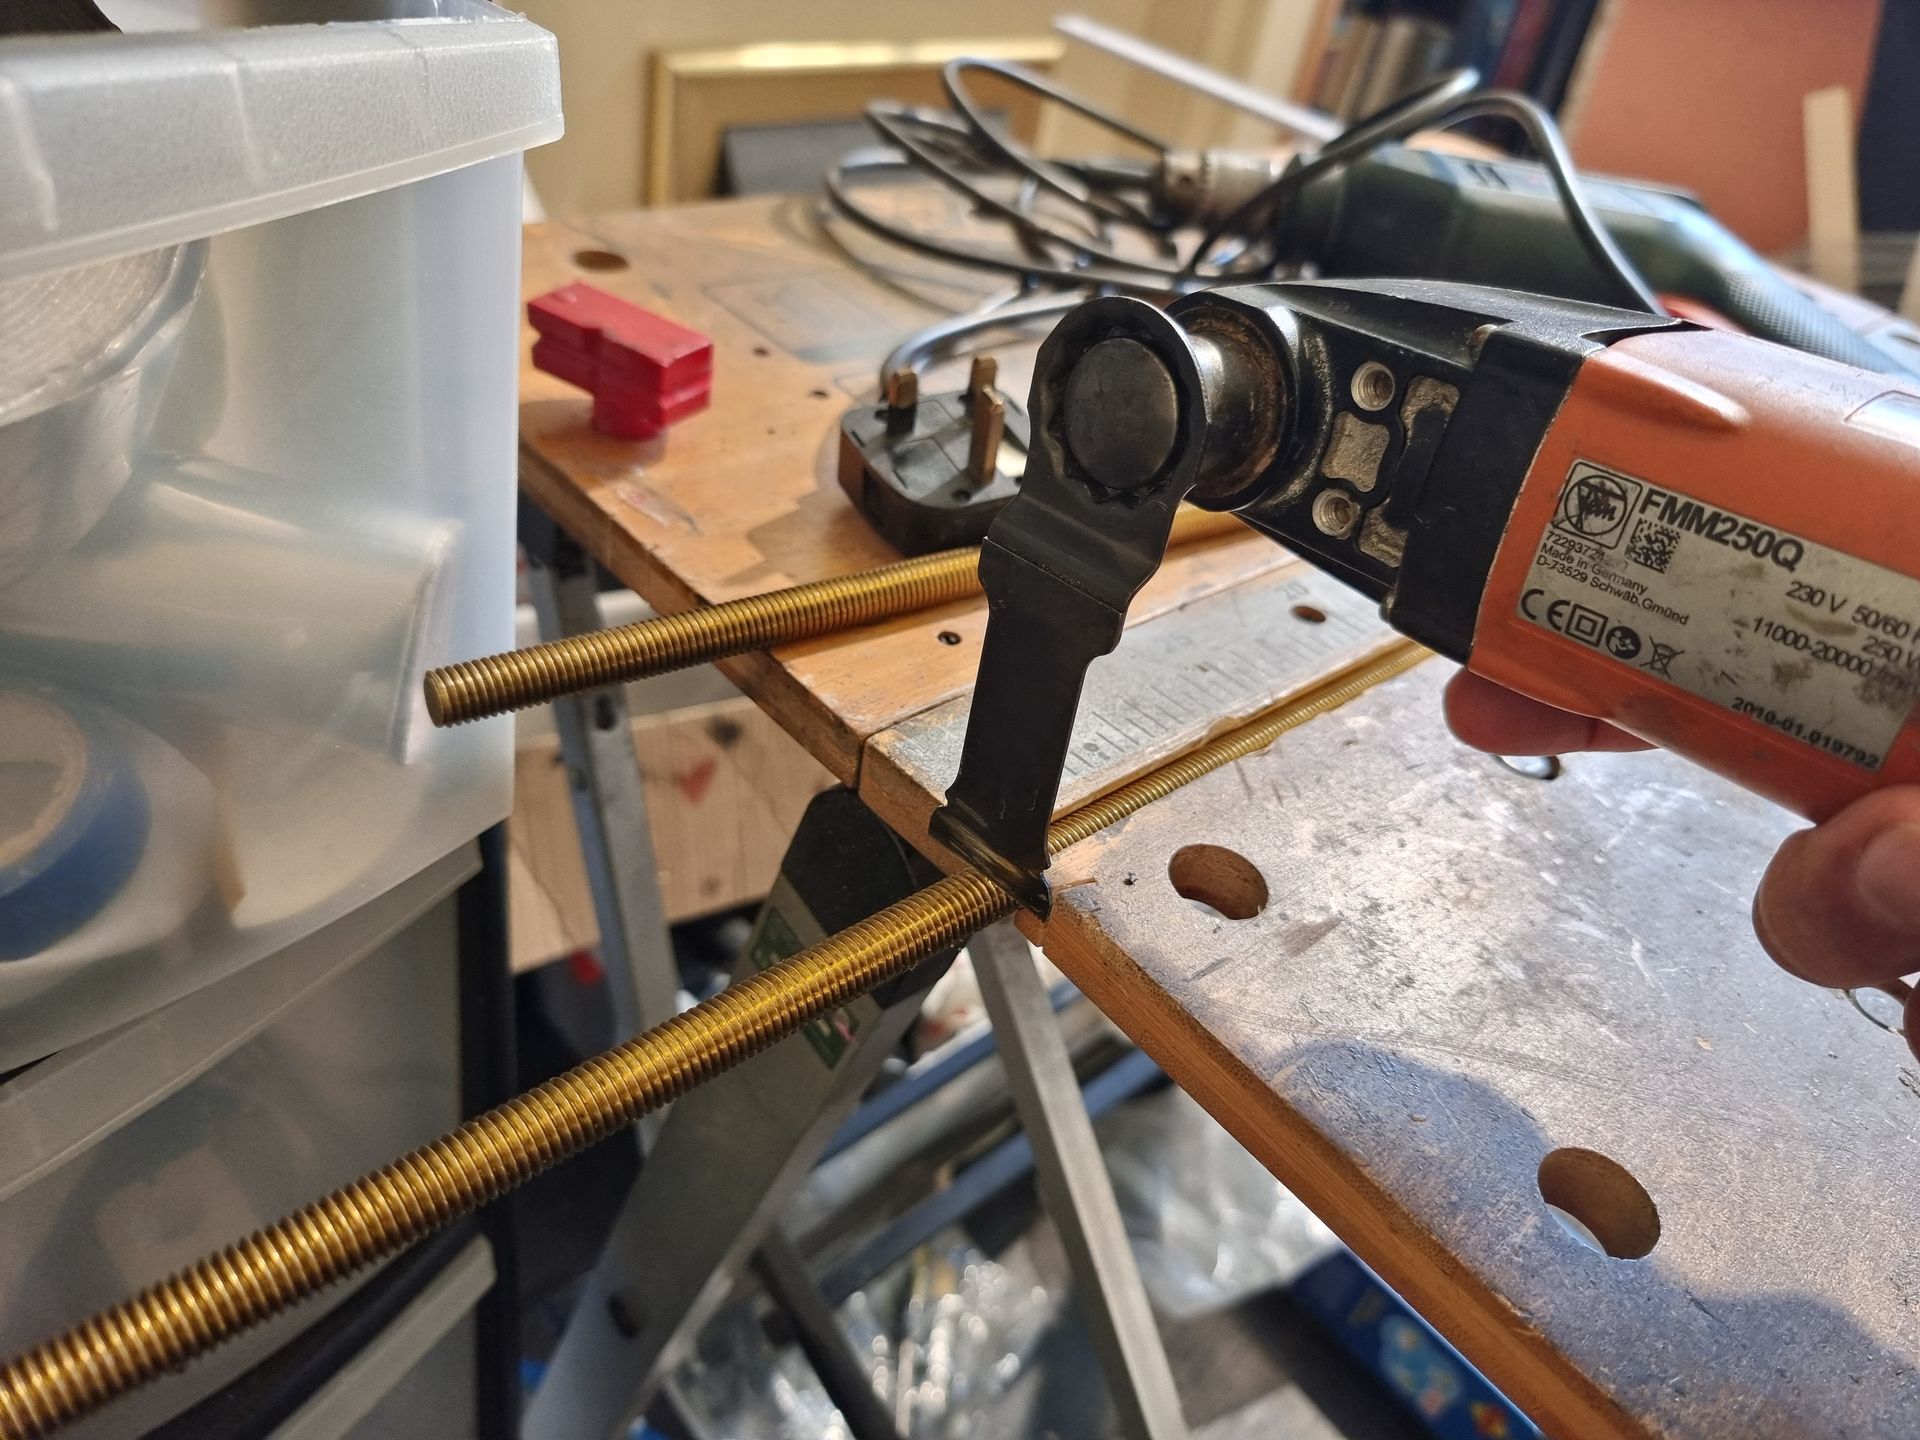
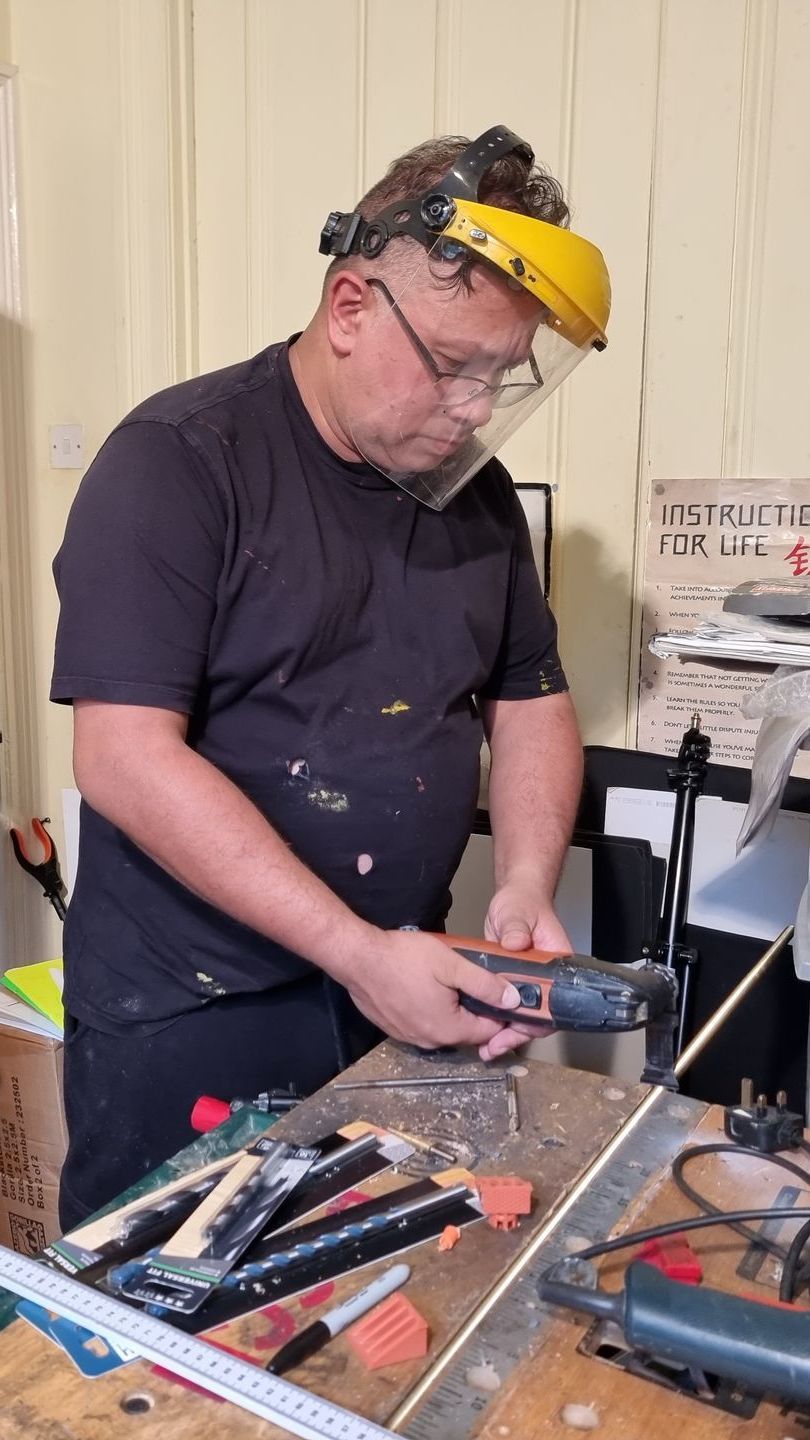
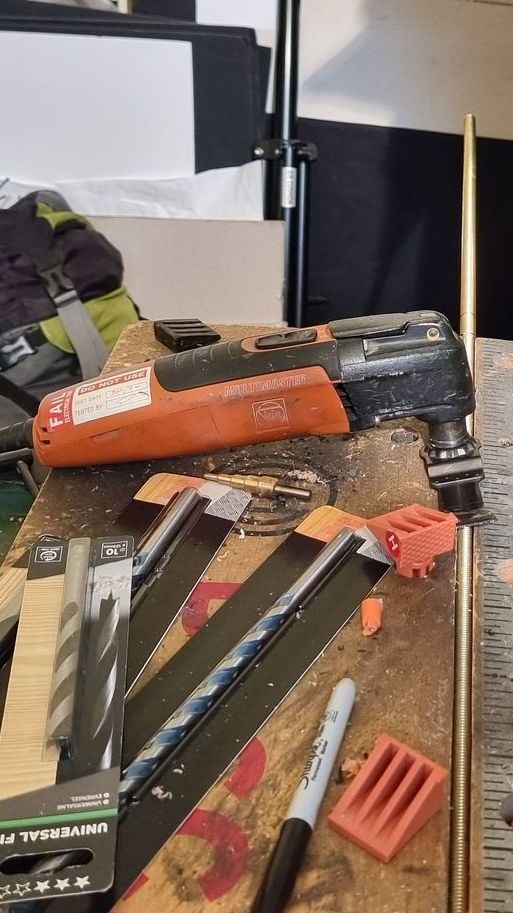
Some components could slide along the thread bars as were loose with a wide enough inner diameter, others would need drilling and tapping with a tread carving tools I tried first using my mitre saw which was very louds before trying the Finn Multi Master Multi tool with metal cutting blades.
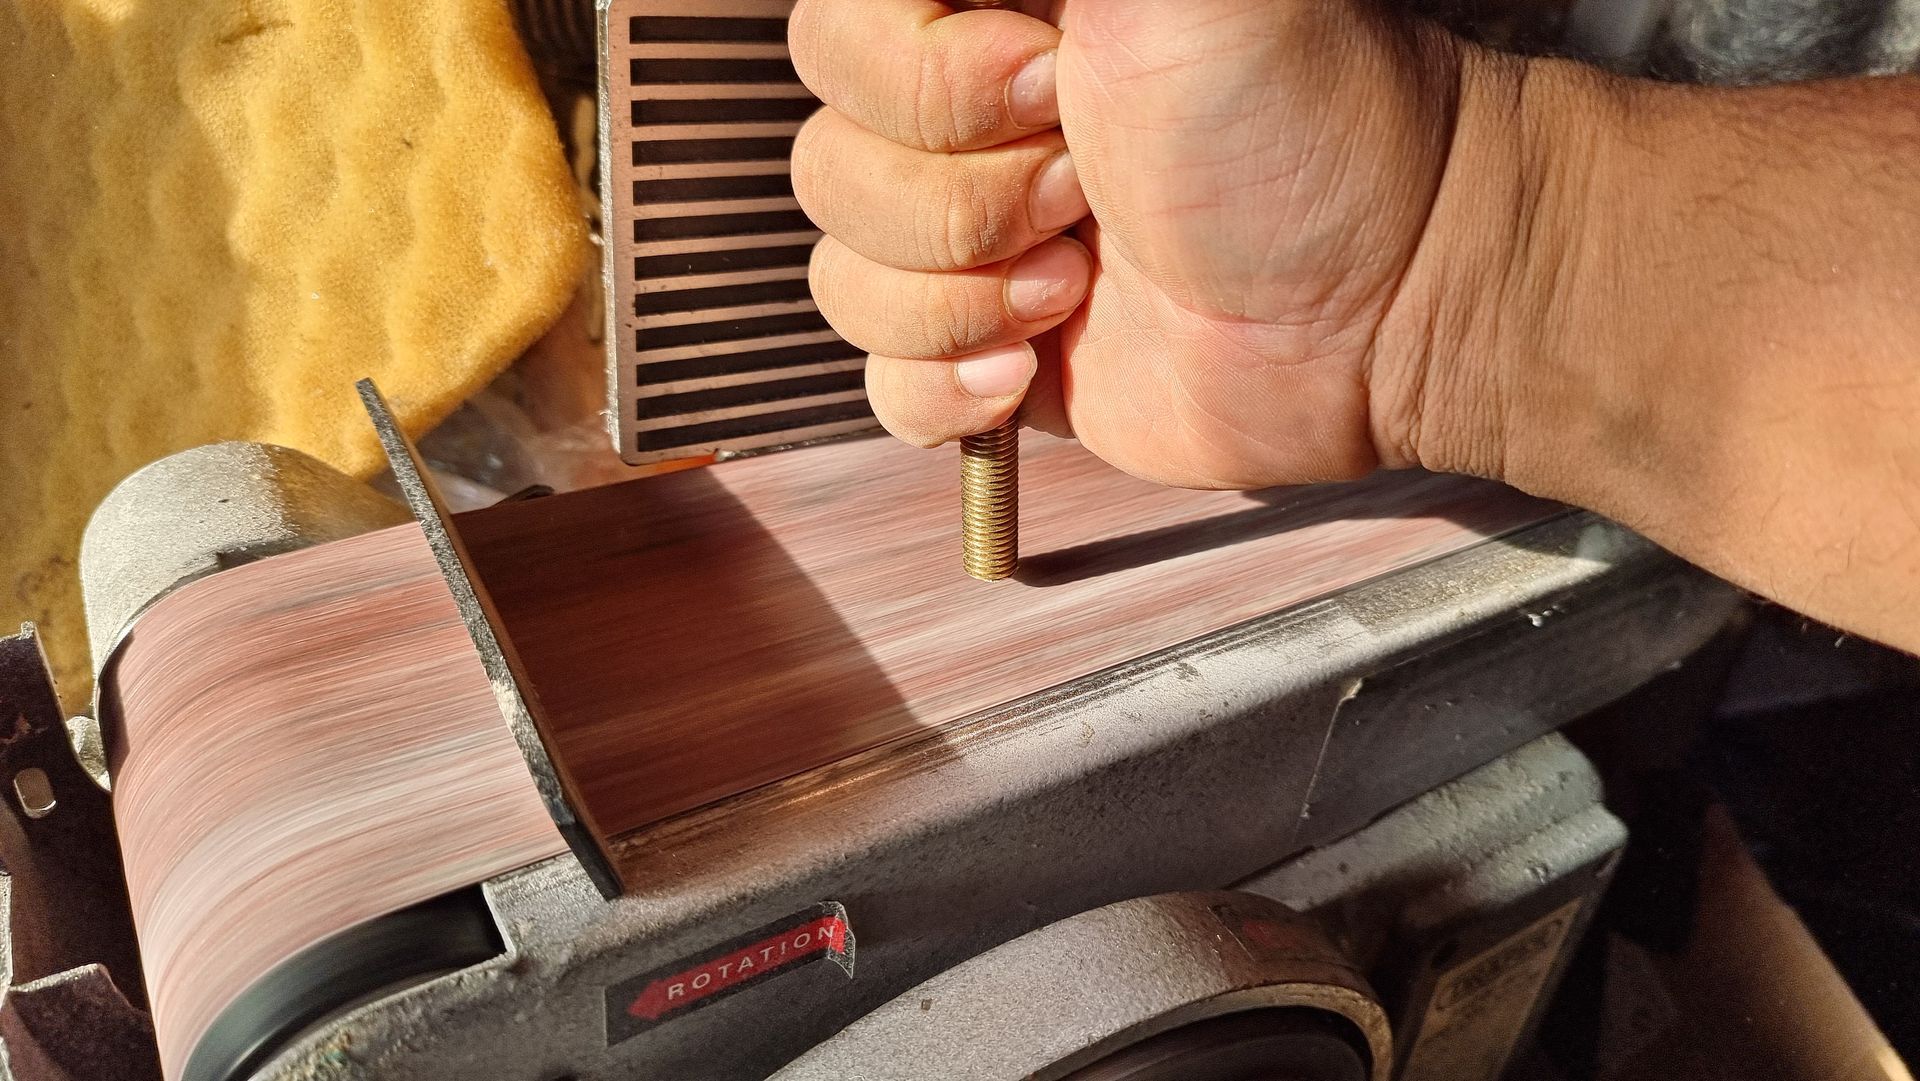
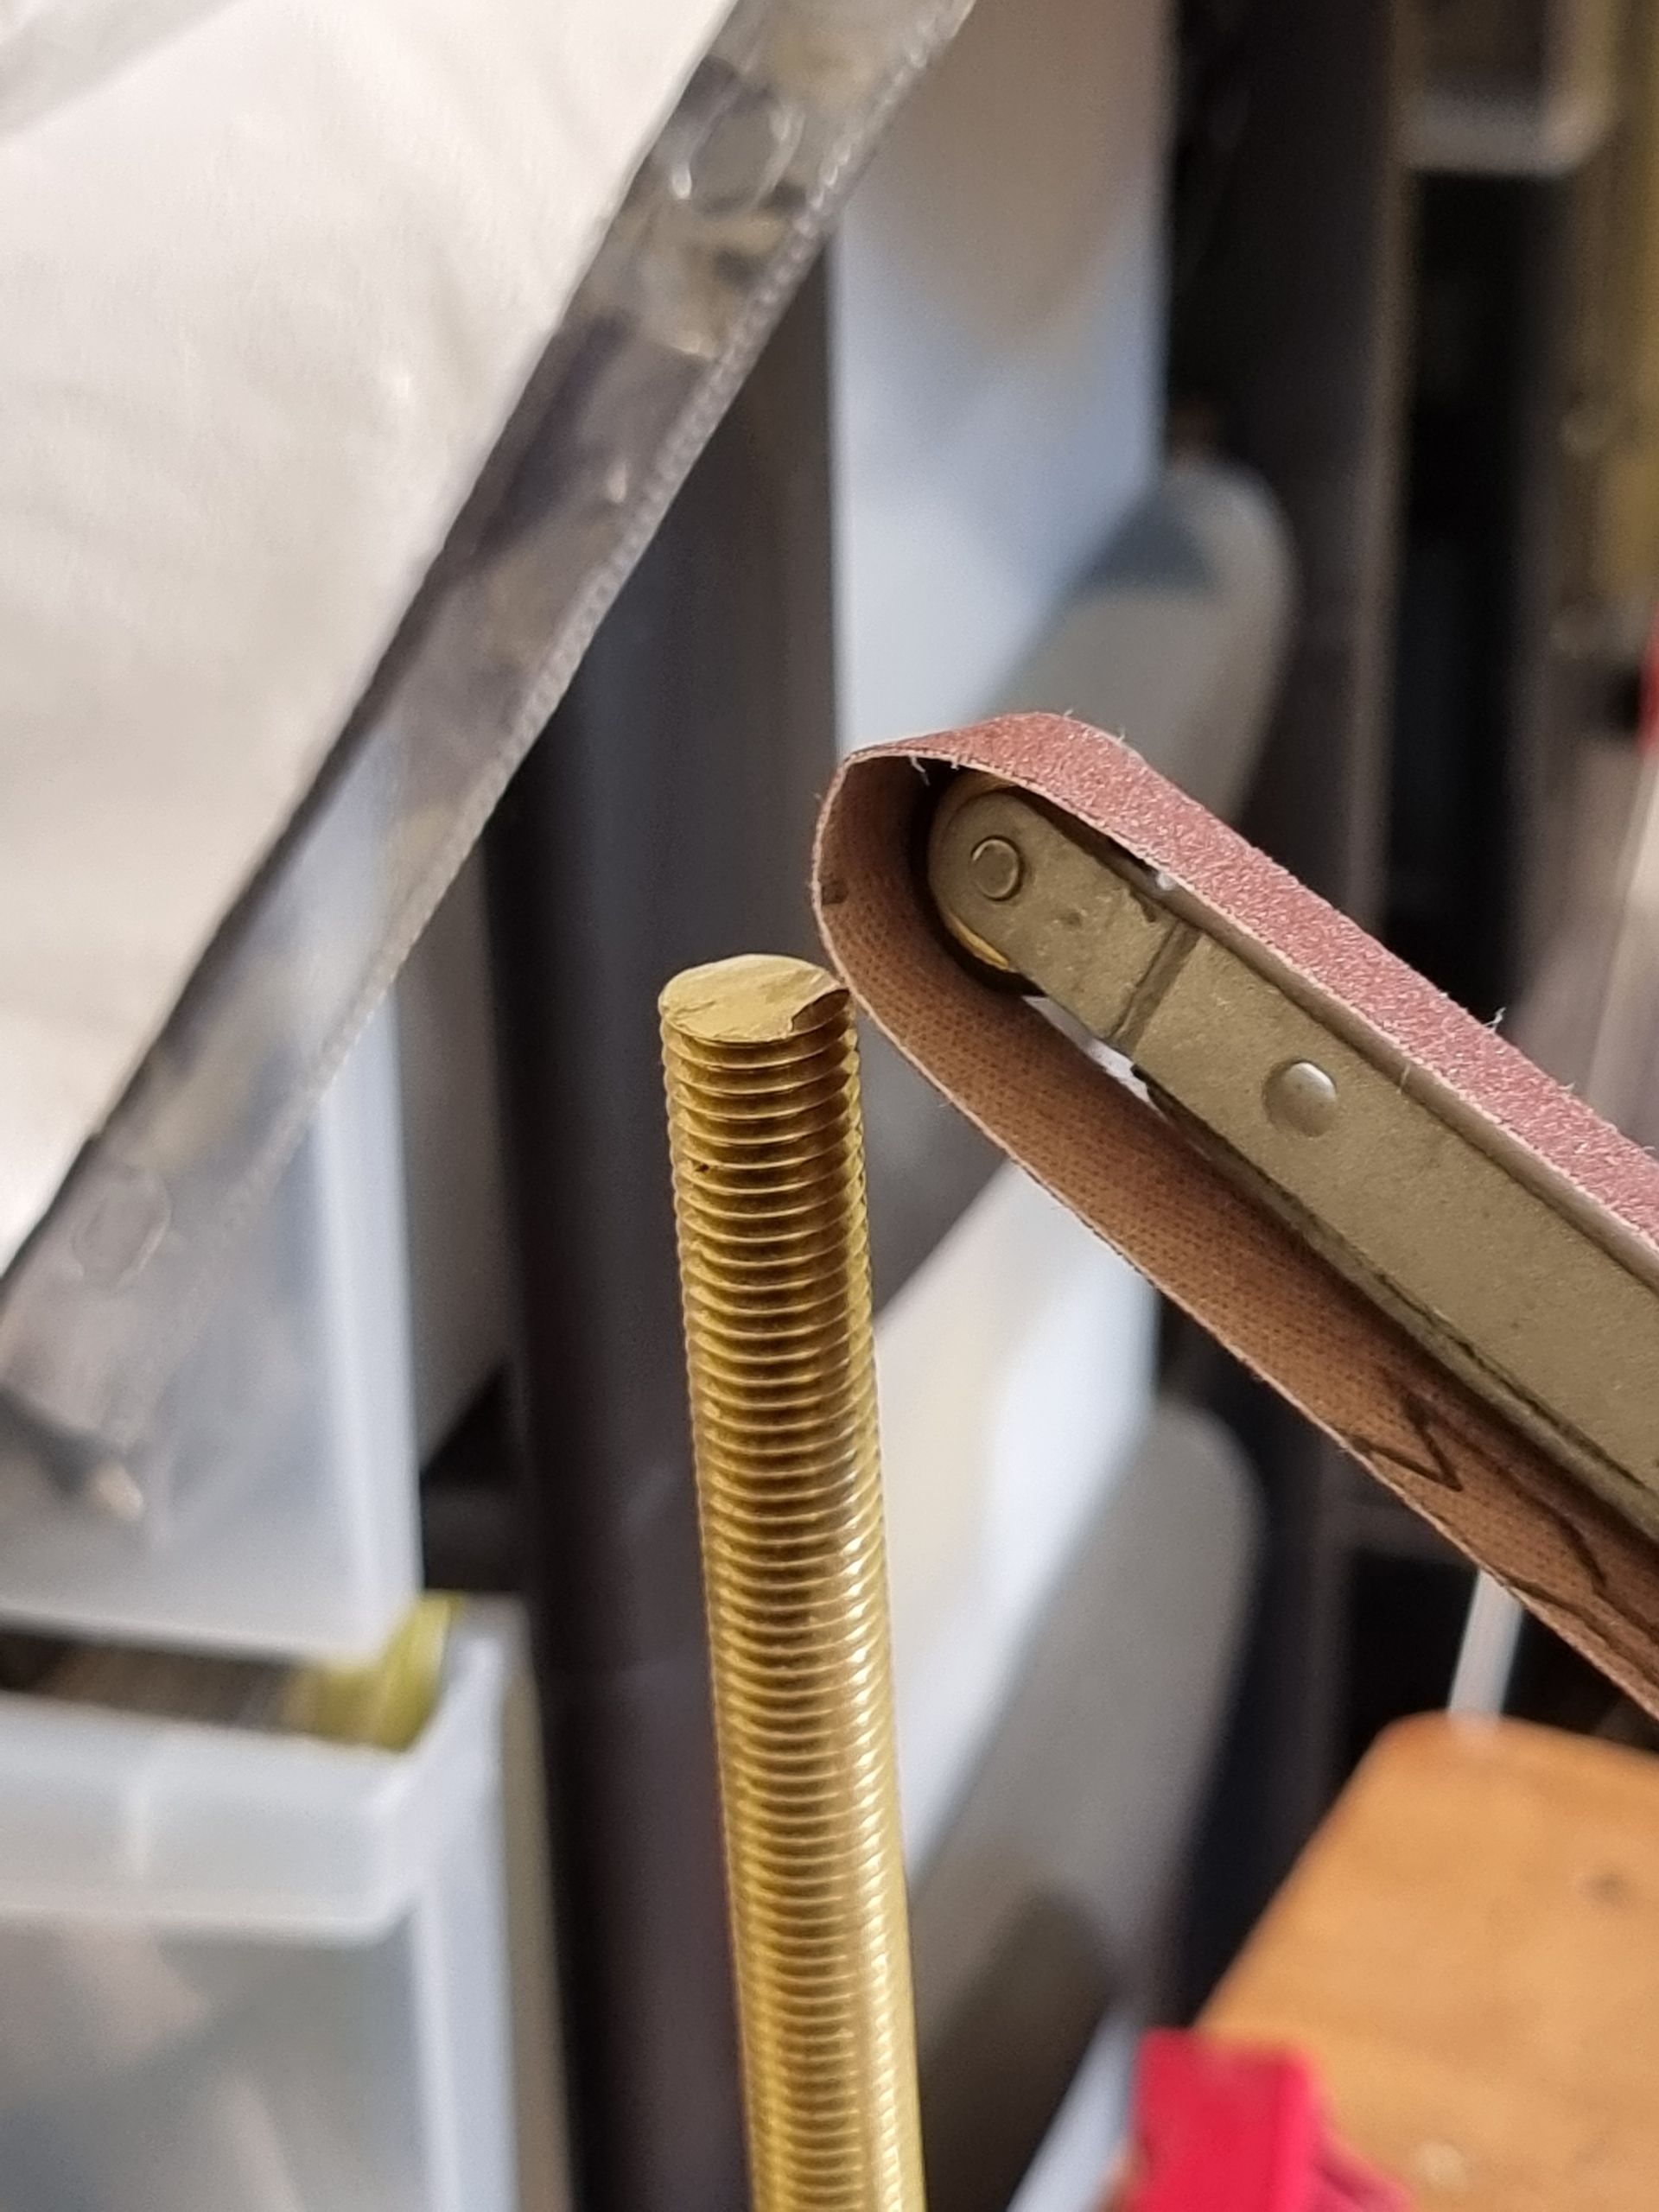
The latter took much longer but did a far neater cut. This required less grinding to clean the ends up.
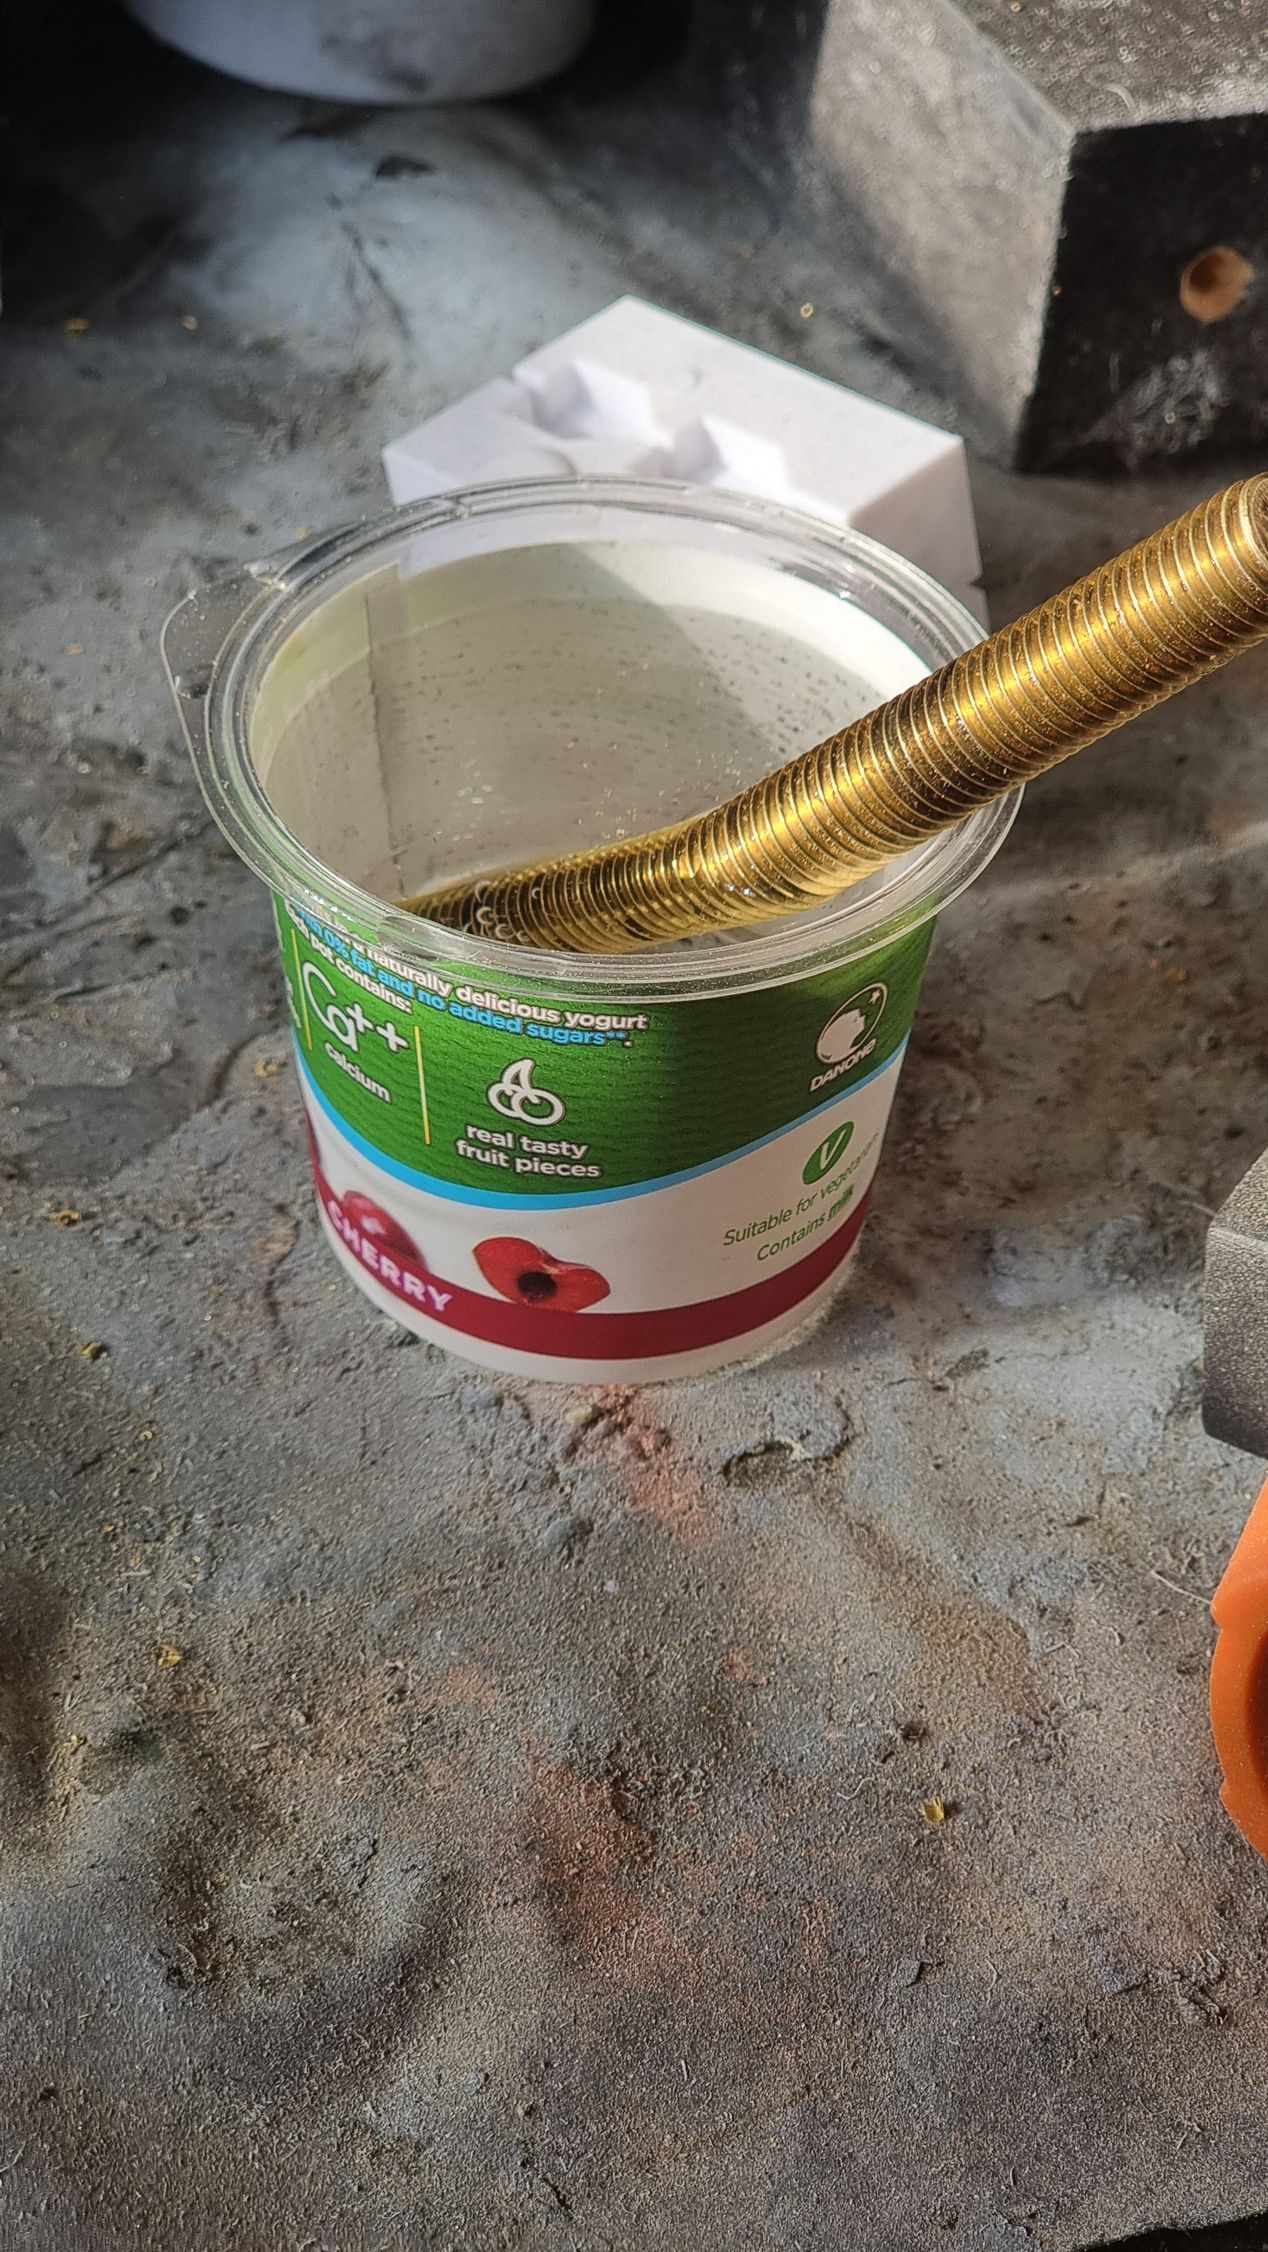
As the griding heated up the thread bar I wet them down with water to cool.
Drilling Through Components
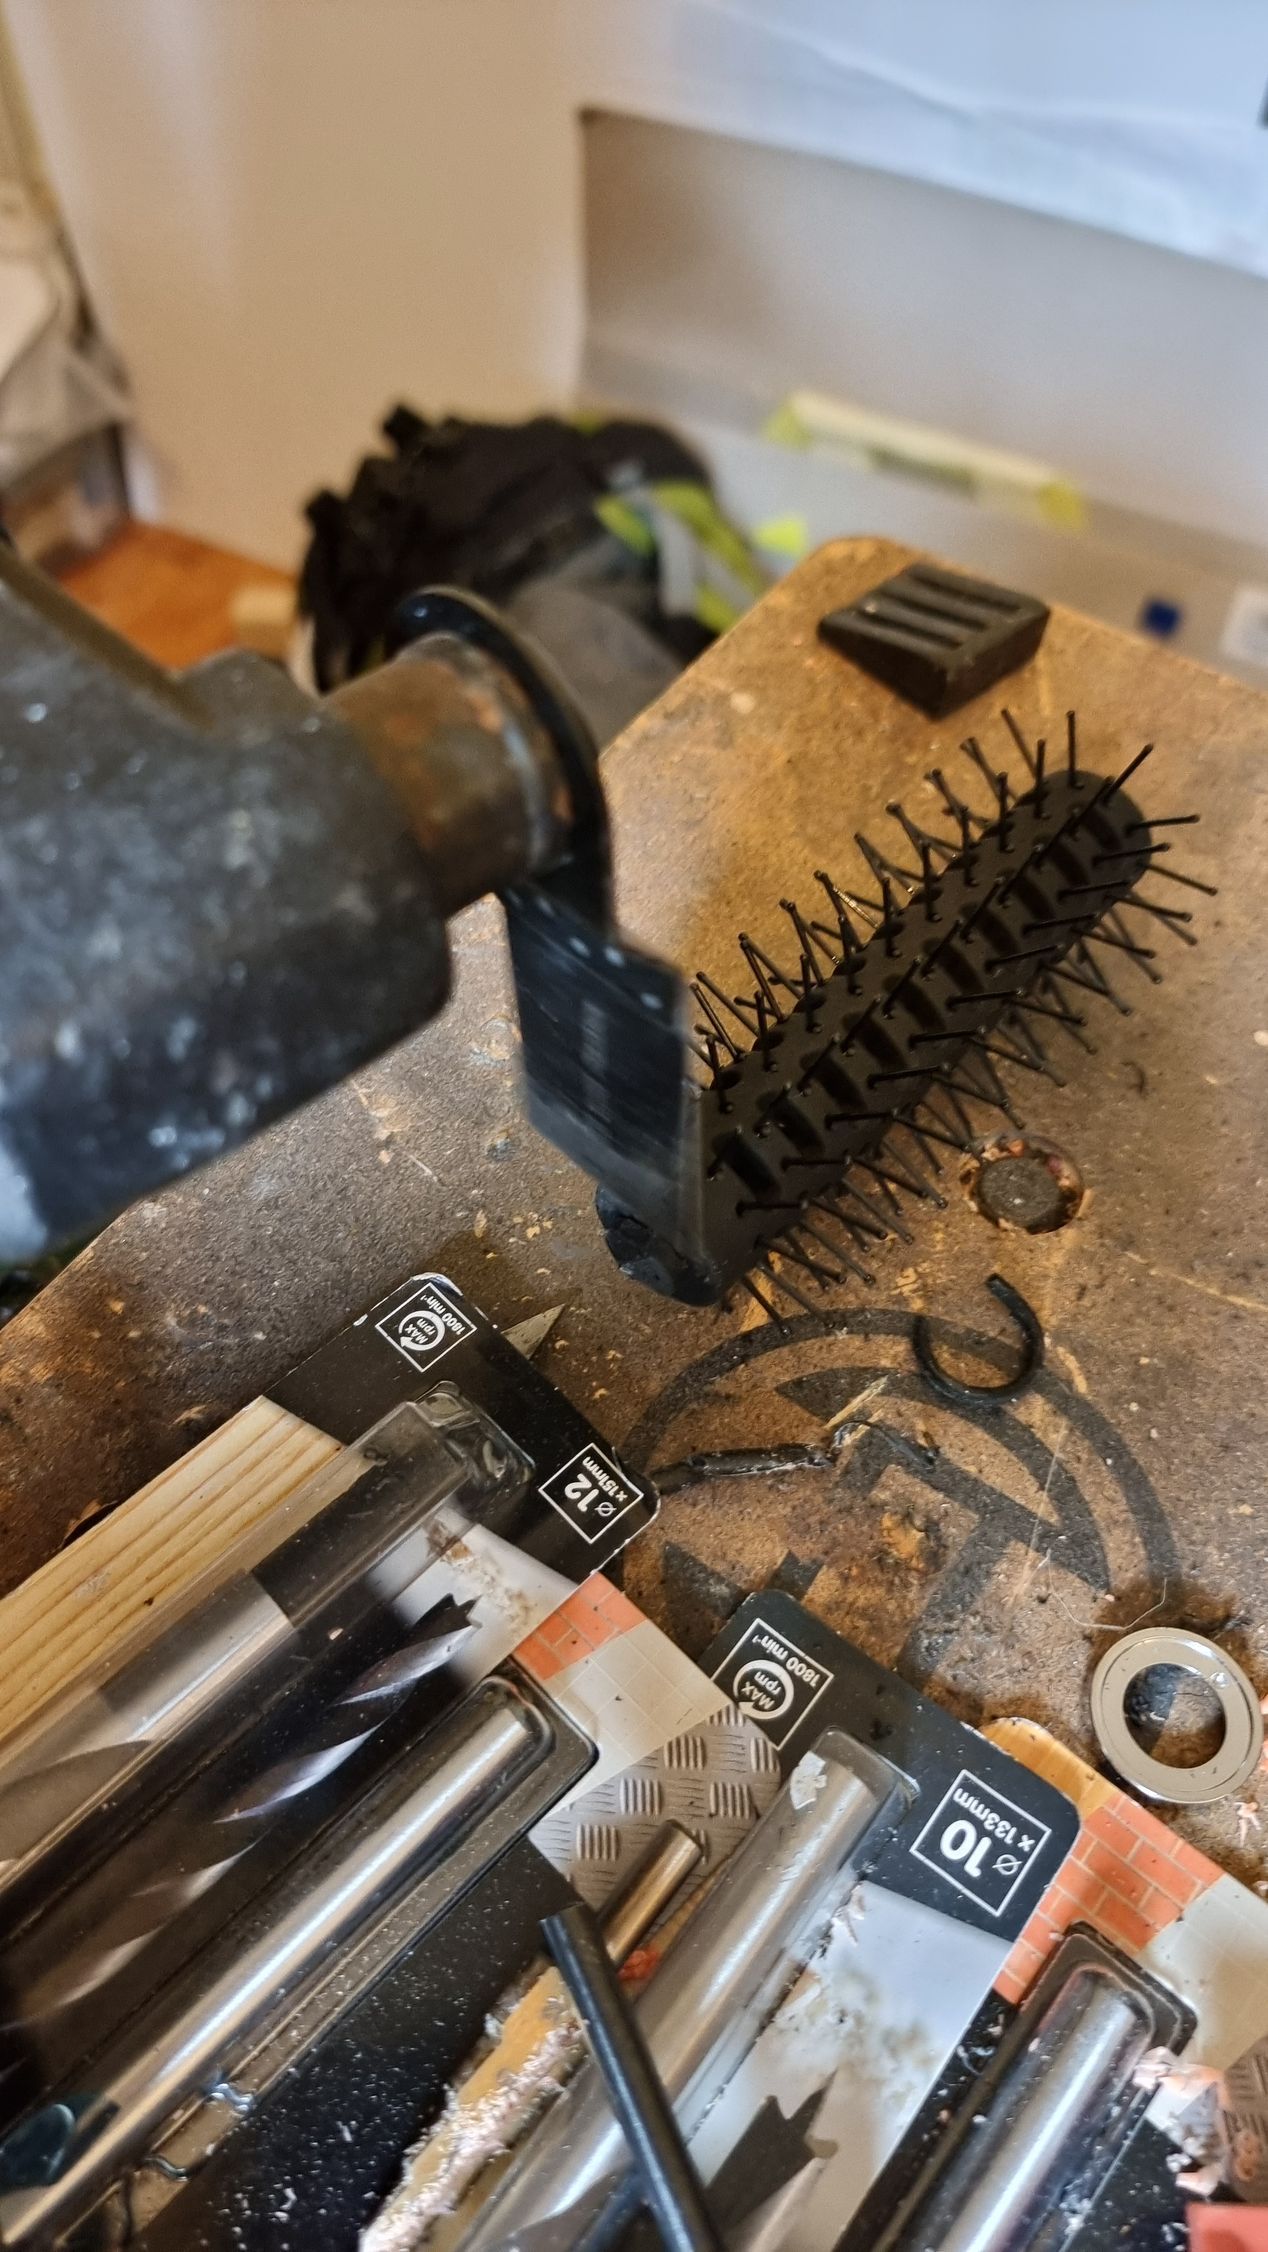
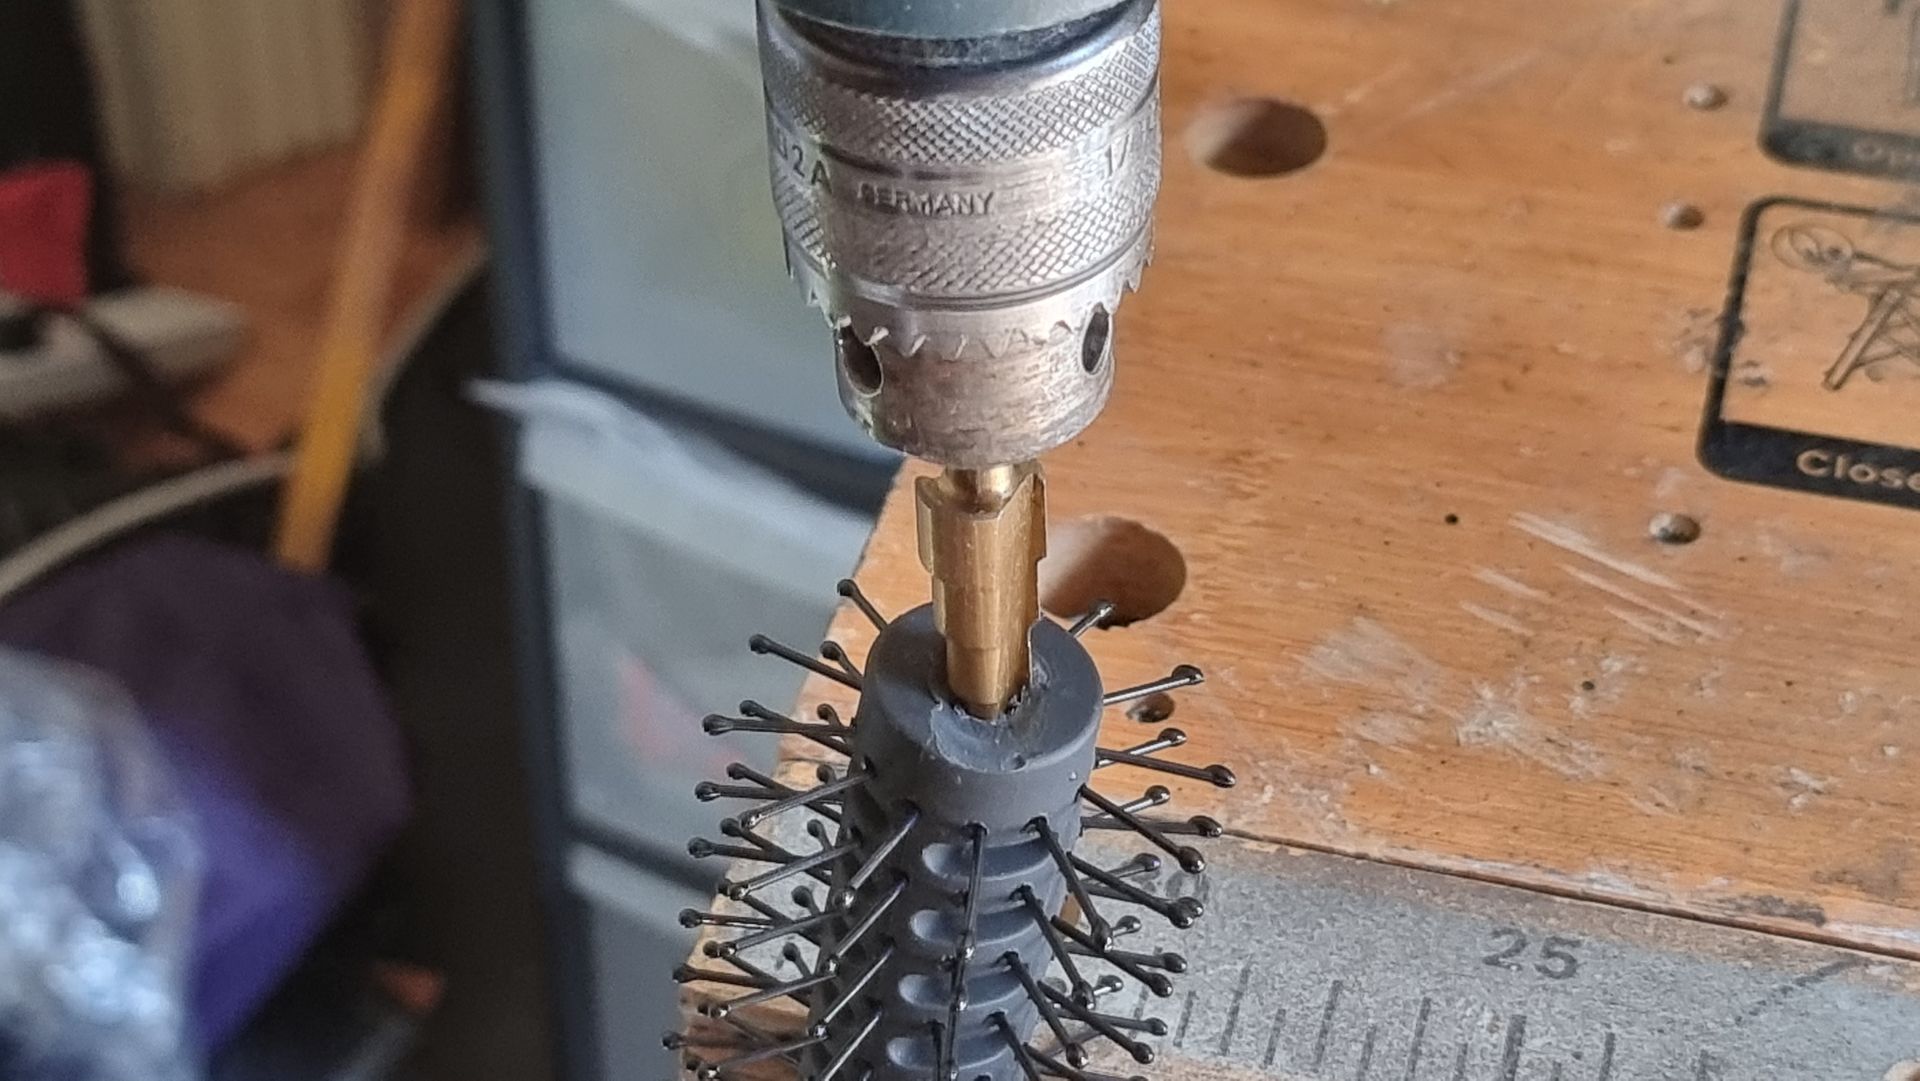
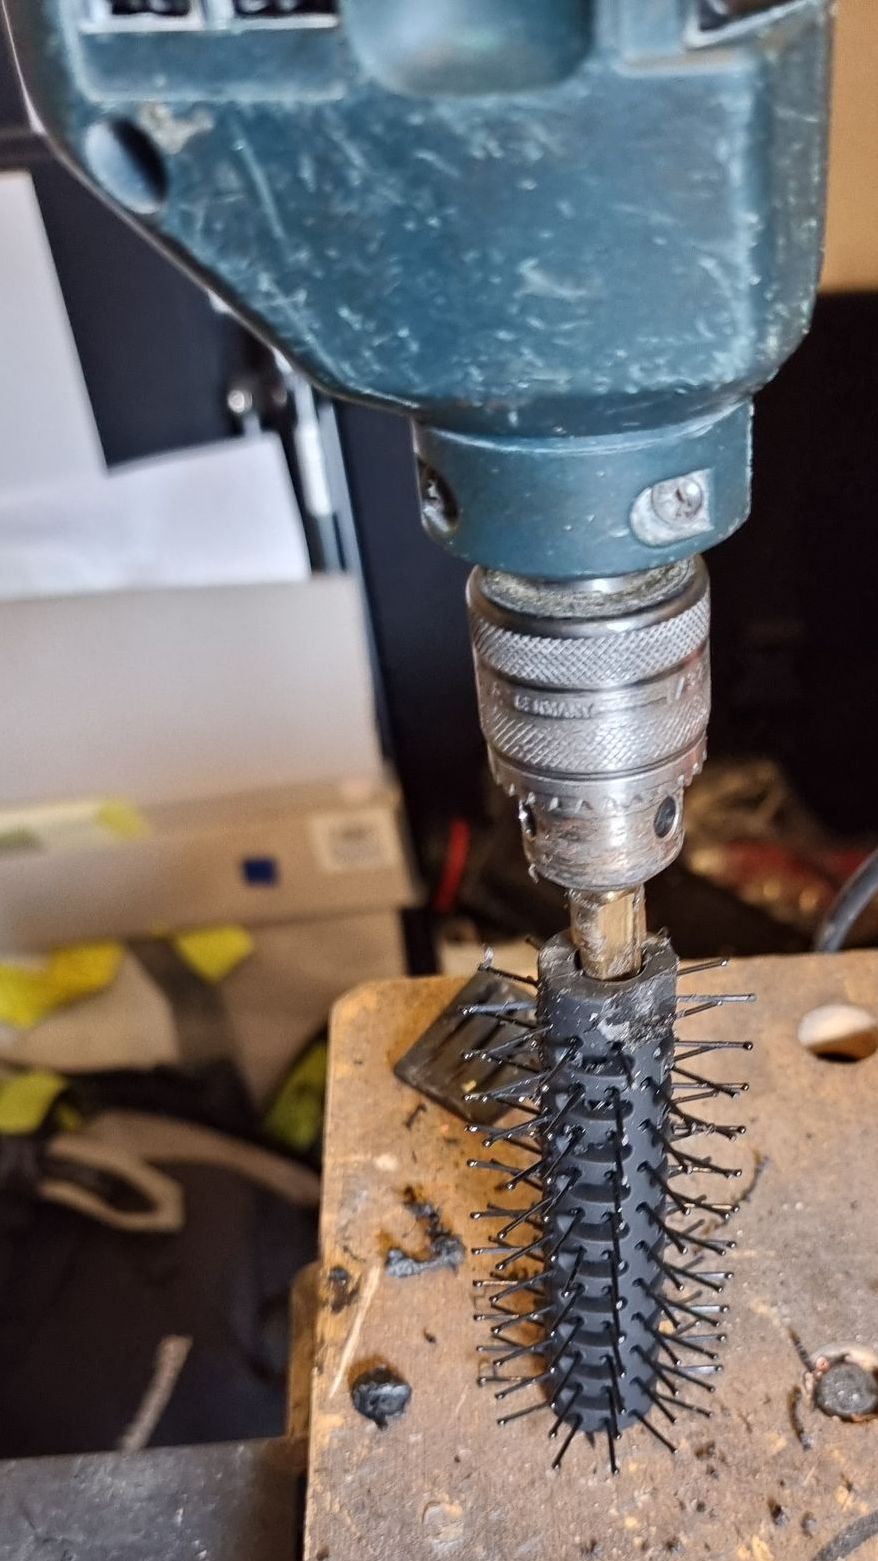
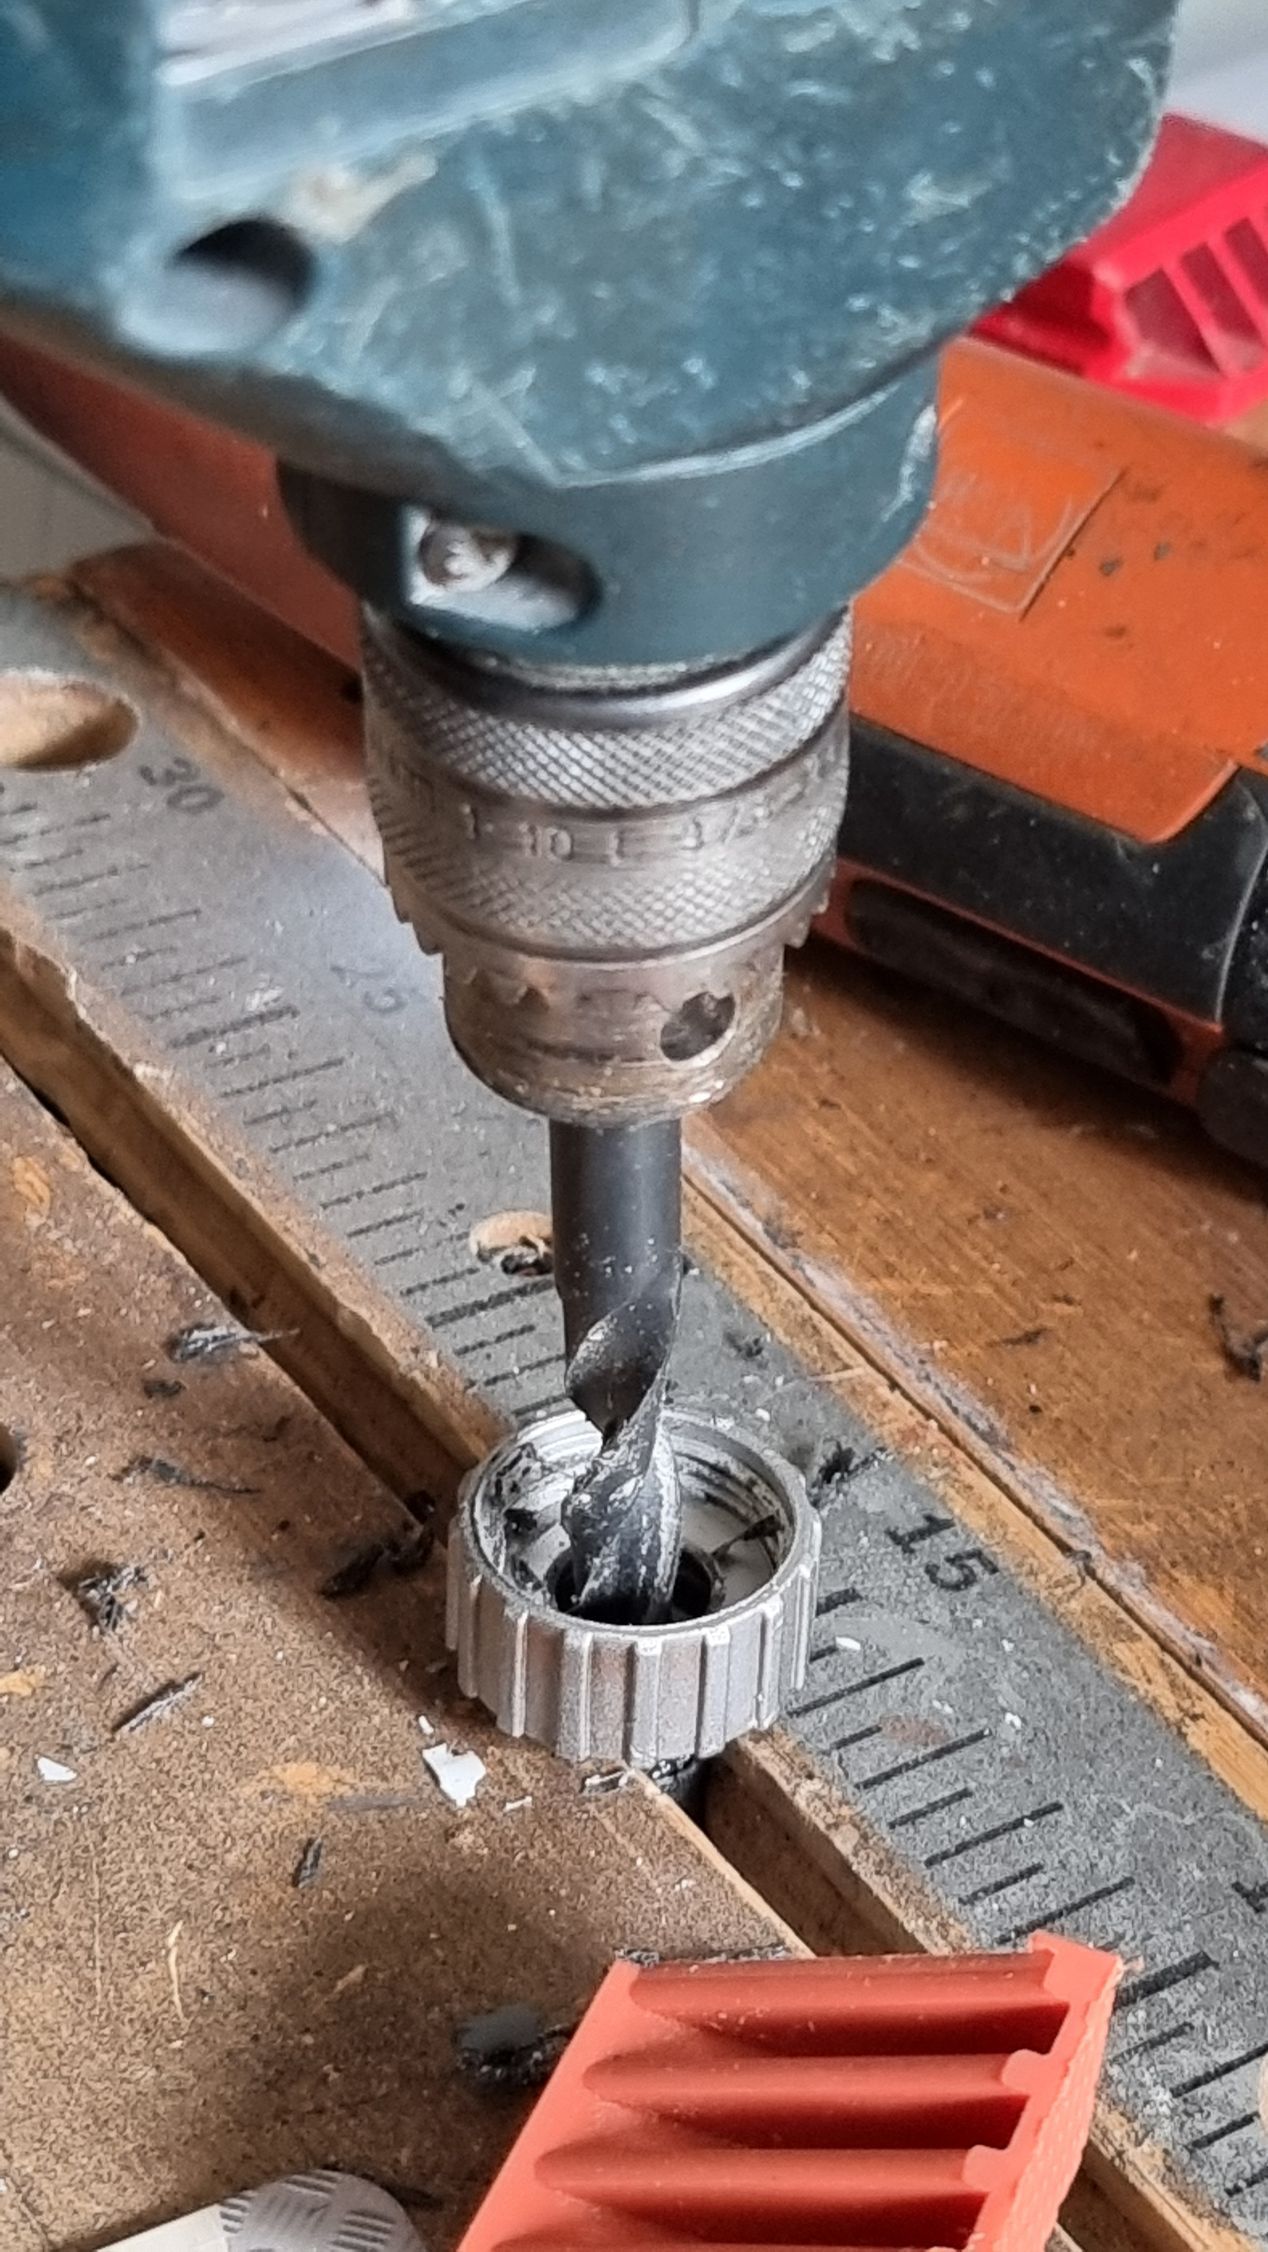
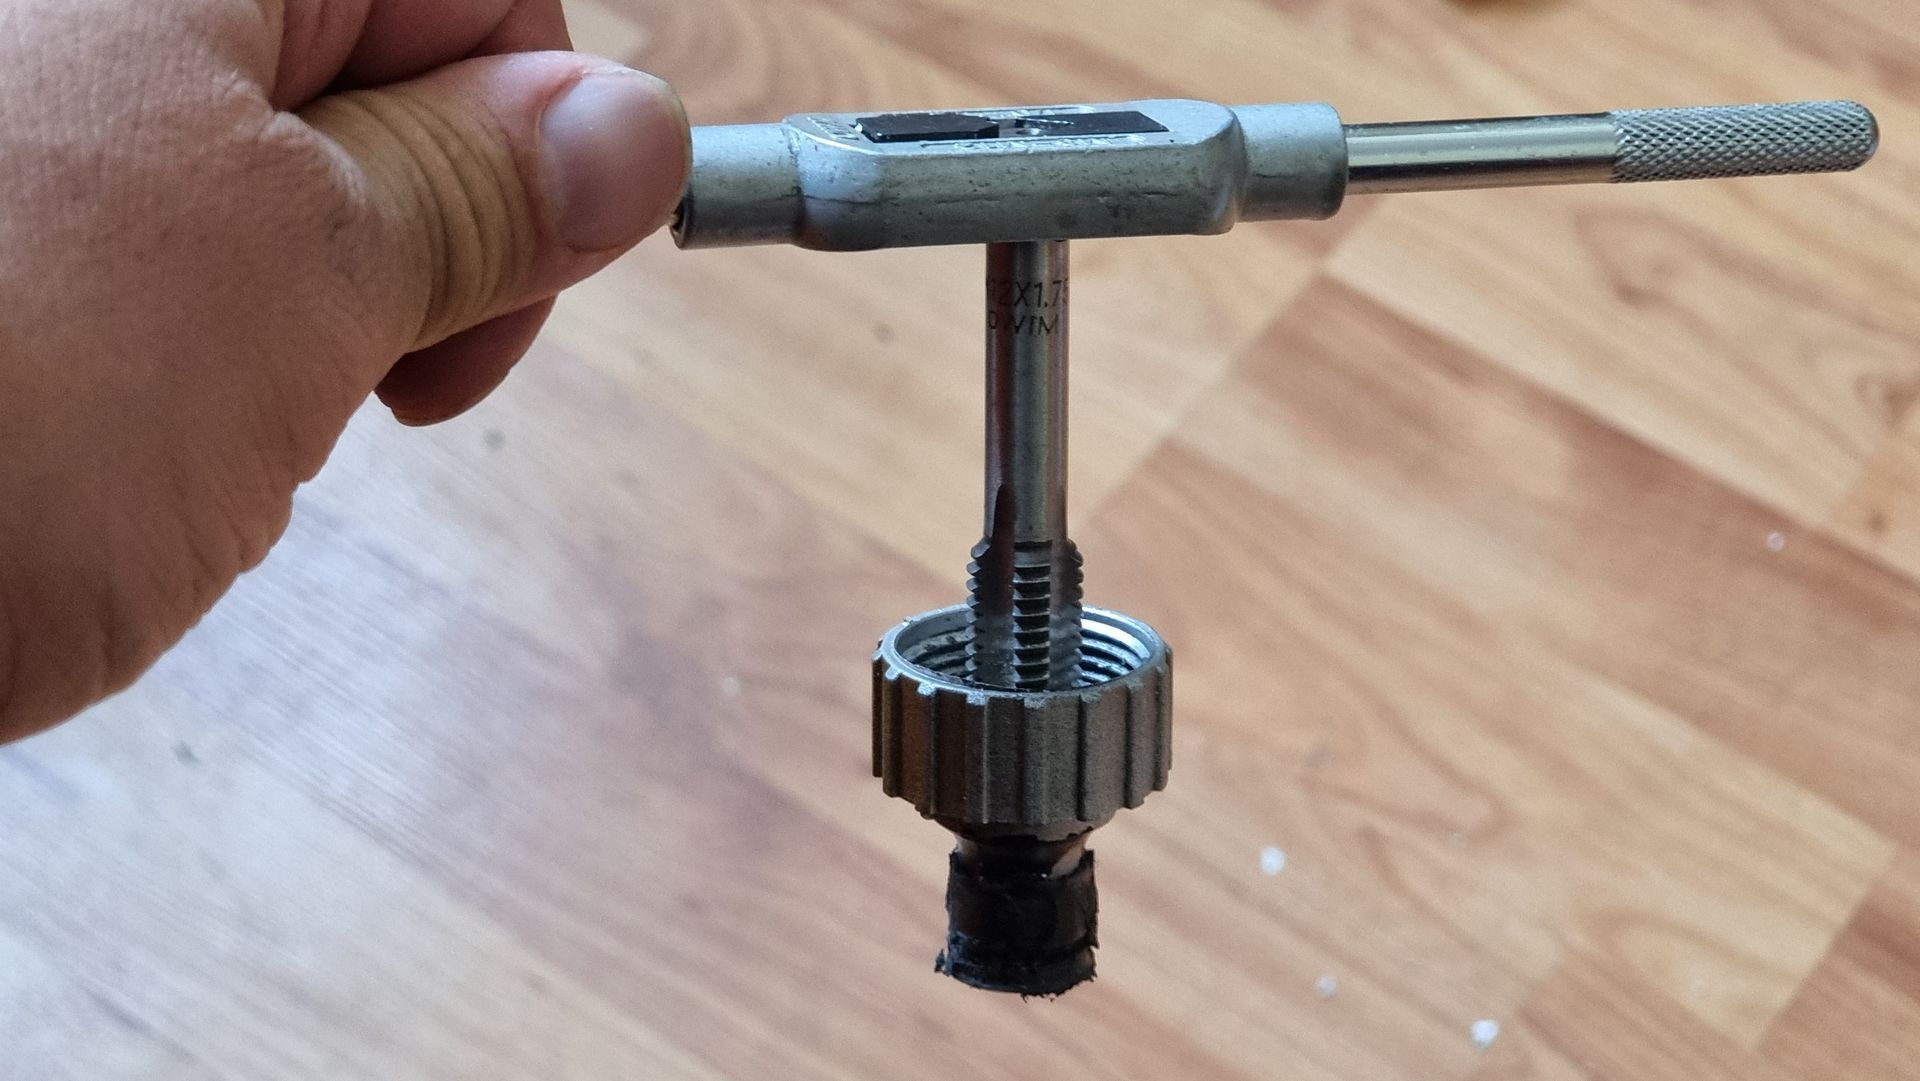
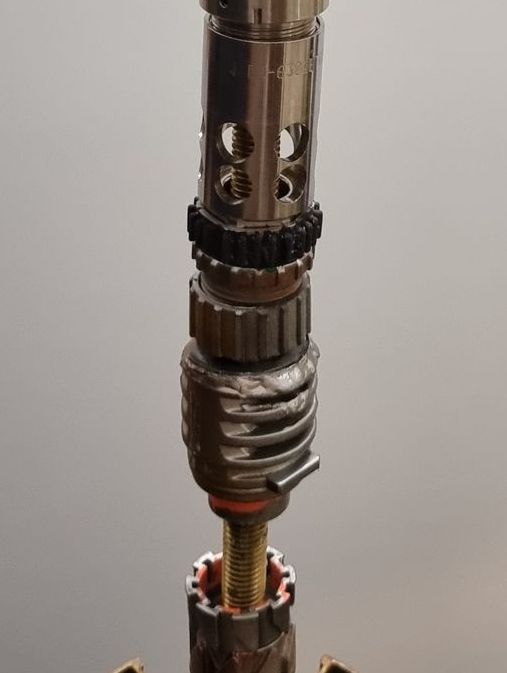
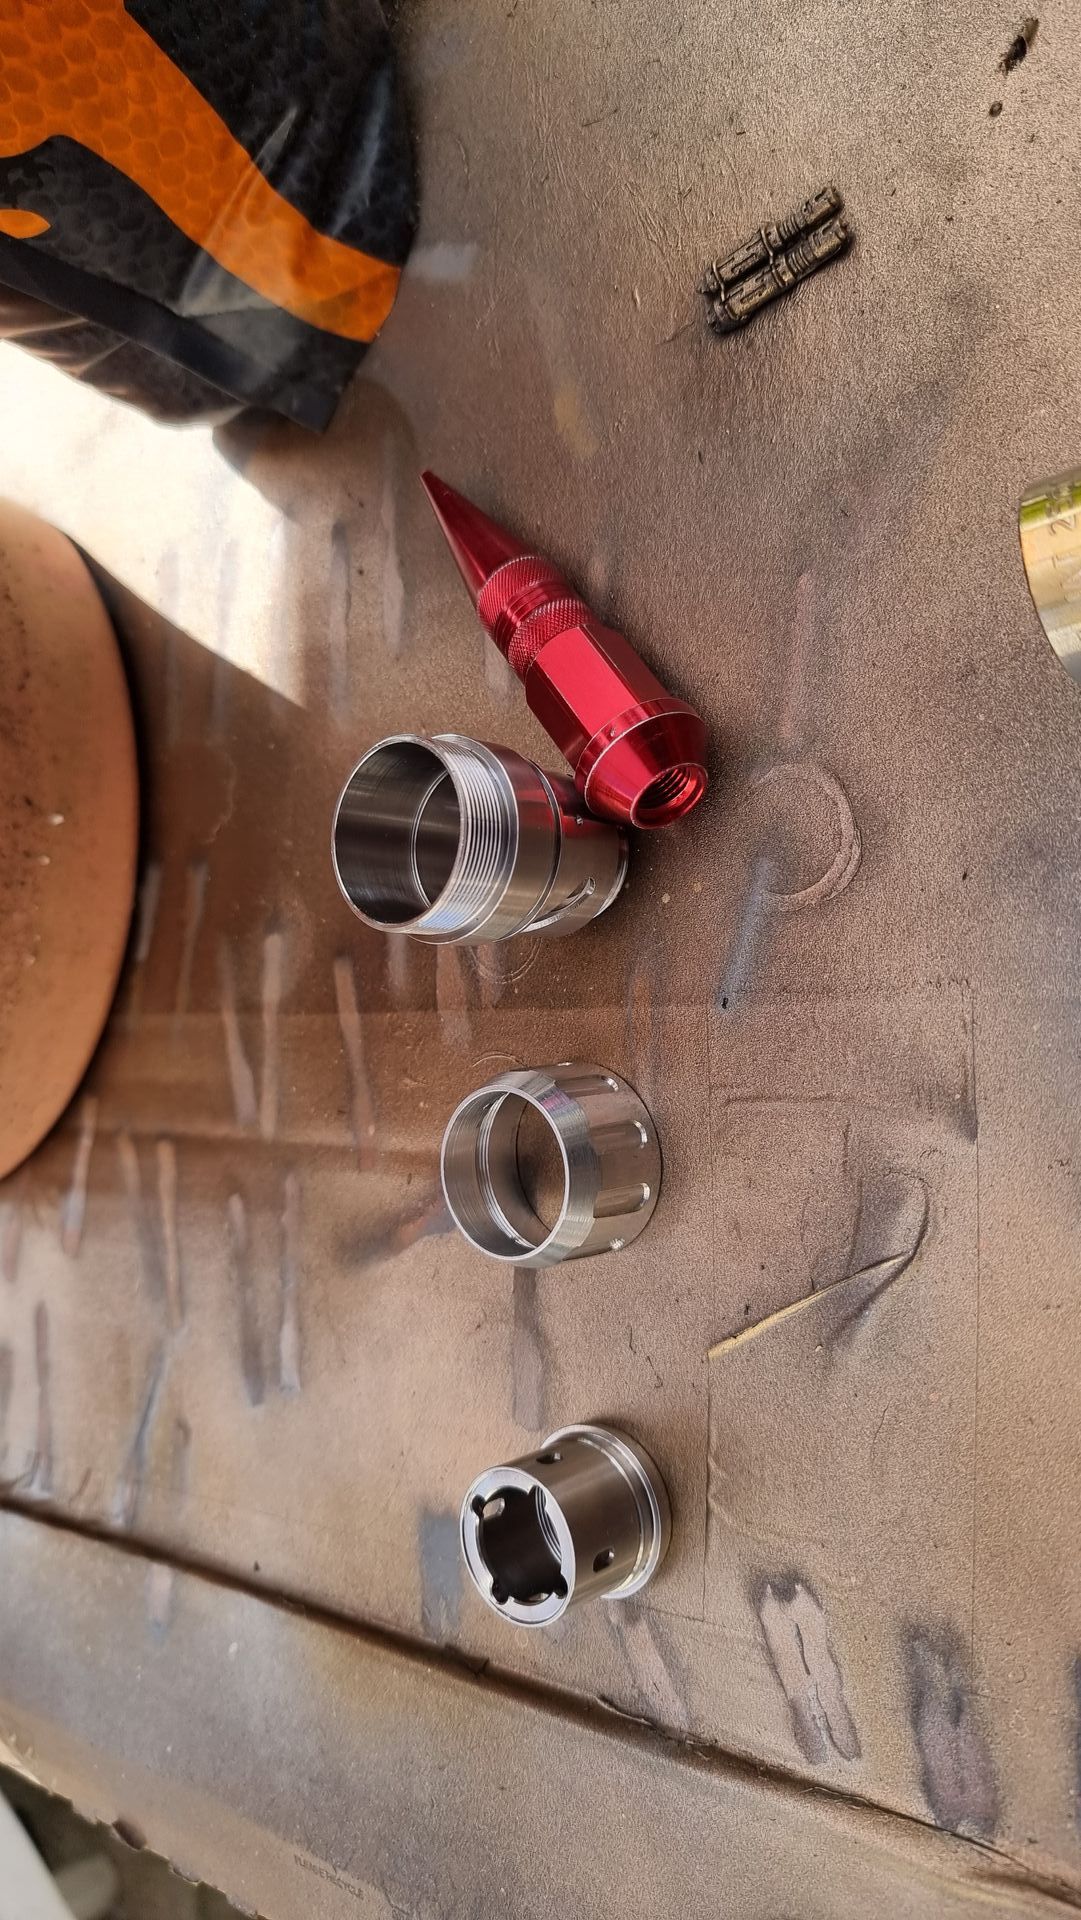
I broke off the brush handles, tried my best to drill through to 10mm then use the tapping tool for a 12mm inner thread.
Stepper drill bits were used to do this gently as the components were fragile.
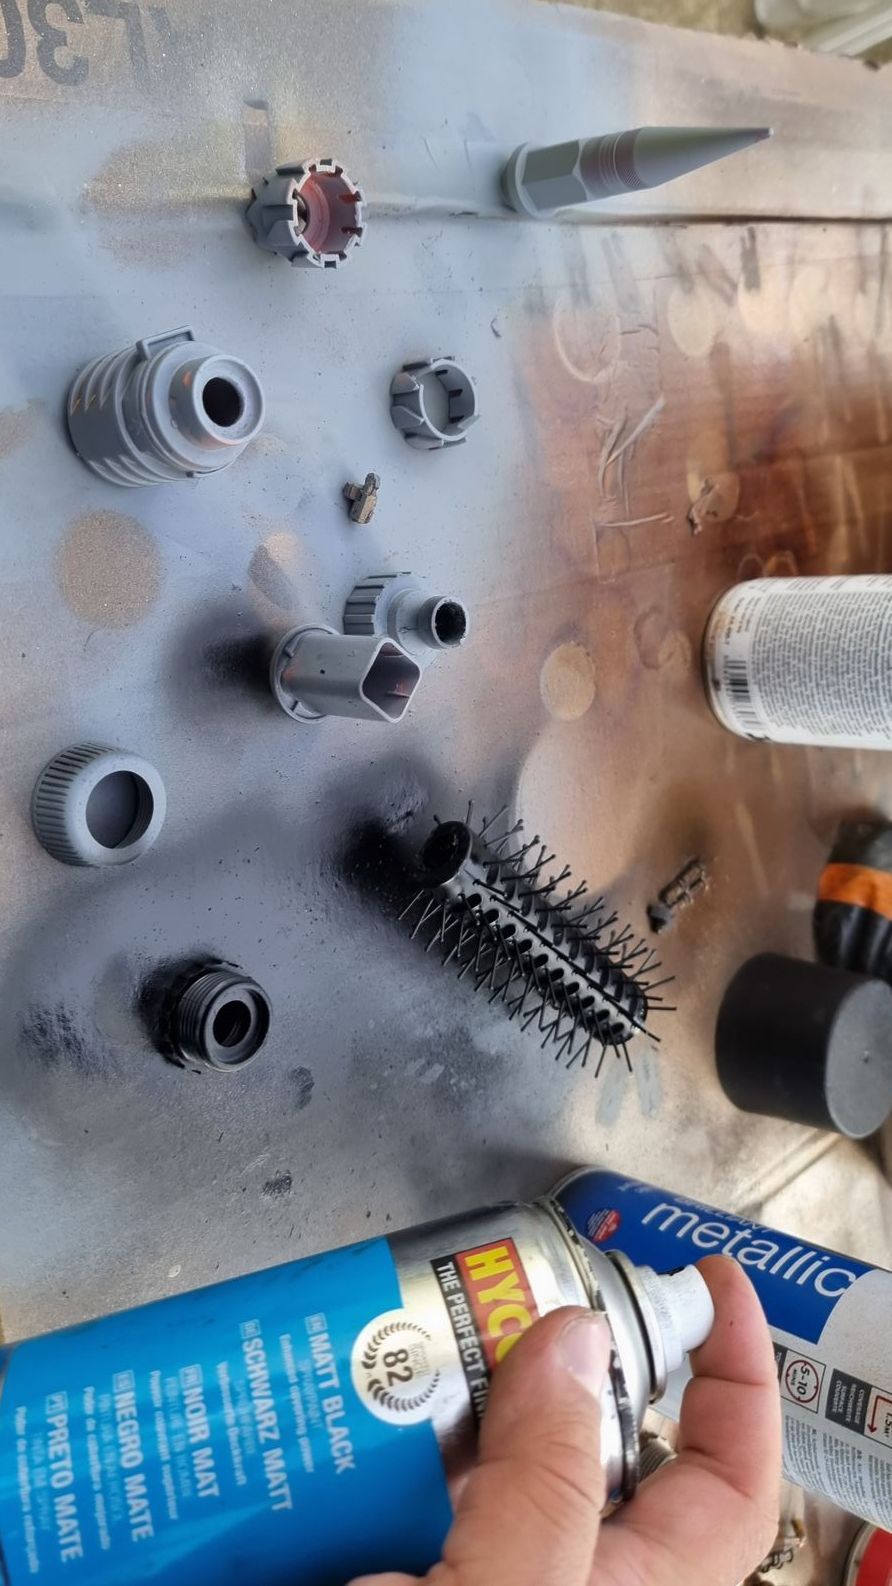
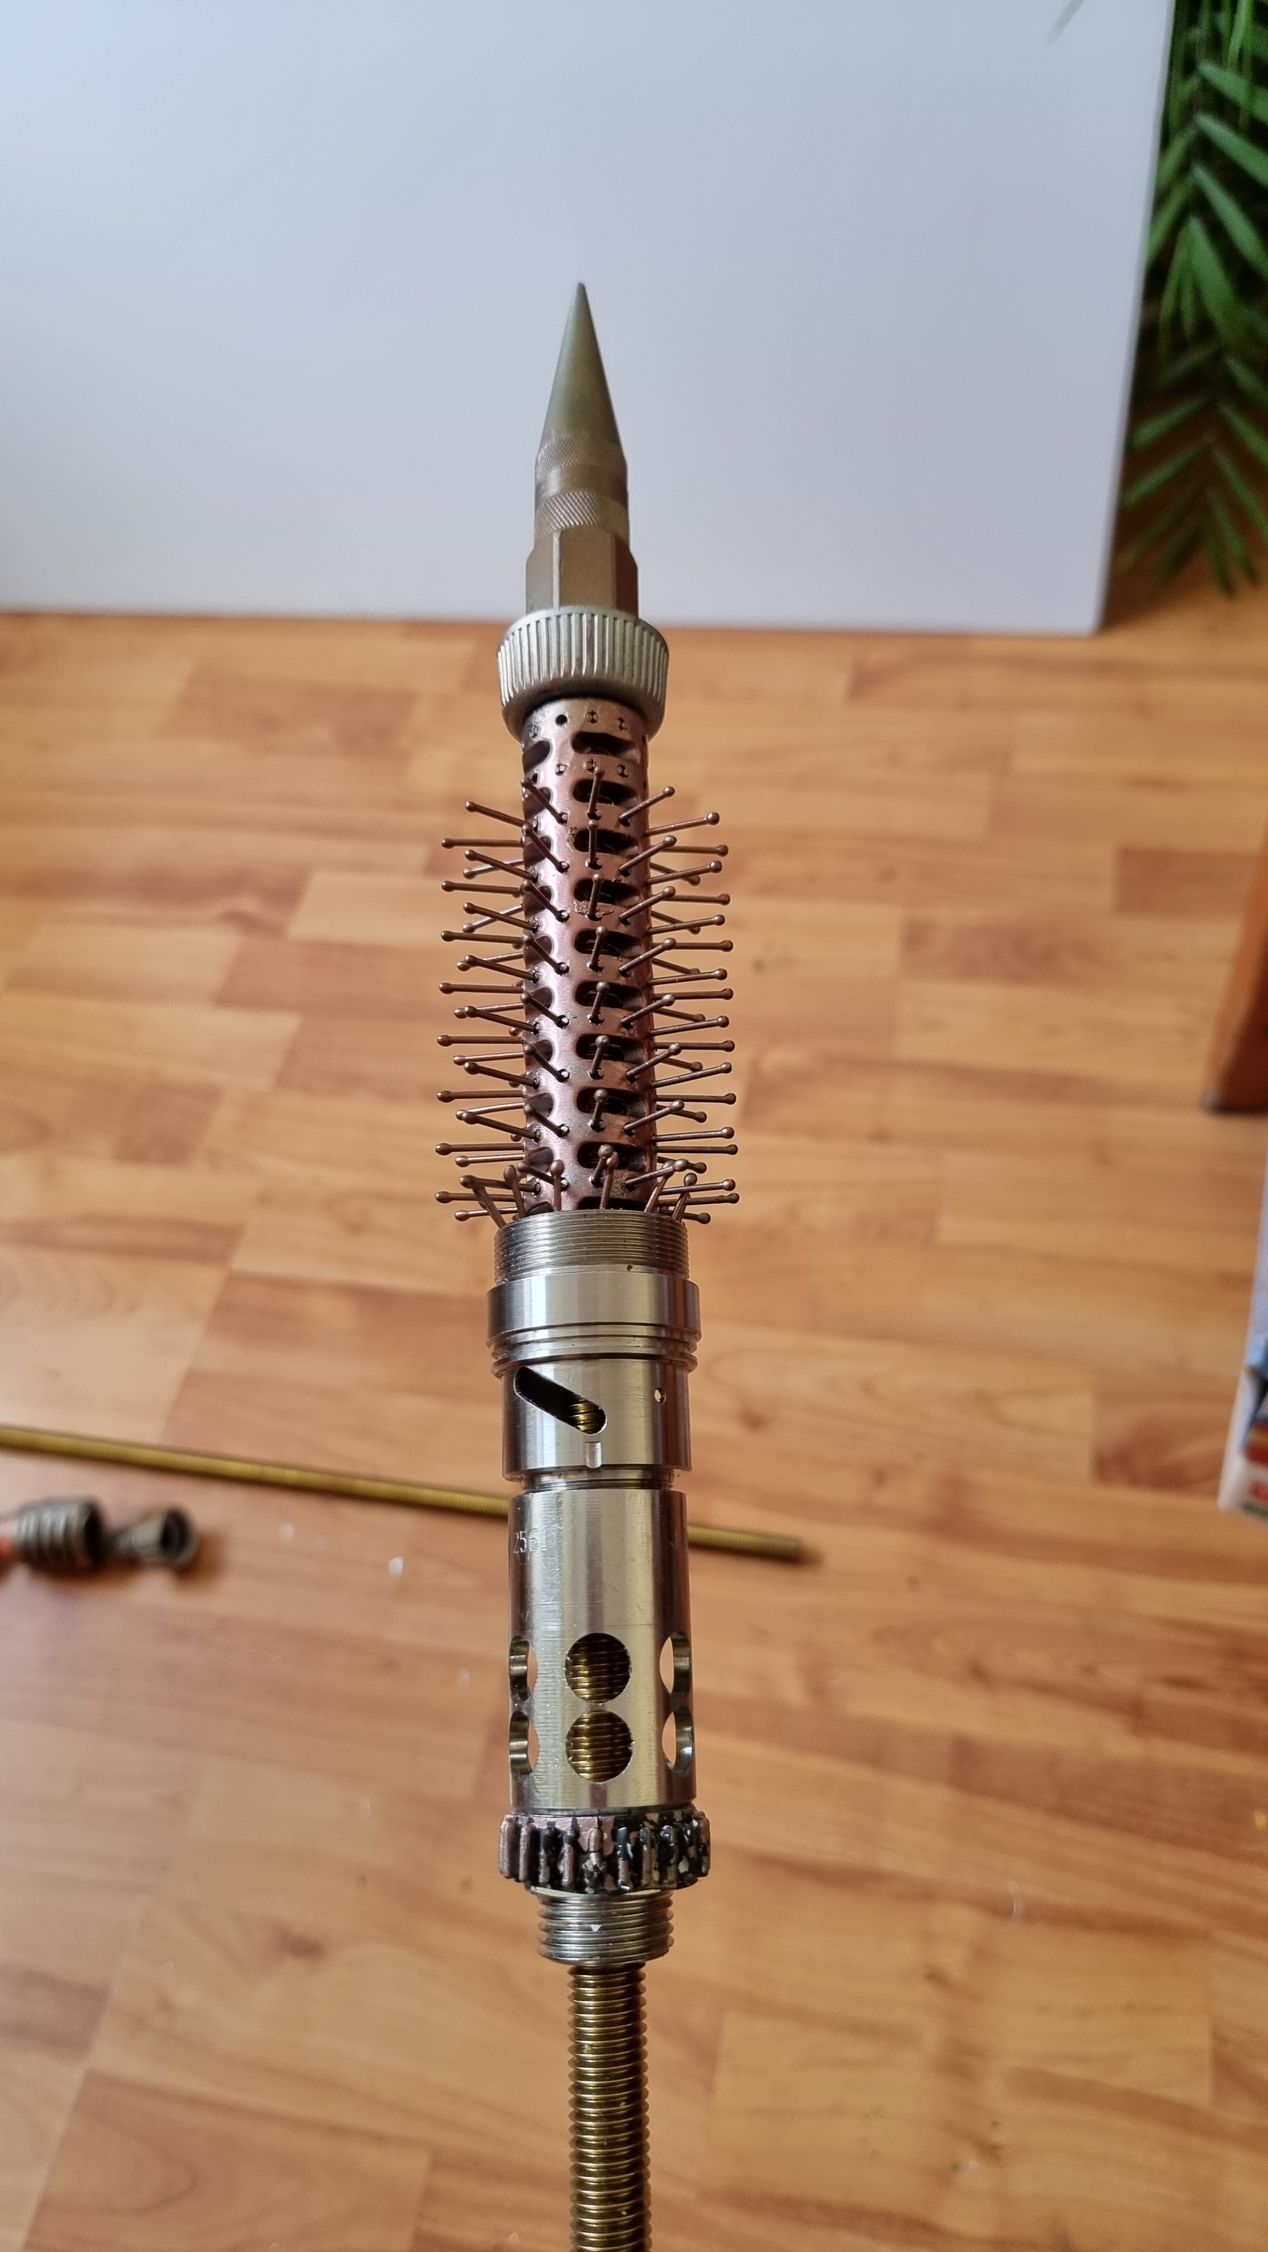
Sprayed some of the components as well as drilling and tapping before trying various component combinations to see what worked. The brush looked promising.
Hexaonal Shaped Ring
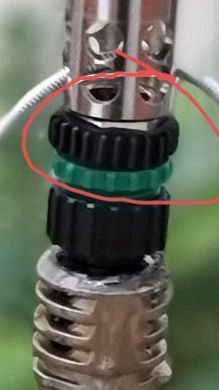
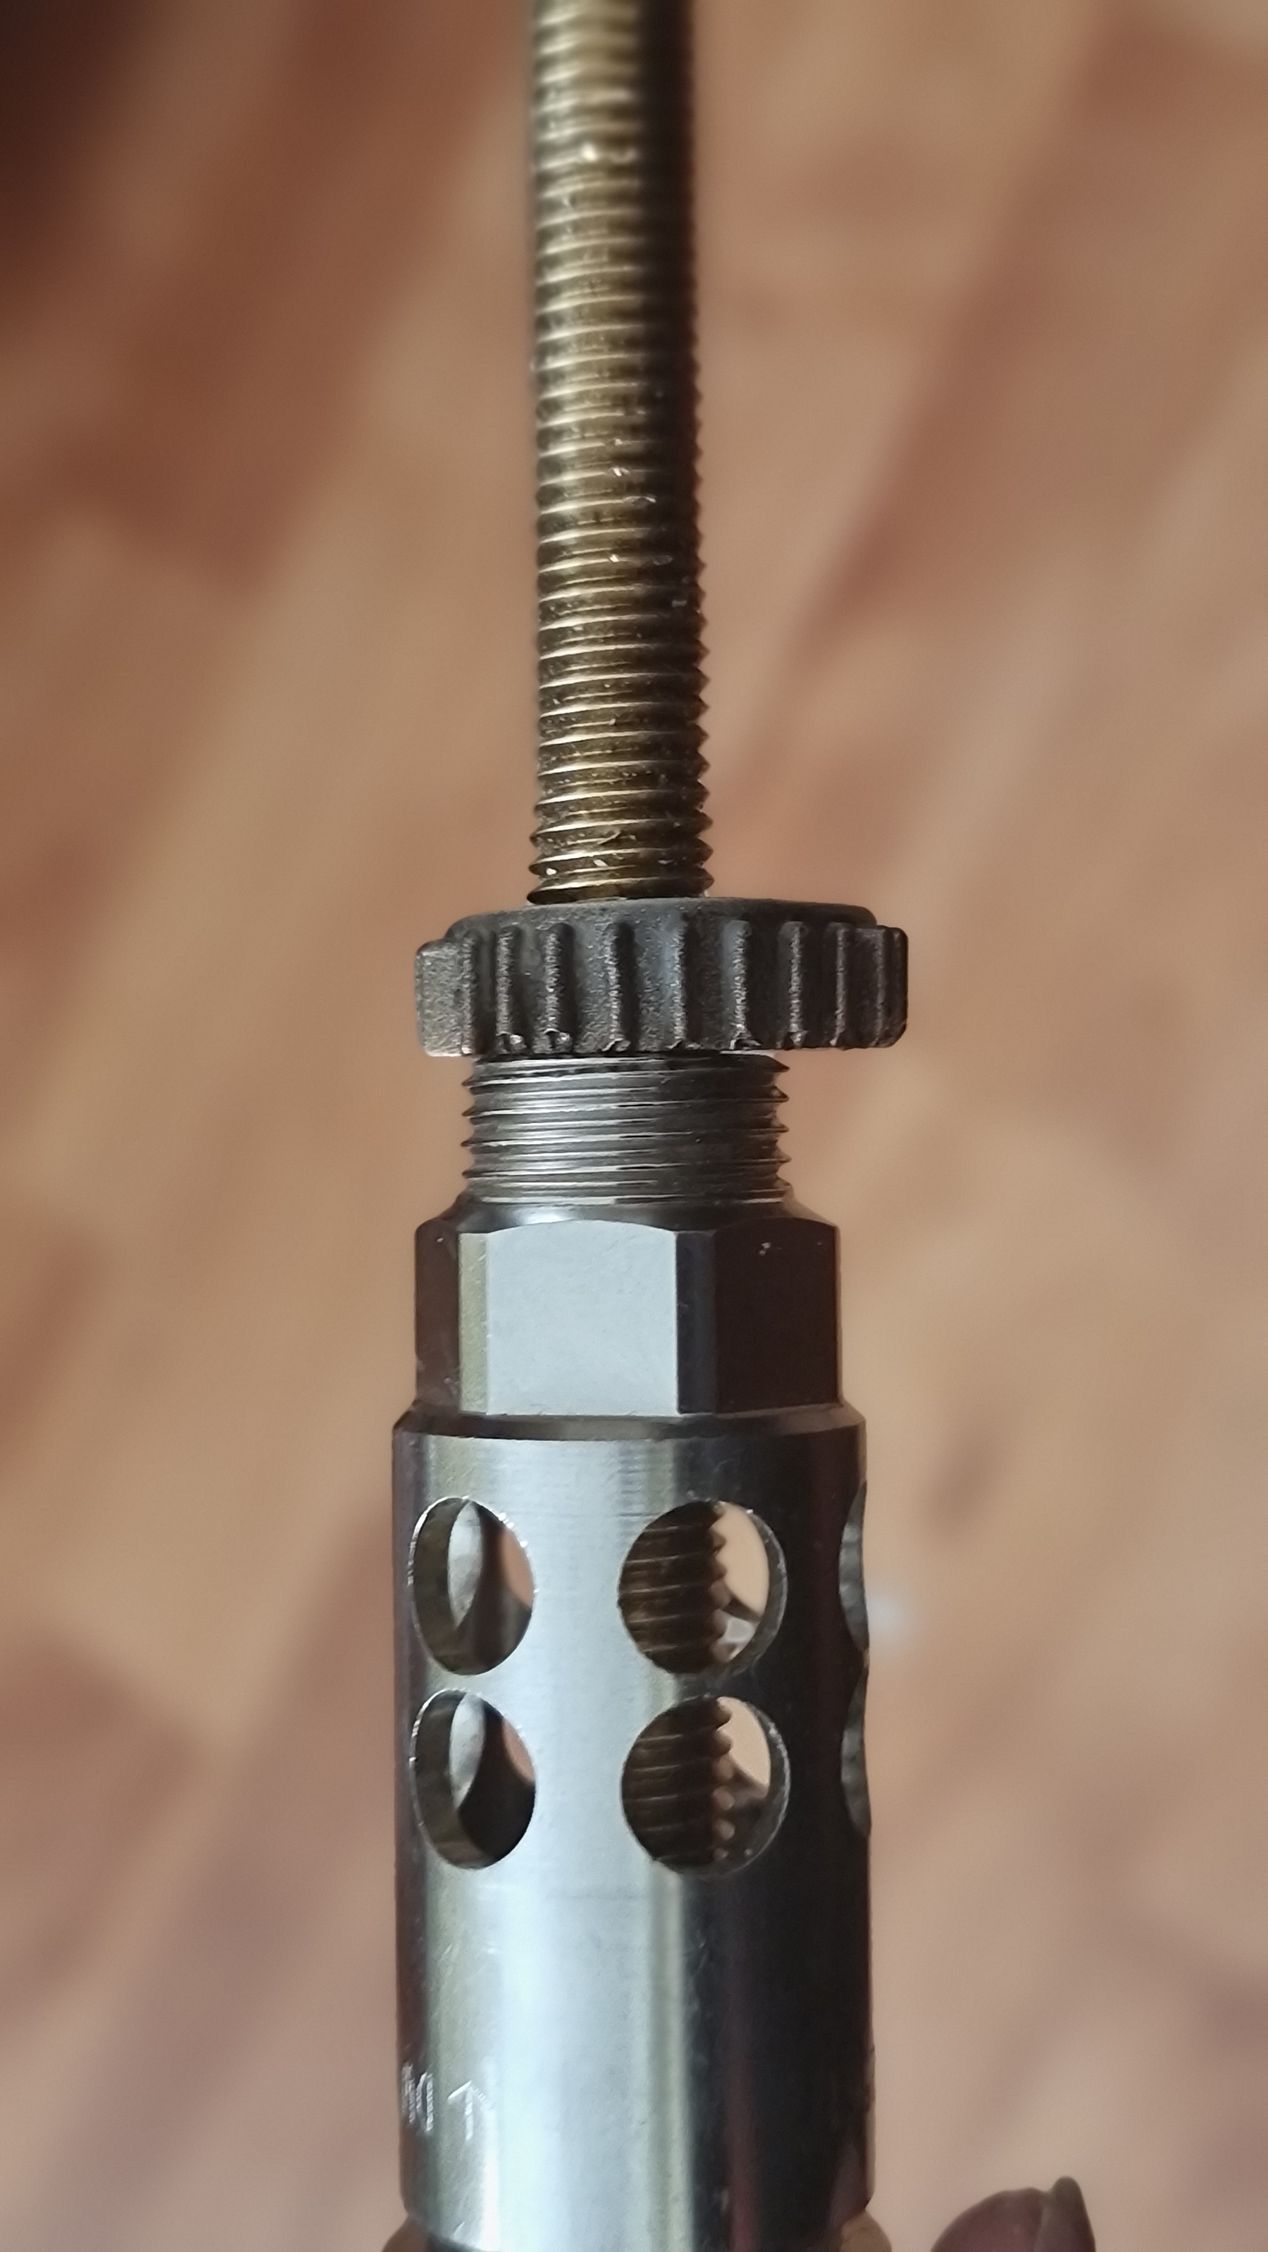
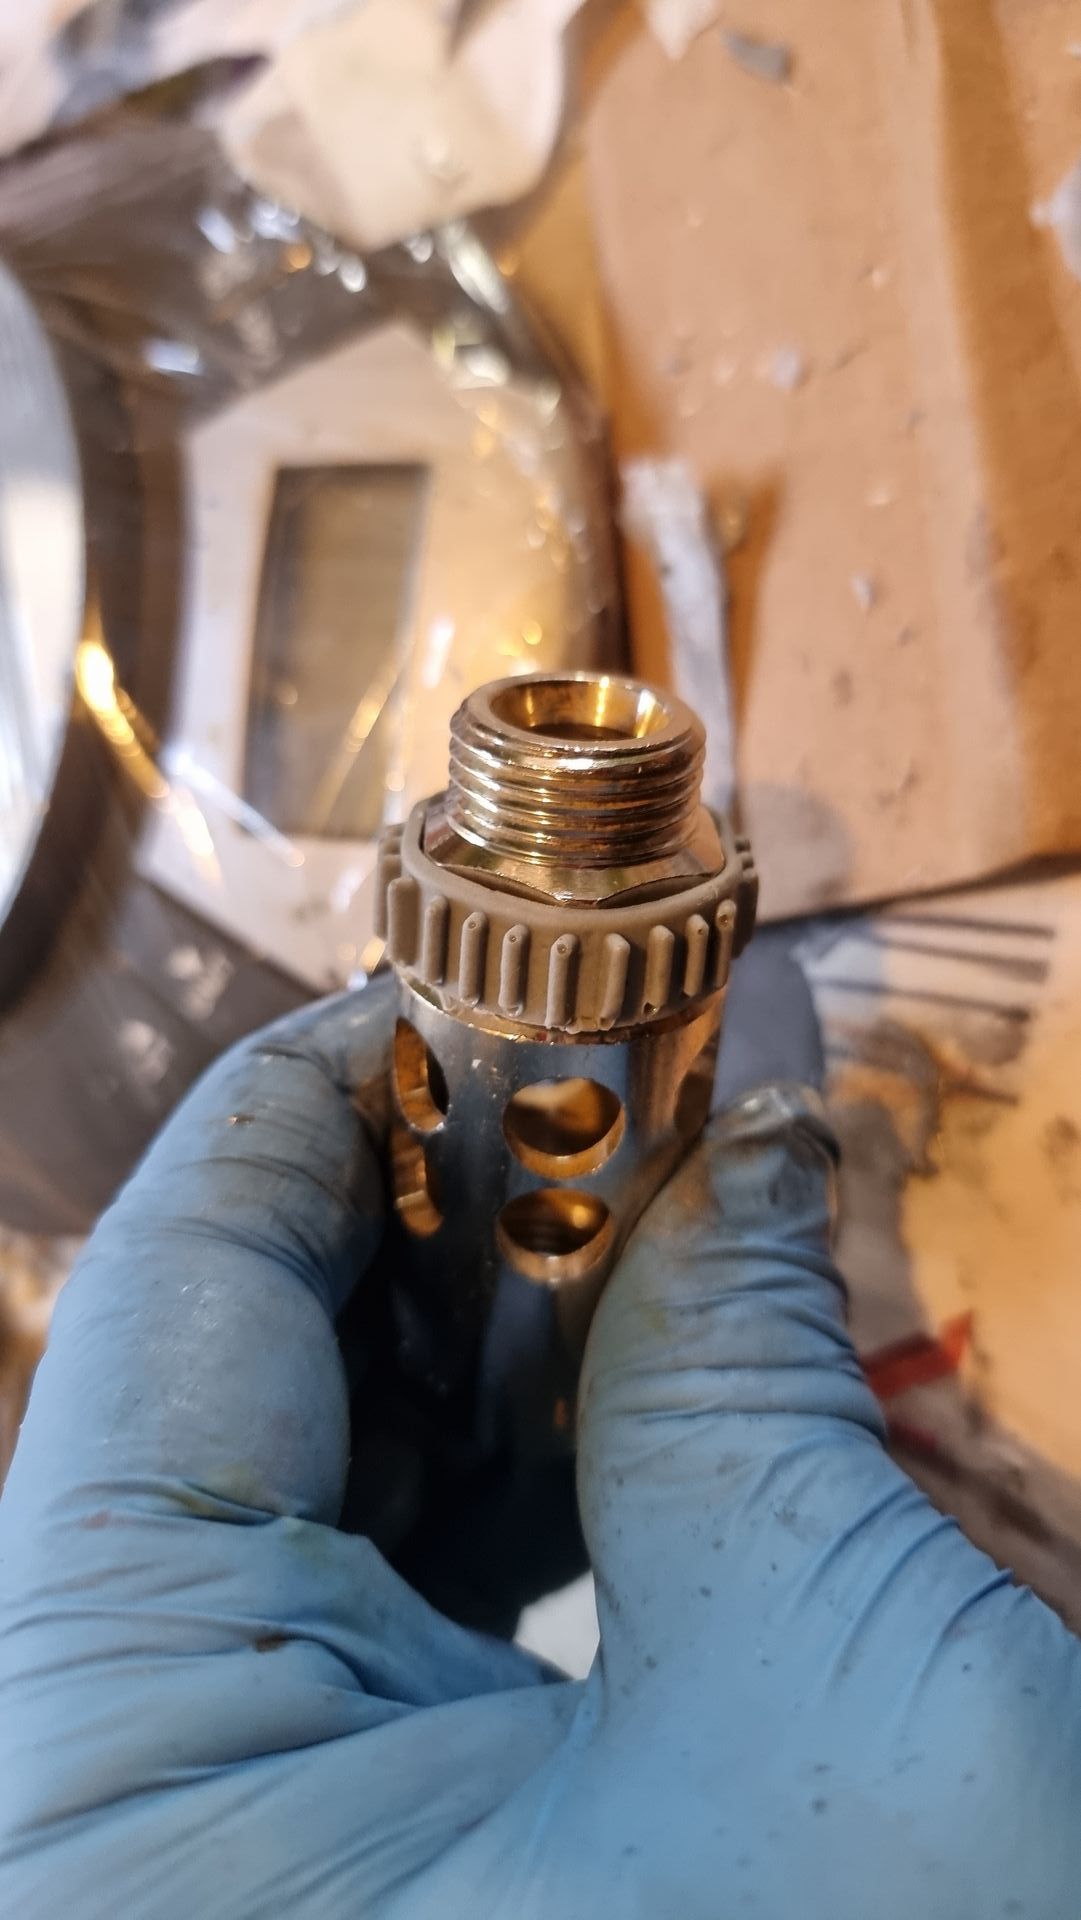
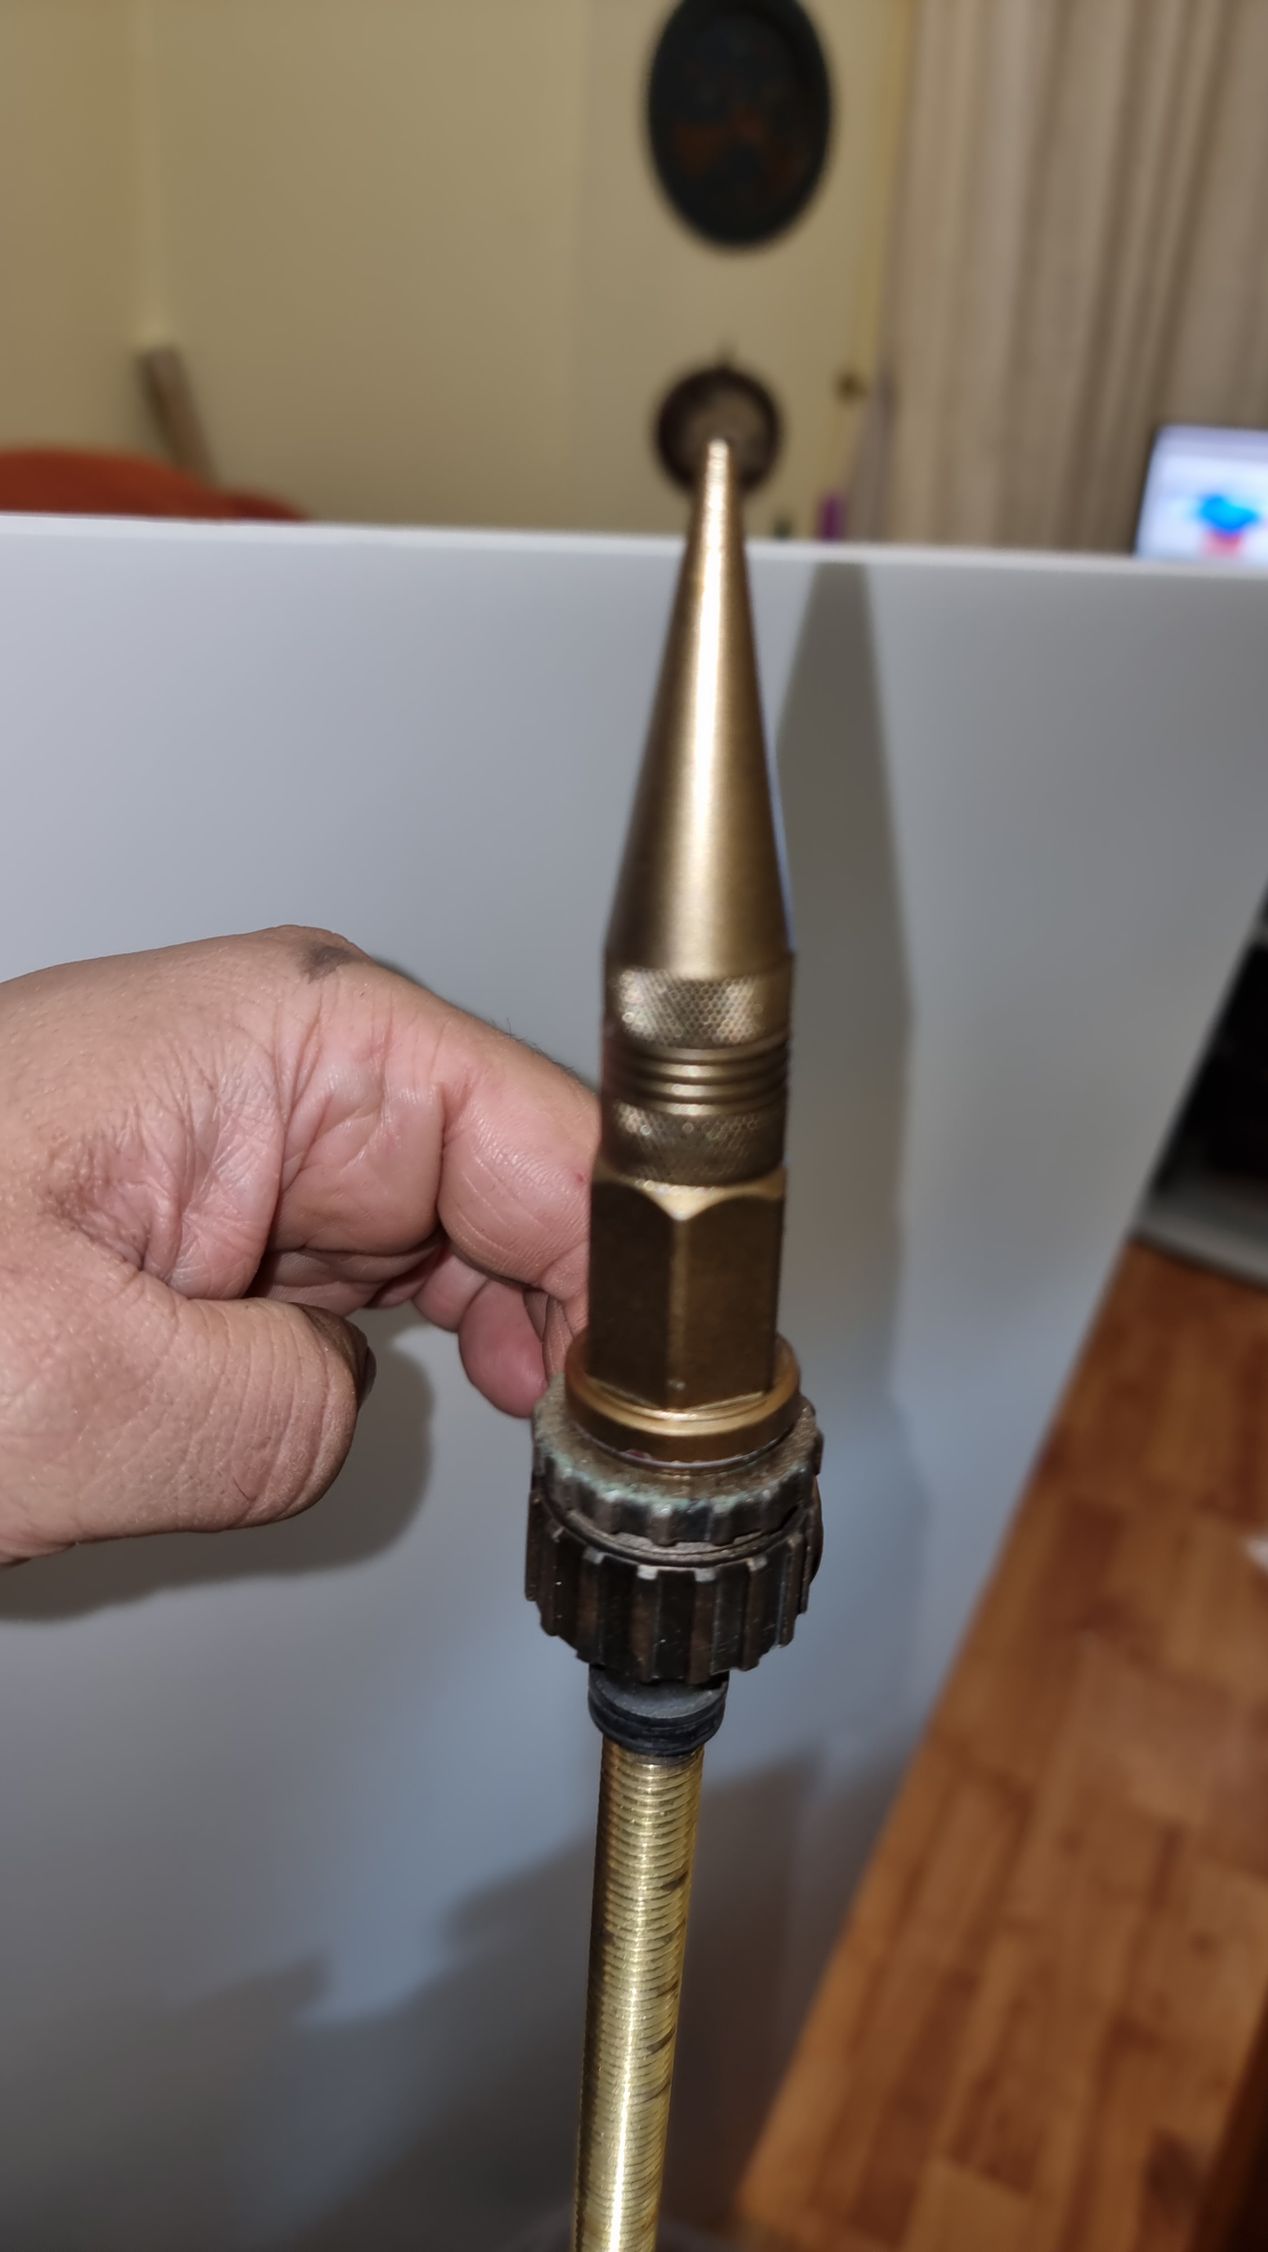
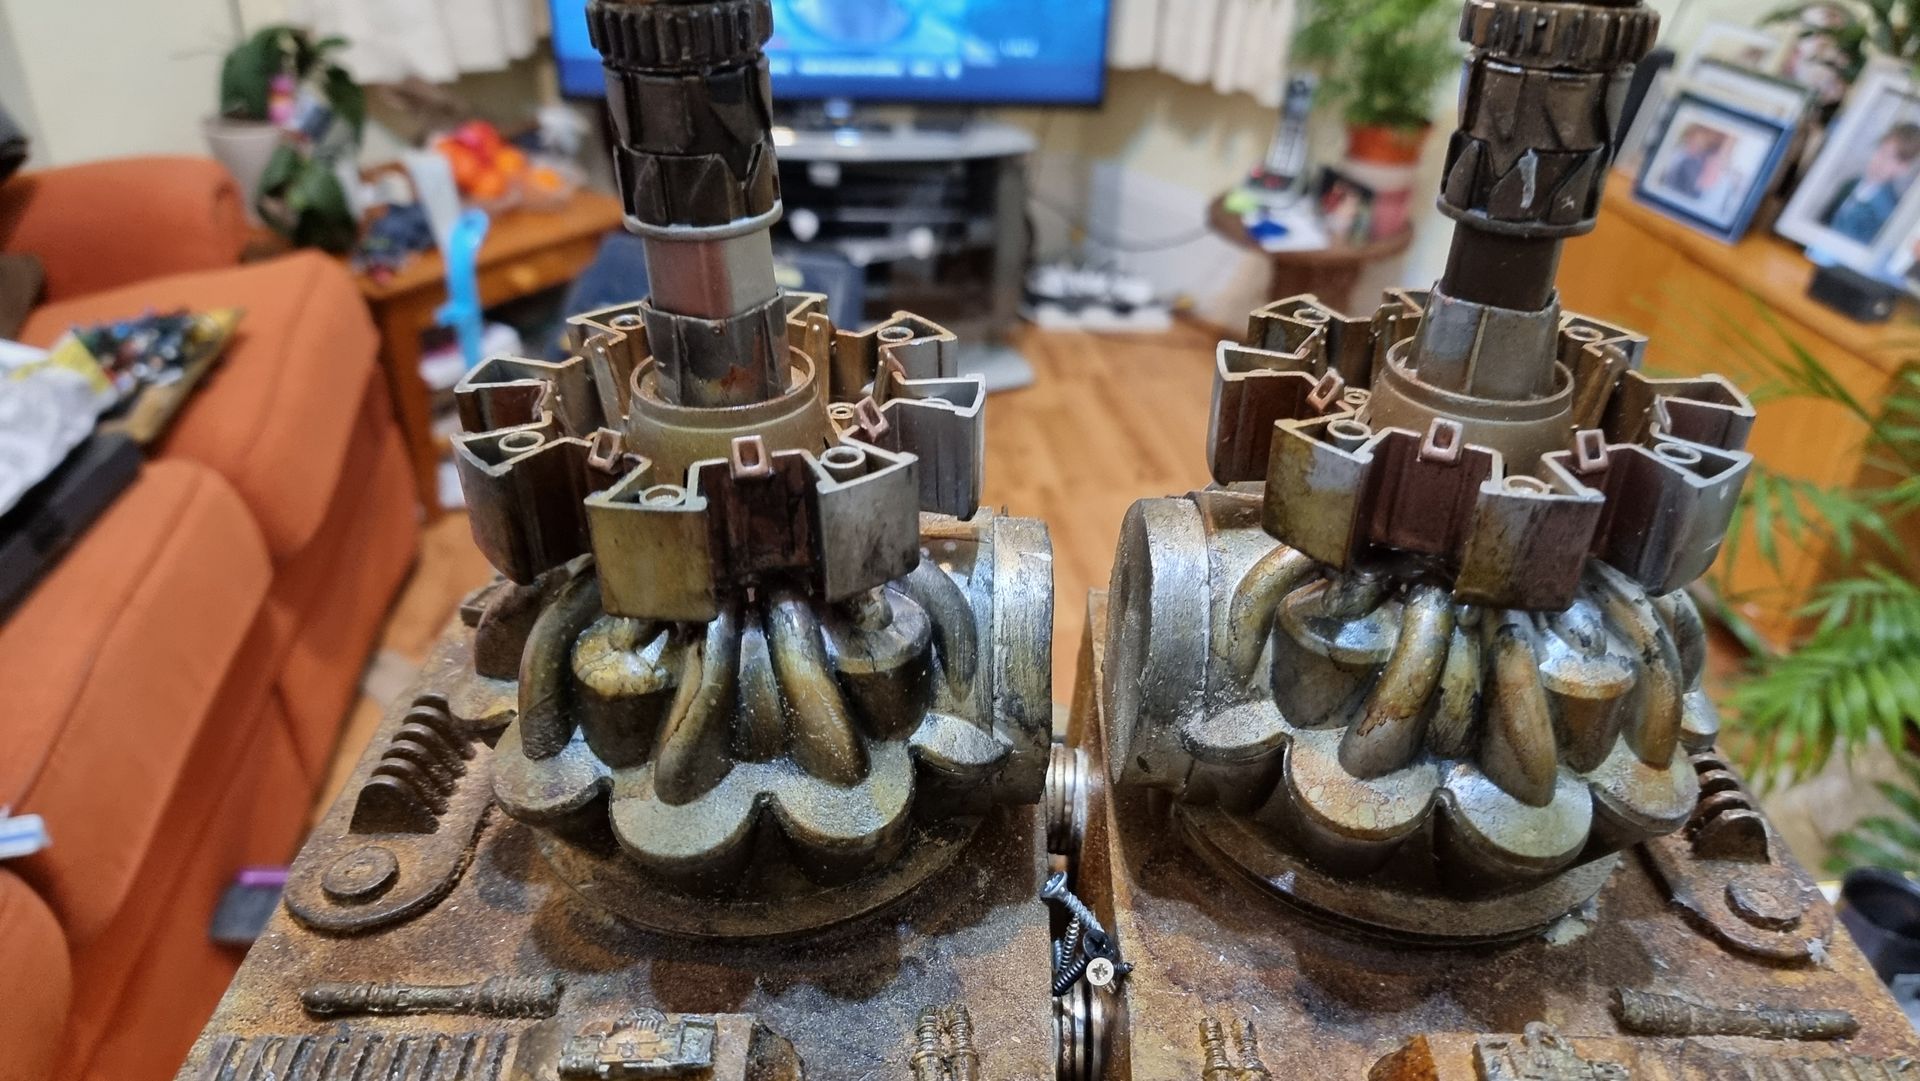
One of the components was a vertical griped ring from a multi screwdriver.
These was originally a rubbery material which wrapped around one of the metal components which had a hexagonal end.
Being flexible, this fitted well over the irregular shaped component.
Unfortunately, what was found that when painted the paint does not bond but flakes off easy as the paint is not flexible.
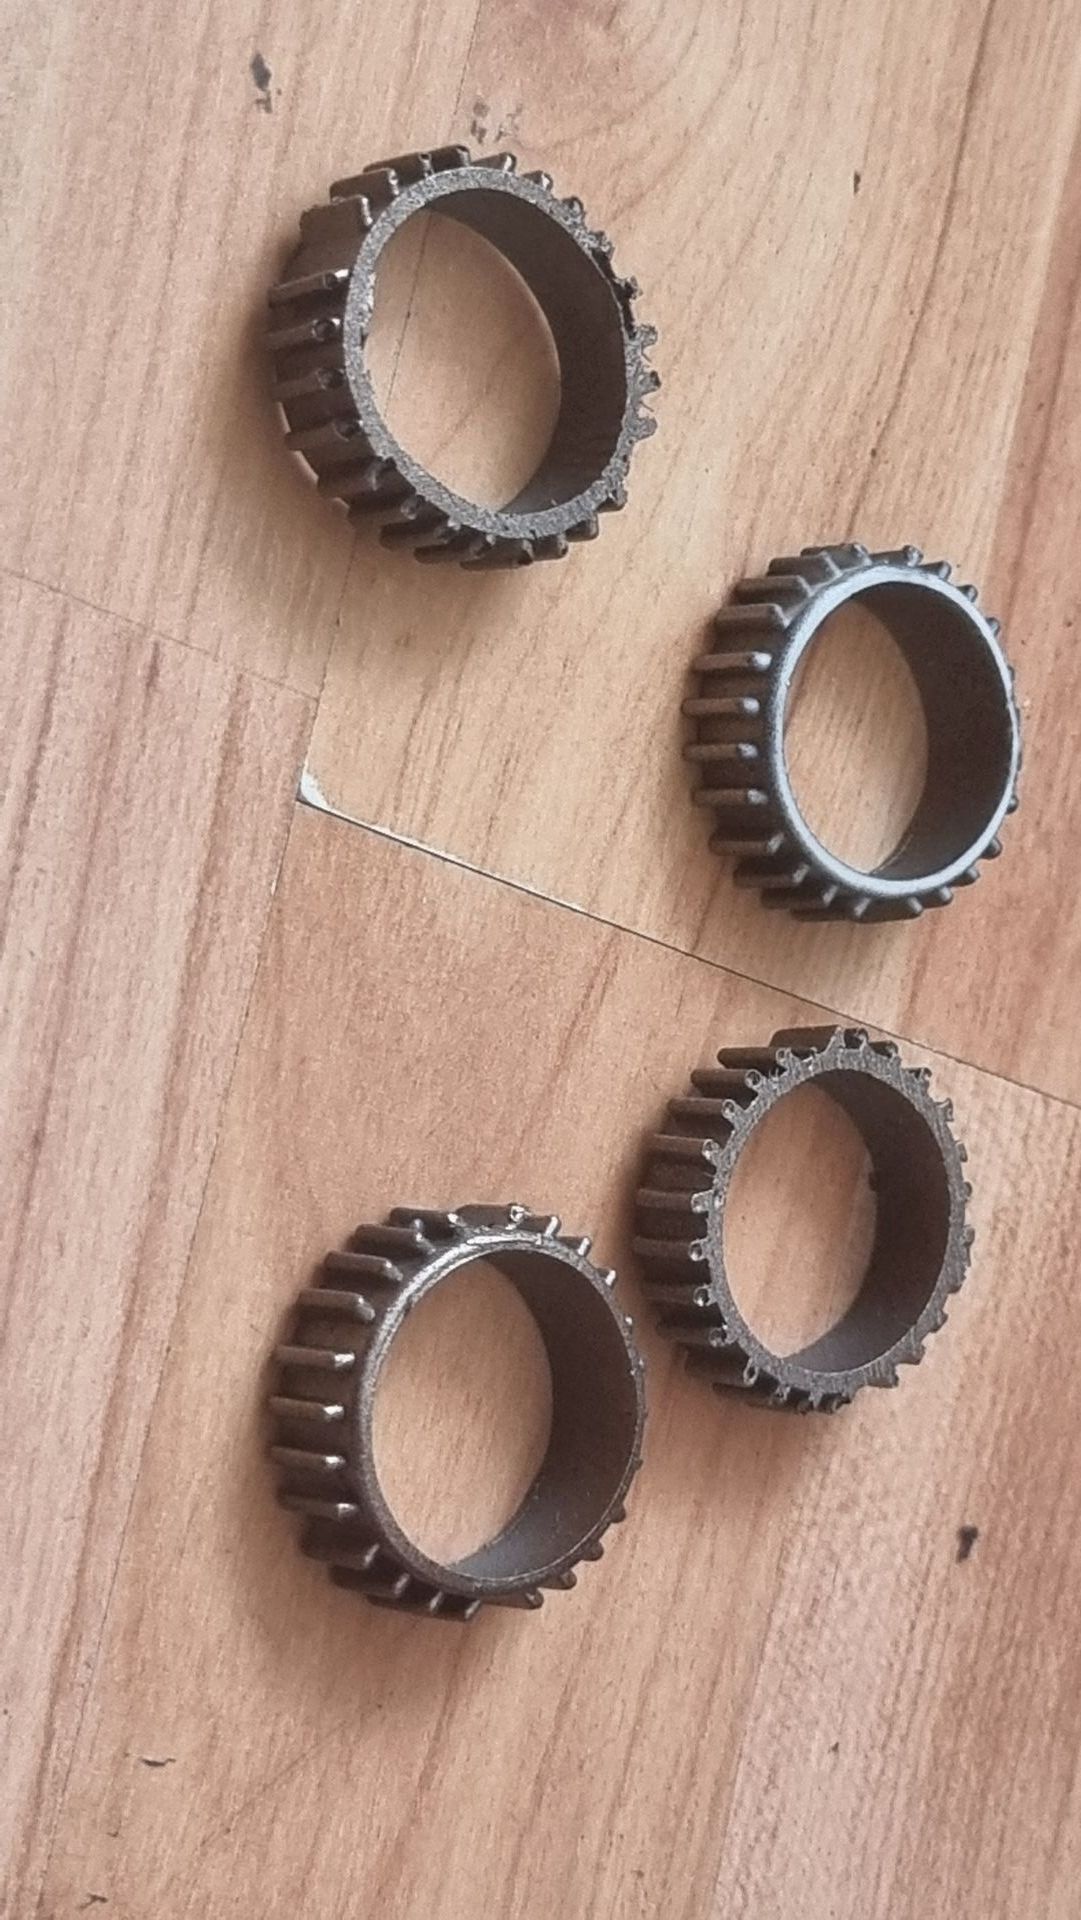
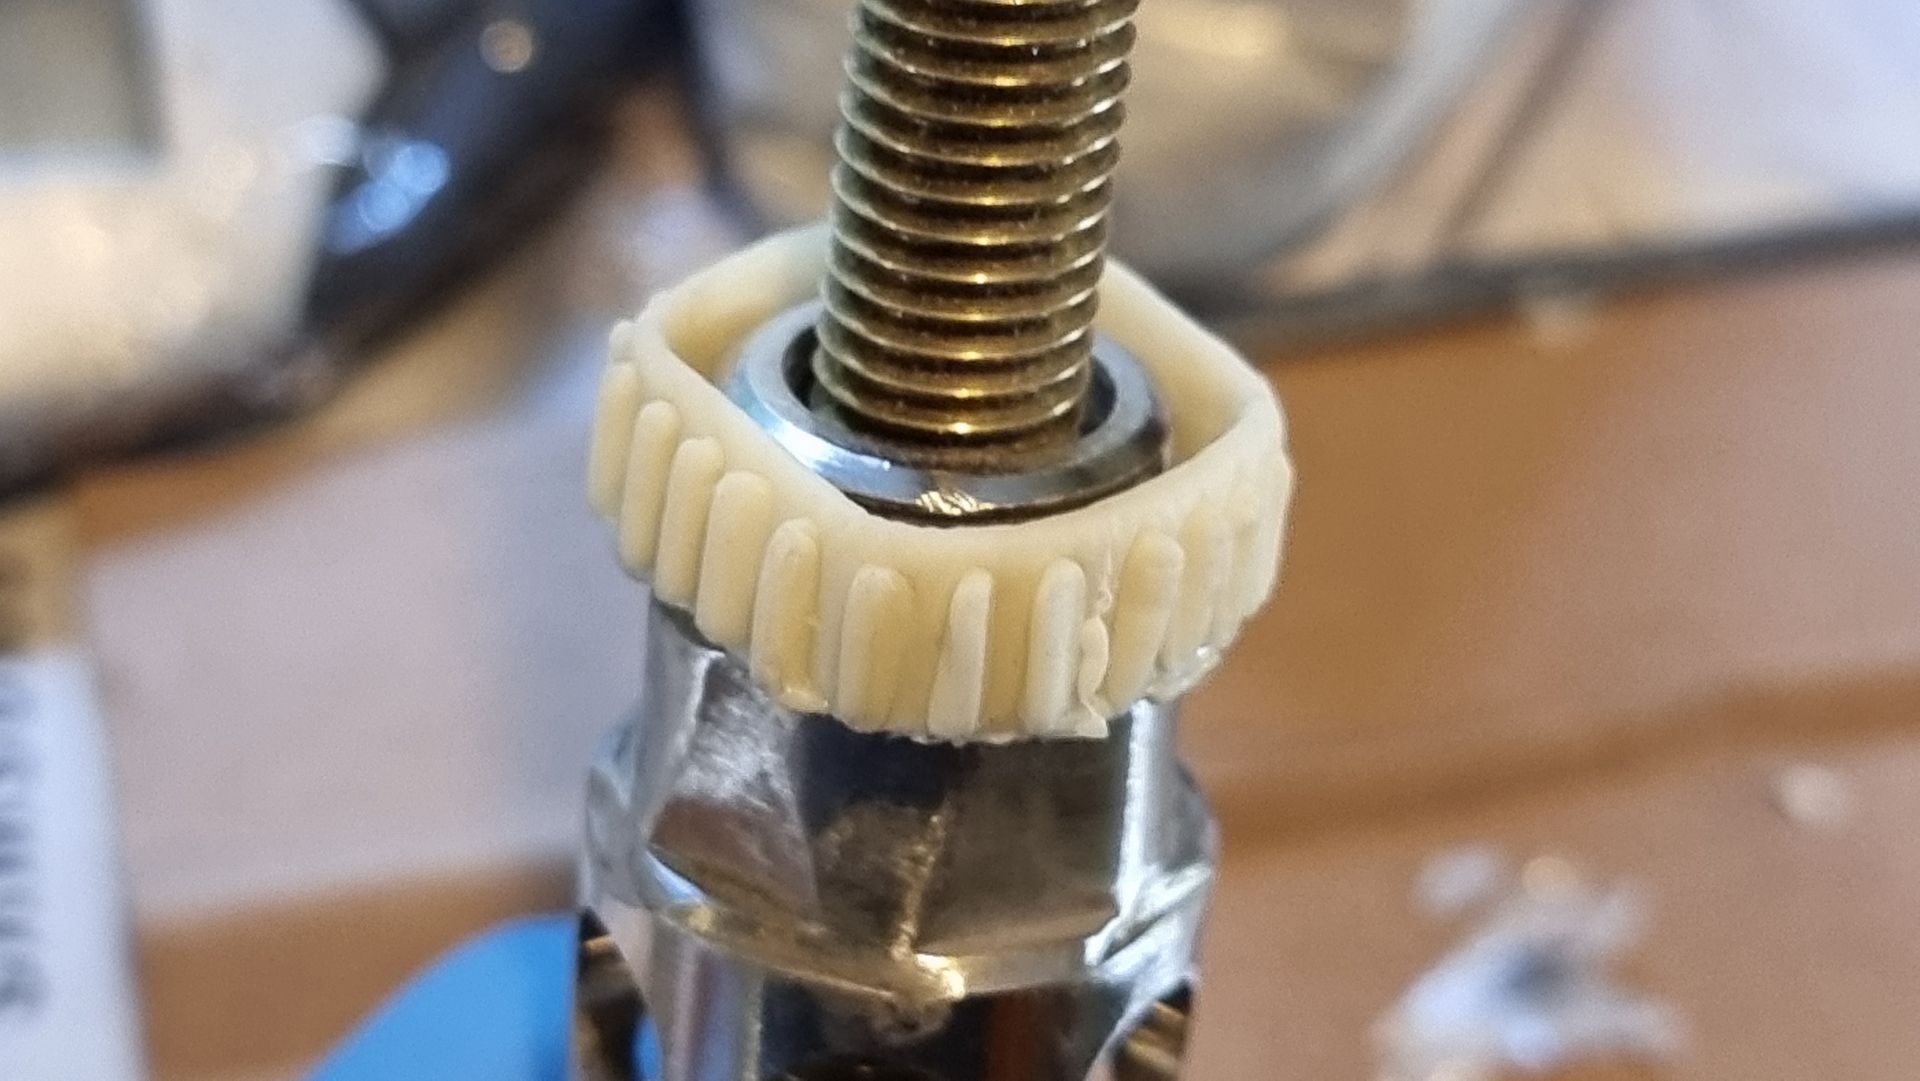
The first solution was to make a silicon mould of one of these rings and resin cast copies which then could be painted more effectively with paint that sticks to the solid material.
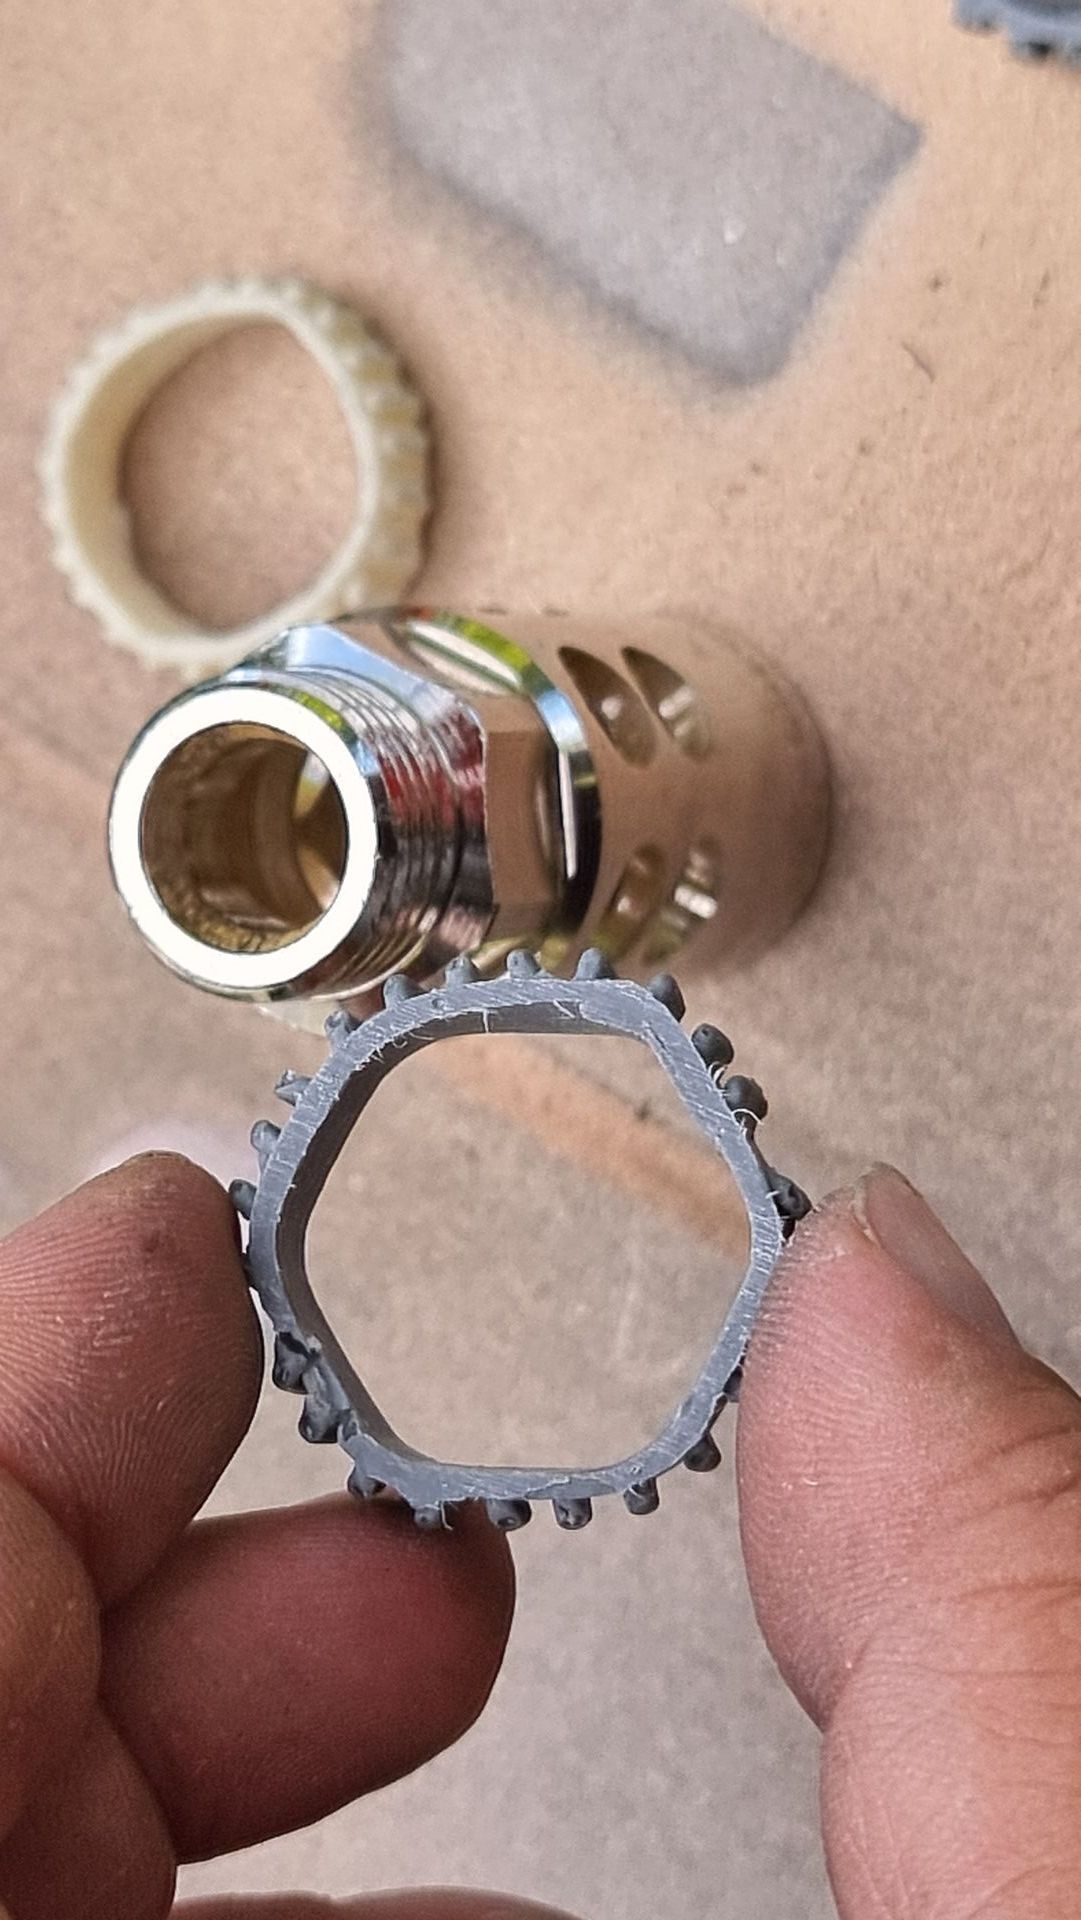
The problem being that as the original material was flexible it stretched to shape and size. Hard cast resin does not. it stays round and small so does not fit.
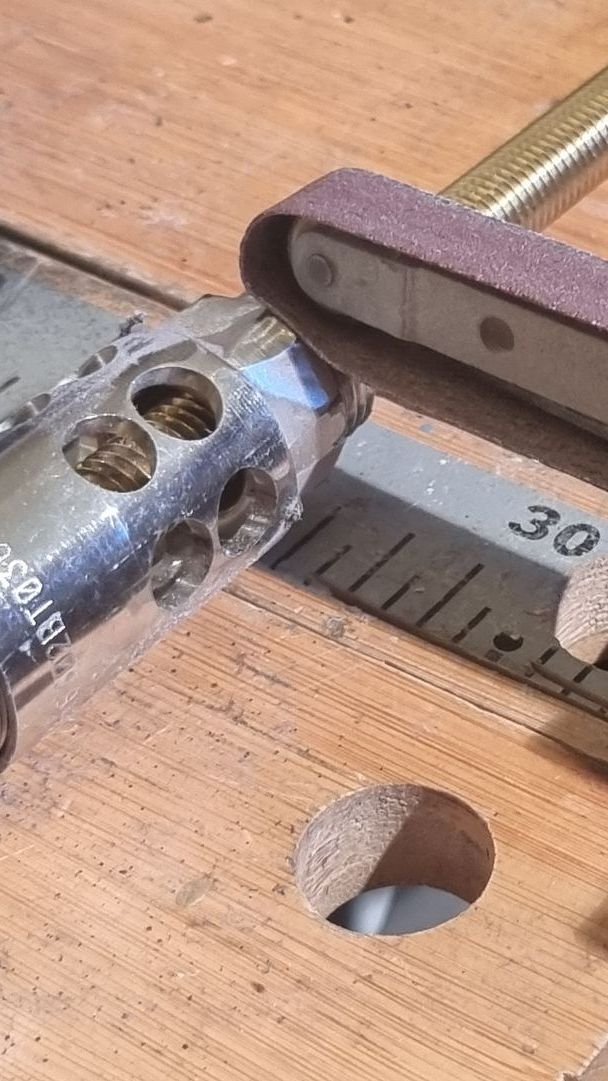
I tried using a powerfile on the metal component but it was too tough.
A simple solution, that did require new moulds, was to take out the cast or the ring early, before it sets hard when a flexible cheesy soft material consistency that could stetch and flax to shaper, them bull it to the part which then adapts to the shape of the component then sets hard into a hexagonal shape. This worked.
Adding Graphite Powder
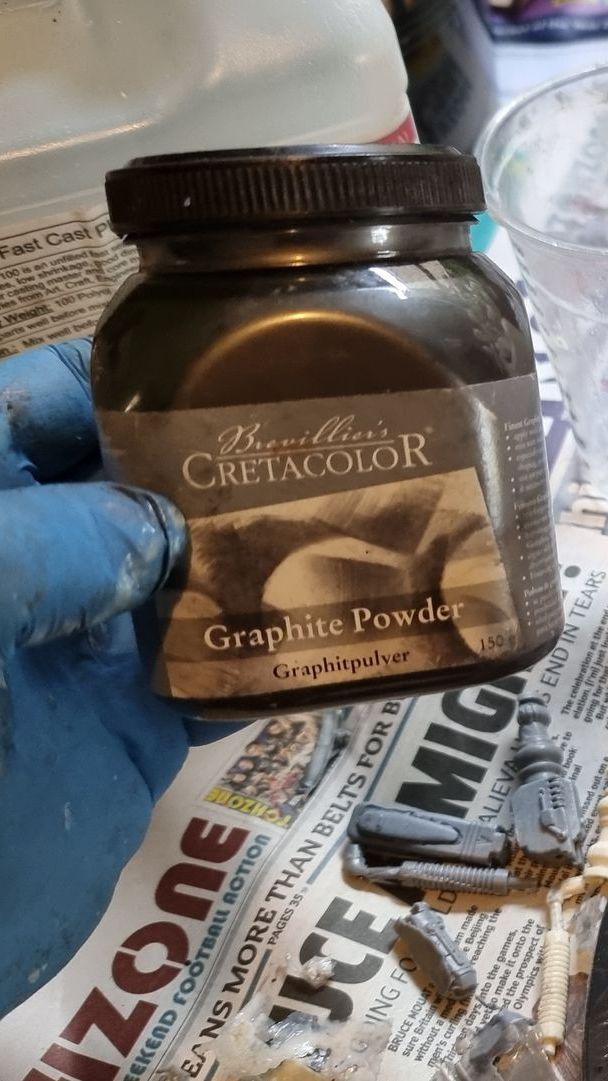
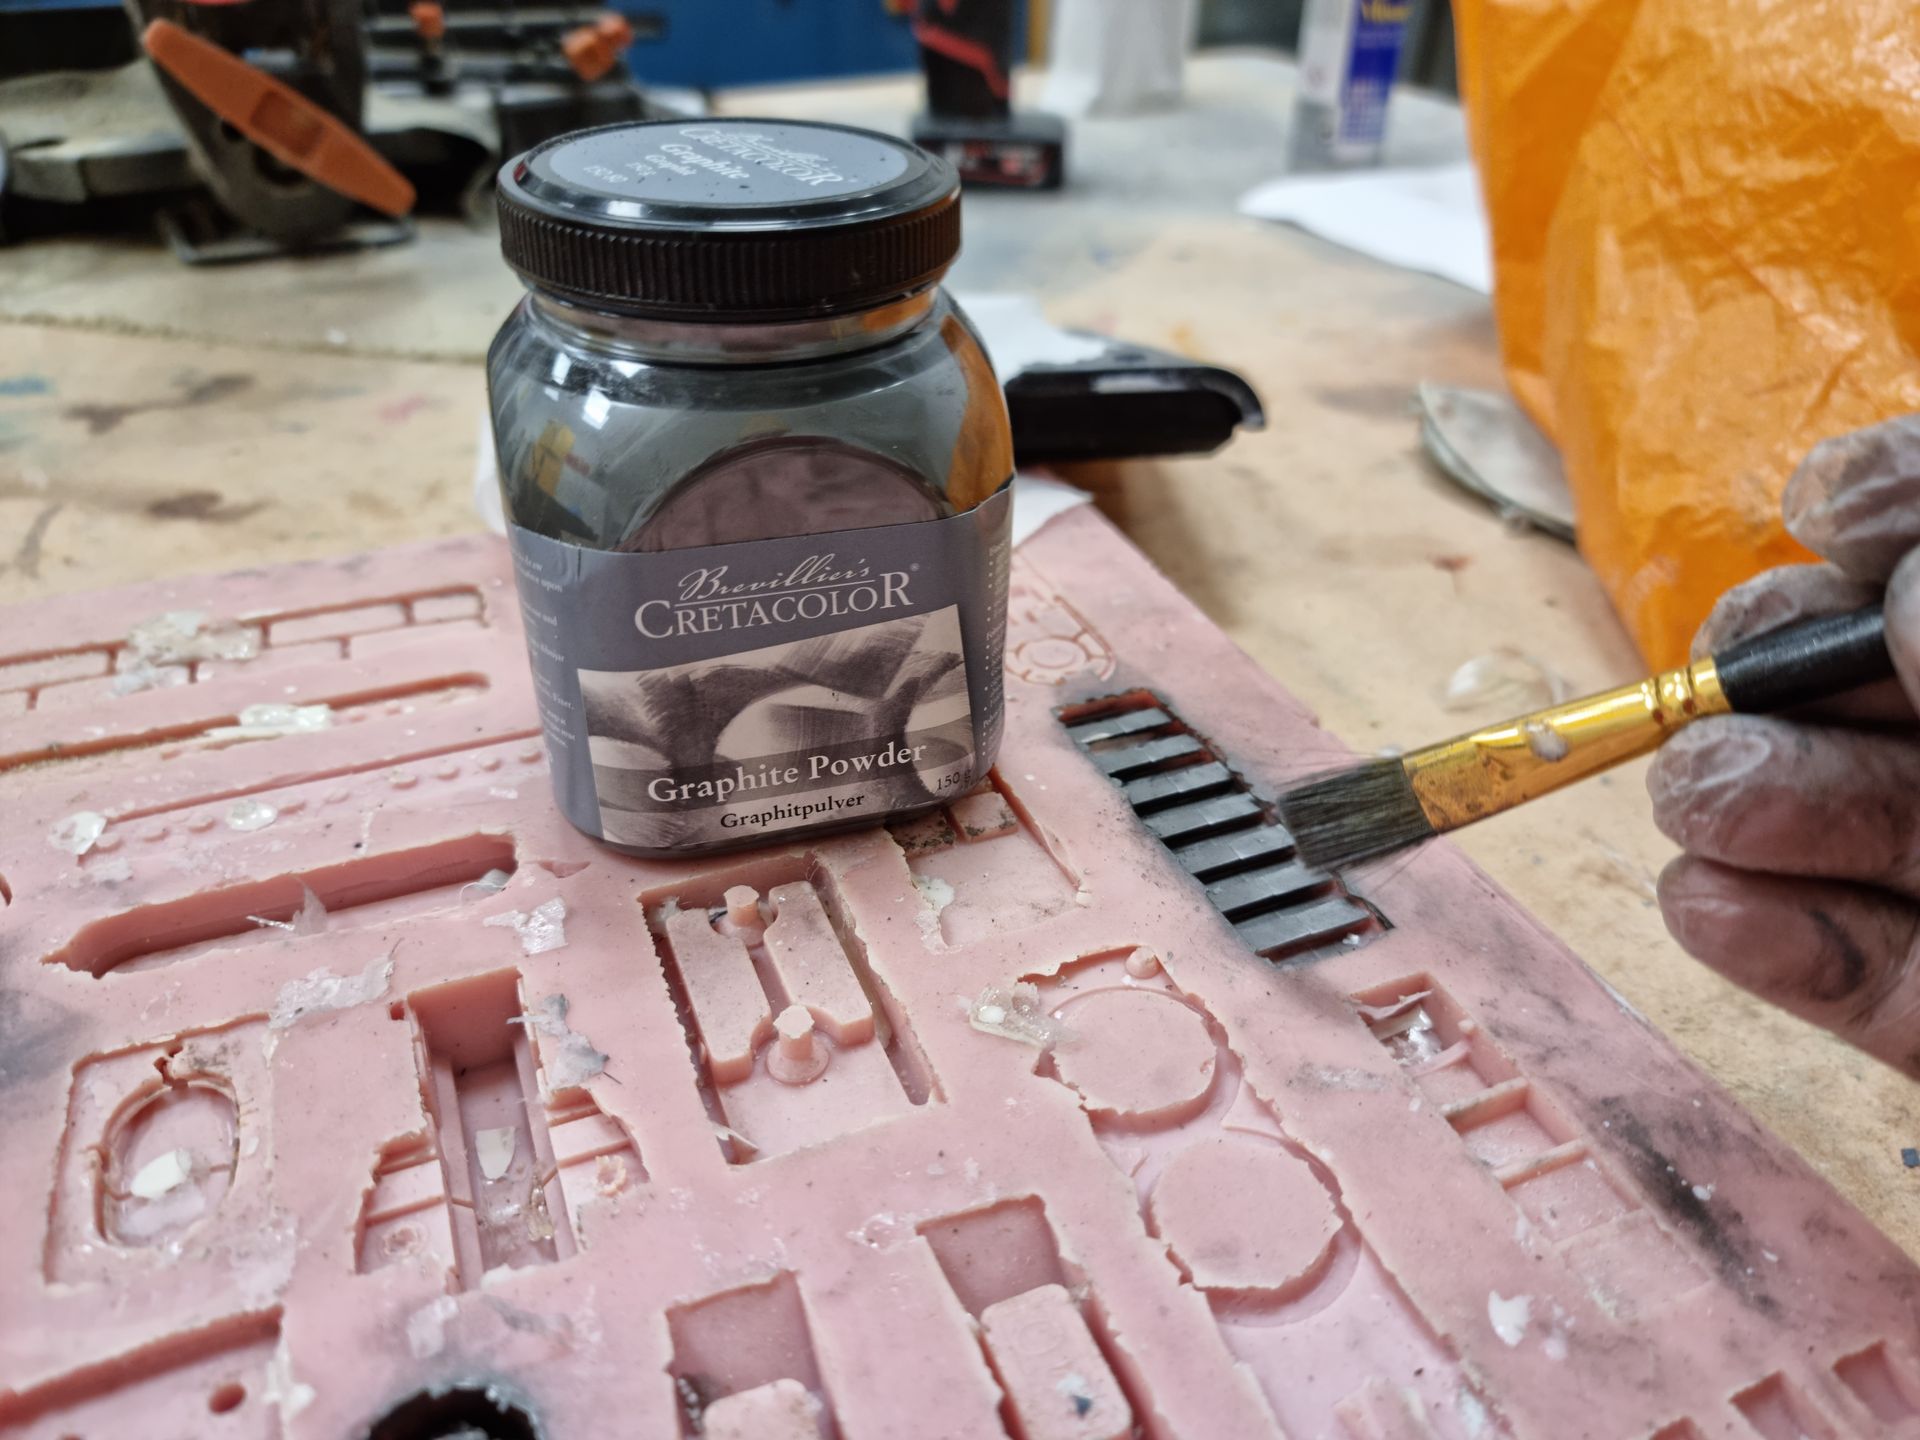
It was around here I started to add graphite powder both to the resin and the mould.
This made the cast components dark grey throughout and shiner so less paint would be needed and damage did not show up as white patches.
Component Combination
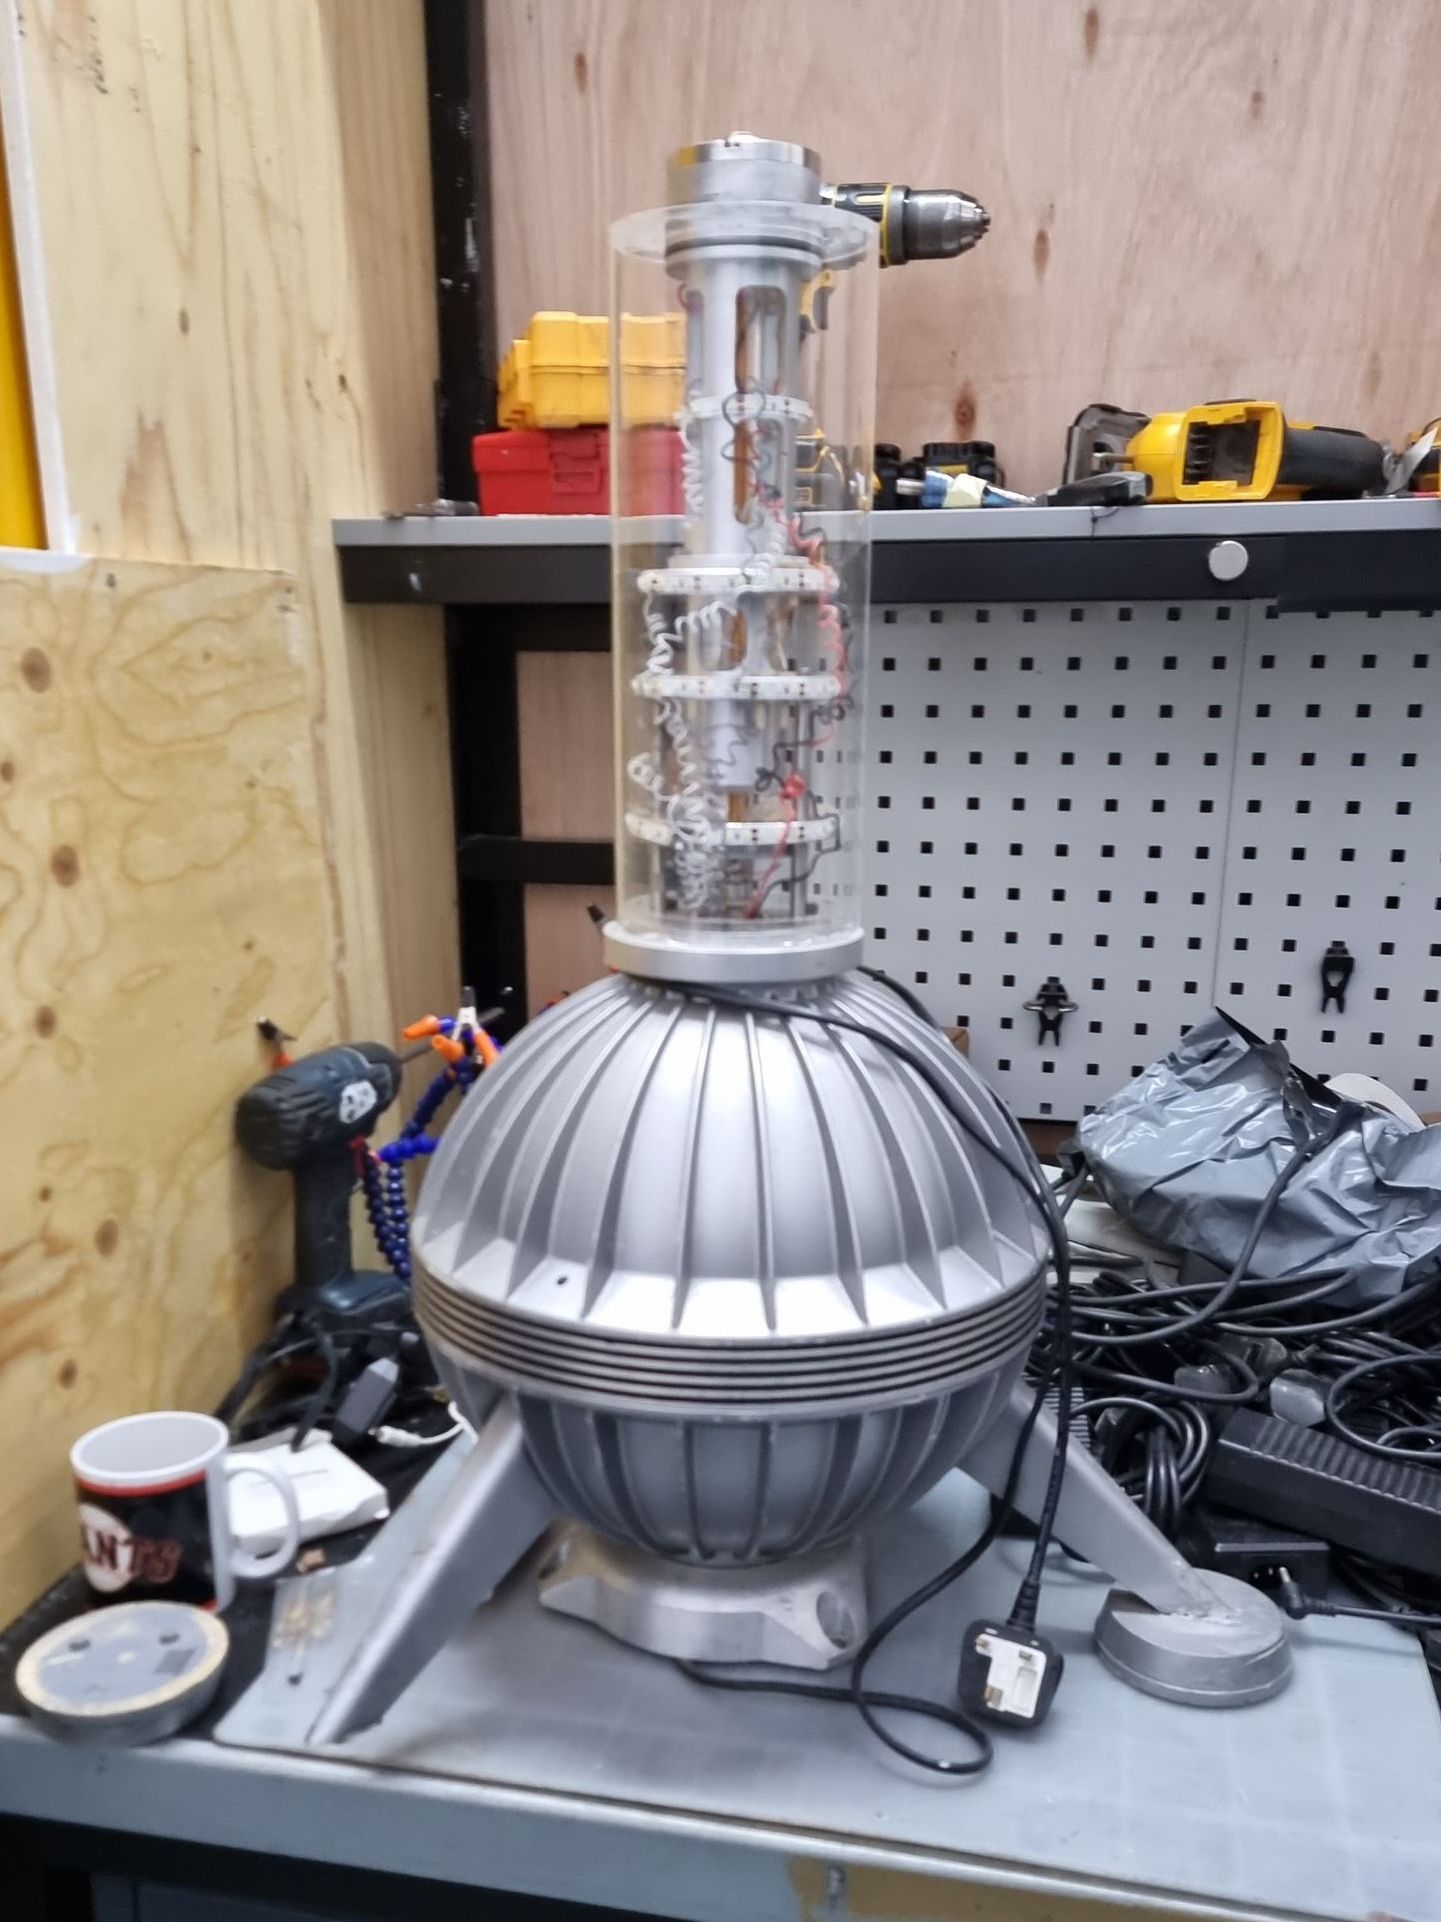
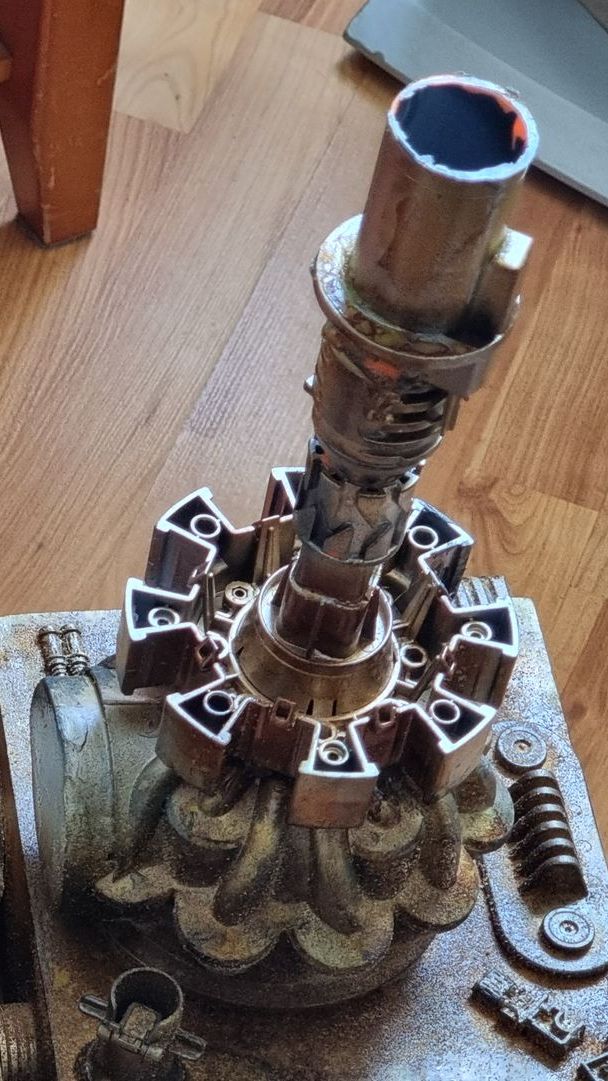
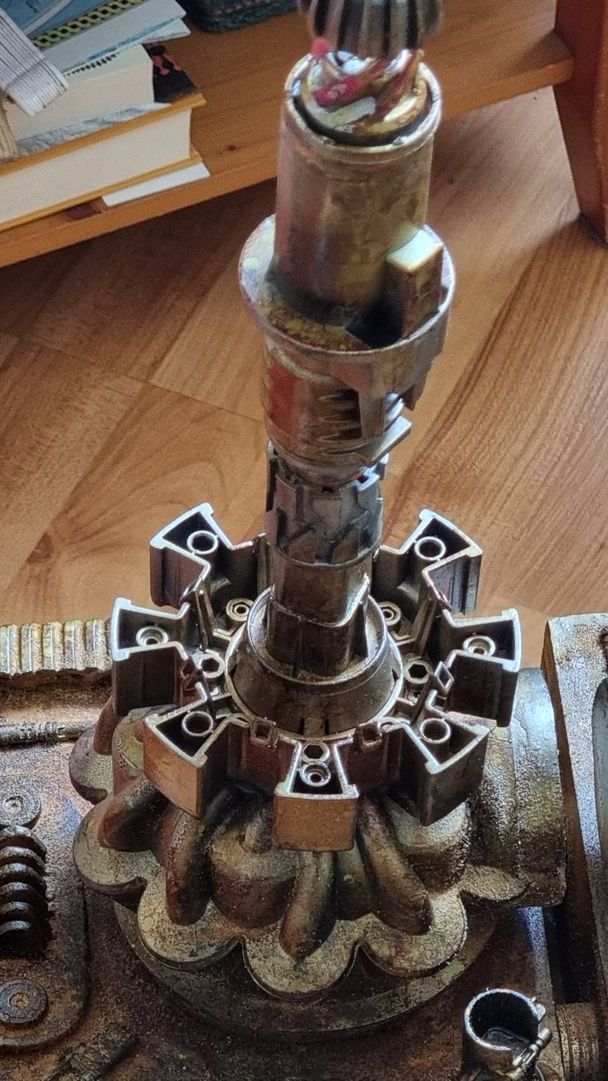
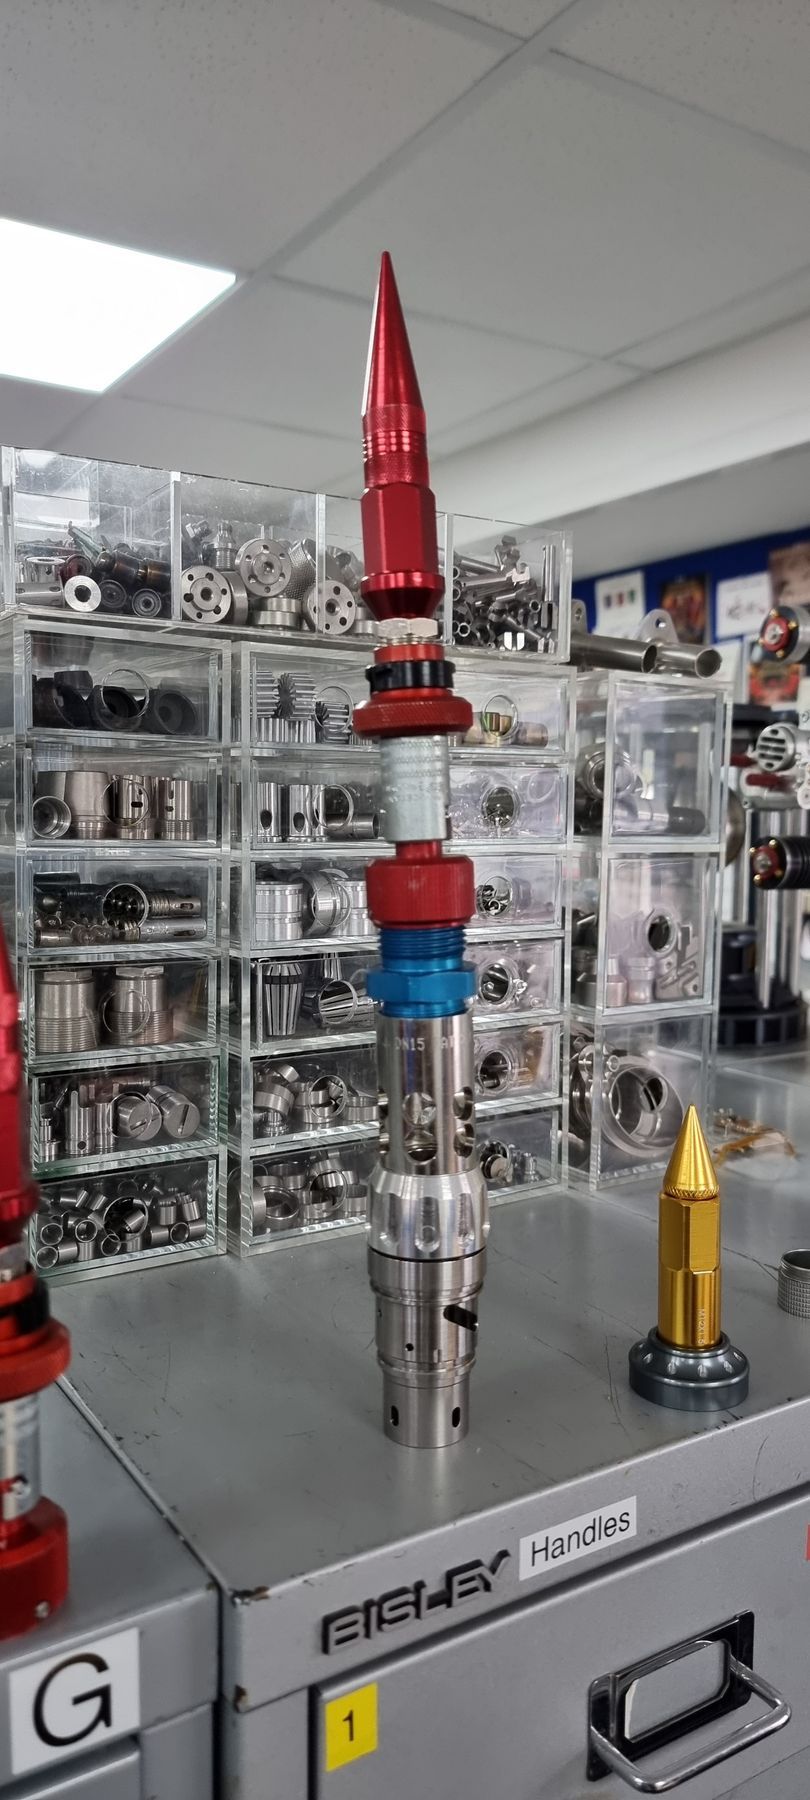
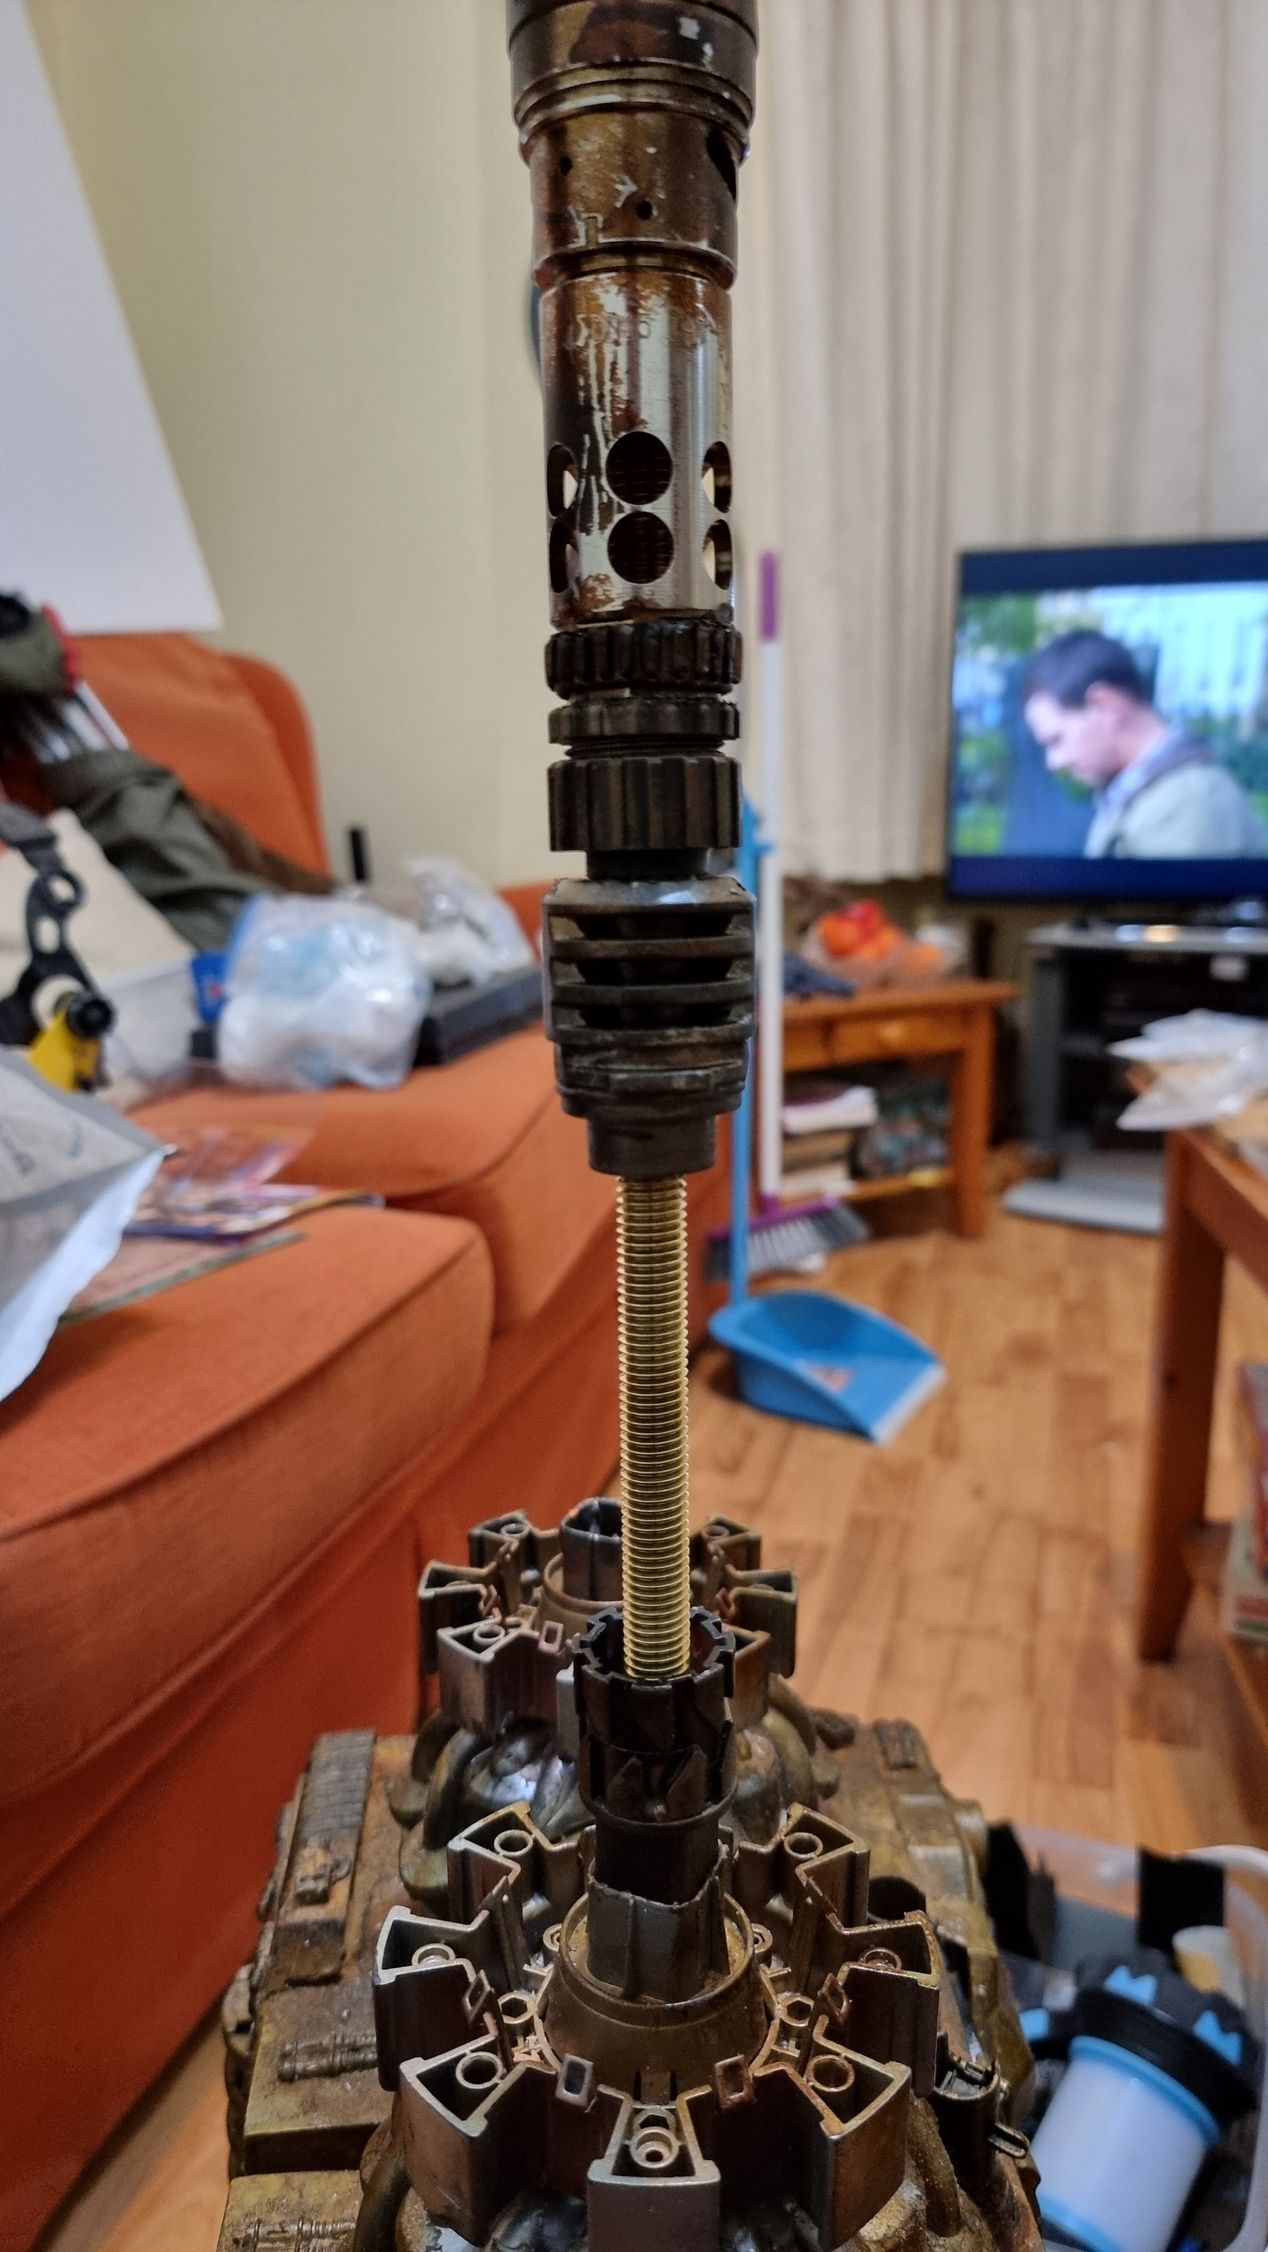
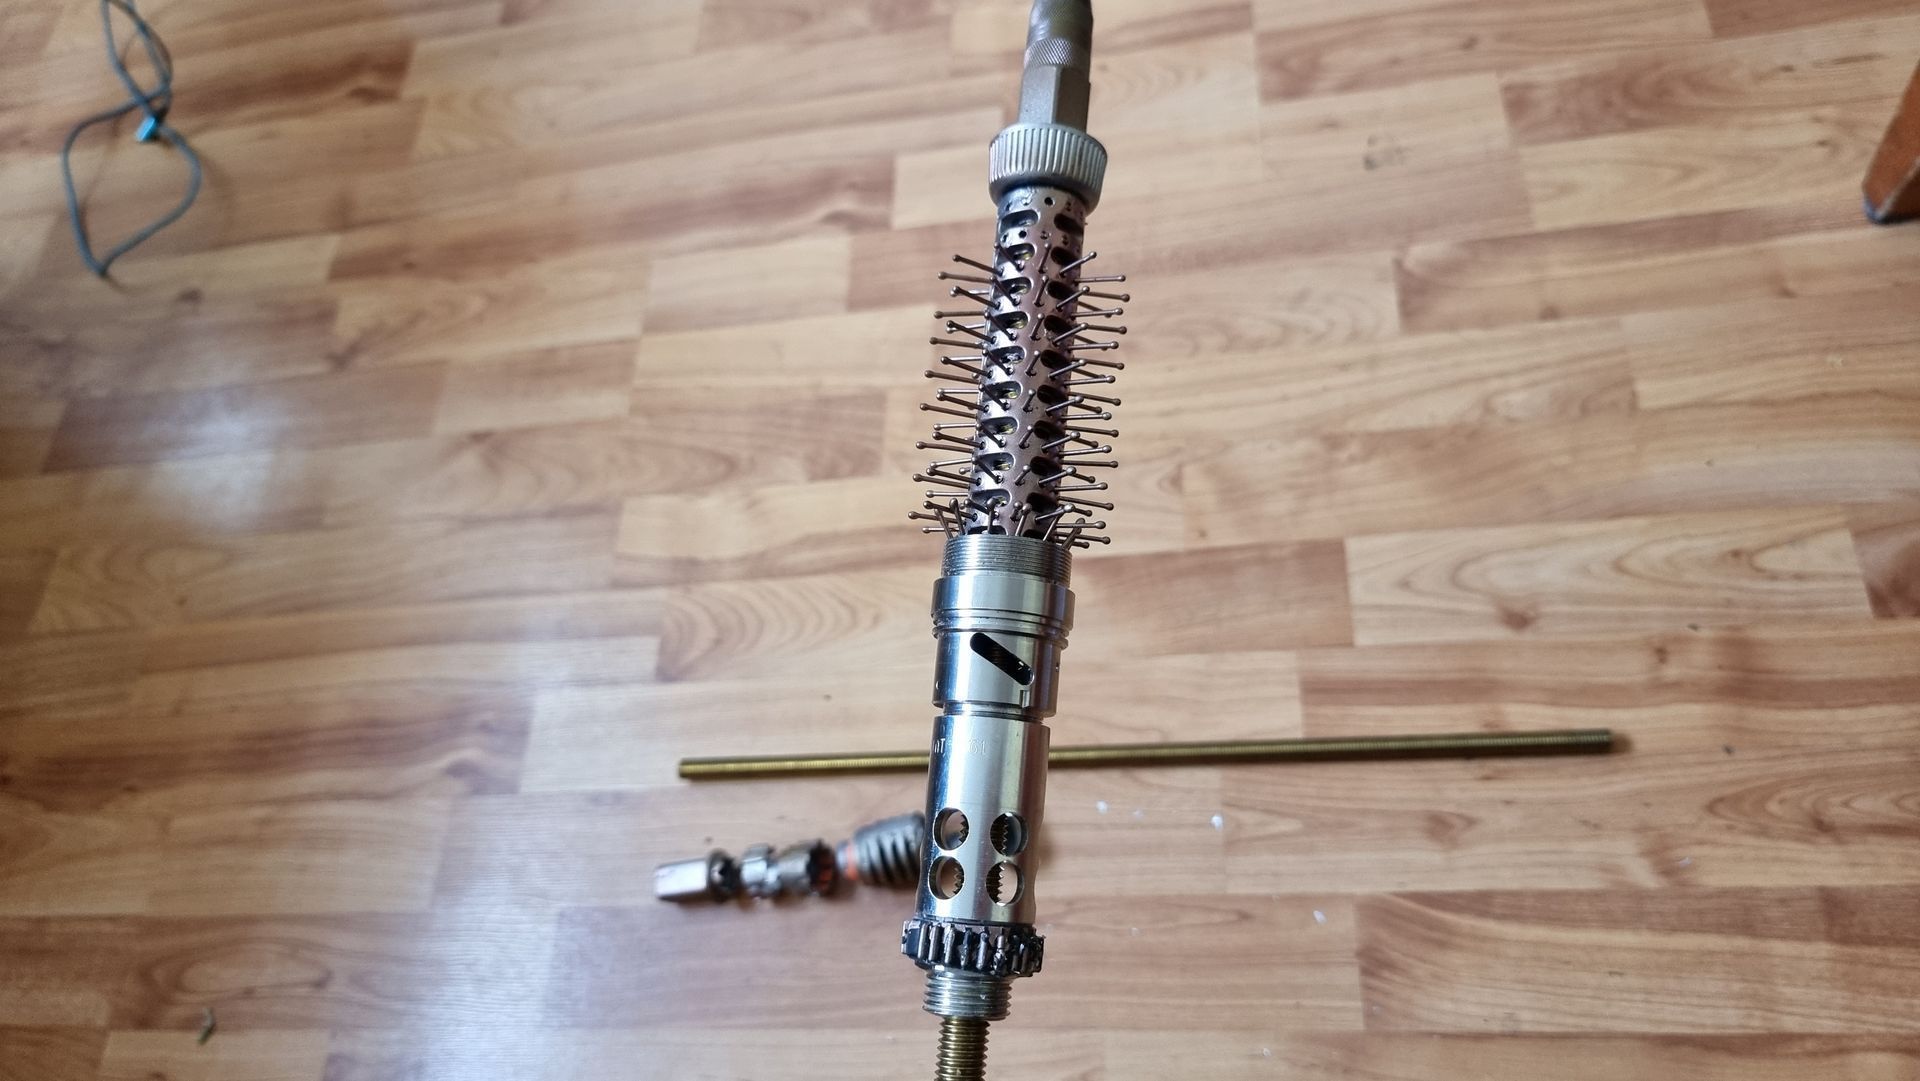
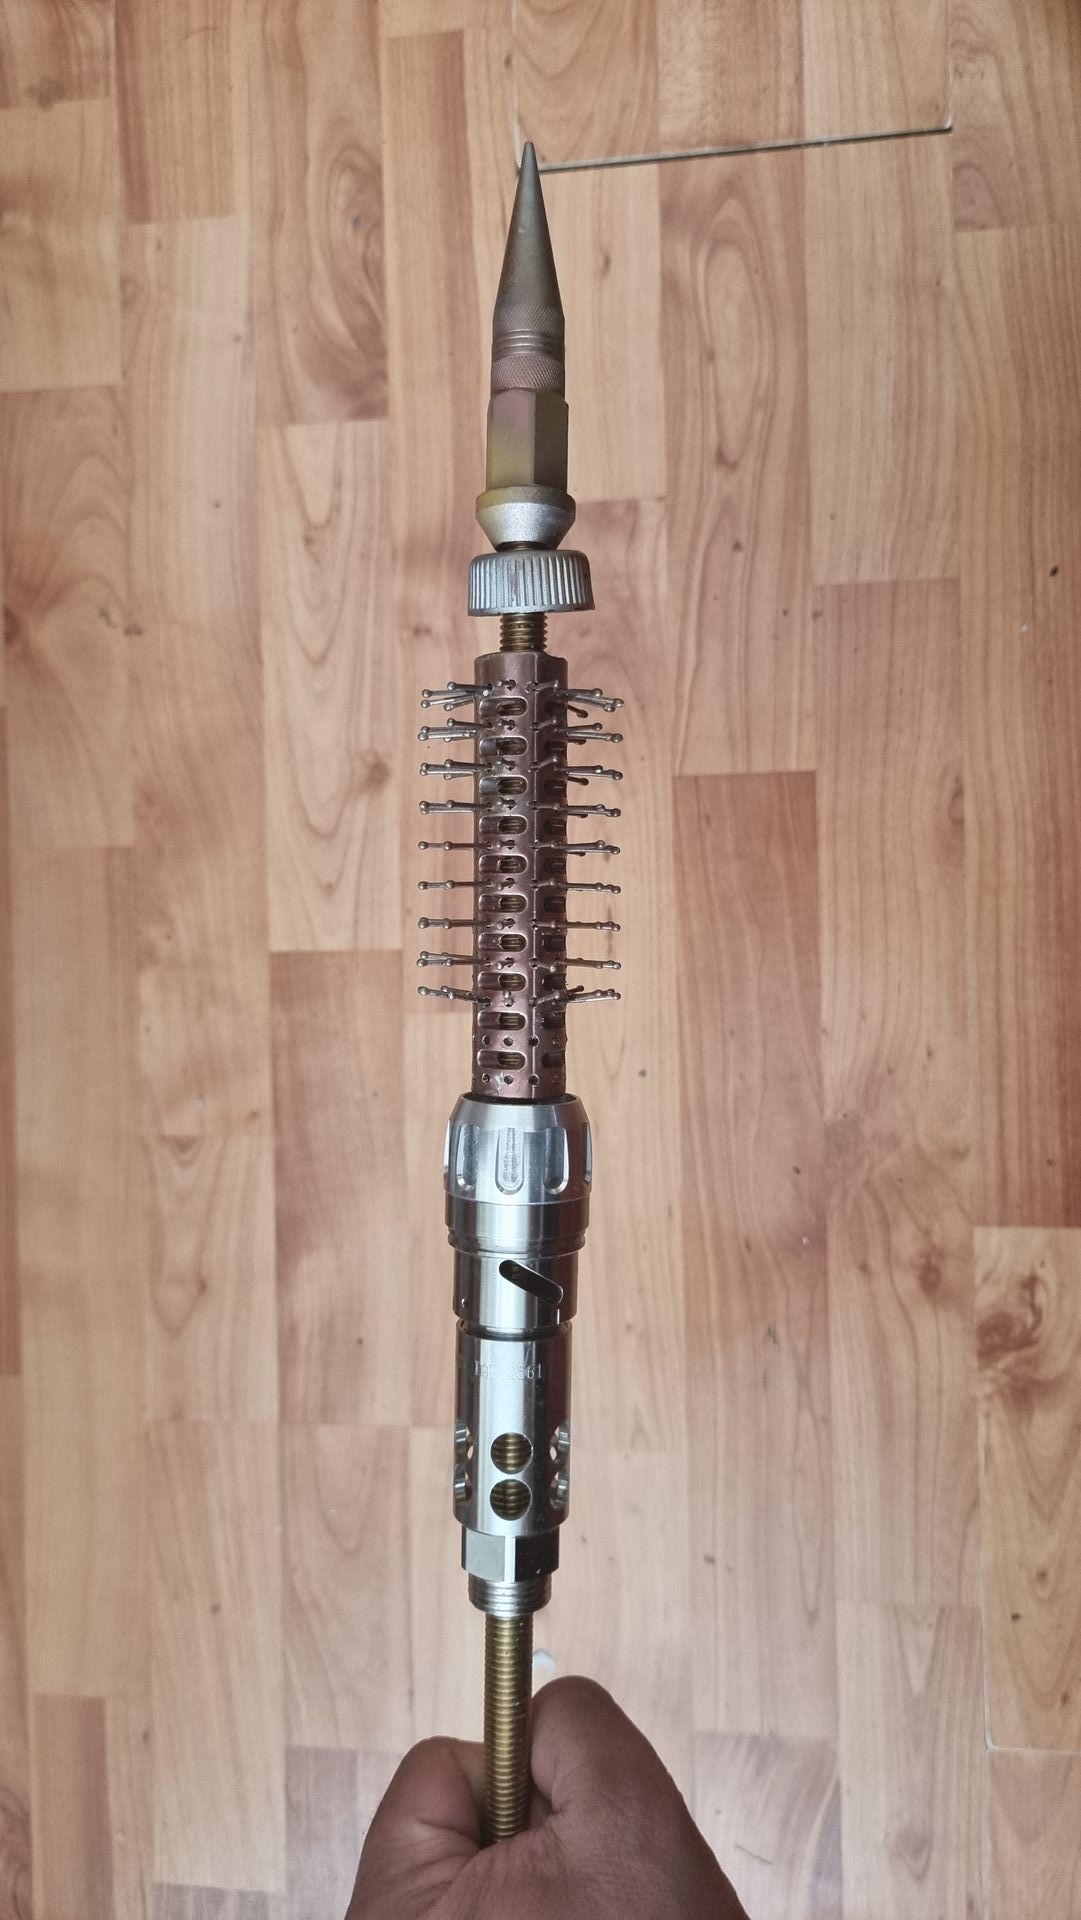
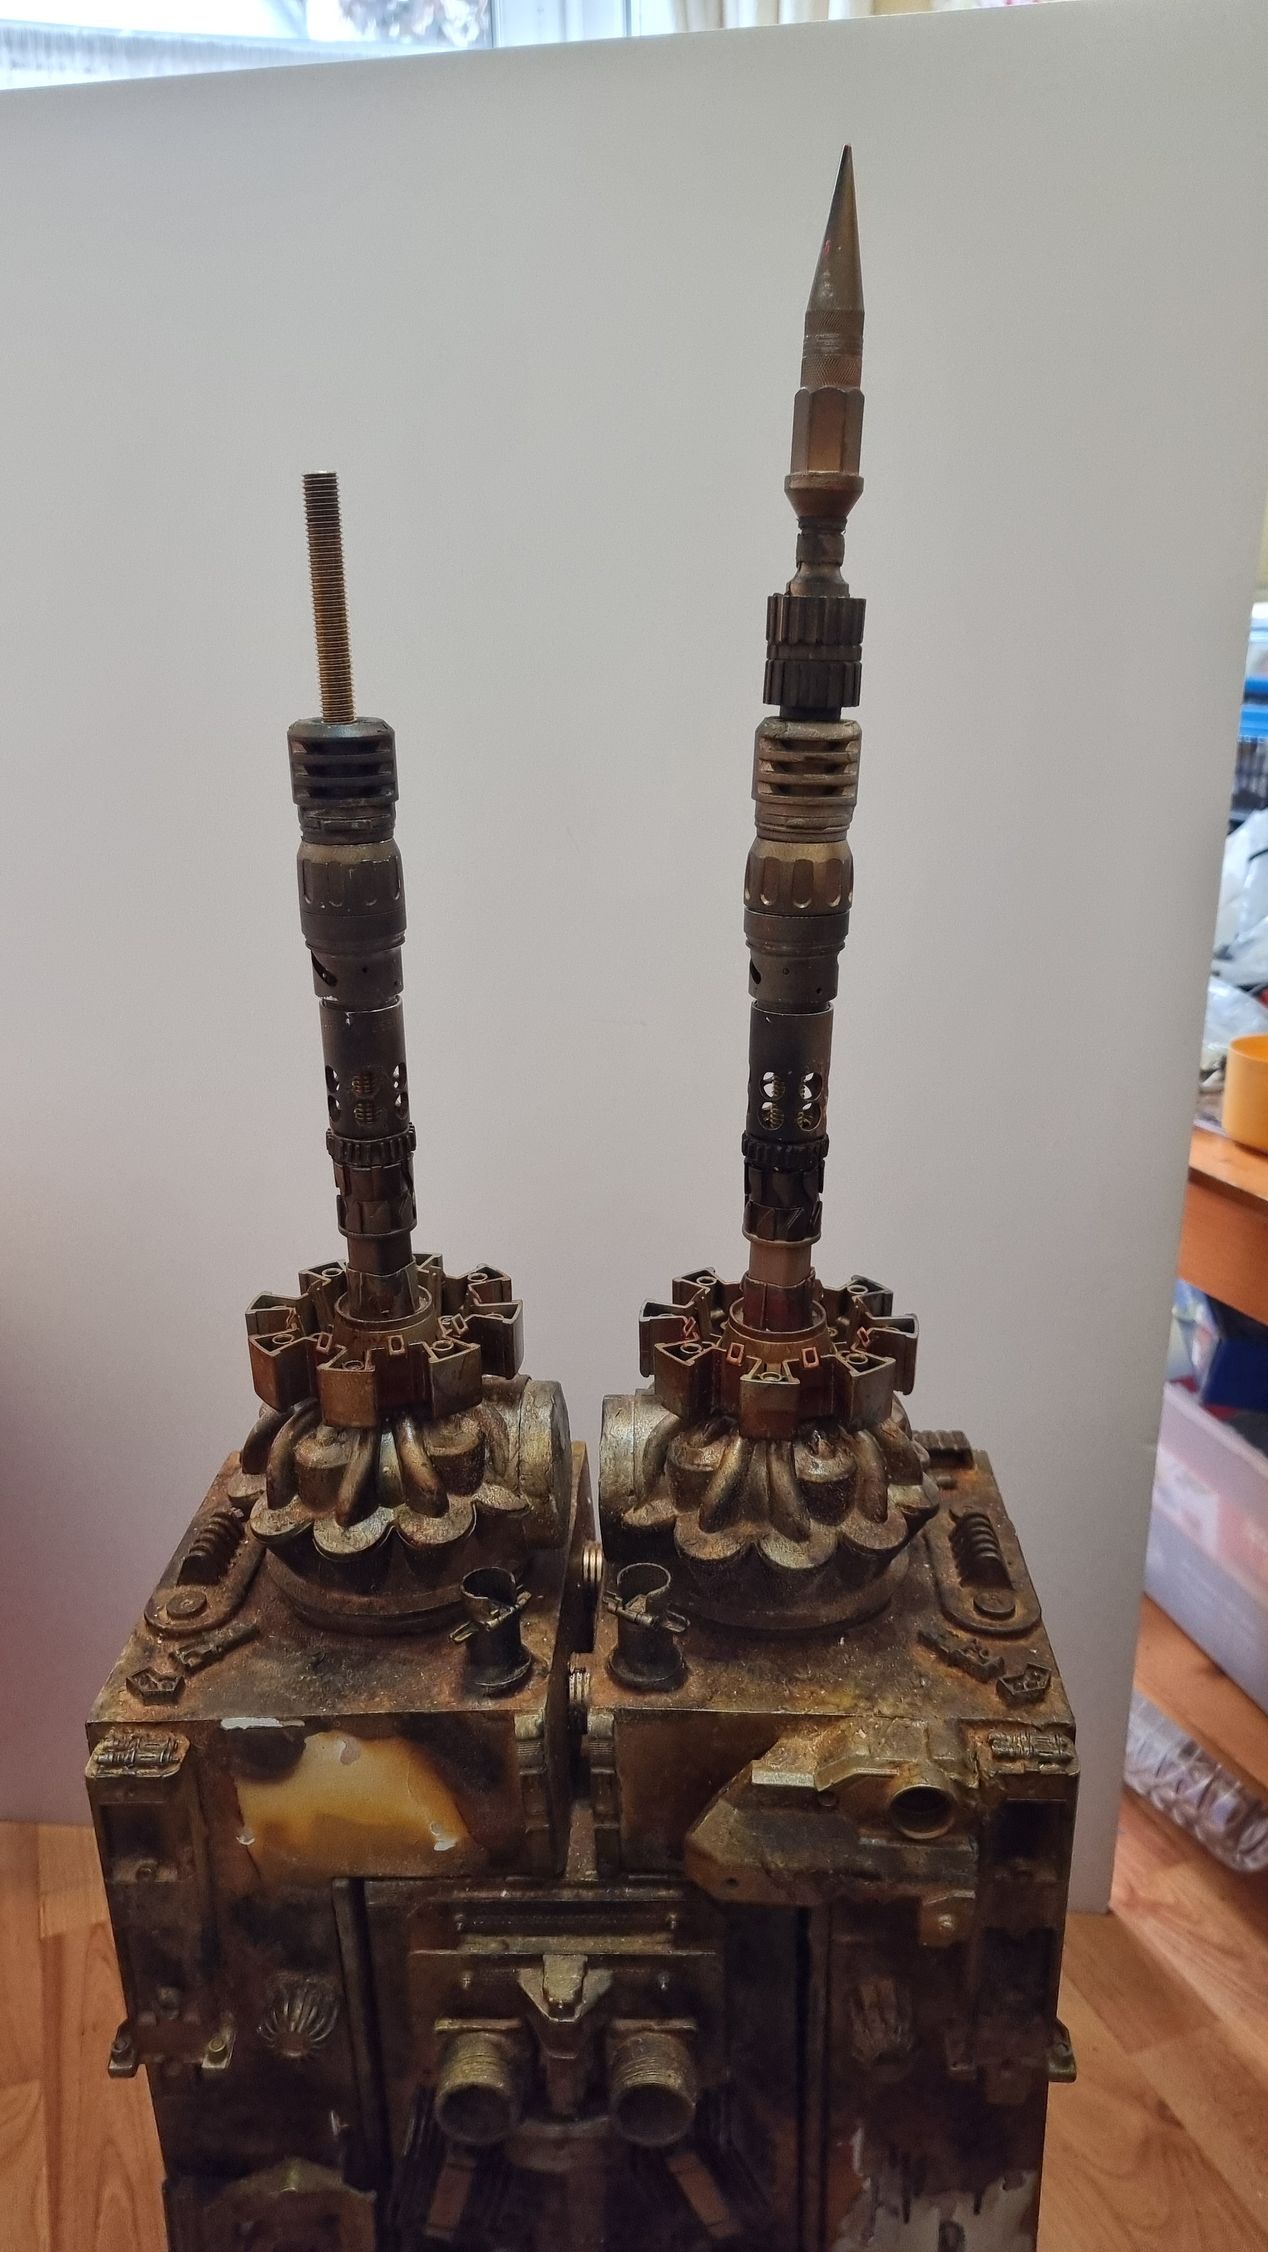
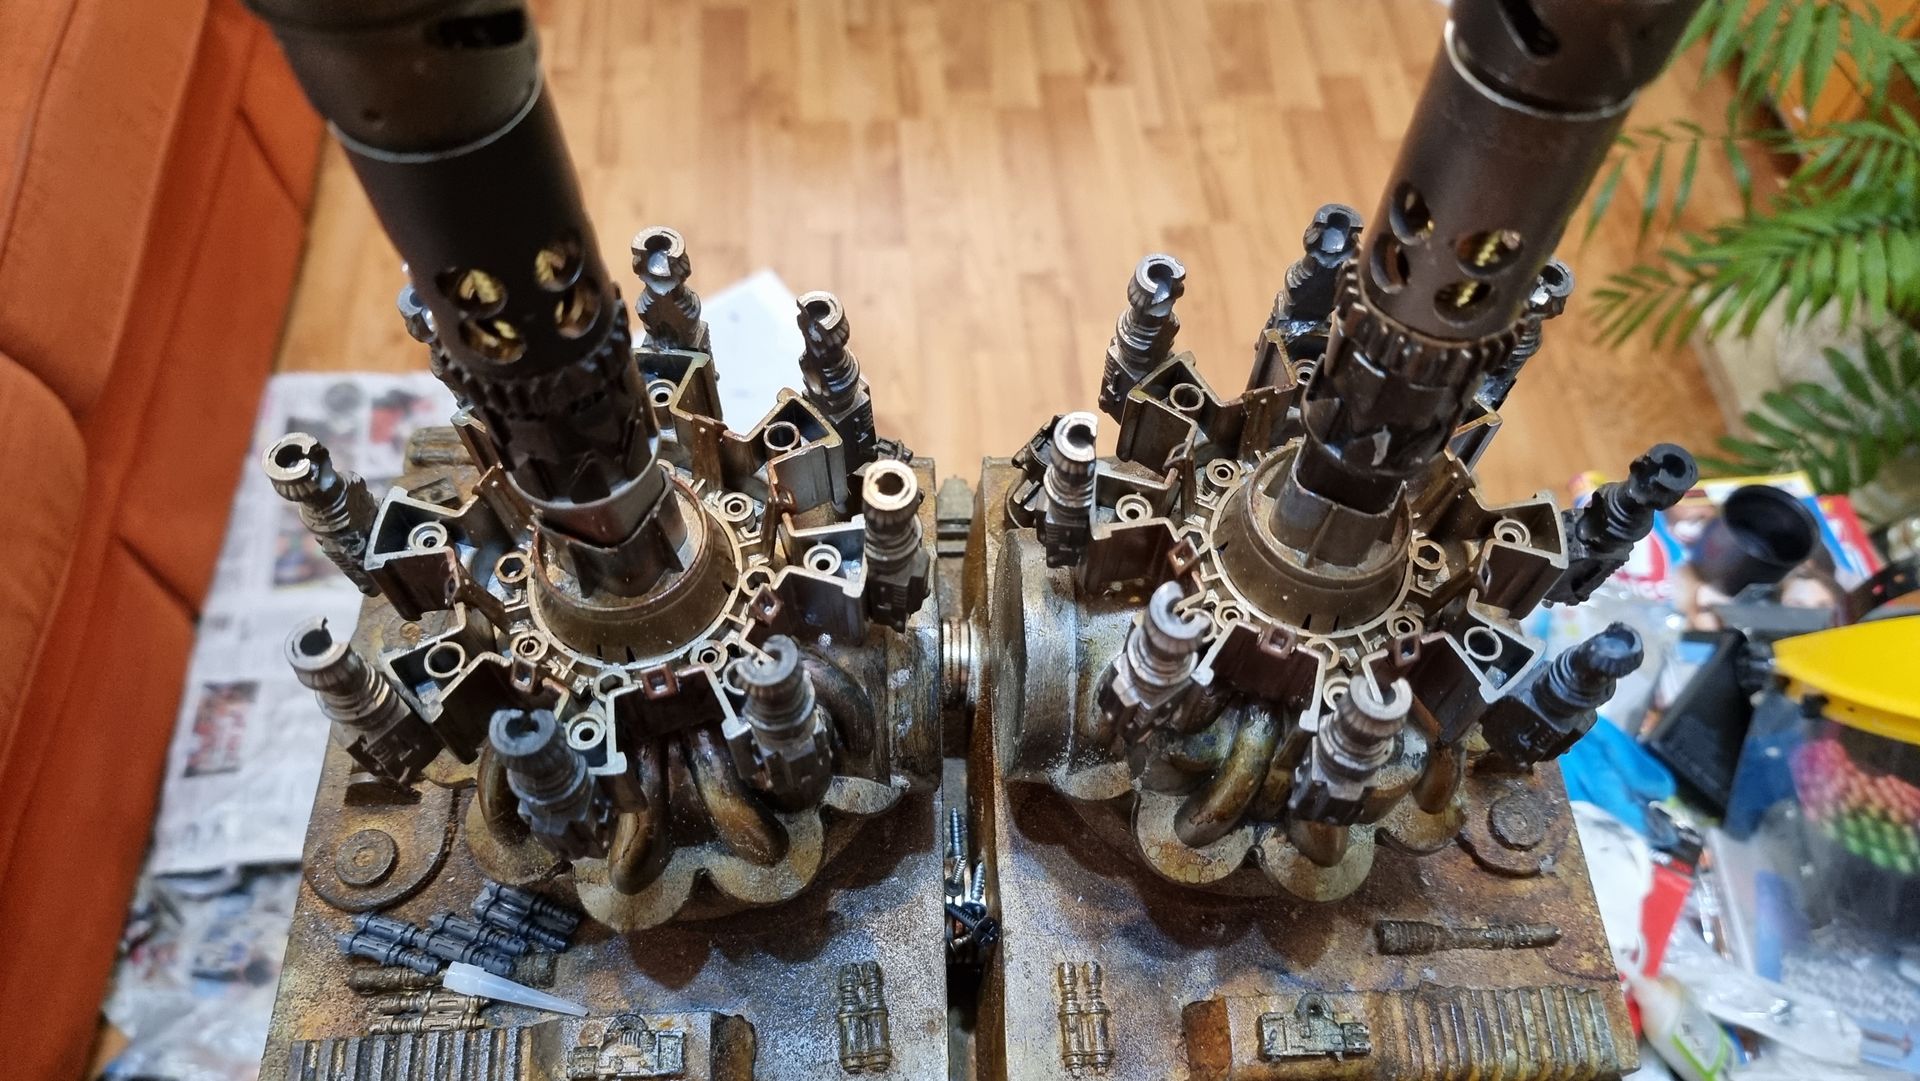
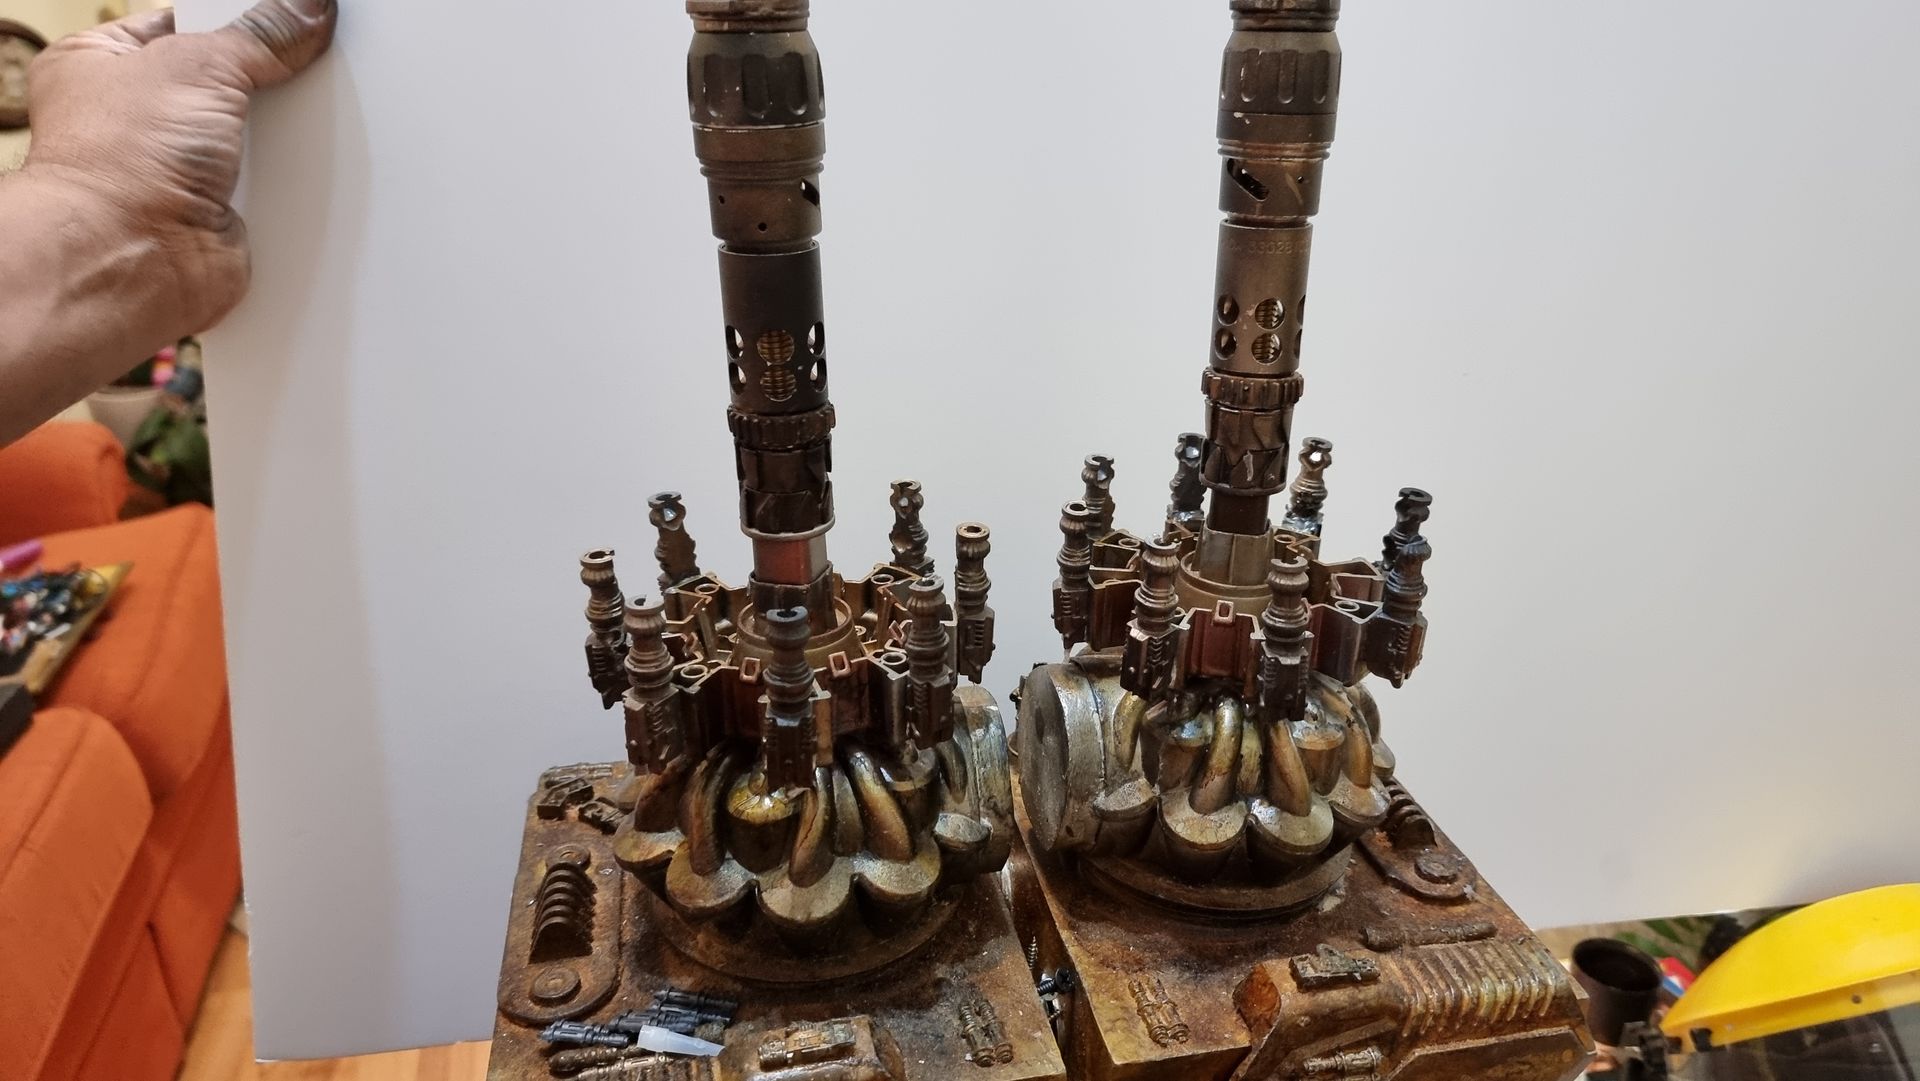
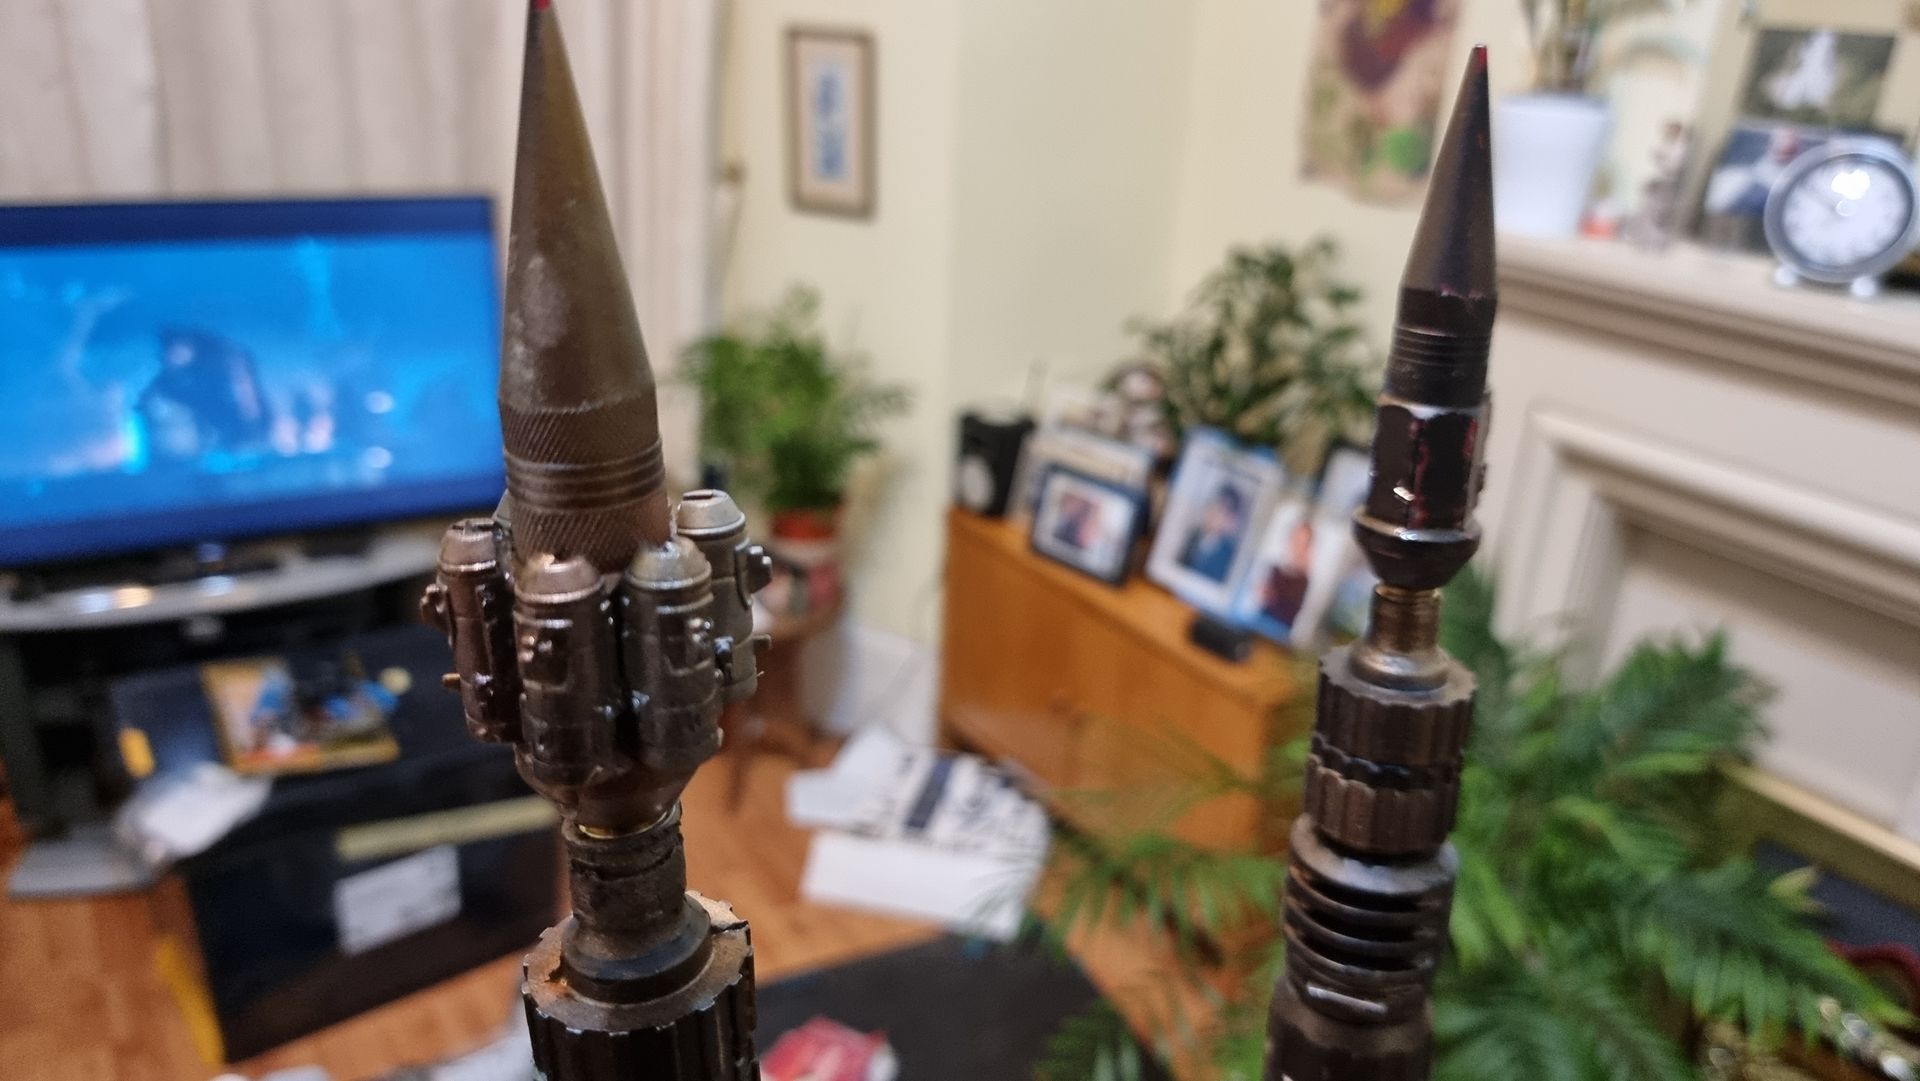
With the components prepped I tried a variety of component combinations, to see what could work best for the transmitting communication towers. This included designs with support cables coming up from the bases which looked more solid and stable. This could include elements like electroluminescent string for a more sci-fi look.
I was also trying to work out the best length for the towers that looked cool and was practical.
Painting
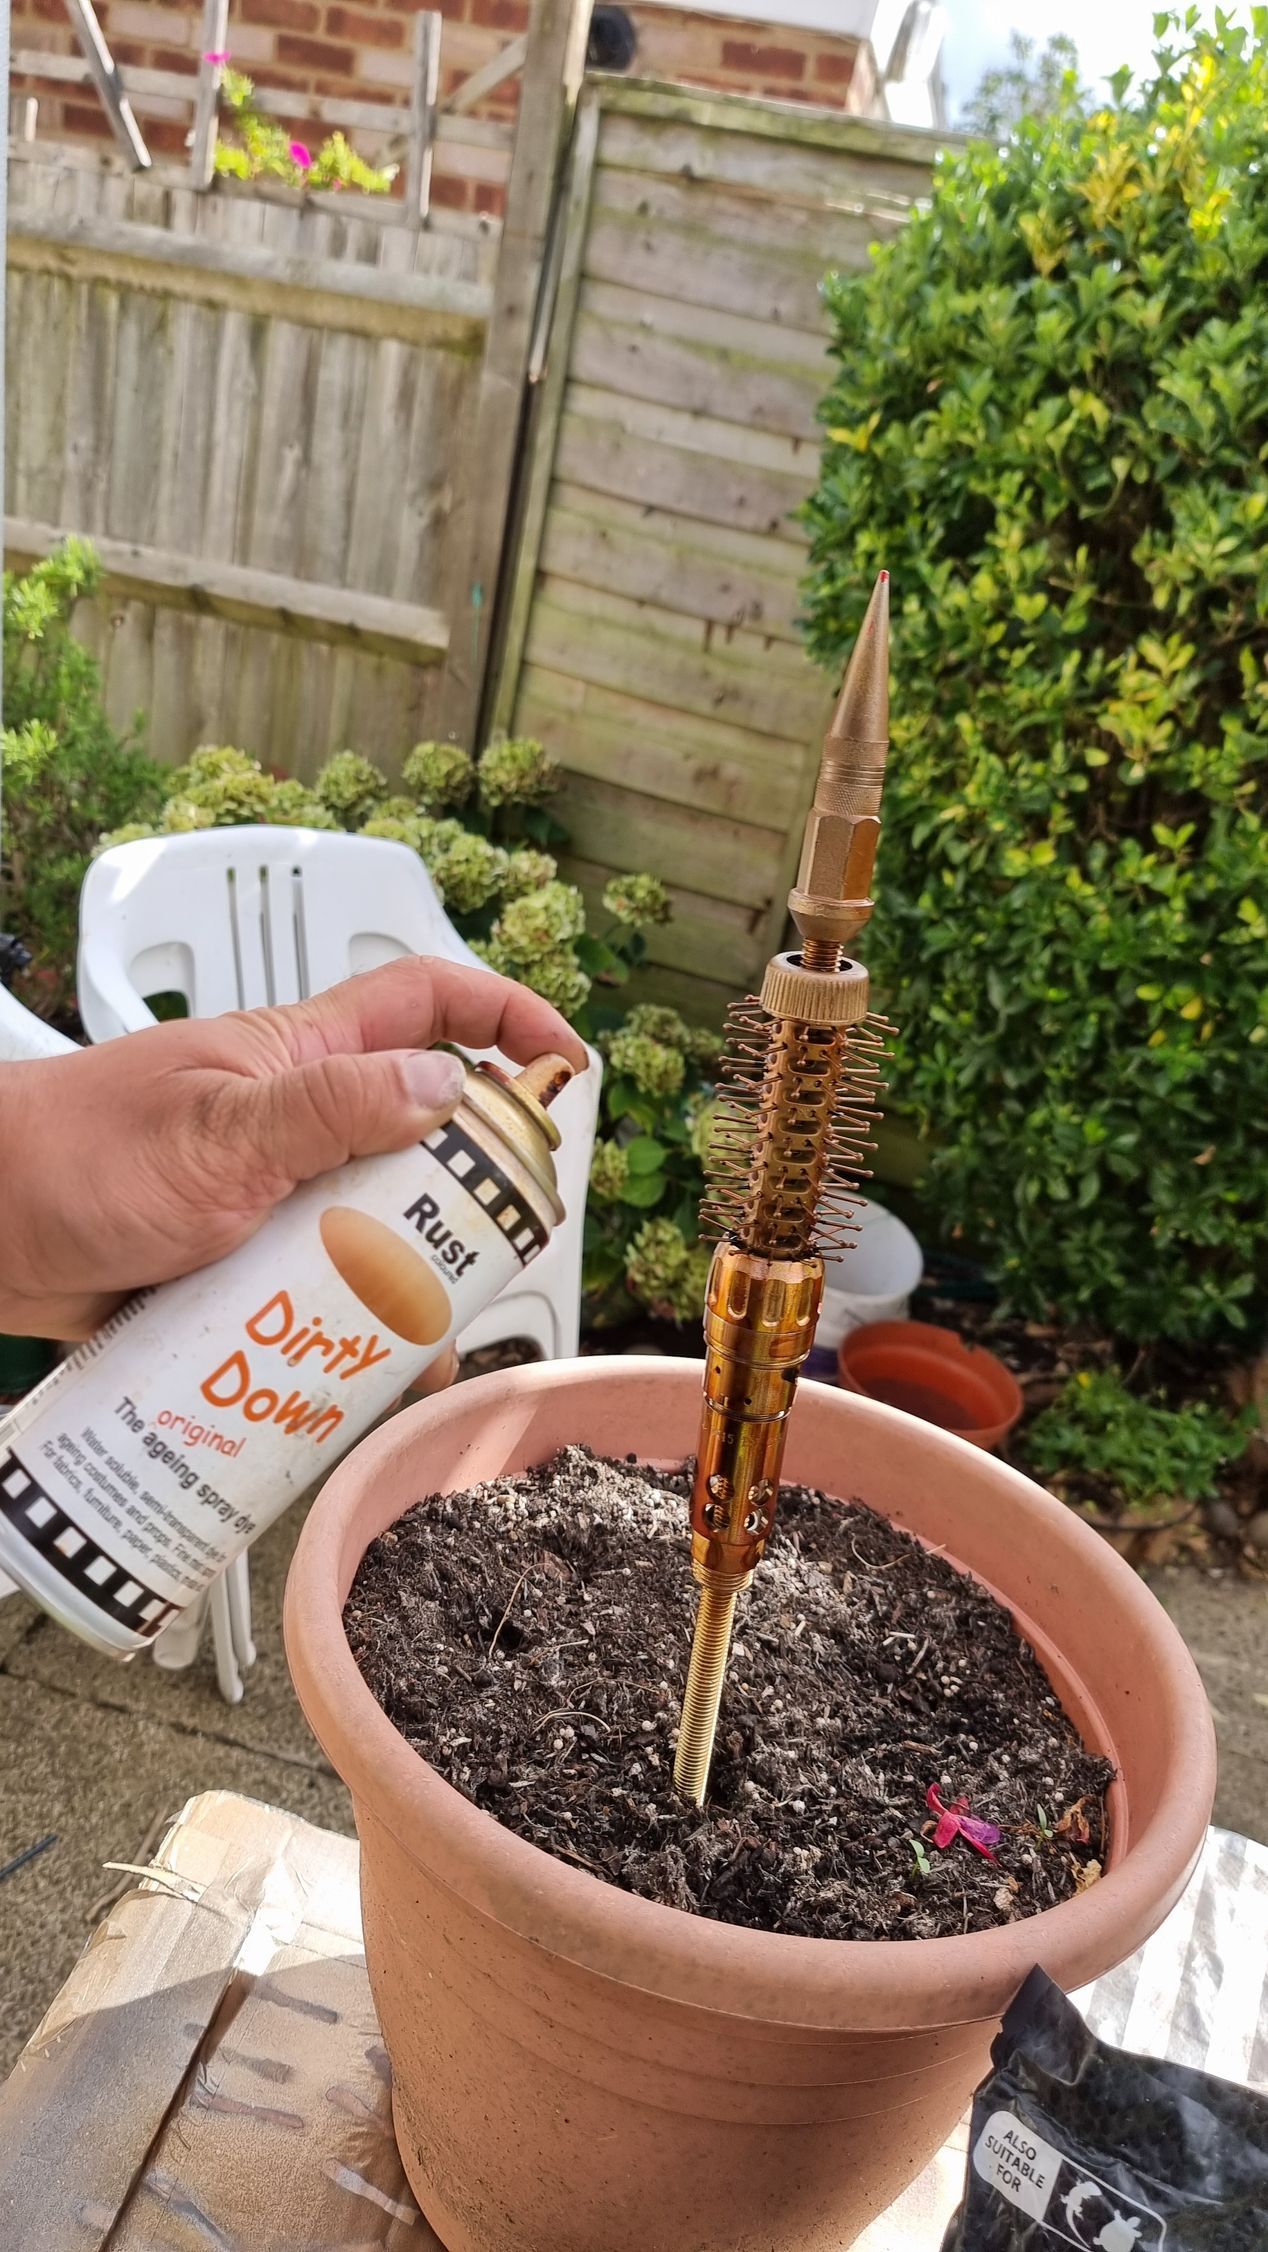
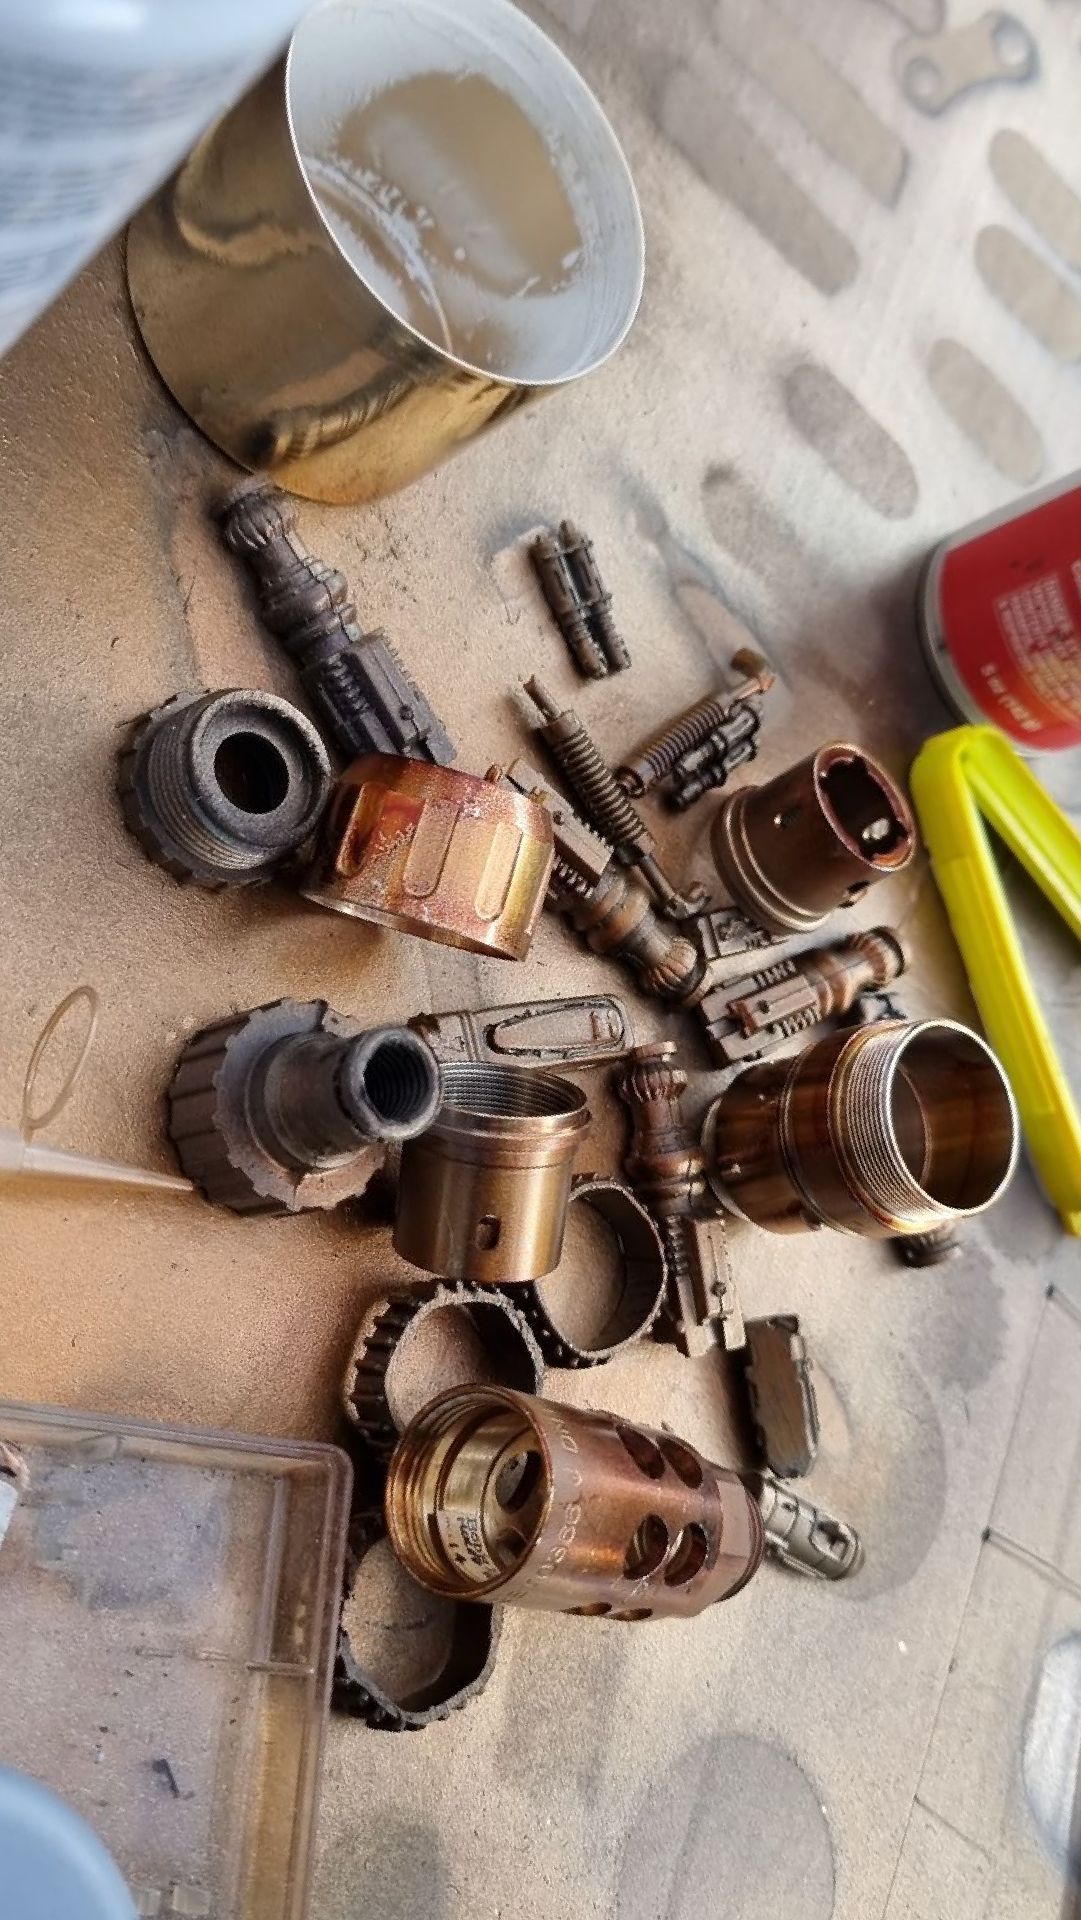
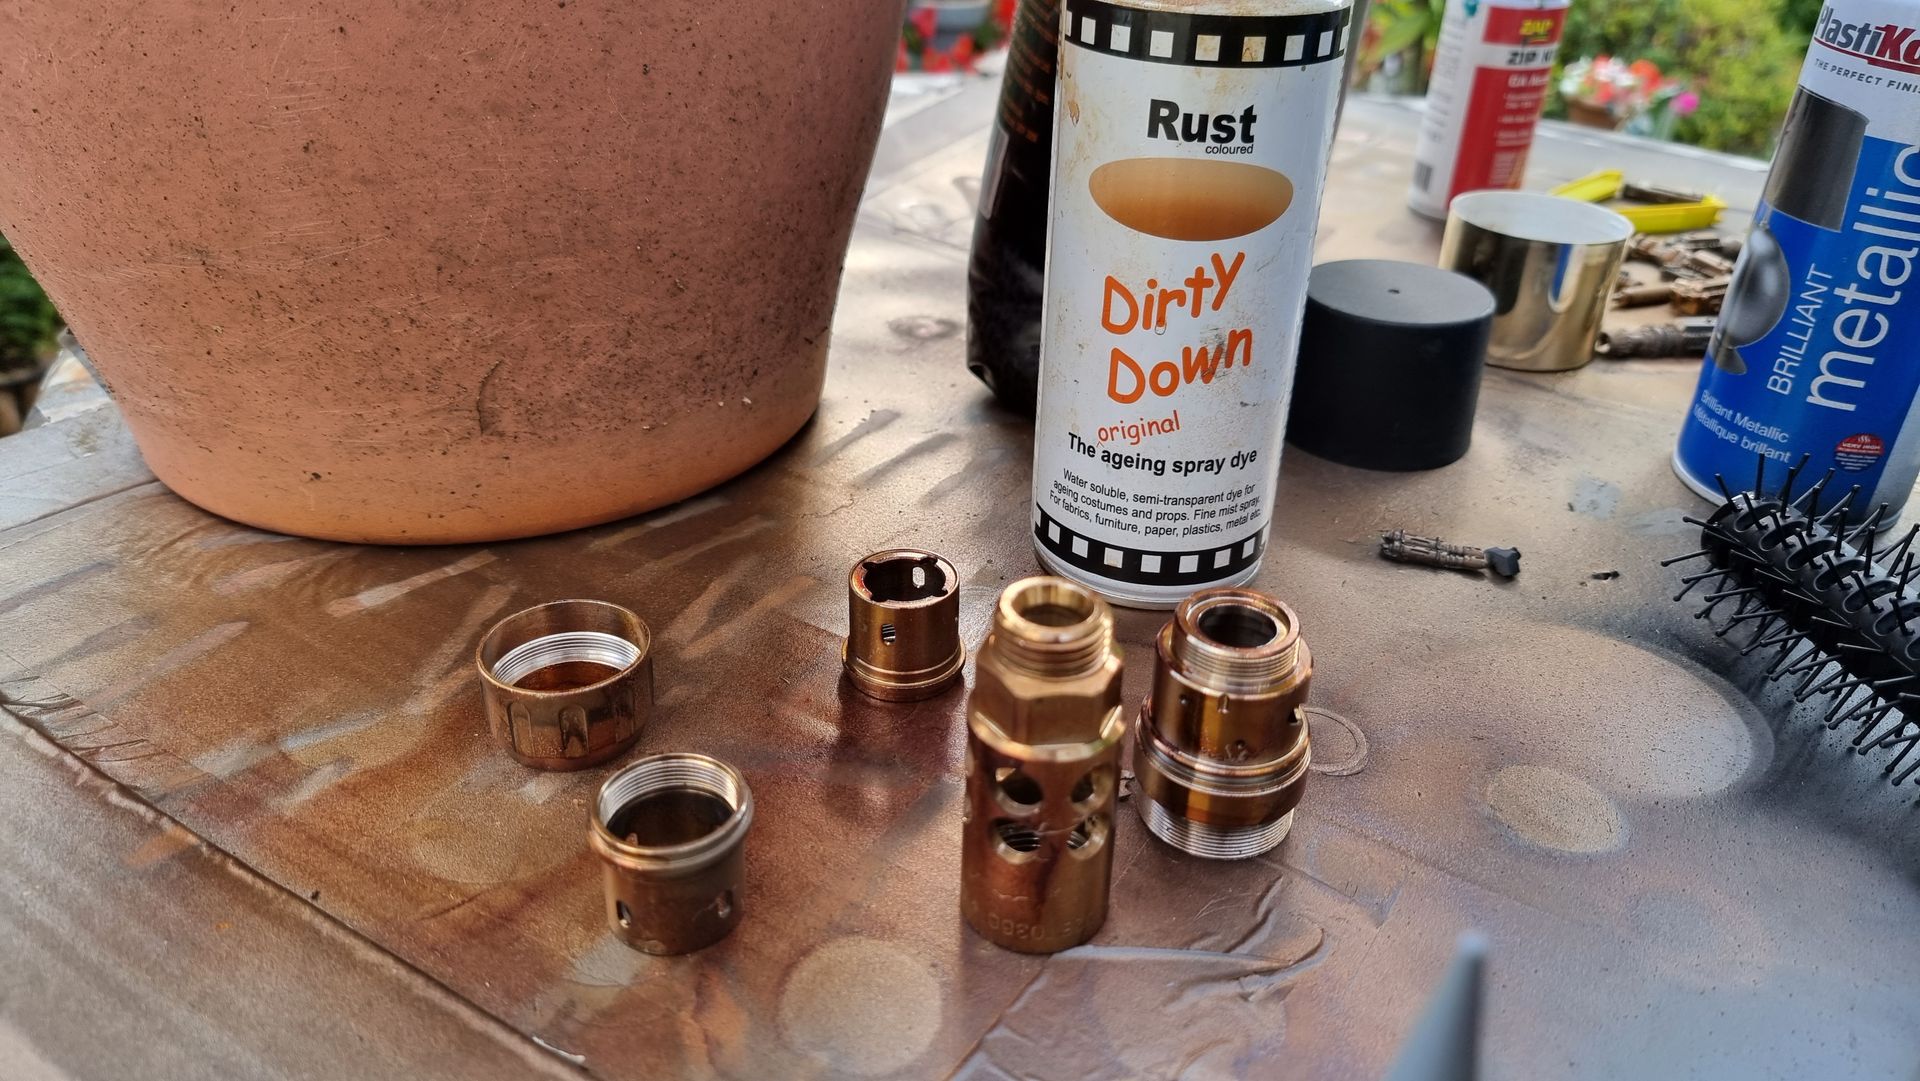
The components were given the basic painting of primer, black, then washes of aged cold, copper metallic paint and Dirty Down Rust, Dirty Down Khaki and Dirty Down Black.
Continuing Component Combination
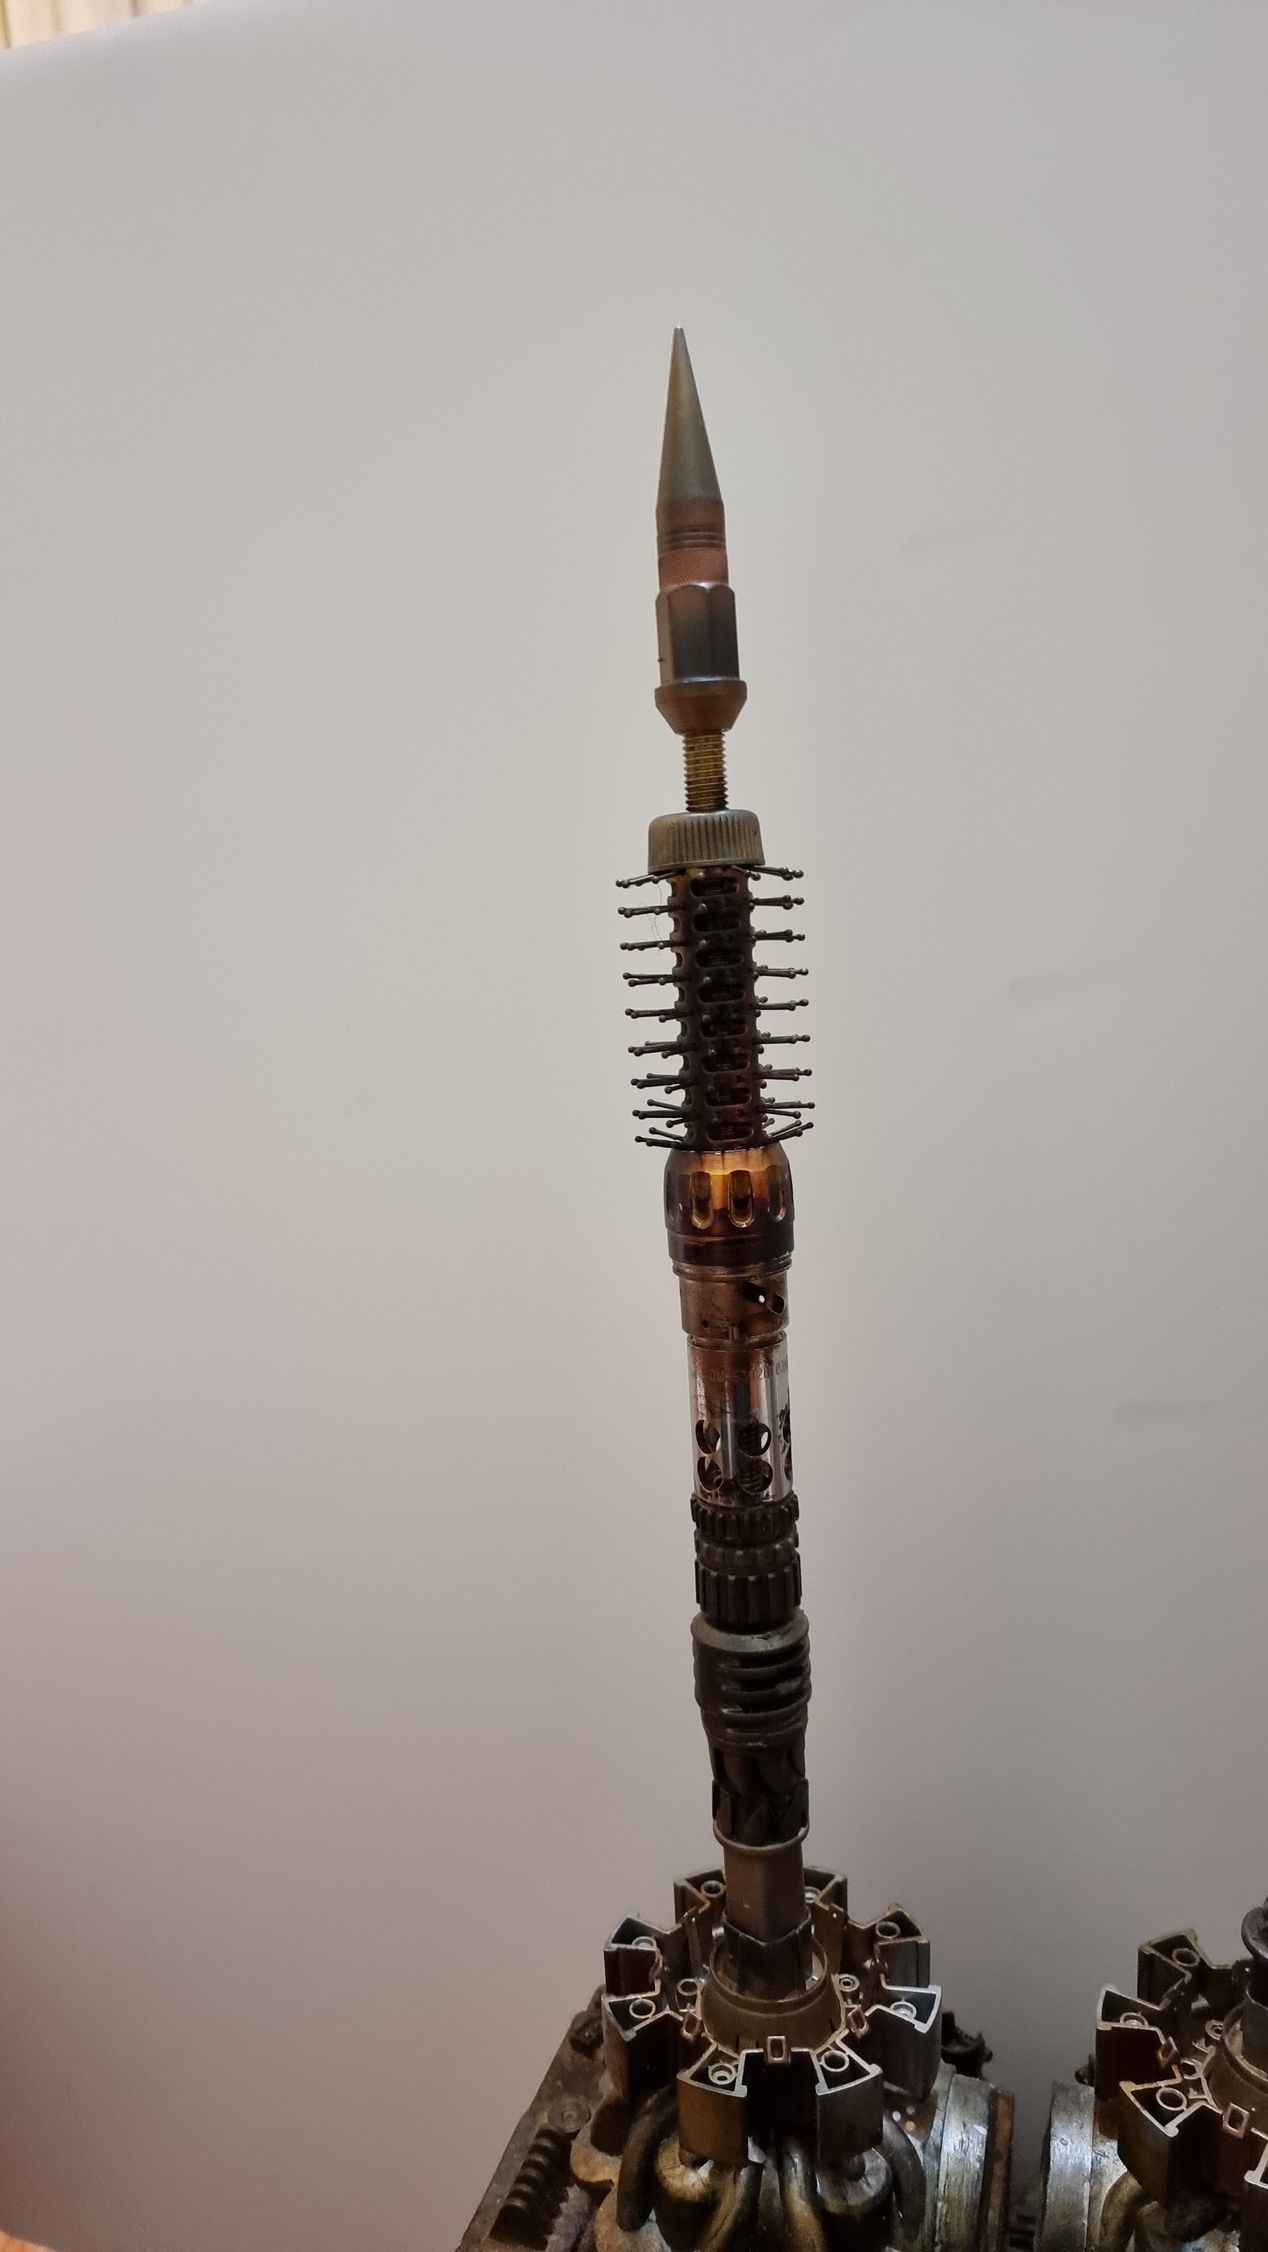
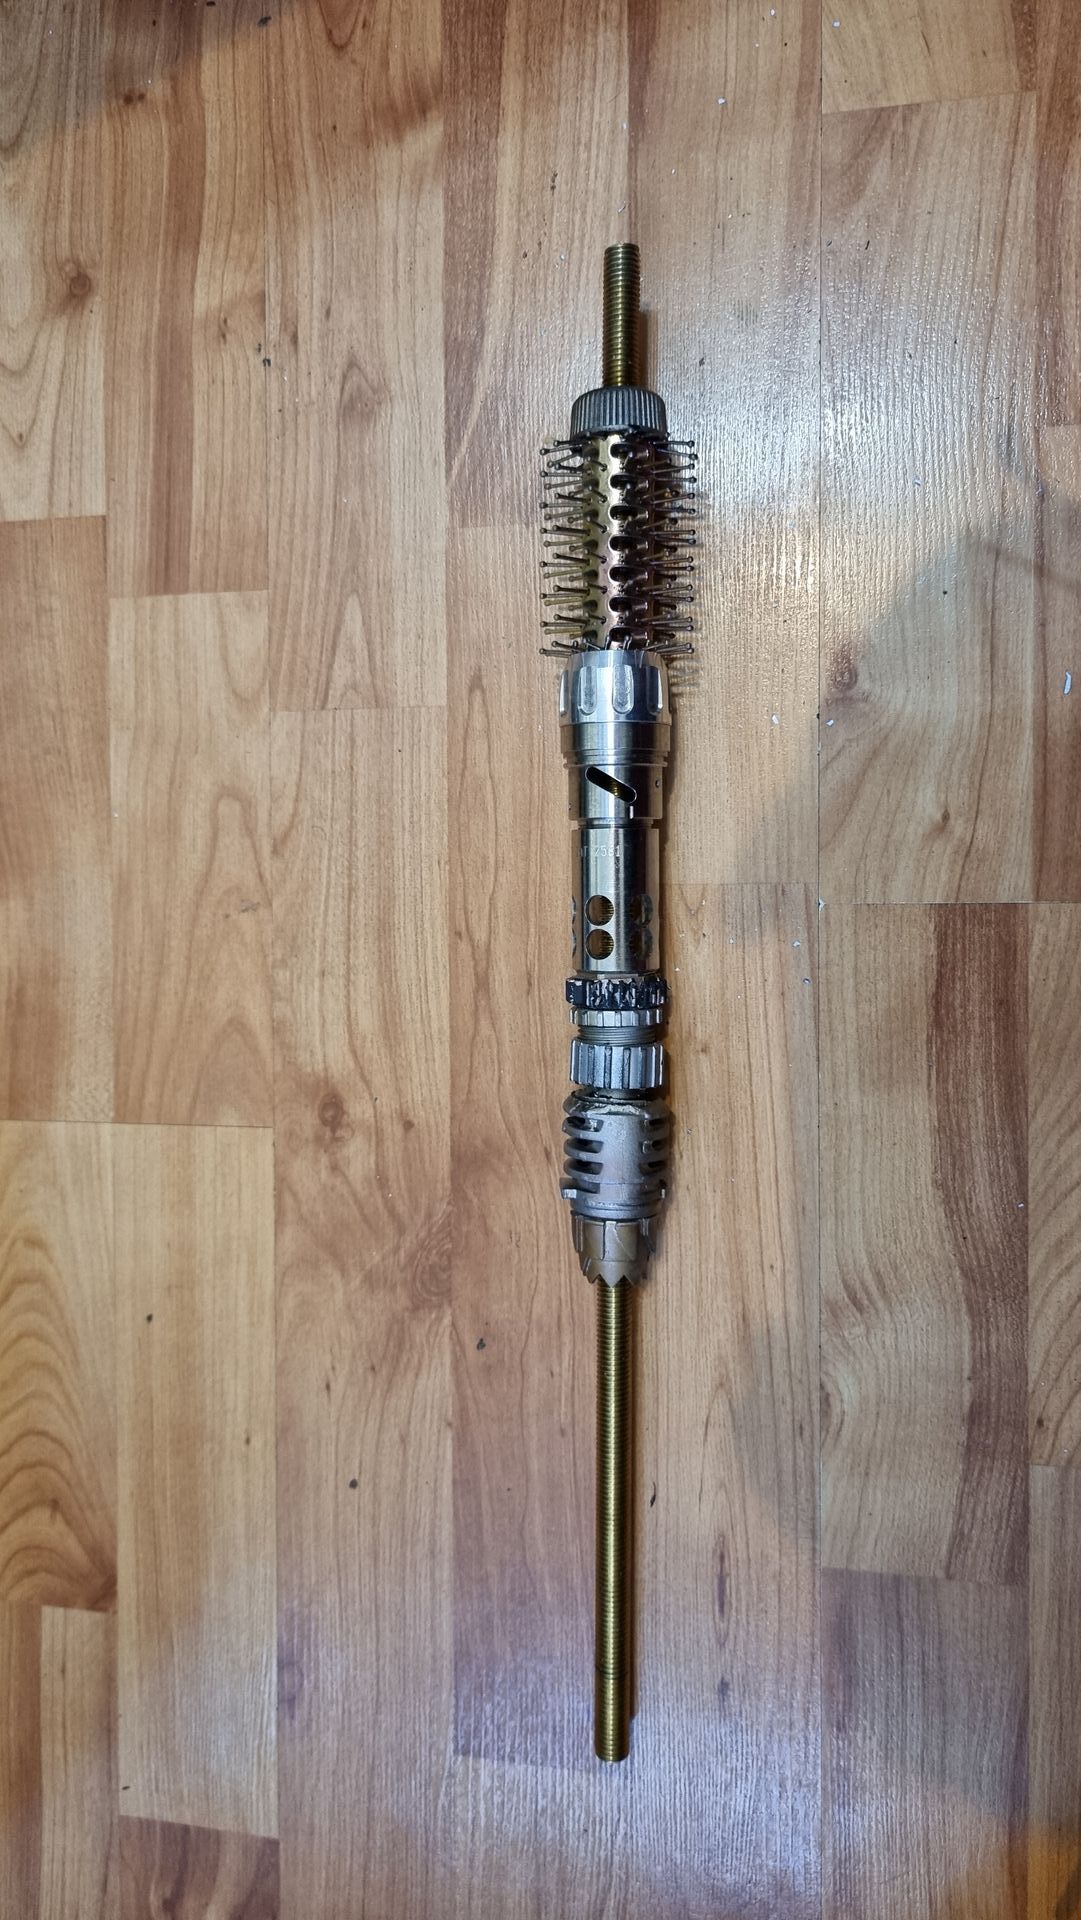
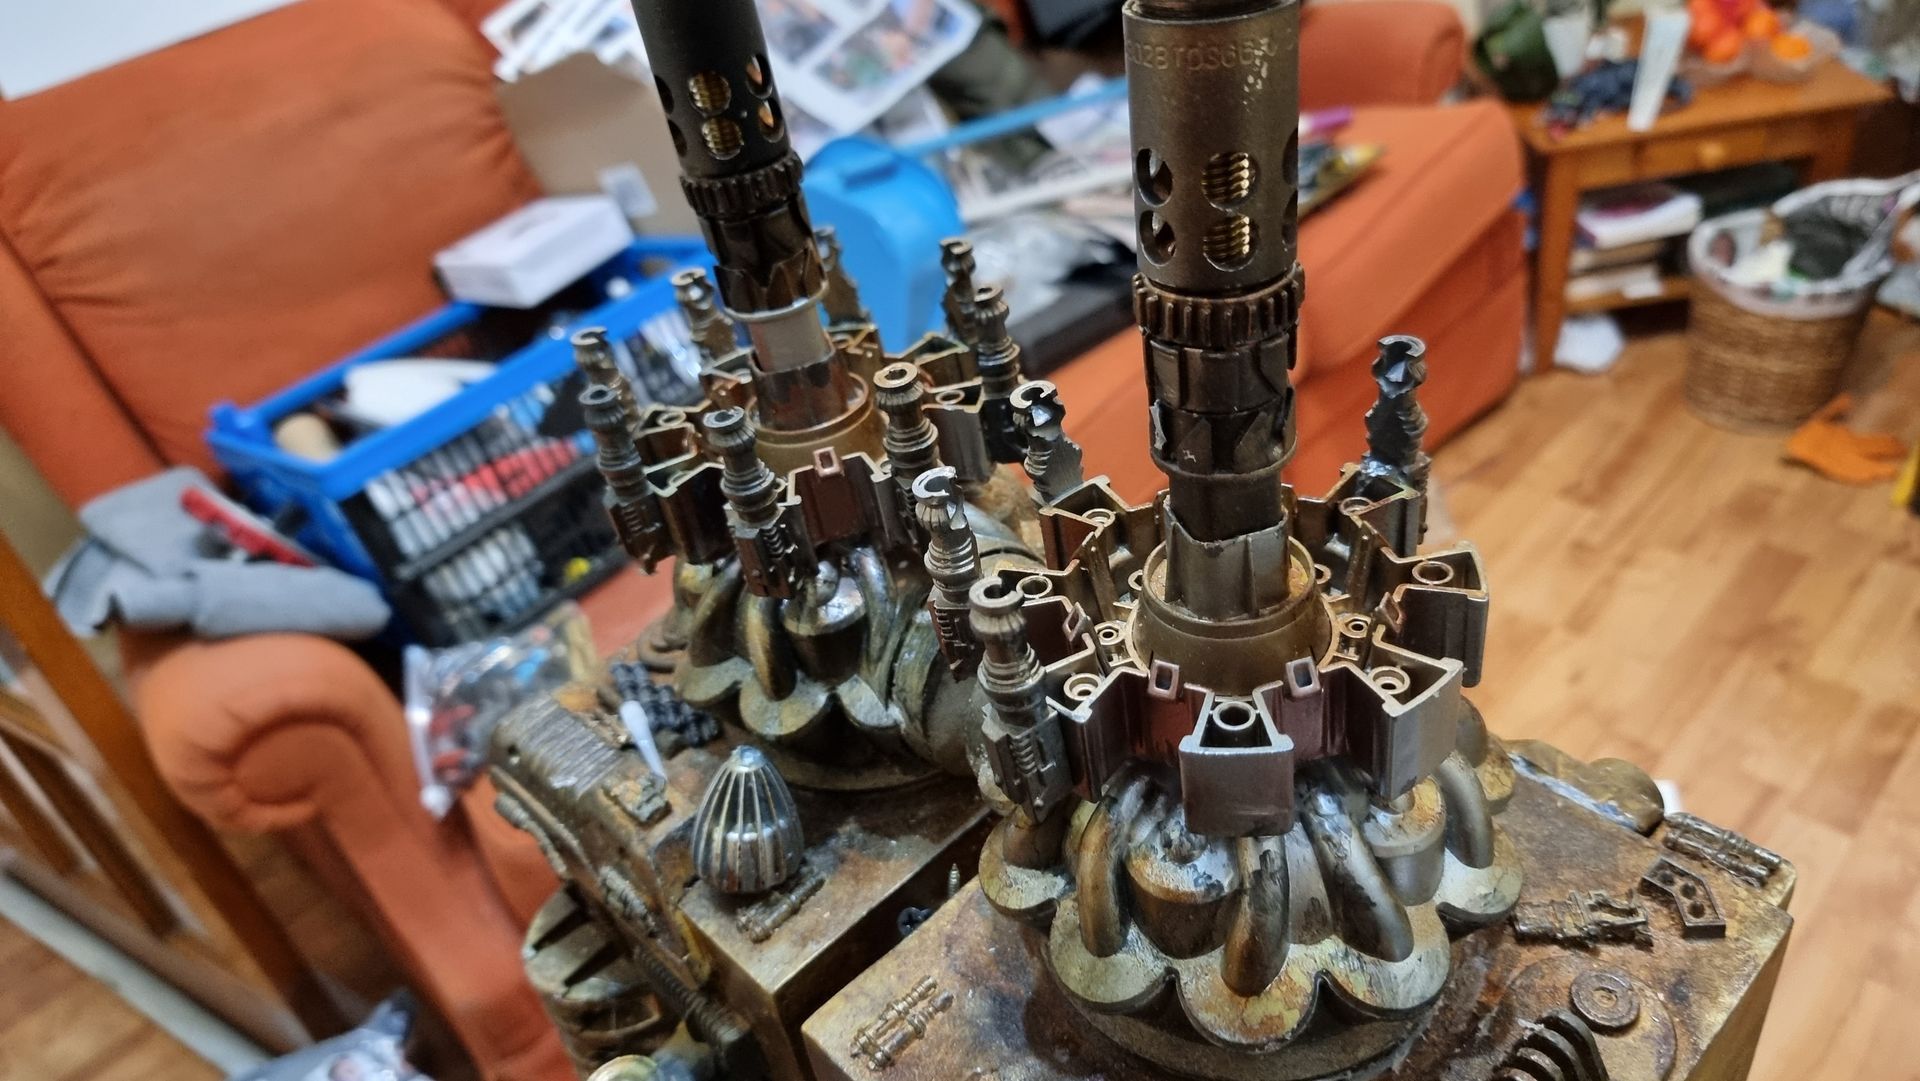
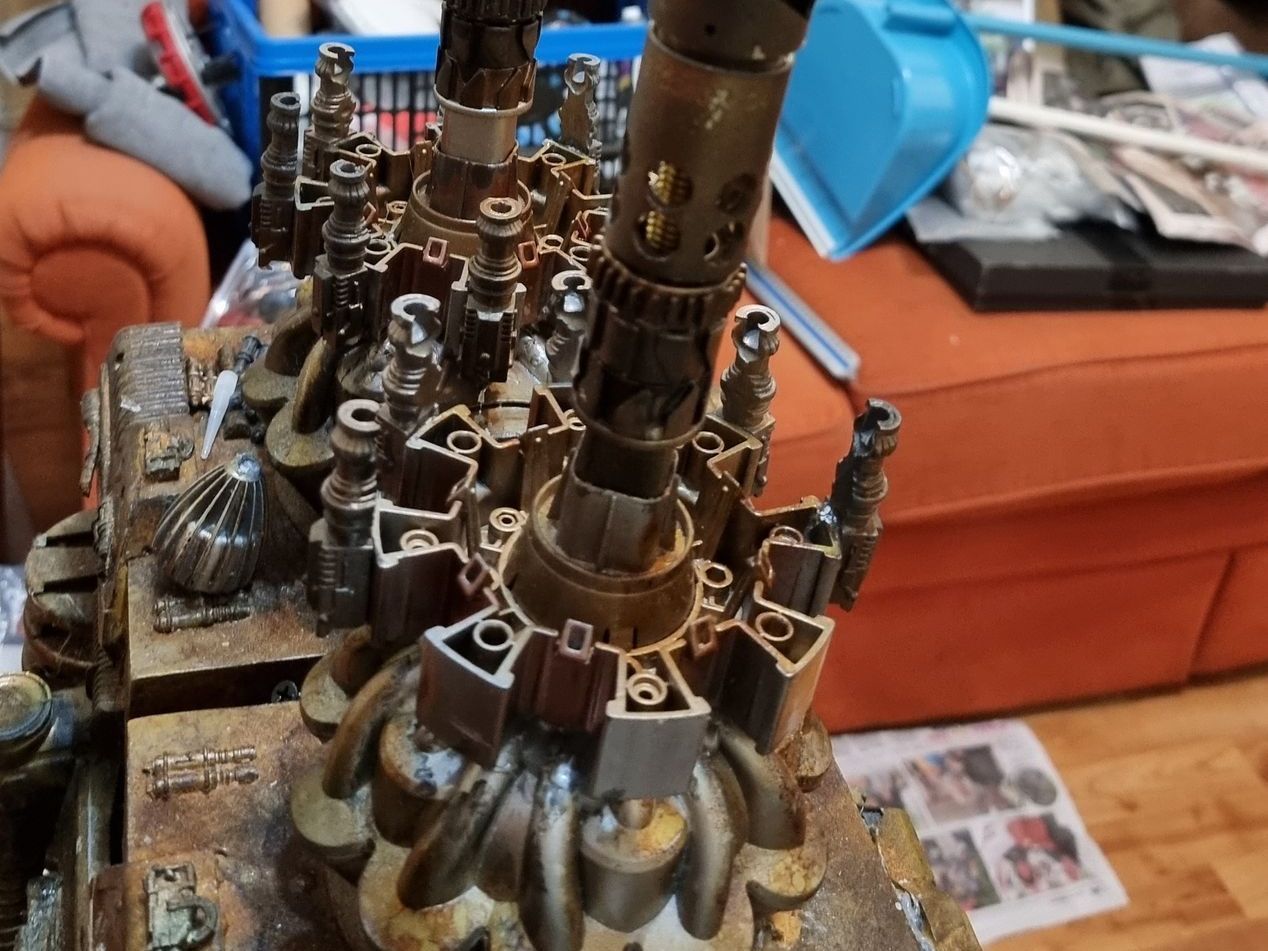
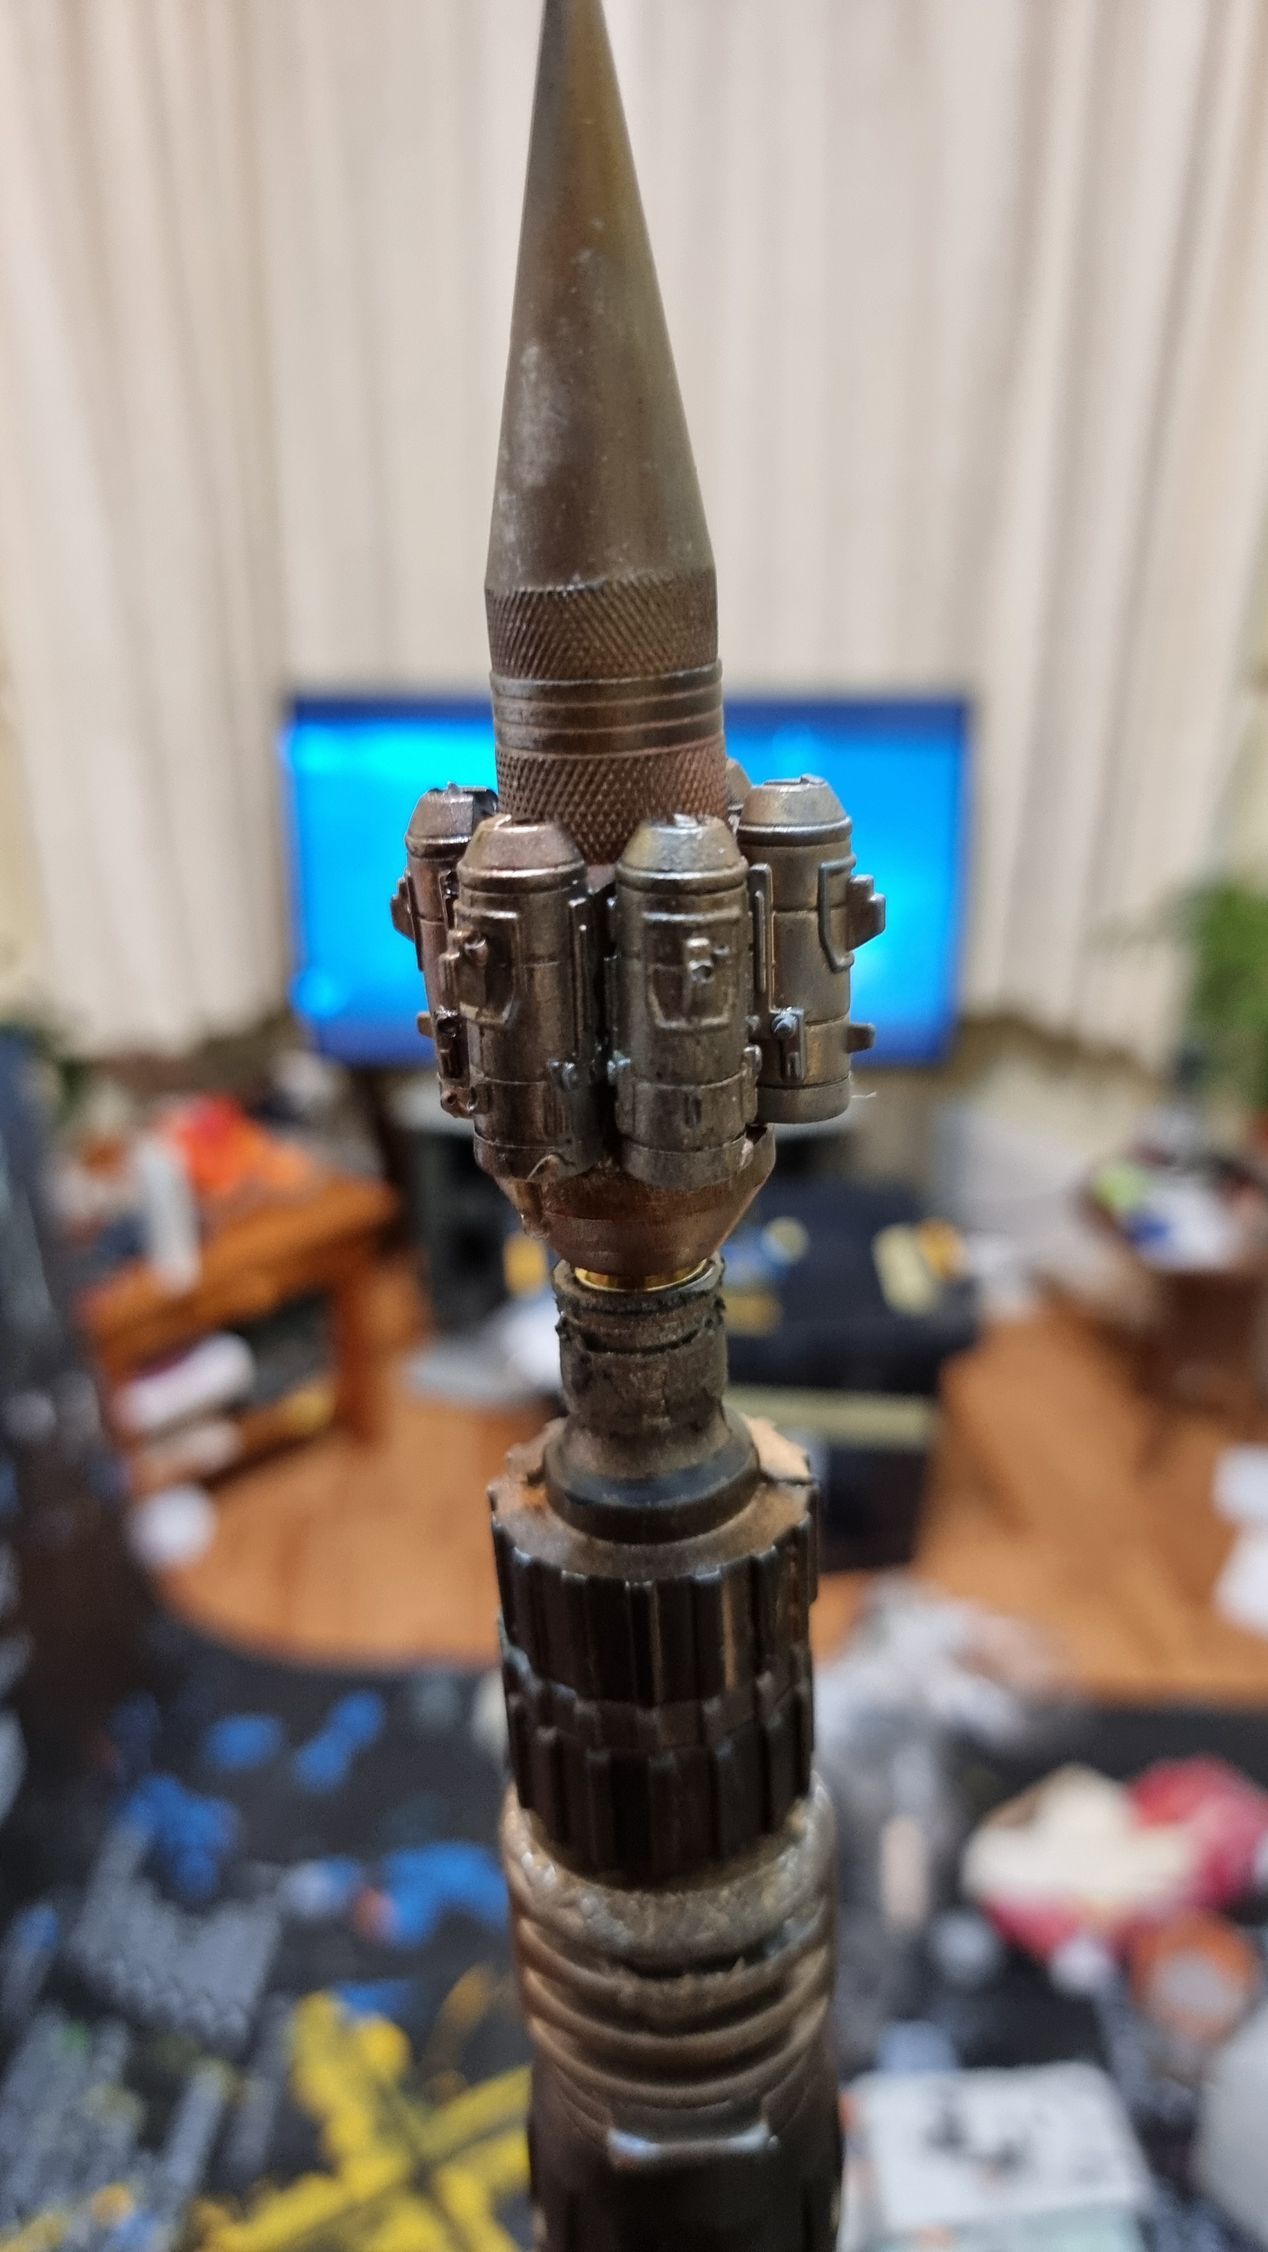
With the components painted I then carried on trying combinations to refine the order and see how they looked when more metallic. The brush looked particularly good and technical with what looked like many aerials
Shortening the Tower
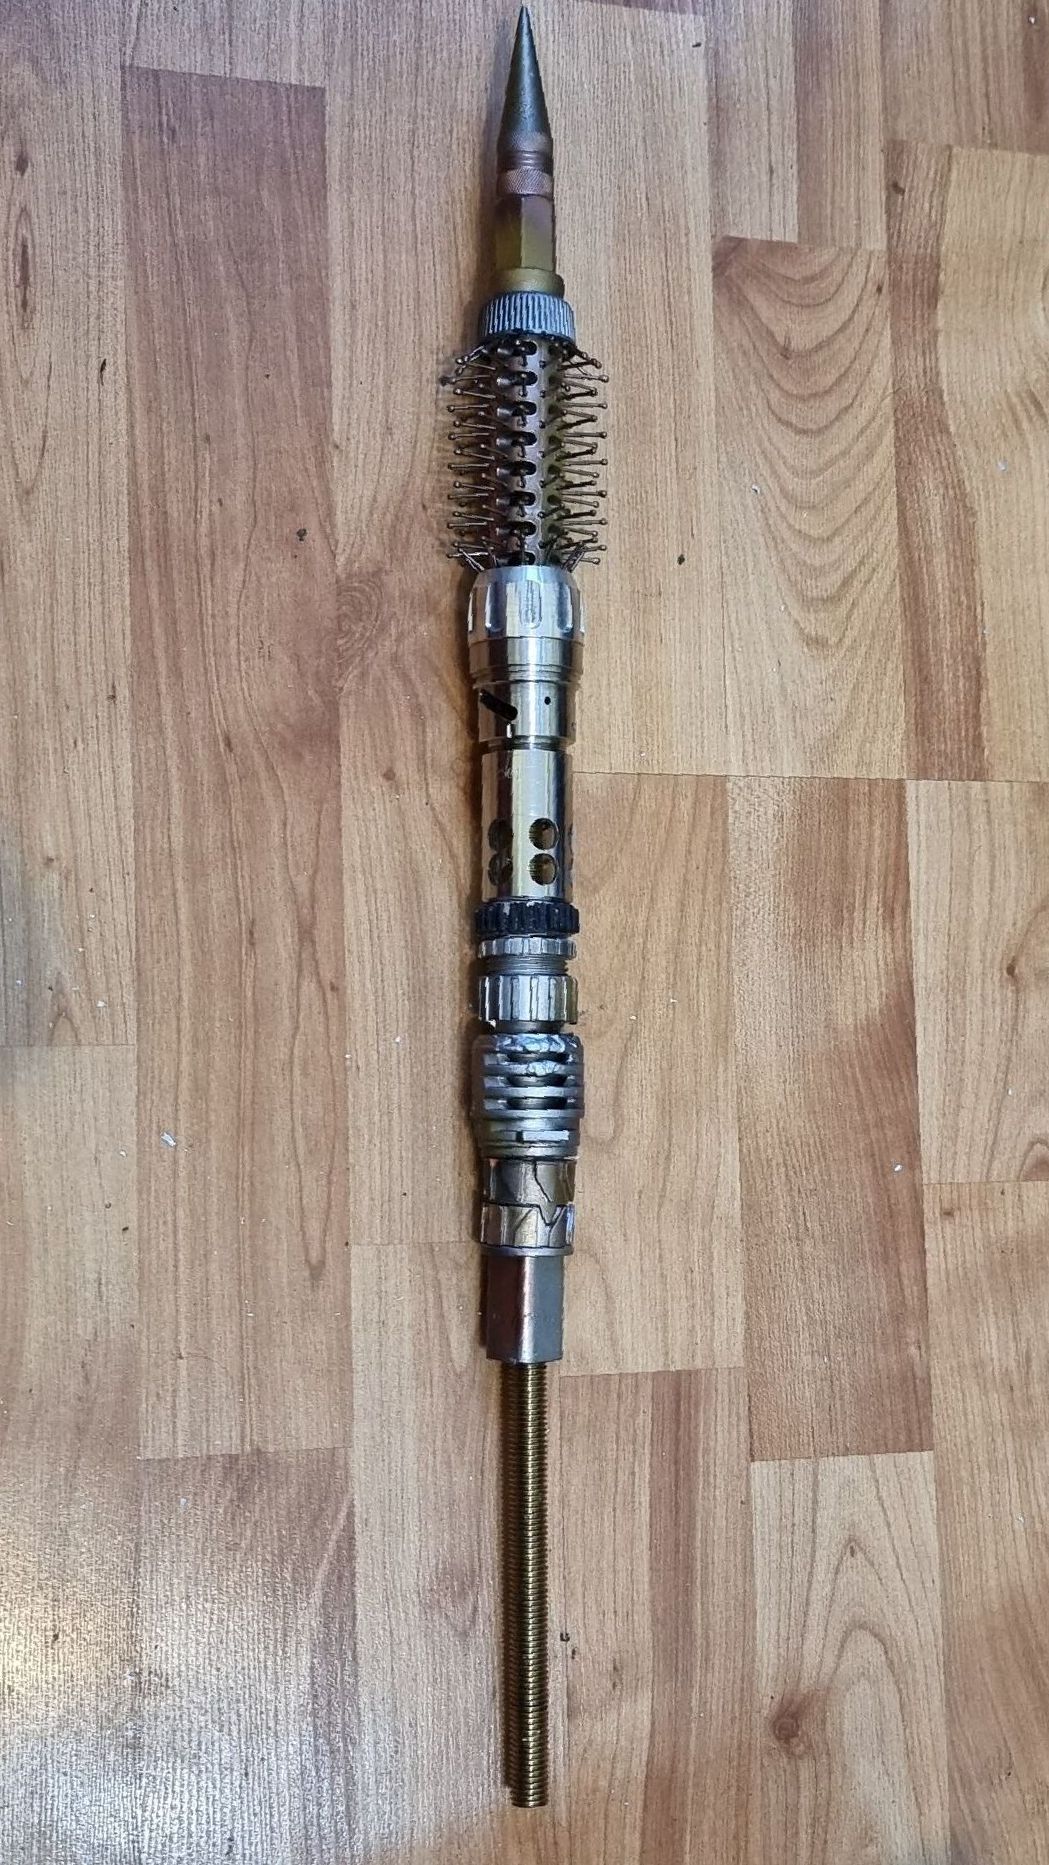
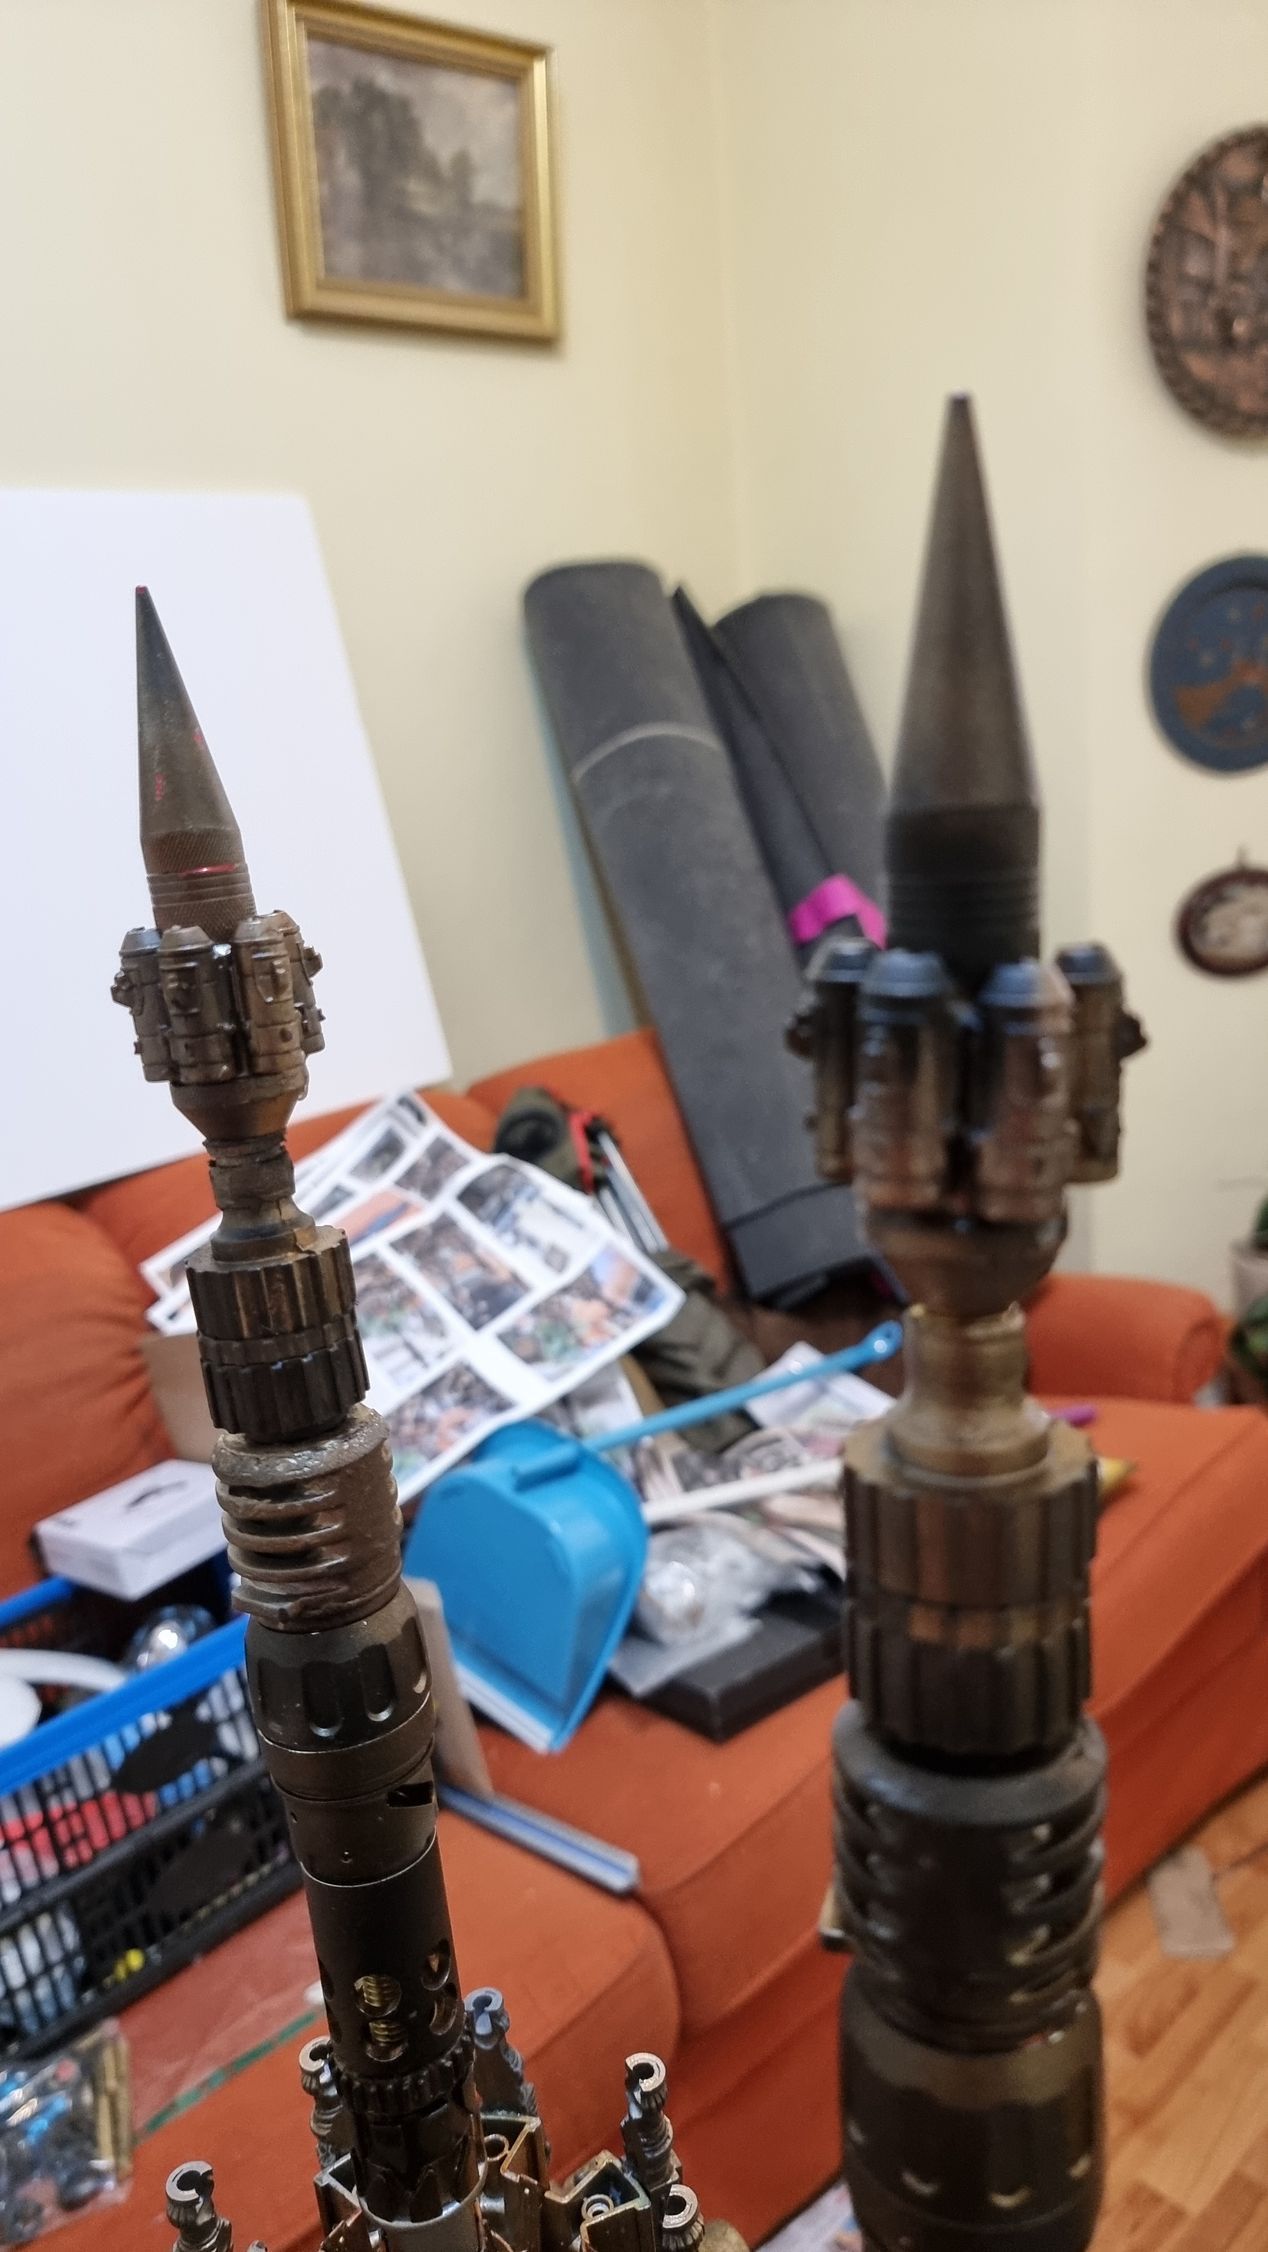
Much as it looked good to have really tall transmitters with all the components, especially the brushes, they also have to be solid and strong, not just when upright, but when the unit was folded open. The length give too much leverage to beat the tower prop.
The tower prop also needed to be able to be handled easily and be placed in the likes of cars and boxes so decisioned had to be made to shorten the length and that included losing the brushed being one of the longest parts.
Additional Kit Bashing
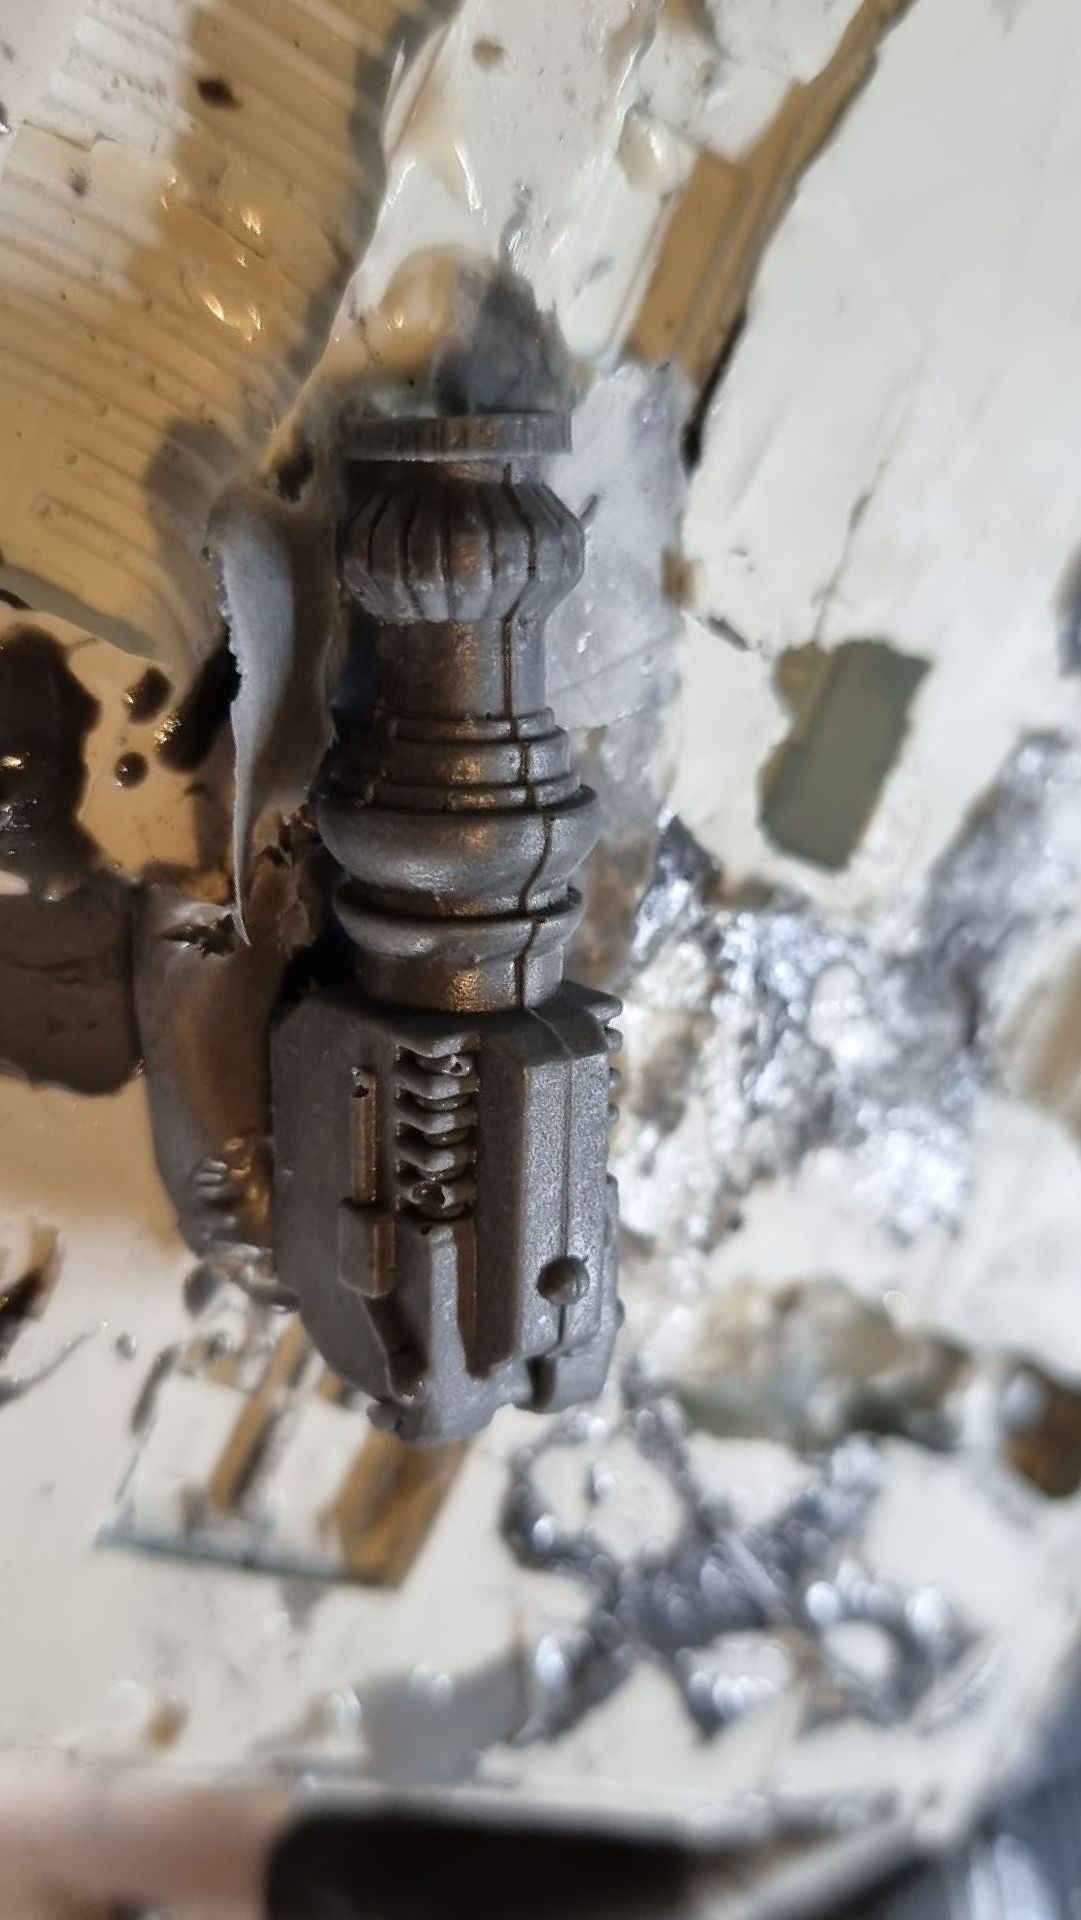
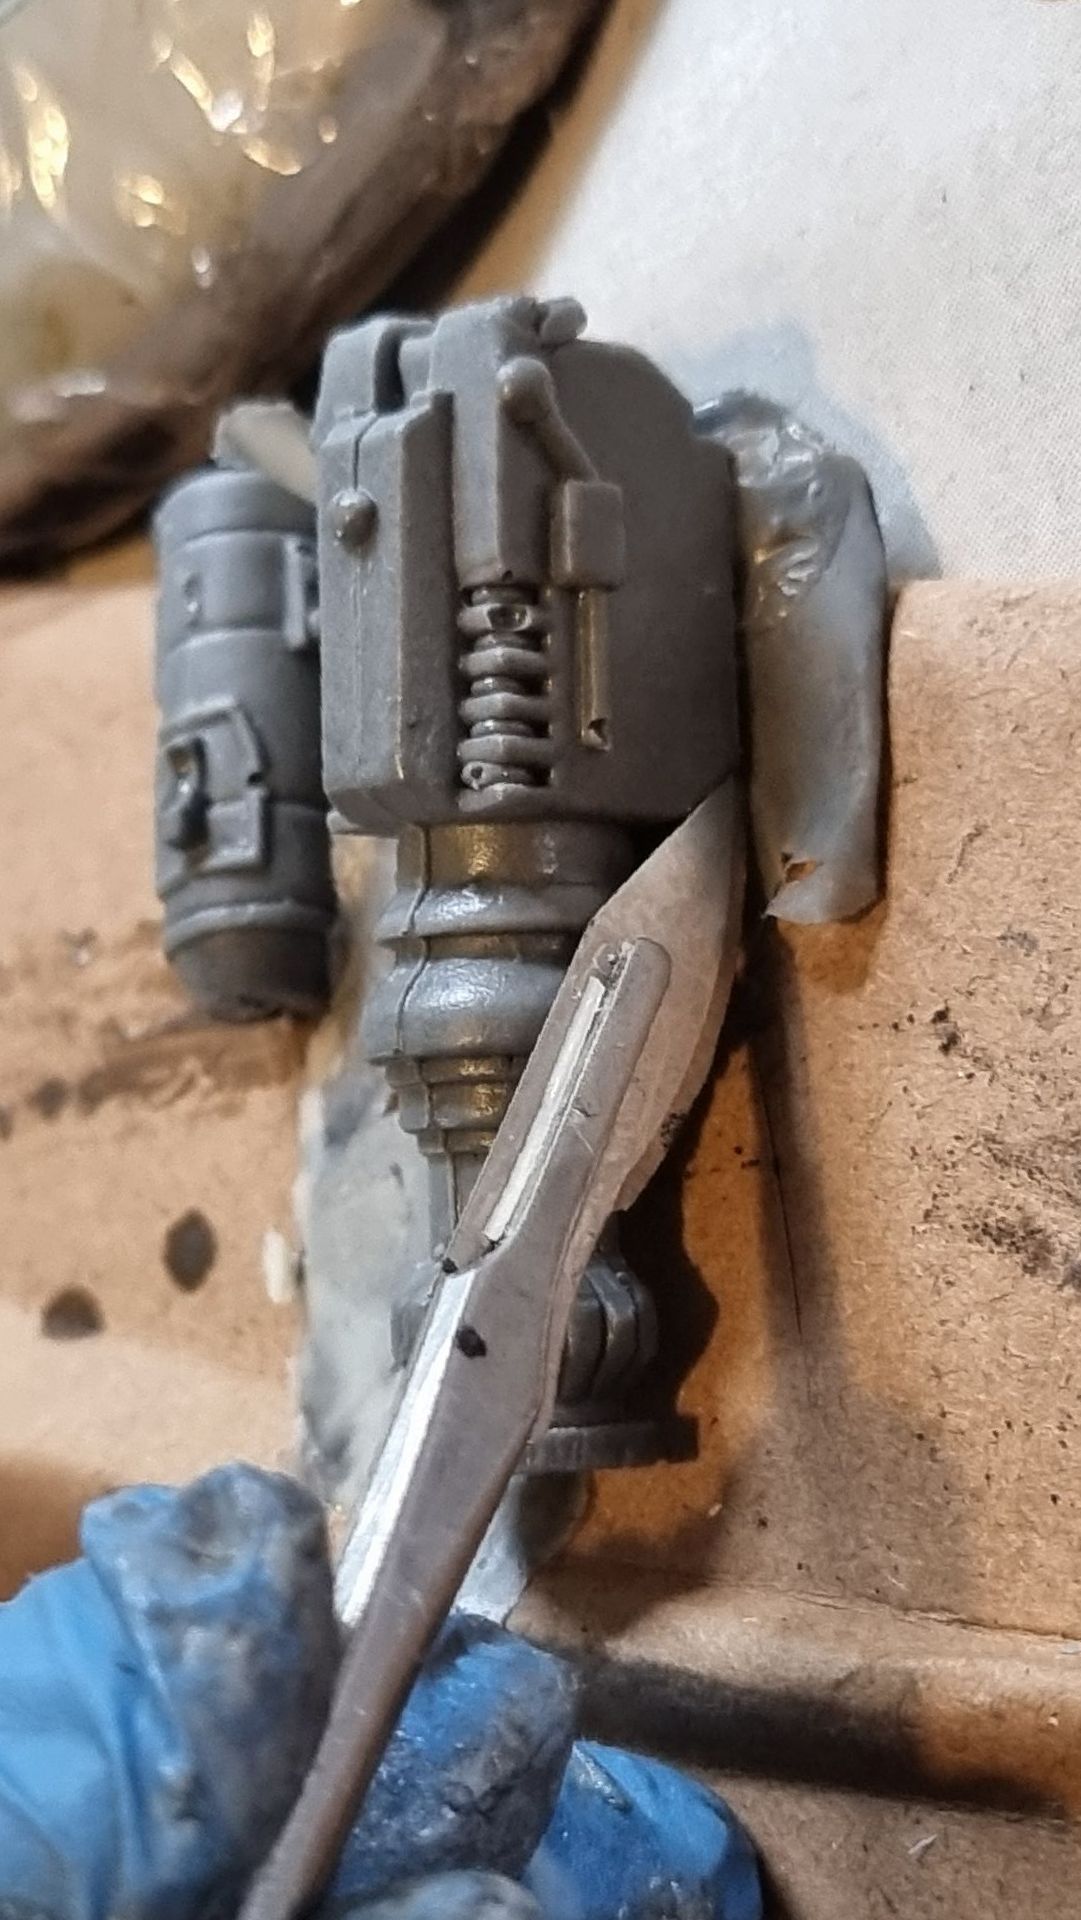
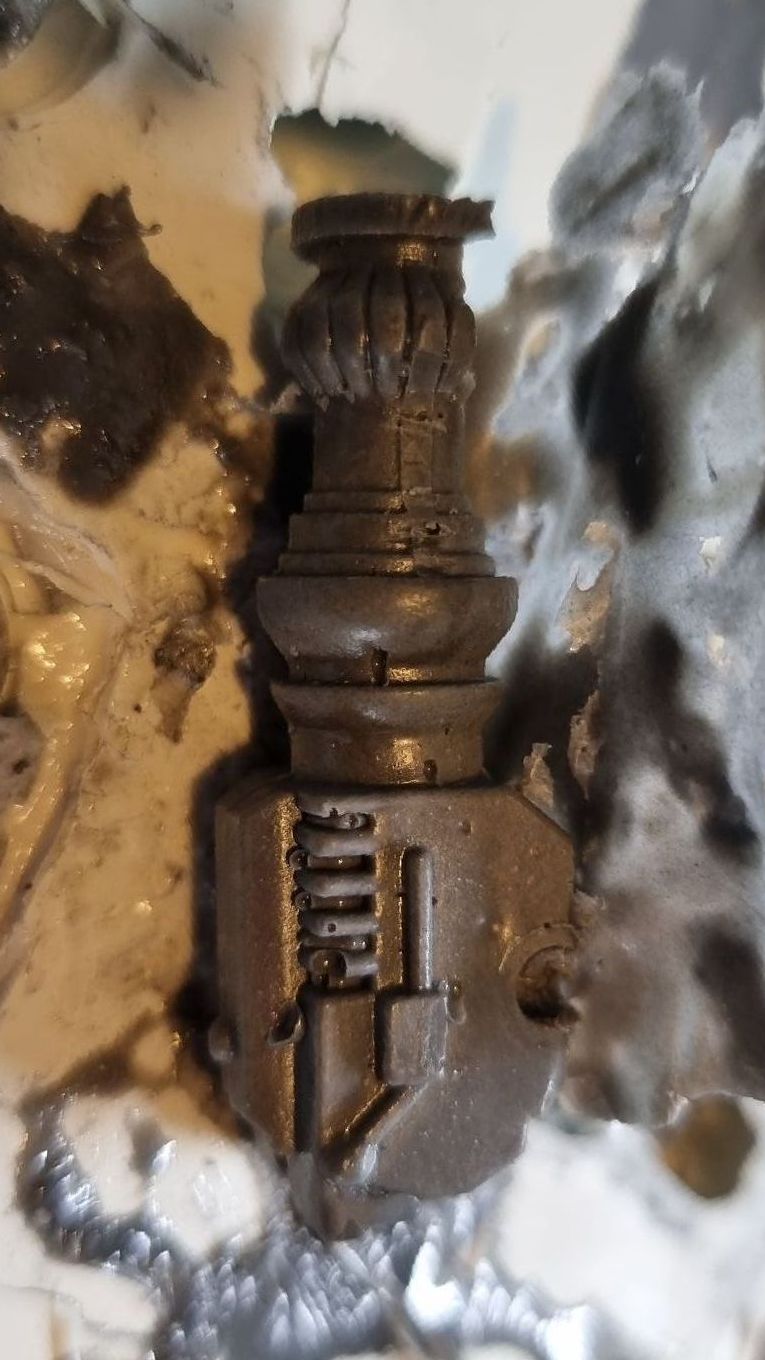
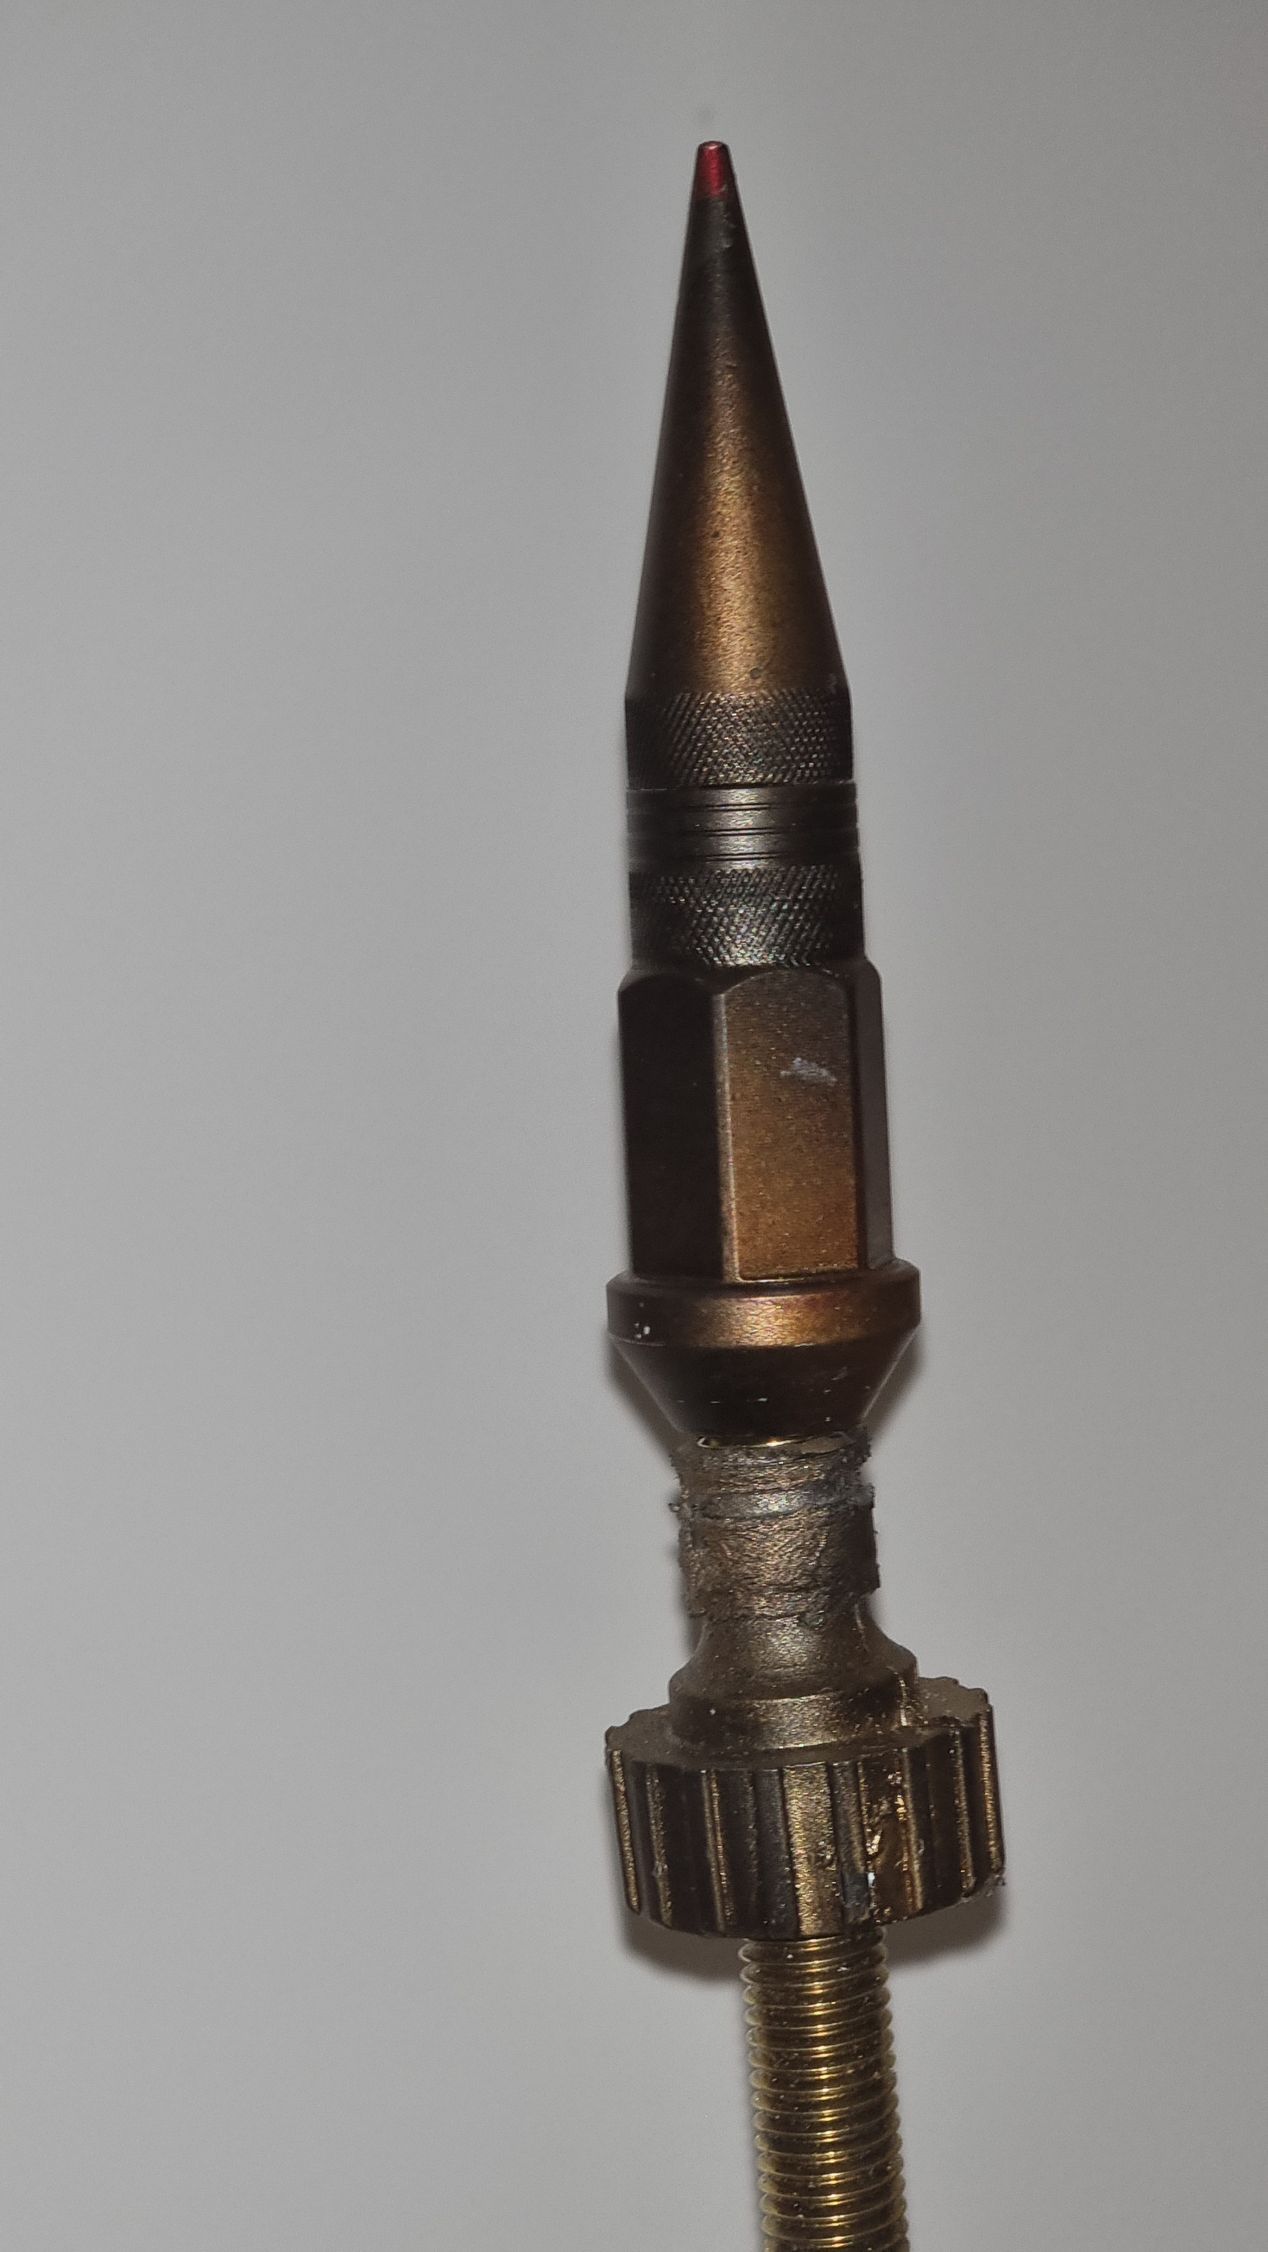
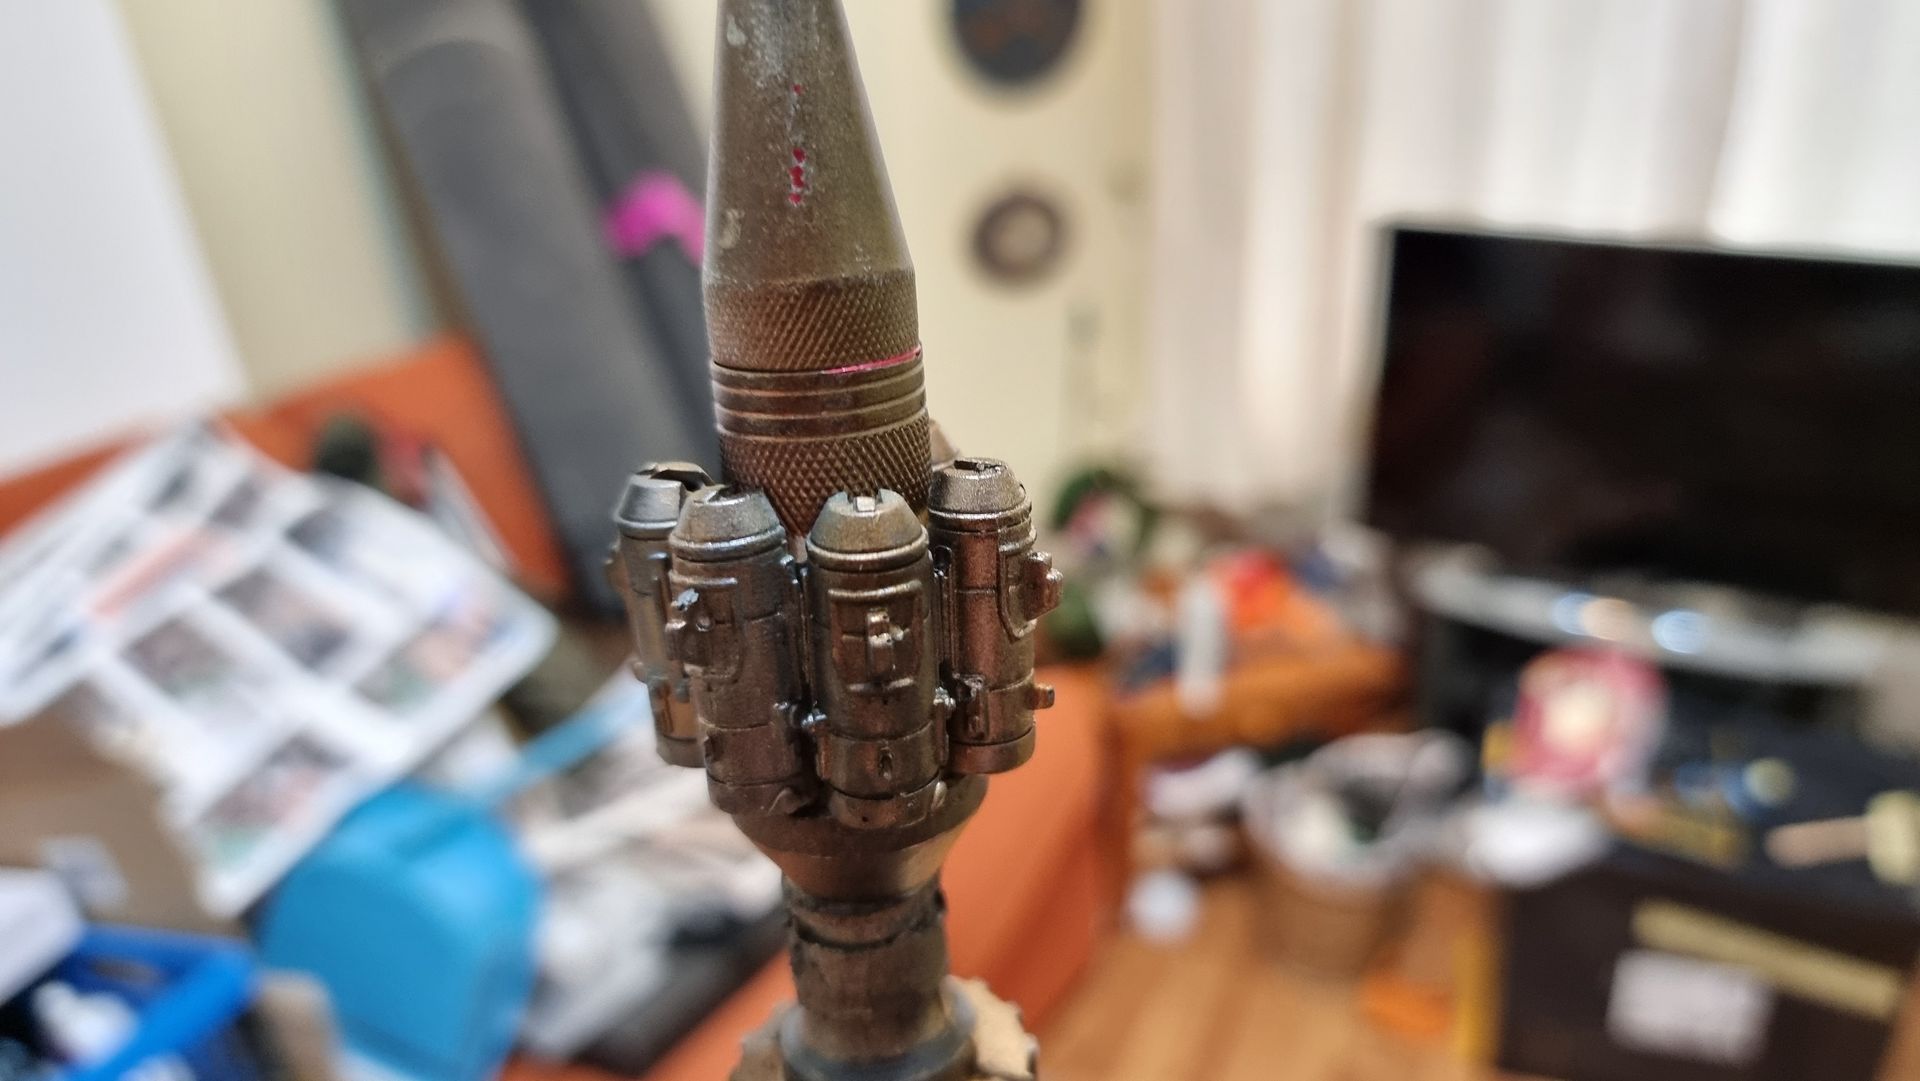
Additional kit bashing was added to the towers to enhance the look adding war hammer like tanks to the hexagonal tower tops sections and adding Warhammer guns or cannons to the Nerf Multi shop bases all pointing up like they could send out converging energy pulses like the Death Star planet killing cannon.
