New paragraph


Star Wars Prop - Base Hacker
Post Hand In Upgrades - Base Stabilisation Feb 2025
Stabilising the Base
The 4-dome kit bashed high tech base may look good, but I found made the tower very unstable.
This risked damage to the prop falling over, more so if fell off a hight like a table or the transport case and this made me very nervous.
This needed serious problem solving.
It first I was trying to avoid removing the domes (Moulded from Coffee pods.) as they looked good tech.


Problem Solving Base Stabilisation 1 - Walls
The first attempt to solve the instability issue was to make thin walls to make a skirt around the base domes.
I then added a cross to support the inside making 4 quadrants.
A good advantage with this was kit basing could be stuck on the bottom skirt.
I tried to make this from Sikablock high density polyurathane model making foam.
Problems I had with this where the walls were too thin and could not be made thicker as the domes where too big and in the way. This made the new base too flimsy.
In addition, the bottom of the prop was not flat and uneven, so there were lots of gaps and the base was still unstable and not glueing properly as too thin.
I tried L shaped brackets but this was a mess and there was little to no room for screws, let alone screw drivers. There was also a very clear seam and shelf which required sanding to make the base too thin.


Problem Solving Base Stabilisation 2: Pillars
I then tried to make screw on pillars which could be easily trimmed on my disk belt sander to customised.
These pillars needed to have countersink indent holes as the screw heads were sticking out destabilising the prop again.
It was not effective. The effort in making each pillar different lengths was too fiddley and too much effort. It was still not stable and looked bad.


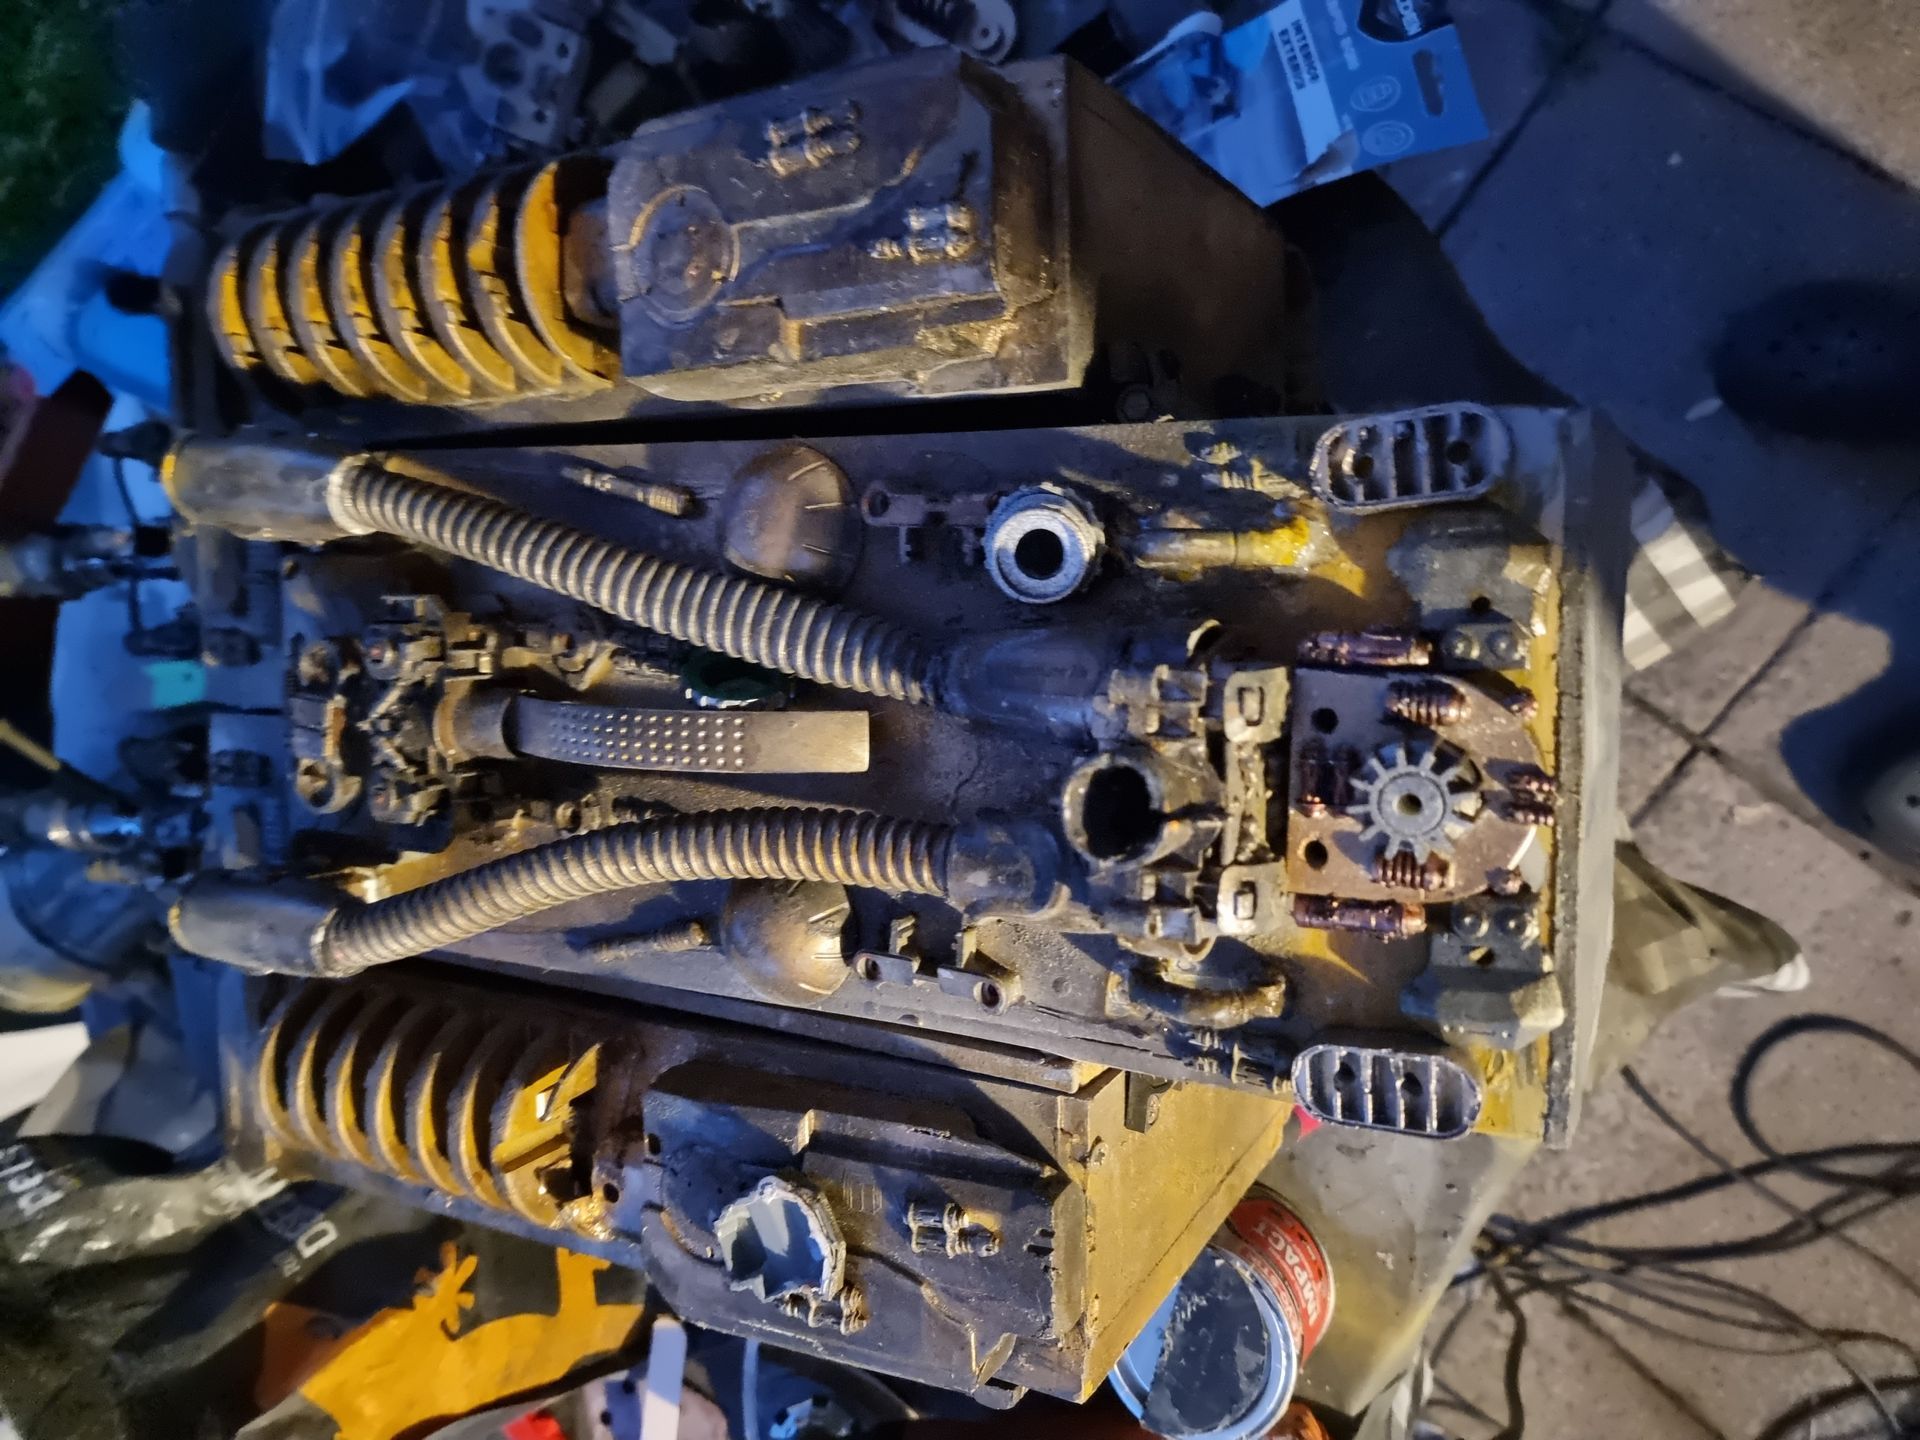
Problem Solving Base Stabilisation 3 : Removing the Domes
Neither of these attempts to solve the problem of instability was working so gave up on the domes and removed them with my multi tool, and re glued bashed elements.


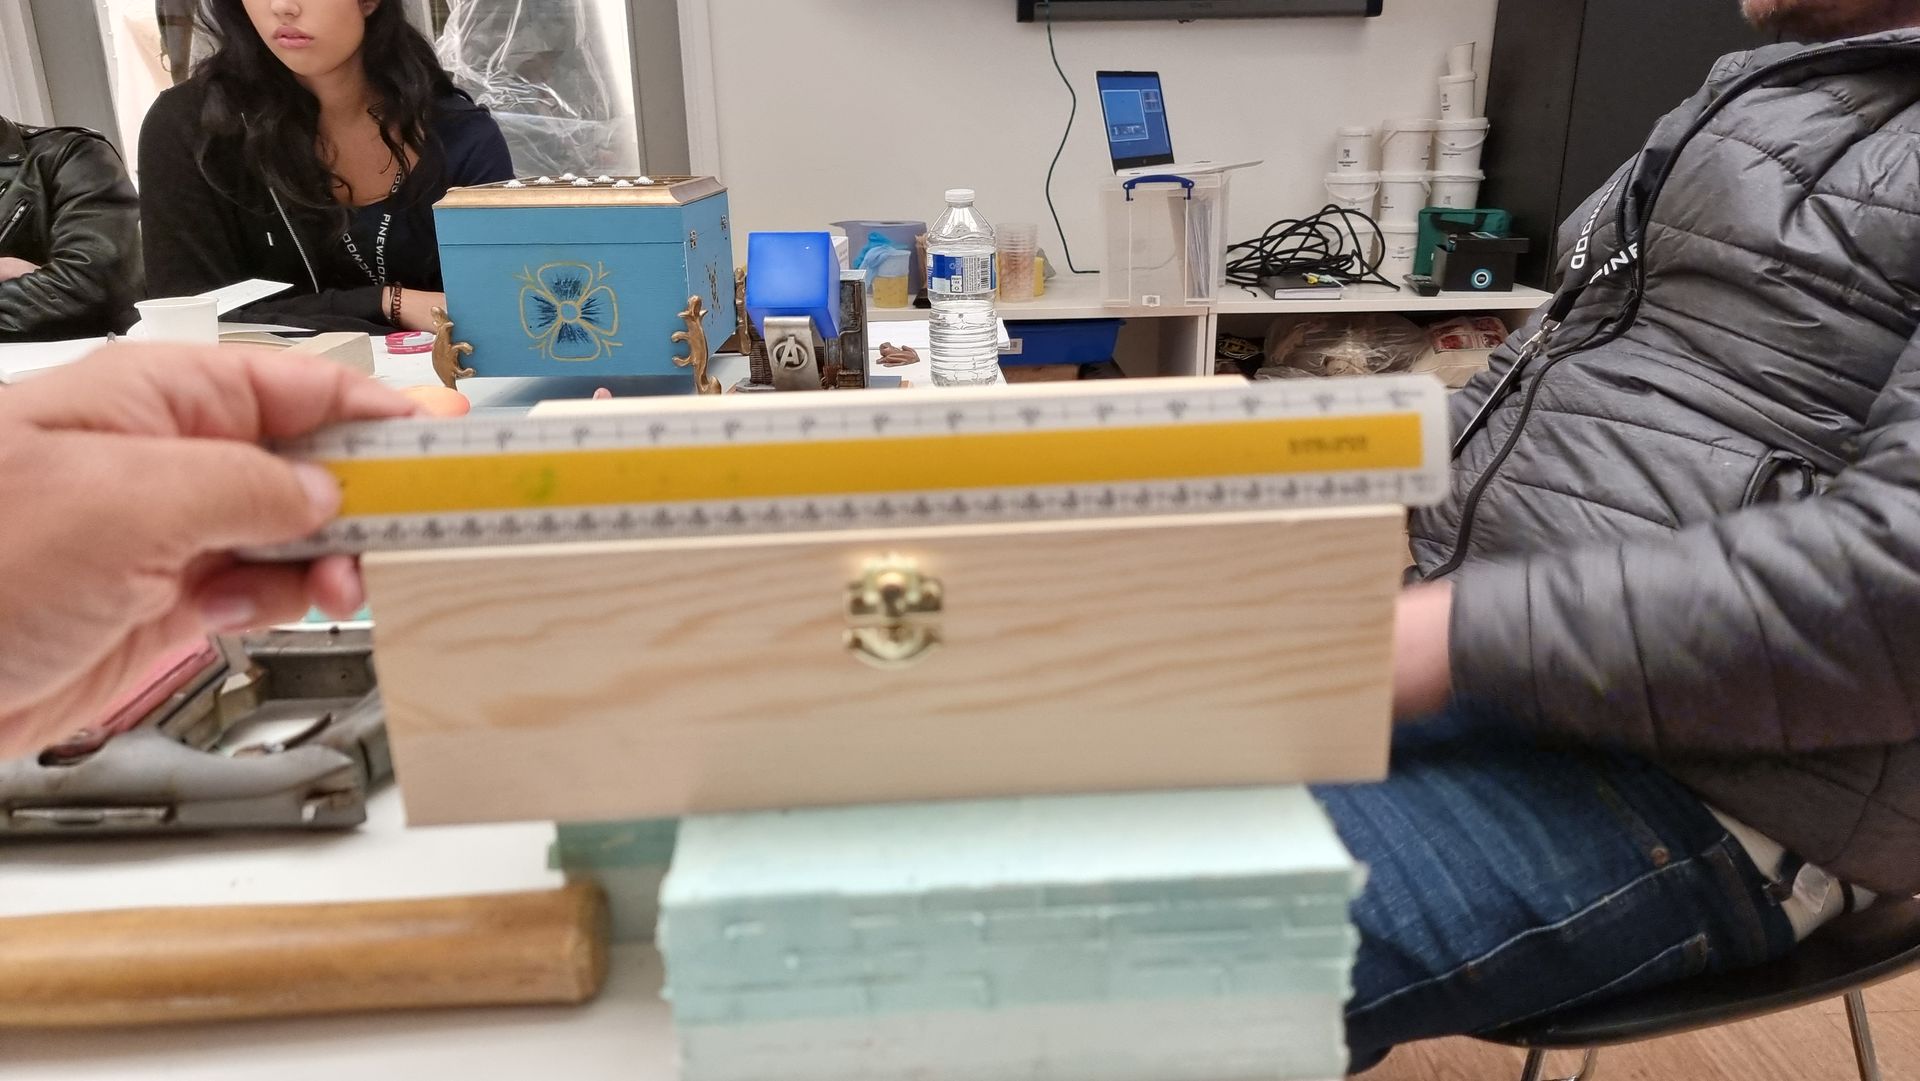
Problem Solving Base Stabilisation 4: Thicker Base
With the domes removed the tower base was flat and more stable when in its folded tower configuration, but when in it was in its open unfolded configuration the tower was held in the air causing high stress on the hinges and a wobbly tower.
It was clear the base needed extension to match the hight it had before with the domes.
With no more domes in the way on the inside I could have another go at a square ring skirt with a supportive cross in the middle like the earlier attempt.
This time however the walls could be much thicker, thus much stronger and solid, more stable, and allow for stronger joints.
This was chosen for these reasons and also as it could be better blended with the rest of the central tower.
The better blend this I used high density hard Sika Black modelling foam material which responds well to sanding and responds well to machinery without being crumbly and soft. The light violet coloured material.
These were very precisely shaped with the disc belt sander to fit perfectly with no gaps to ensure perfect balance and blending with the main body.
This was glued with epoxy to start with, then holes were drilled including counter sink dents for rivets to hold it in place.
The outside was covered in filler and sanded smooth to hide the seam.
The bottom where then roughened along with a sheet of 5mm Plastzote foam, cut to size and glued with Evost5ick contact adhesive to act as a shock and round surface absorber to protect the prop from impact and surface scratches from the likes of gravel.


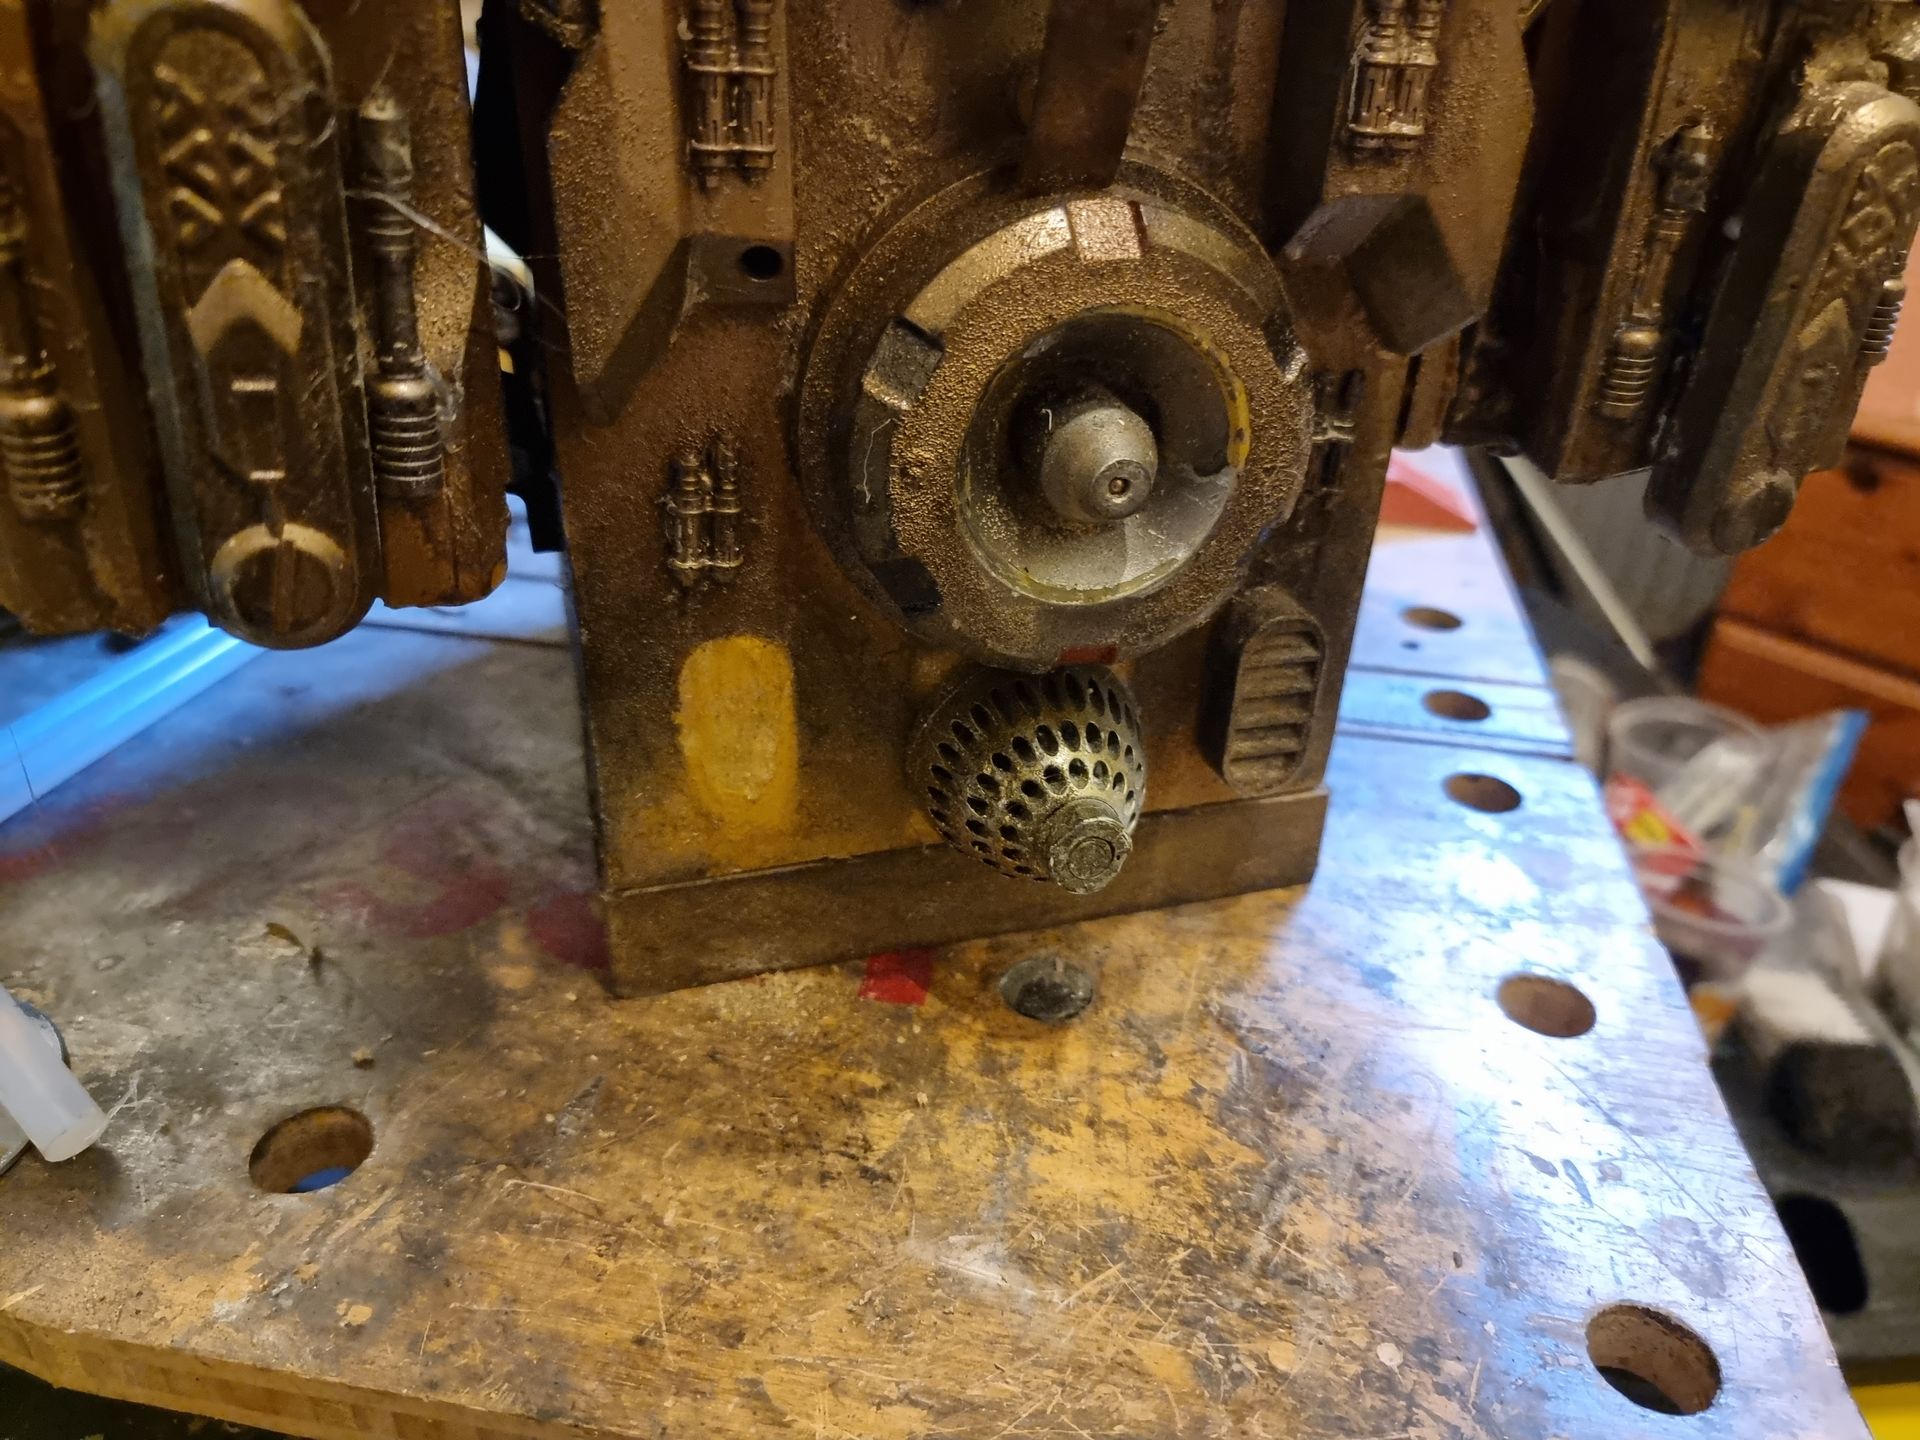


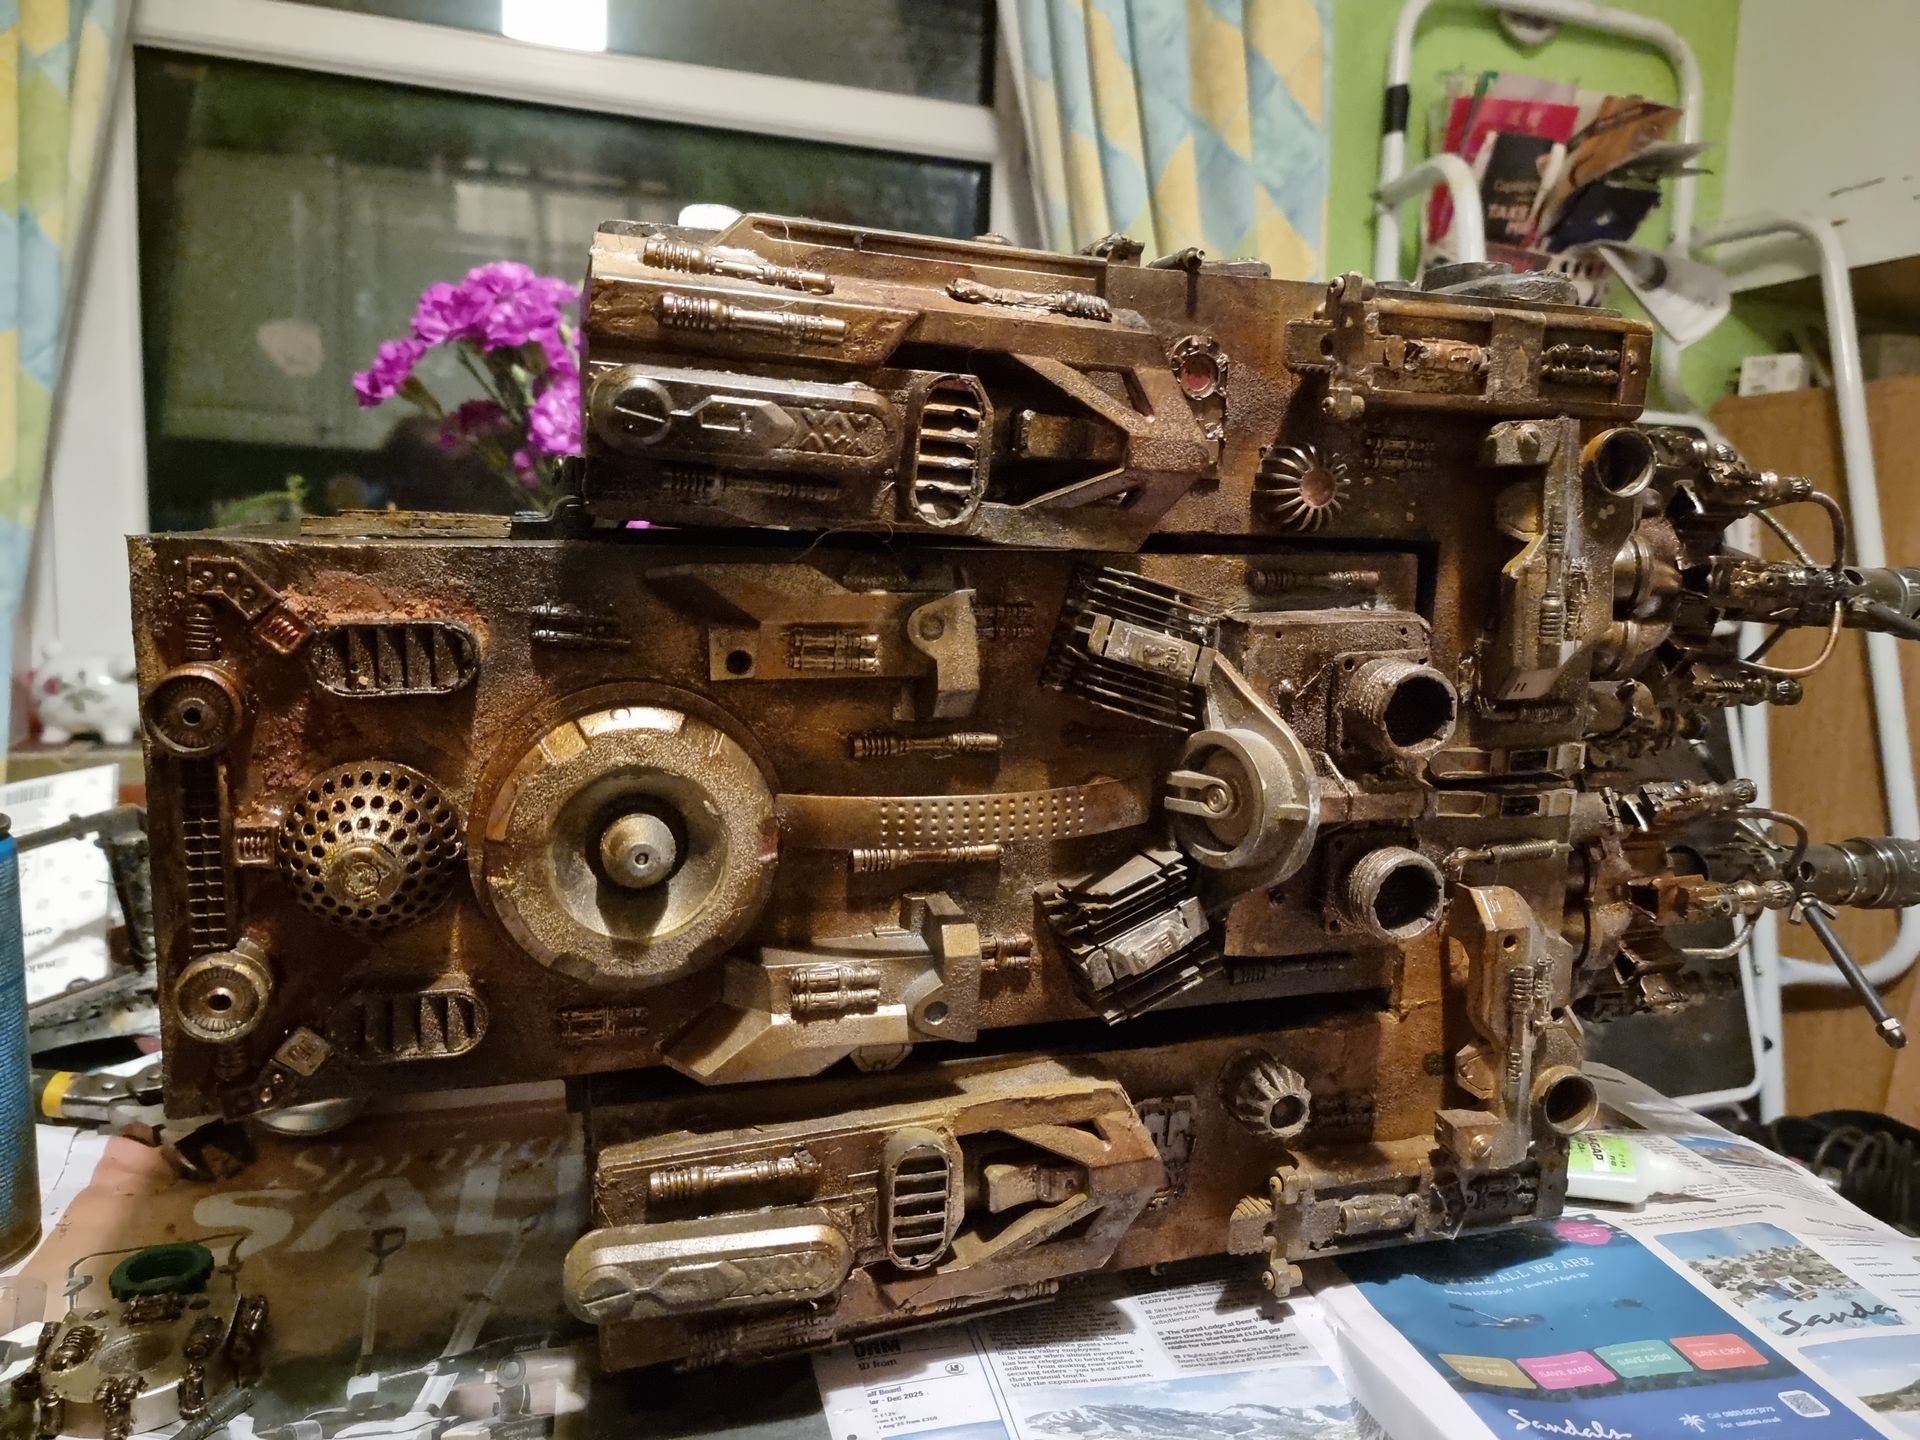
Problem Solving Base Stabilisation 5: Kit Bash and Distressing
Once the structure was in place this was hidden with a mix of kitbashing components, this time riveted as well as glued.
This was in addtional to distressing and painted with Rust Dirty Down Spray over glued on sand, with gold, sand coloured primer spray and black and khaki Dirty Down Spray wash.
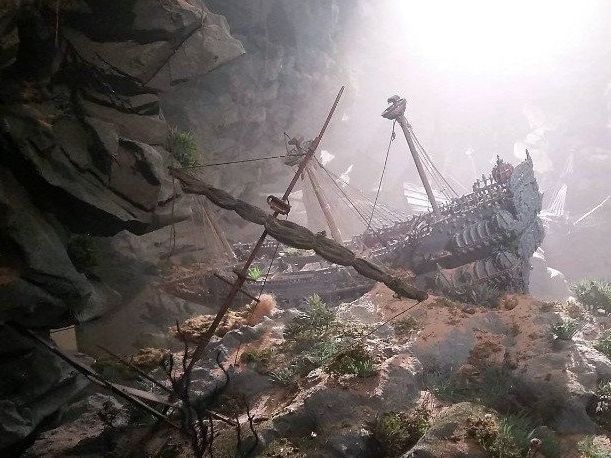
Finally dusting with sand during the Heartlands Estate Tatooine photo shoot.