
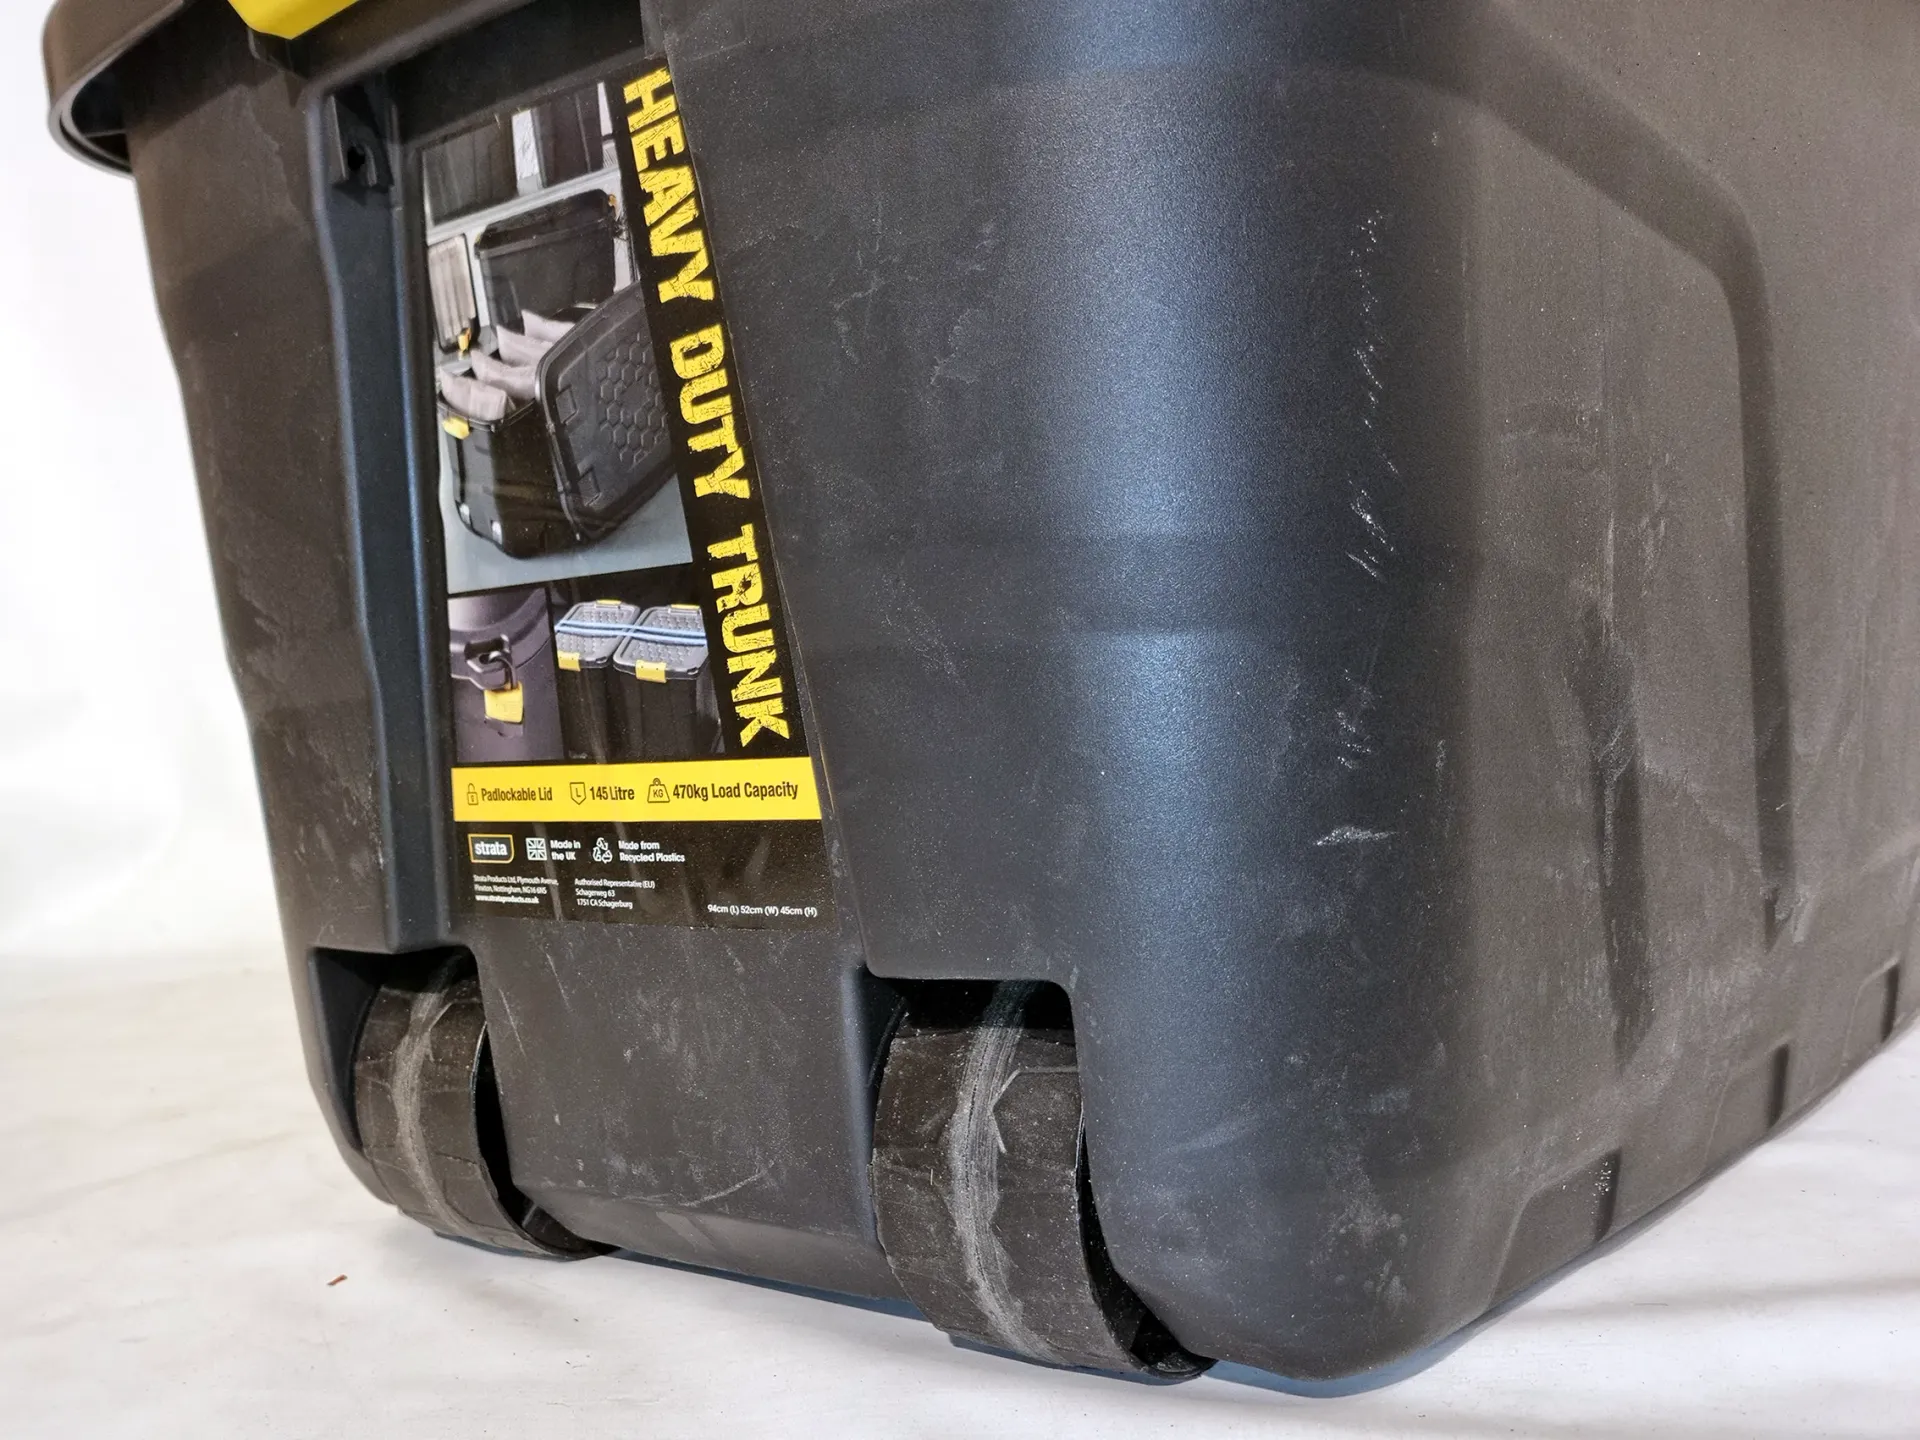
Star Wars Prop - Base Hacker - Transport Case
Problem Solving Control Handles


Control Handle Engineering & Problem Solving:
Intro
The trunks originally came with just the very poor-quality wheels with barely 1cm ground clearance and the clasps which could be held.
It was quickly appearance that a control system was needed.
Till my new wheels were added it was very uncomfortable to be bending right over the trunk to put it, or lift up two wheels.
With the new wheels I did not have to lean over so much but still a fair amount and whilst this could work on a smooth surface, it was much harder with uneven surfaces.
Wheels
Before my new wheels were added, the case was too low and thus, it was very uncomfortable to be bending right over the case to push it or lift up two wheels to pull.
With the new wheels I did not have to lean over so much but still a fair amount and whilst this could work on a smooth surface, it was much harder with uneven surfaces.


Jury Rig Problem Solving 1 - A Roof Rack Strap
The first attempt at control was to use a strap. This happened when I attended the Future’s Festival 2025 at Pinewood Studios, mainly as had not got to make a handle yet.
When I took the prop out of the car it was not comfortable, so I went back to the car and grabbed my roof rack strap.
This did give some control and make it easier, but the strap being a material strap and not solid meant the prop trunk was swinging around, bumping into my legs due inertia. An out of control dog comes to mind.
This risked damaging the prop case by knocking off or damaging kit bash components.
It also looked awful.

Hard Handle System:
As clearly the on the spot wrap a strap around it was NOT the solution I looked more into a hard handle system.
Considerations:
- Single verses dual handle
- Control
- Retractable or removable handle without damage when retracting or withdrawing.
- Strenghts and durabilty to handle forces.
- Hinged handle for different comfort angles and to handle things like stairs and ramps.
- Lock out able so I can push the prop without the handle retracting
- Ergonomics
- Look like it is part of the prop with the same style and tech.
- Lubricant or bearings.
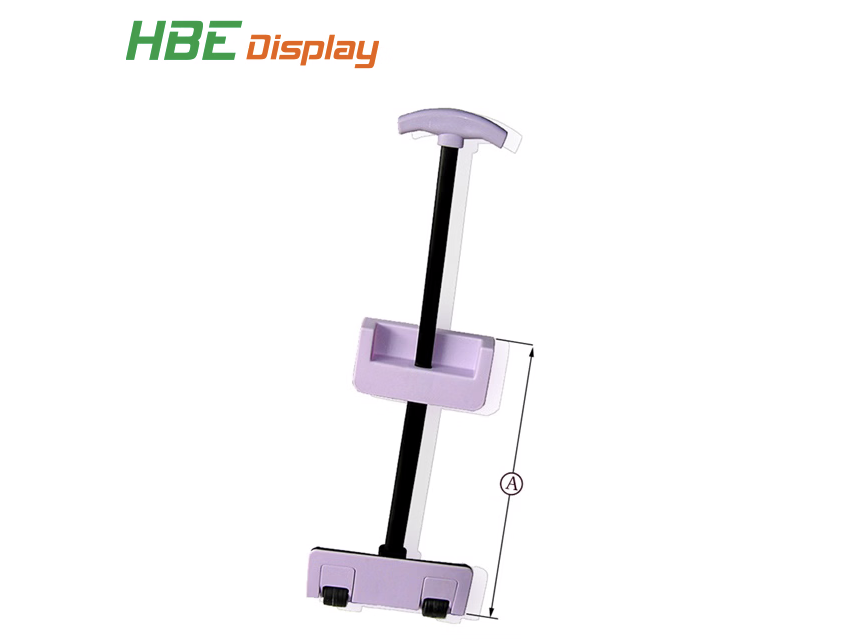
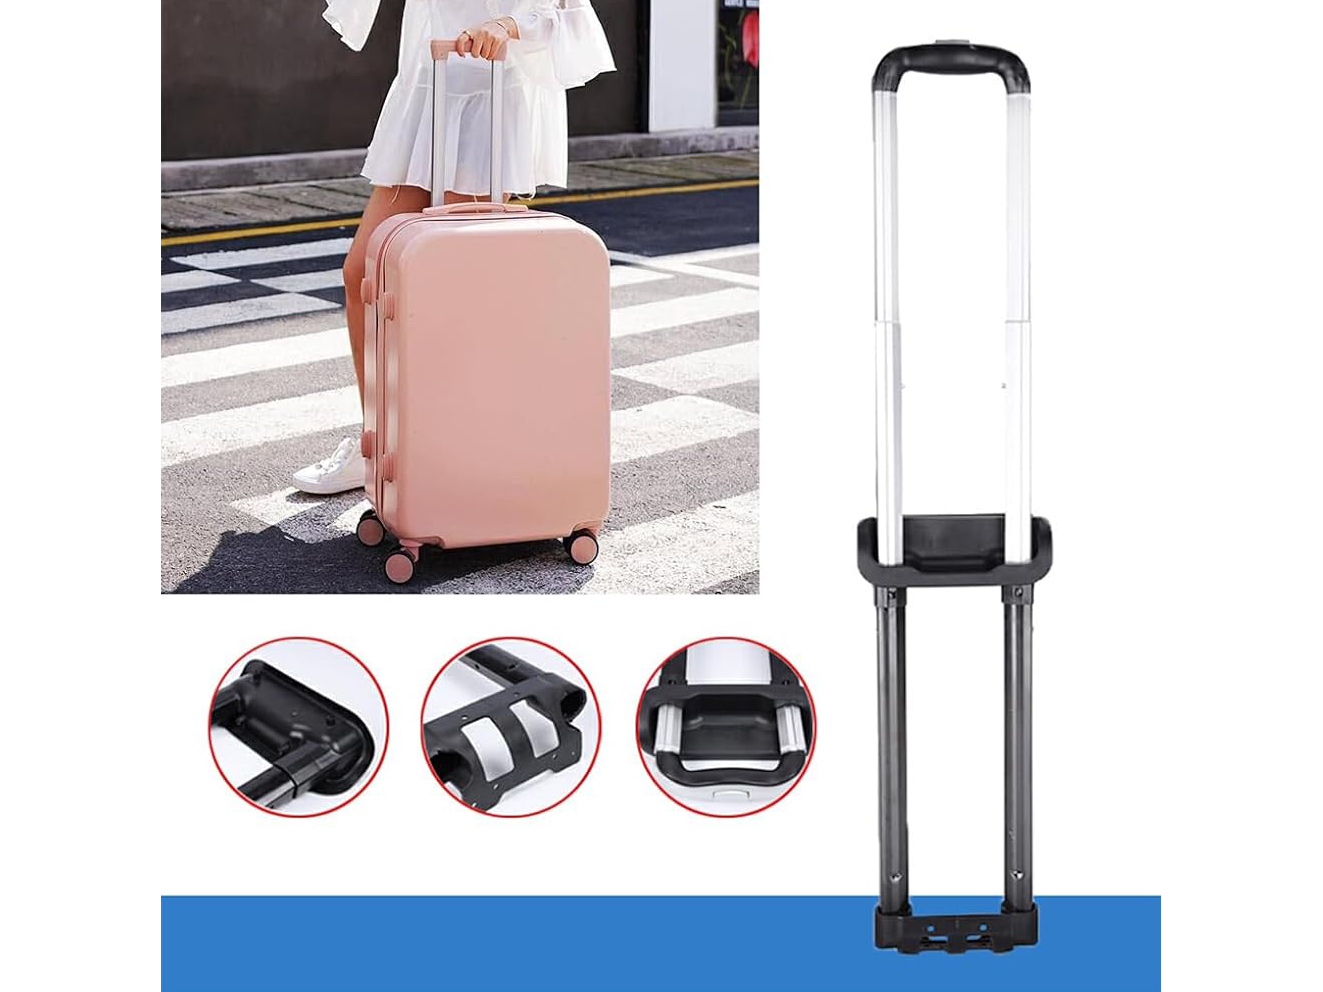
Single Verses Twin Bar Handles - Research
These handle systems were no use as designed for light weight, 2-wheel suitcases, that could tilt, not my heavy flat long 4-wheel case. Likewise, I don’t have advanced metal working for these extension systems.
The first thing to look at was single verses dual bar handles. Single is simpler but features far more stress on the pivot.
Dual bar handles would be stronger thus better to control.


Problem Solving 2 : External Loops, Pivot Rod & Dual Handle
As clearly the on the spot wrap a strap around it was NOT the solution I looked more into a hard handle system.
Description:
- The first had handle solution was to attach two pairs of loops to the case and have the two handles slide in between these.
- The loops would be made from wood and screwed to the case.
- This seemed a simple solution.
- The loops were cut from a plank into squares, had homes drills through them shaped in the disk belt sander and painted.
- Lubricating Teflon tape was used like bearing and lubricating plates to reduce friction.
- Between the pivot loops and case surface were foam pads to give some shock absorbtion bond flexibility for the handle.
Pros
- Fairly Simple
- Included pivots on the handle and the handle bars
Cons
- No way to retract the handle


Handle Lenght Bars
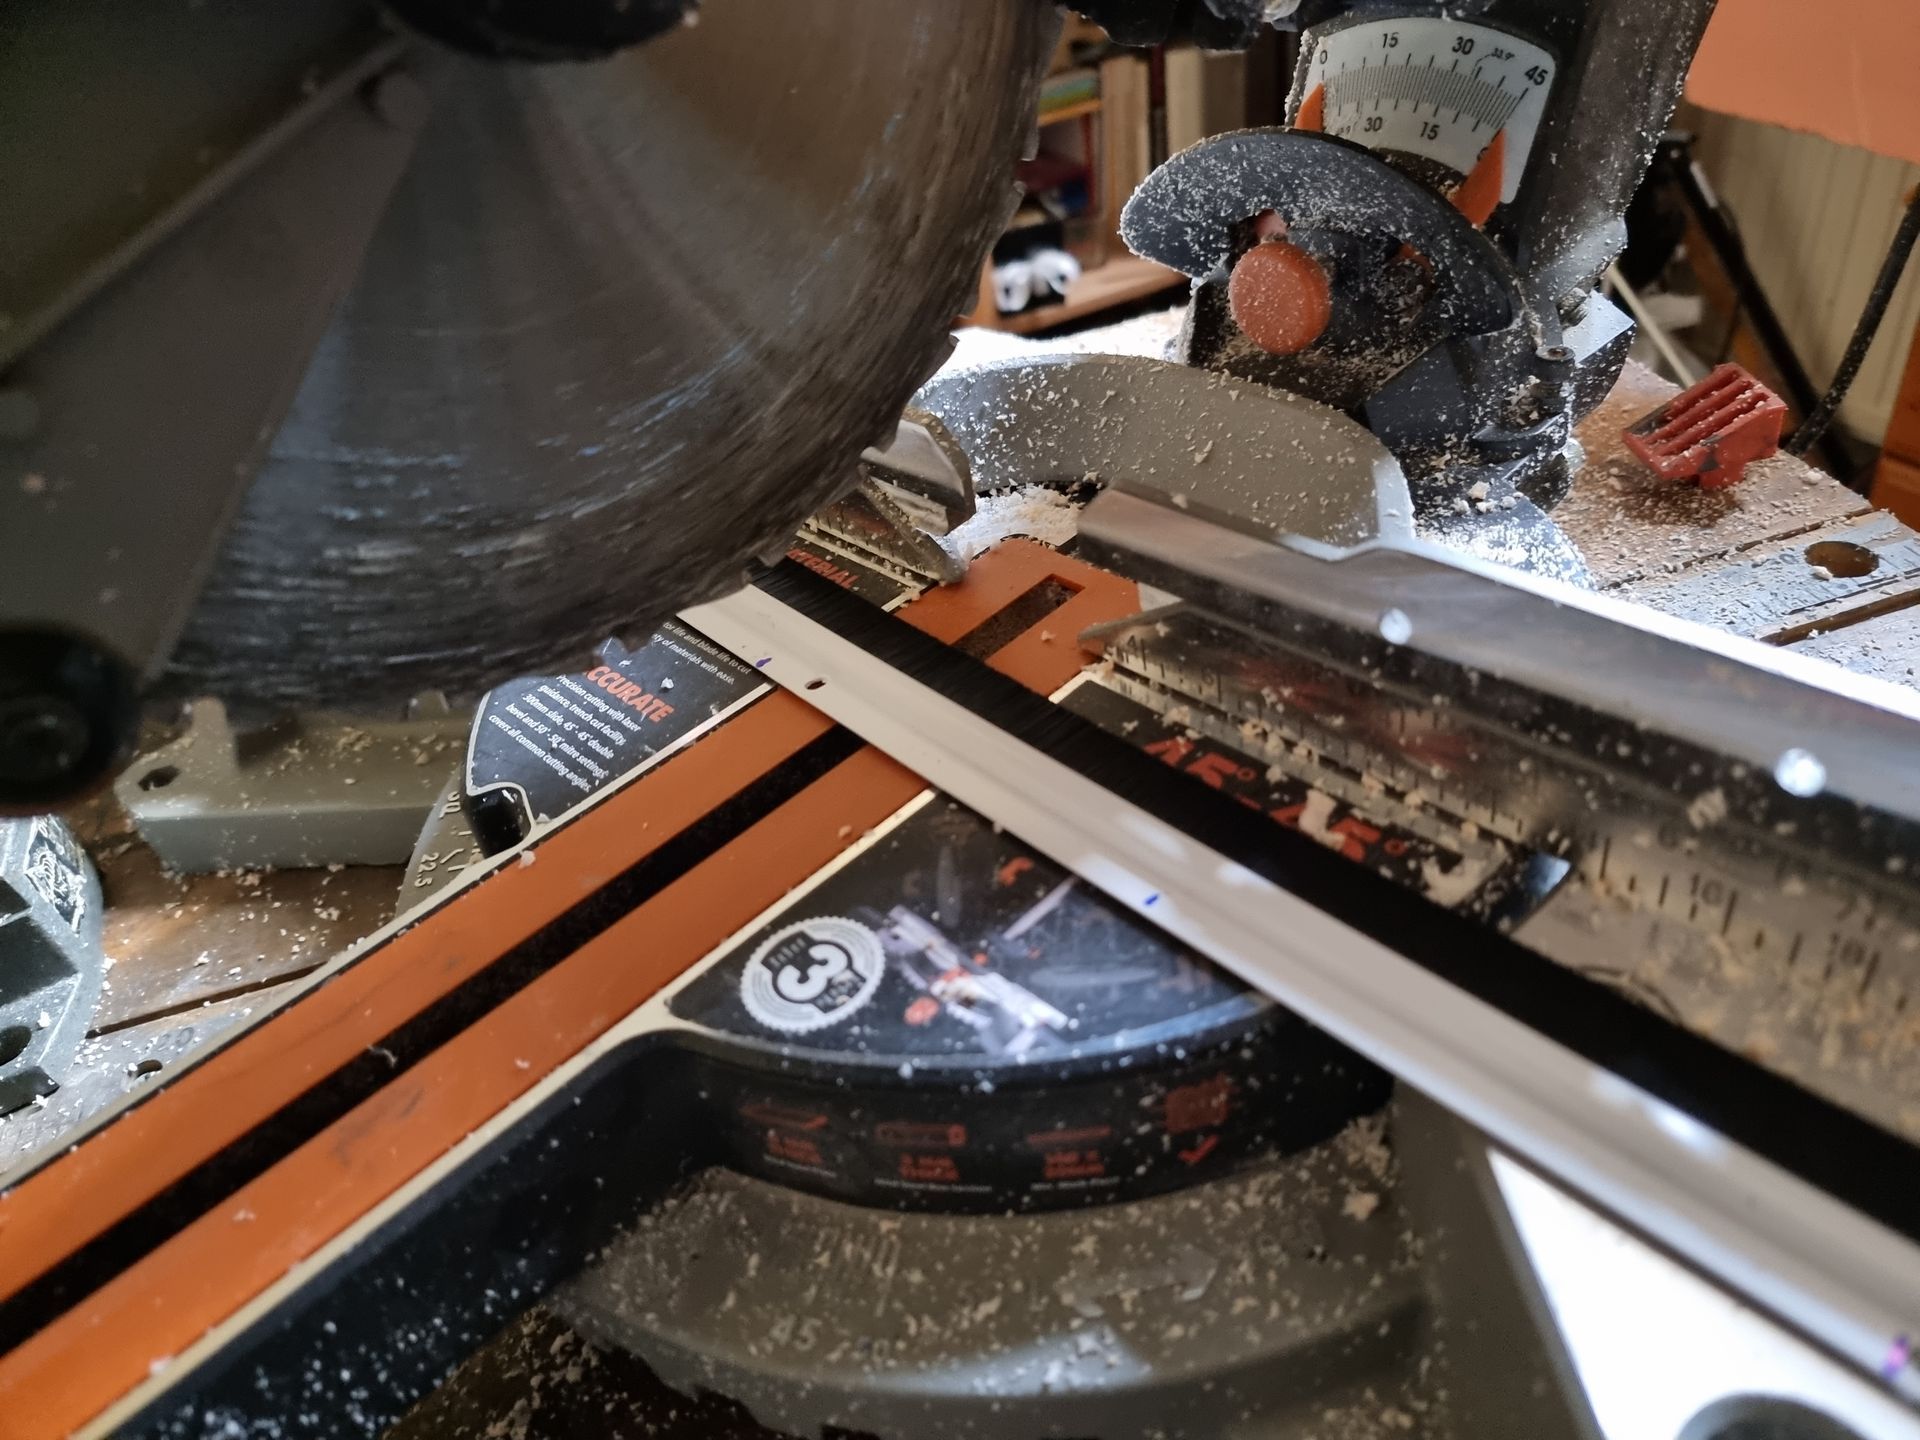
The handles were constructed from 10mm pine from available planks, cut by length with my mitre saw then across with my more precise multitool.
U added a concave curve to lower weight and look better with my bobbin sander.
I added a fillet edge to help maintain paint and reduce chances of cuts.
Holes for dowels for the pivot hinge as well as thicker dowls for the handle to make them more ergonomics.
Once carved they were coated in filler then sanded with my multi-tool for a harder, smoother more metallic finish prior to painting.
The ends were curved to help the pivot end turn without damaging of getting caught on the prop, minimise the chance of harming the handle controller and to for aesthetics before painting.


Cross Rods Dowels for the Hinge Pivot and Handle
The dowels were easily made, cut roughly to length with the mitre saw then trimed to the precise size with the disk belt sander.


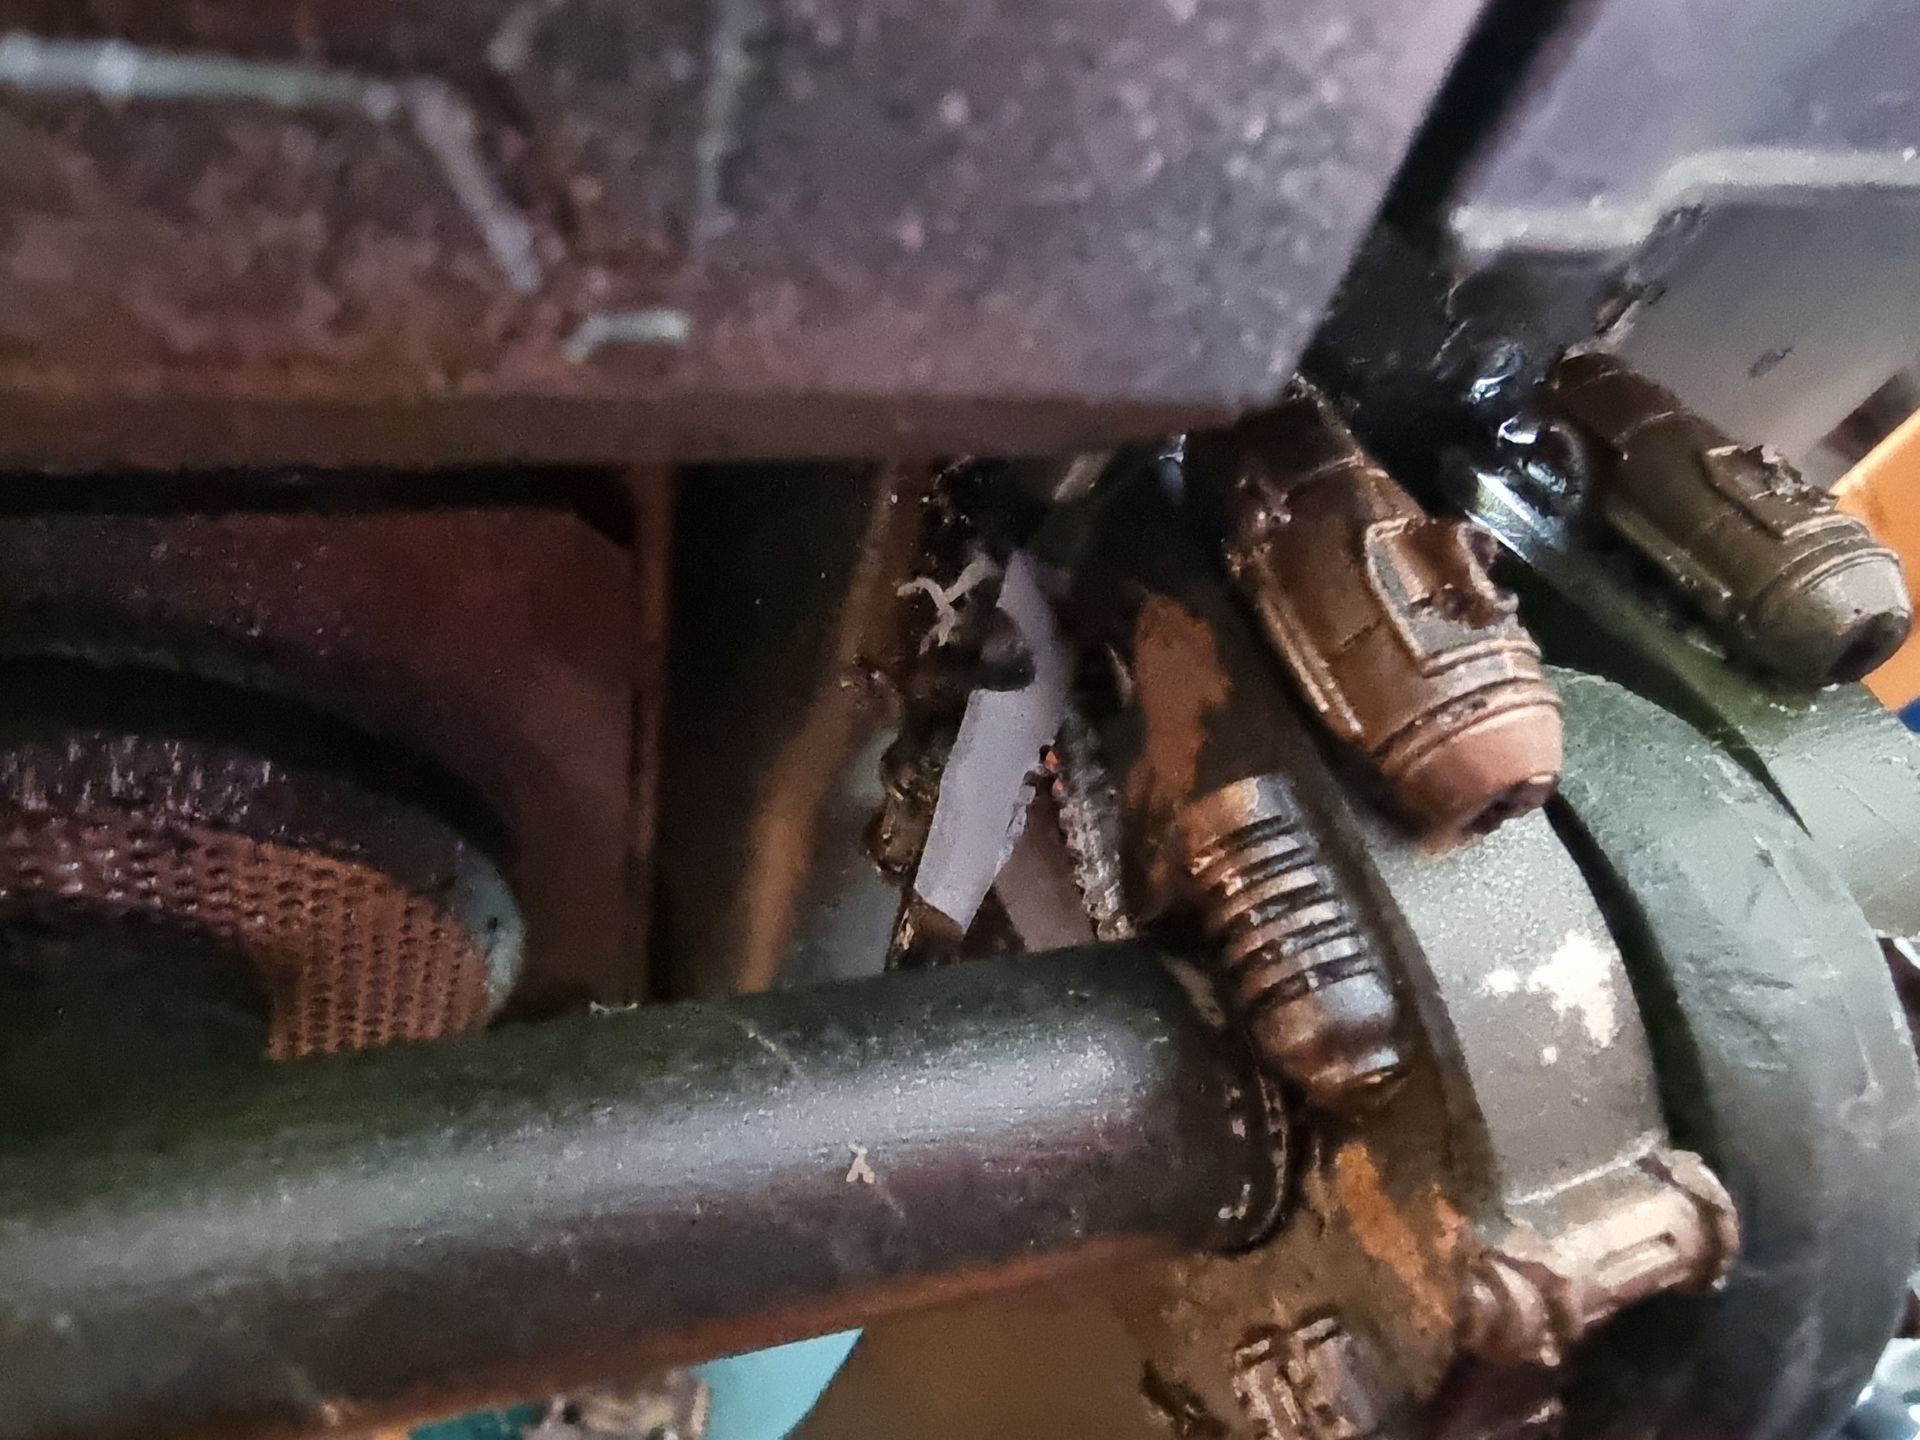
Problem Solving 3 - Lubrication
The handle needed to be able rotate on pivots to form a hinge so it could adjust to different hights, uneven floors, kerbs, steps, slopes different height users and help moveability and control.
This means the need for lubrication, hinges or bearings. A grease or oil lubricant would be messy.
I though of the kinds of bearings I have used on my rollerblades, but they would not fit the wooden dowels I had.
Then thought of a simple solution. Teflon tape, slippery, very cheap and very easy to apply.
Just cut cleanly and wrap around the dowels. There was plenty of tape to try different configurations and do repairs.


Problem Solving 4 : End Stopper Components
& Kit Bashing Handle Bars
- I needed a way to fix the dowel handles and pivots to the lenght handles where the could swivel, so needed stoppers and locking rings and well as kit bash parts.
- I used the usual silcon mould creation and resin casting to make the kit bashing parts, washers and end stoppers.
- Holes were drilled for screws to hold the stoppers in place to help the handle.
- Lubricating tape was applied to act as a bearing.


Aesthetics : Kit Bashing the Pivot Loops
The pivot loops seemed dull and boring so decided to kit bash them so they were more in line with the rest of the prop.
I decided to cast these to speed up production, so kit based one loop and then made a silicon mould to resin cast more.
These where then post cast worked on to trim them.
These were spray painted with the components dry brushed.
I then used the salt mask technique to simulated shipped paint patches, where metallic paint patches where applied, had salt past spattered on, painted over and rubbed off leaving the patches.


Problem : Pivot Loop Concept Rejected Due to Weak Material
When I tried to secret the loops into the body of the case I could the material just repeatedly crack and split rendering them useless. If they cannot handle the screws they certainly cannot handle being the stress points holding then handles. New solution was needed.


Problem Solving 5: Retractable Handle
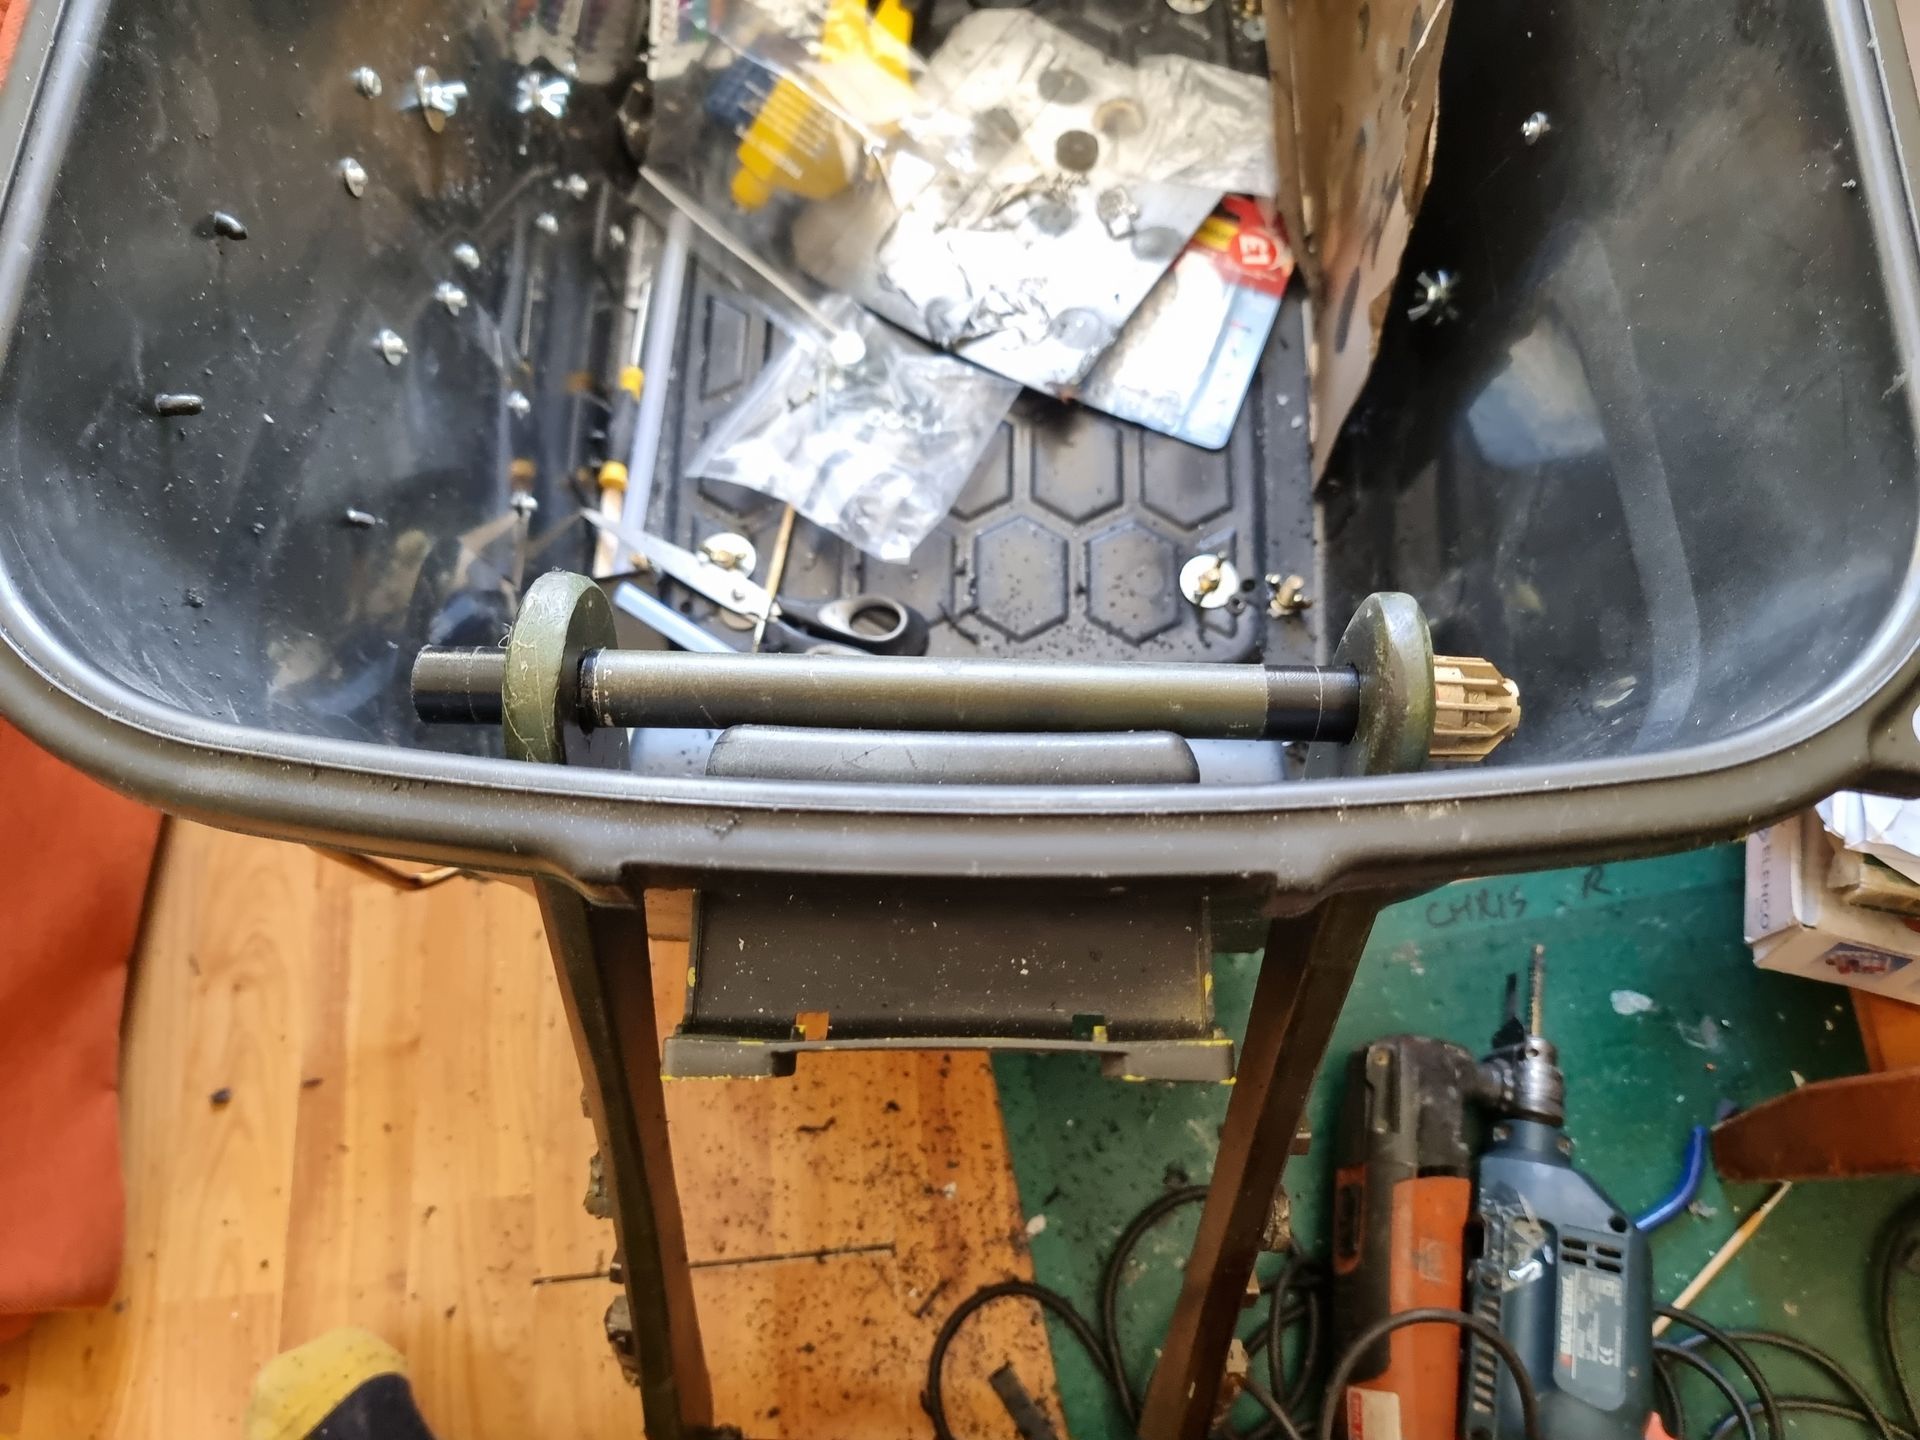
The next plan was to have the length handle bars to insert in slots in the ends of the cases. To have the connecting dowel that was to be the pivot connecting these bars on the inside of the case.
This would have the advantage of giving the case retractable handles that can slide inside.
The inner dowels would have the whole inside wall of the case to hold them, pulling the case without small stress points.
The slot holes were cut with a mix of a drill with milling bits and my multi tool


Problem Solving 6 - Stopping Handles Getting Caught
Whilst the kit bashing made the handle length bars look more Star Wars tech, the bars could not slide in and out of the case without those parts getting caught on the sides so I needed to remove them to flatten and smooth the bars.


Problem Solving 7 - Anti Scratch Handle Suspension Hole Lining
It was seen straight away that as the bars slide in and out the get scratched curt and scraped on the side.
The problem with the handle bars sliding through the slots in the case is they scrape on the sides getting scratches, holes, chipped paint gashes etc.
A means of letting the bars slide through smoothly without huge holes.
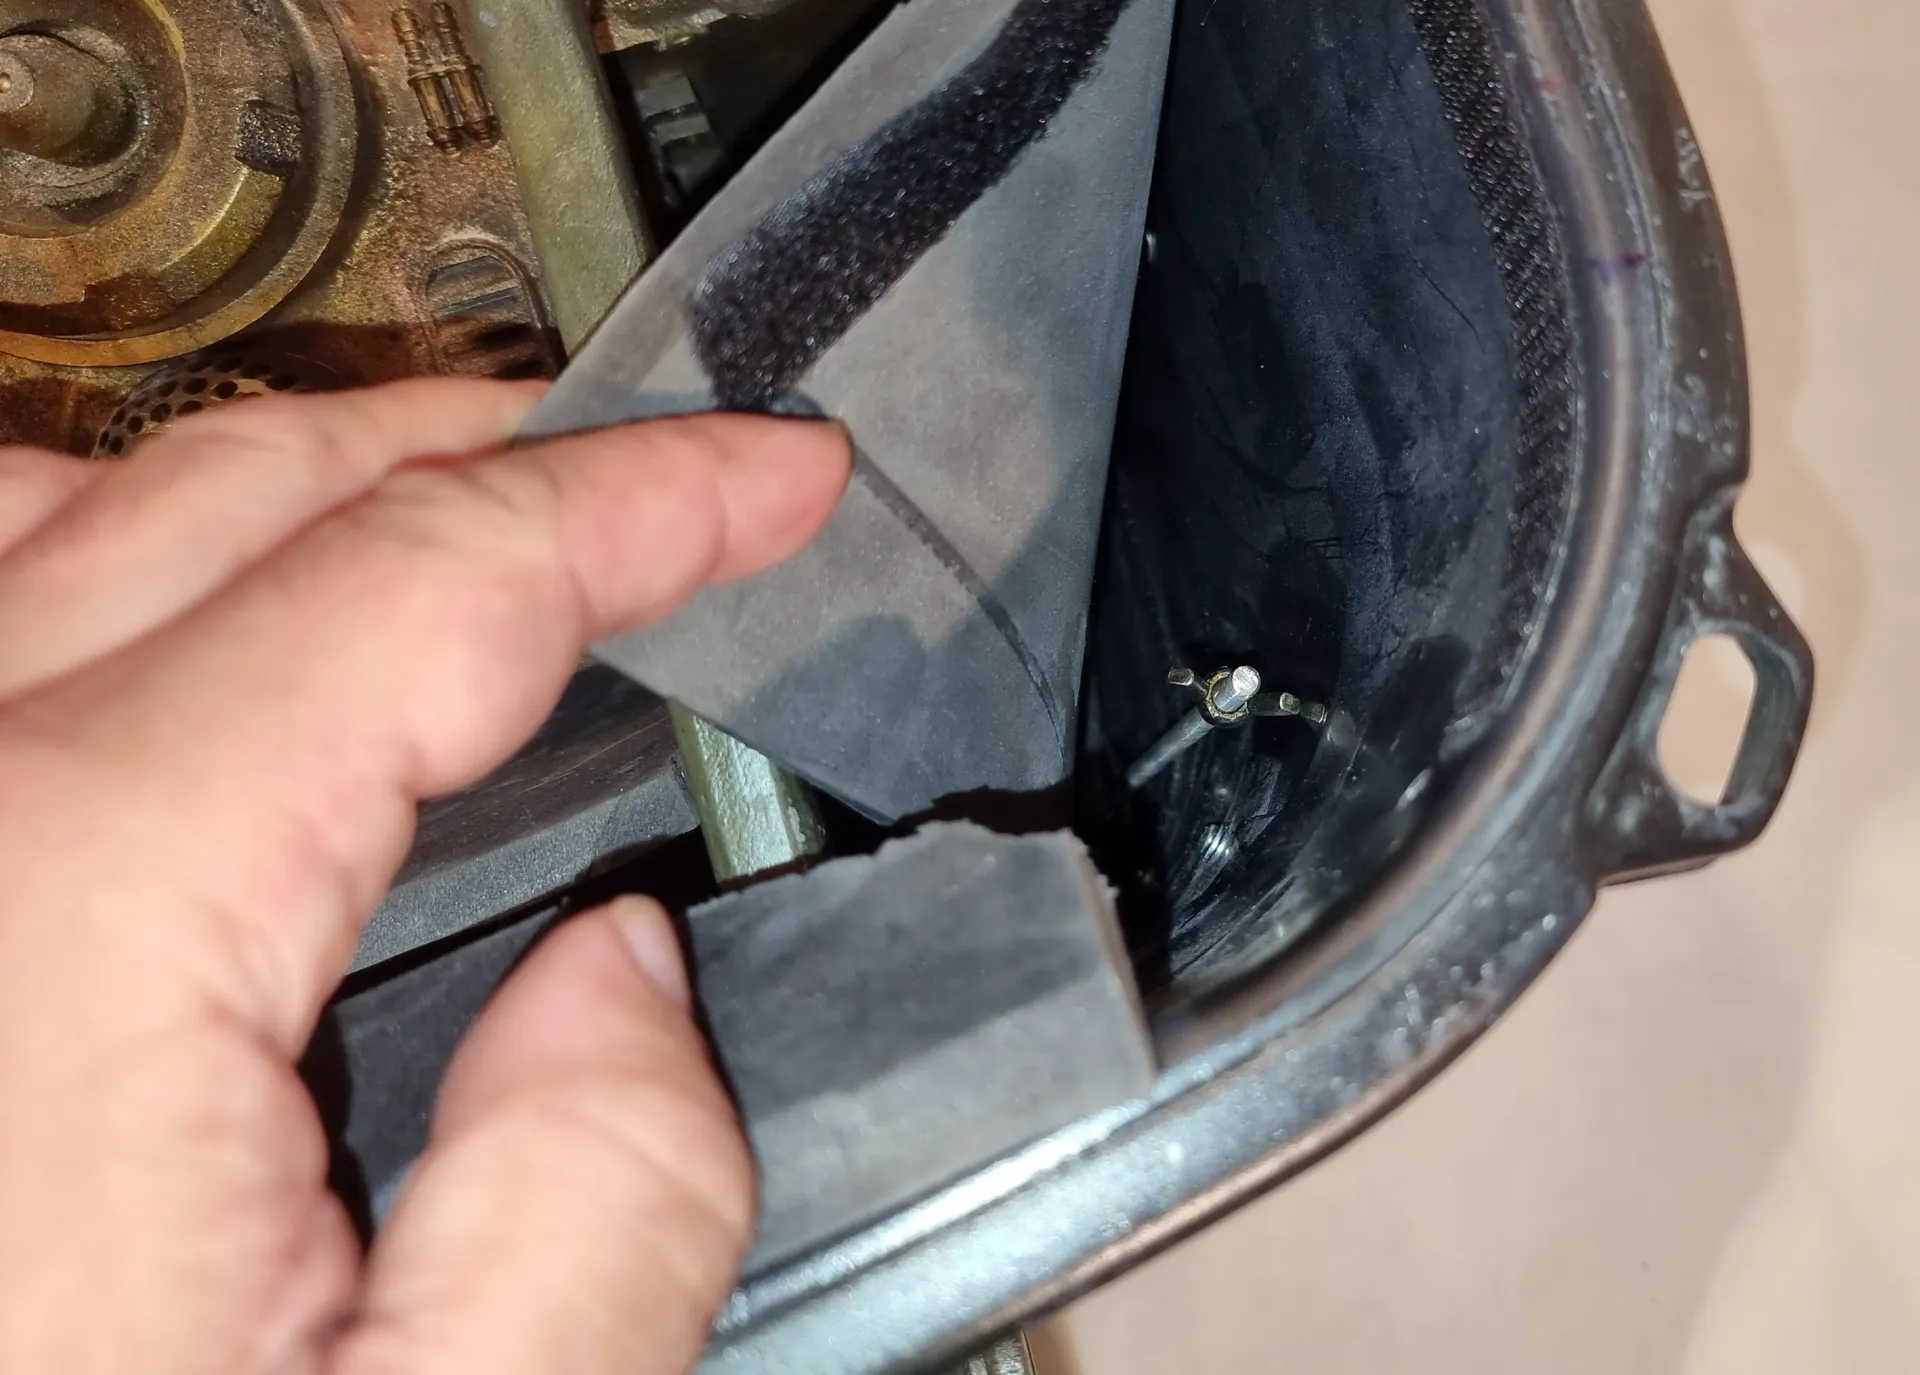
The method I used was the stiff fur of a draft extruder cut to size. This was riveted and glued into place.
The hair holds the handle keeping it away from the sides.
Provides a soft lubricated barrier or lining to protect the handle bars.
Covers up the holes.


Problem Solving 8 - Handle Lock Bar
The problem with having the handles slide though slot holes into the case is the handles cannot push the case as would retract into the case.
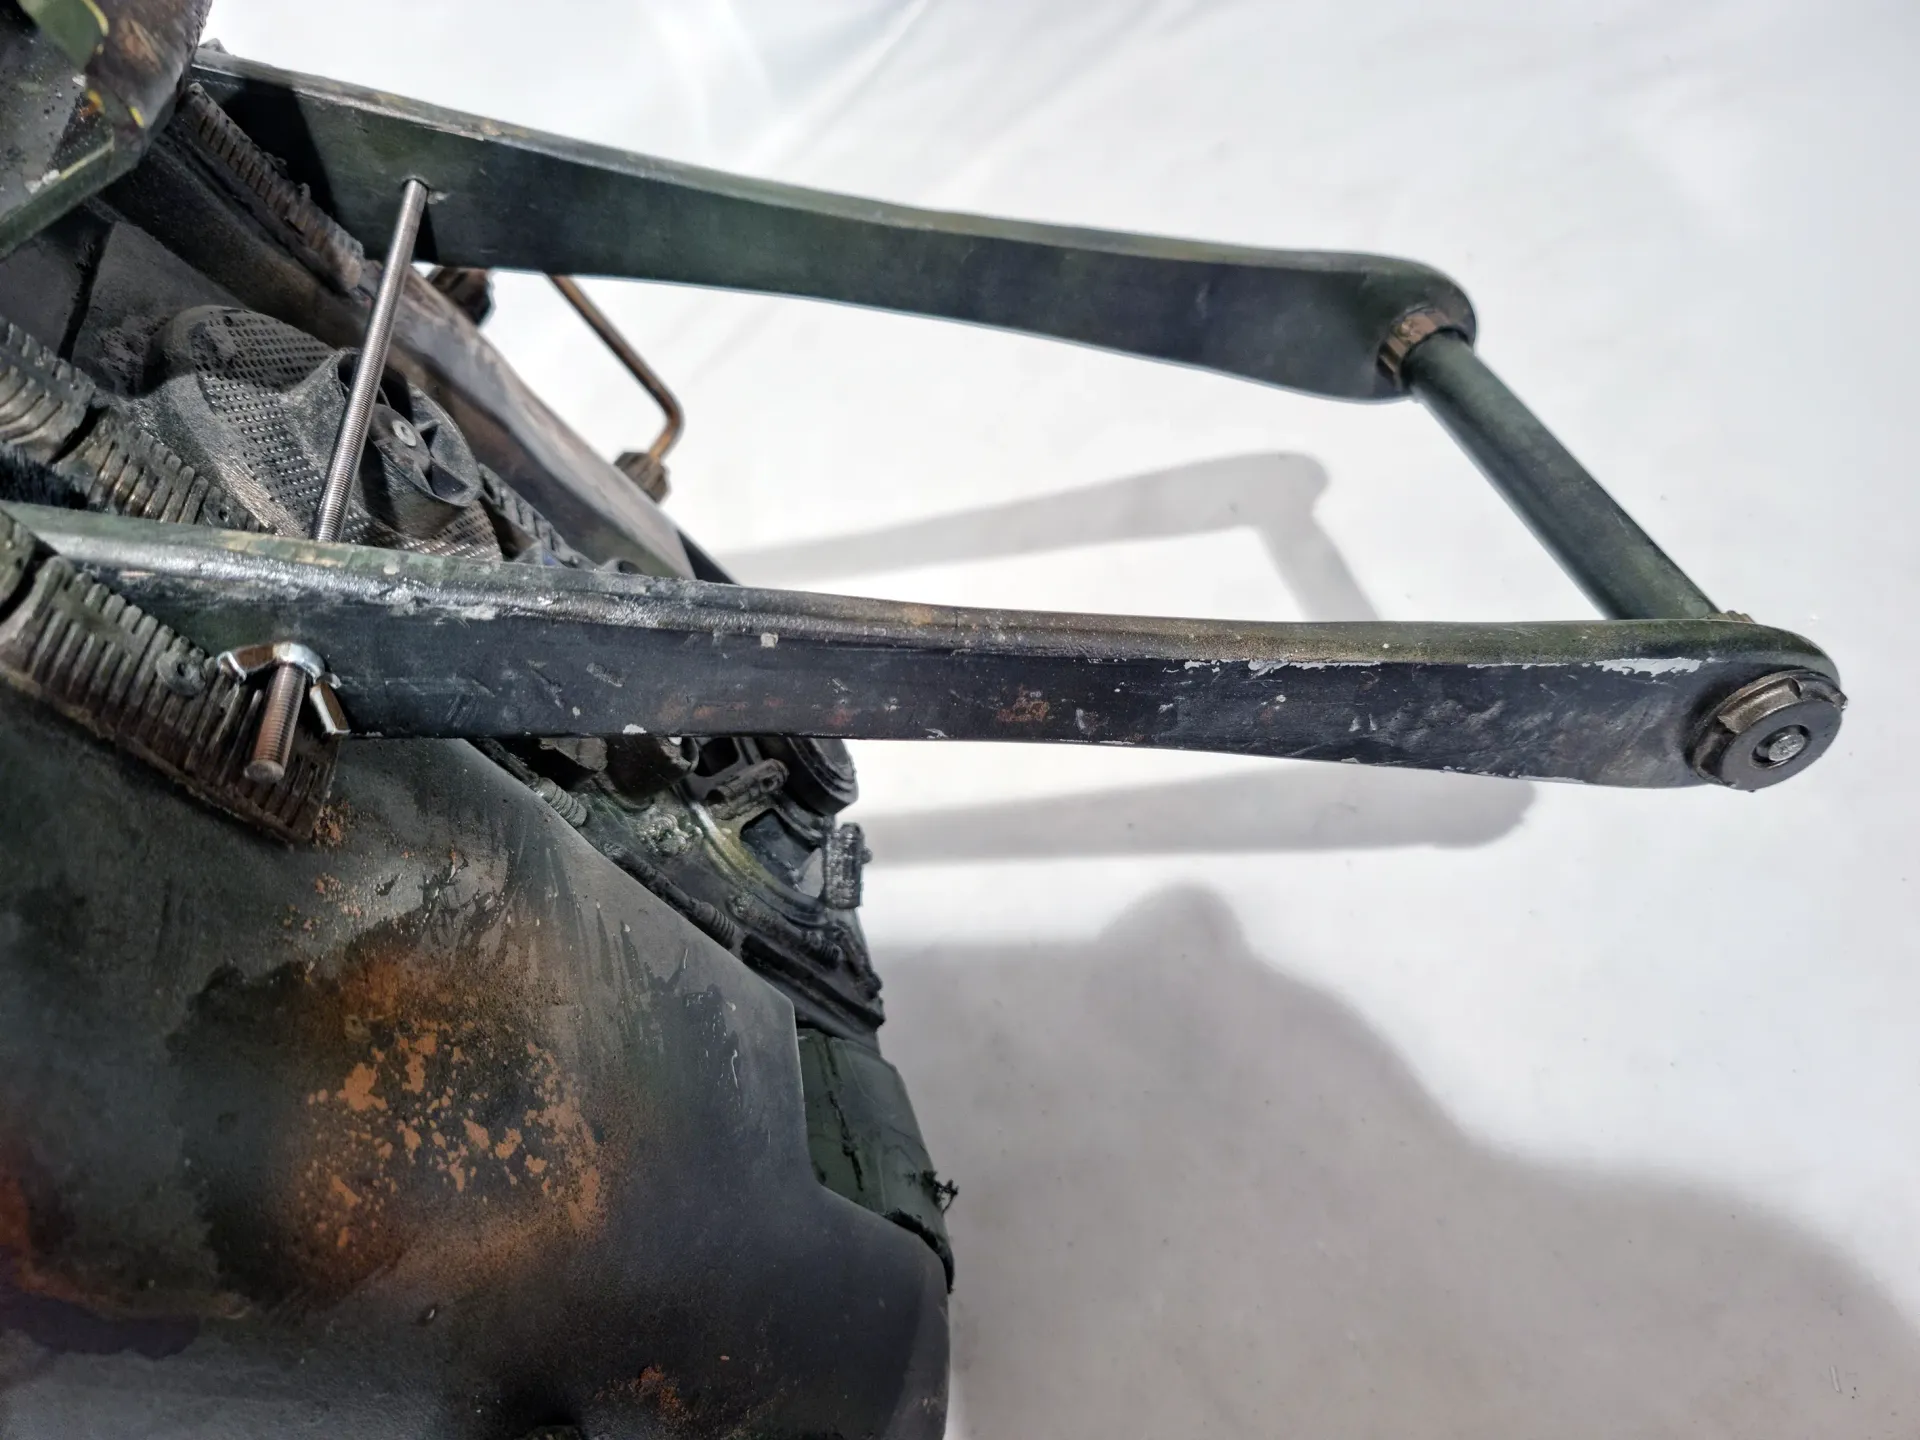
My solution was to make holes in the handles for a cross rod then can be easily inserted though the handles to prevent them sliding into the case and provide a means to push it.
My solution was to make holes in the handles for a cross rod then can be easily inserted though the handles to prevent them sliding into the case and provide a means to push it.
Thus, there is a down cross bar on the inside and a metal thread bar on the outside holding the handles in place.
Initially I had a screw thread in the handles but found it quicker and easier to widen this hold so the thread bar slides through and the thread just spins on wing nuts to hold it in place or remove it in seconds. This can then be stored in a pocket in the case corner.


End Result
End result is a much more comfortable controllable and steerable system. Lots still not perfect. Ideally need a way to straighten the wheels to country issues like sloped pavements with gravity pulling the prop case to the road.
It would also be good to get more tilting elevation to make the pulling and pushing more comfortable.
But much better than what was started with.


